How to use a dental mirror to inspect the cam chain – Honda CX500, GL500, CX650, GL650
On the Honda CX500, GL500, CX650 and GL650 motorcycles it’s possible to use a small mirror (often referred to as a dental mirror) inserted into the inspection hole on the rear engine cover to assess the status of the cam chain.
Note: A more modern way of doing this is to use a <$15 inspection camera (eBay US, eBay CA
, eBay UK
, eBay AU
, Amazon) – this has the advantage of a built-in light, the ability to take photos and many of them will hook up to an Android phone to make things even easier. They’re often about as cheap as a mirror to boot…
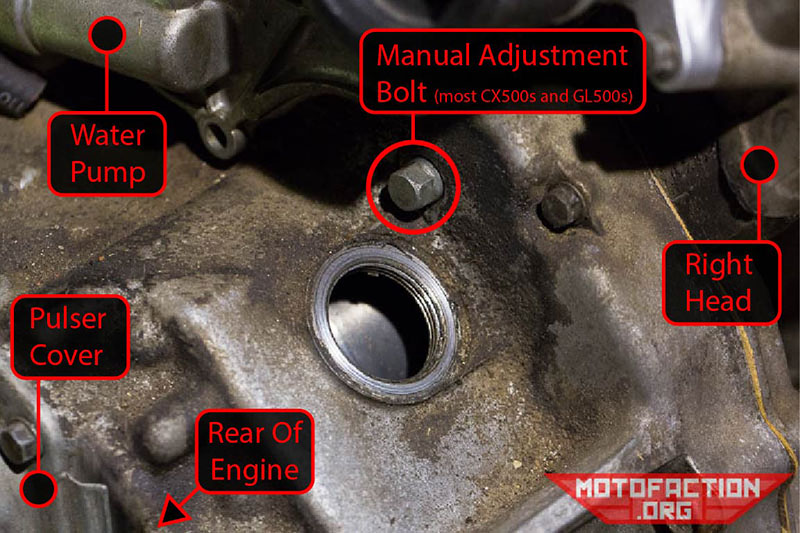
The inspection cover on the rear engine cover is on the right hand side, behind the head and underneath the carb inlet. On manually-adjusted camchain models (most 500s) there will be a little bolt there that you should be using to adjust the cam chain tension.
First up, if you do have a manually adjusted model you need to perform a cam chain adjustment prior to attempting to check the cam chain status – which we will cover now. Remove the inspection cover with a 17mm socket or wrench or, if you have a bottle breather in place of the inspection cover, remove that using a 22mm wrench.
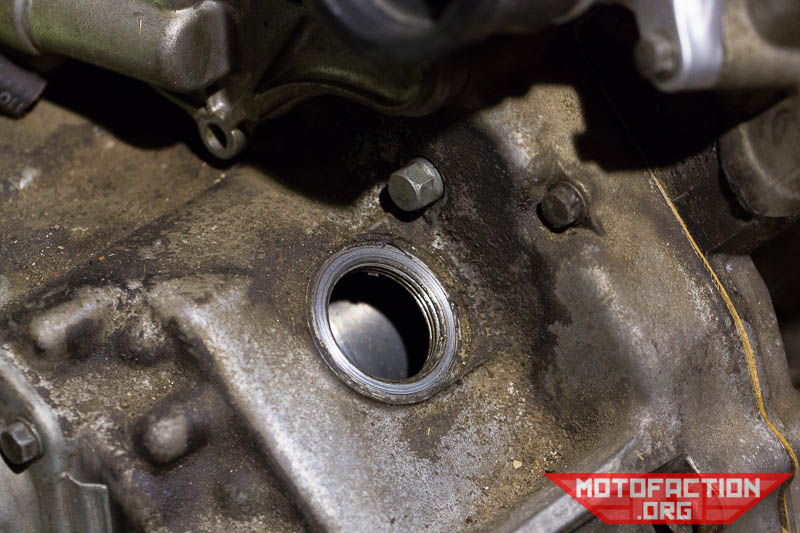
To assist in locating it, here’s some notes as to what’s what:
Rotate the motor by hand (for how to see here) to leave the engine at TDC compression on the left cylinder. For how to tell whether you’re TDC compression or TDC exhaust see the valve adjustment writeup. Given that you have to set TDC compression for the valves and the camchain adjustment it’s common to do both these tasks in the one sitting.
With the engine set at TDC left side compression, loosen the cam chain adjustment bolt one turn and give it a light tap with the end of a wrench or screwdriver. You don’t need to loosen it any further than that. Then tighten it back up to 6-9ft/lb.
With the adjustment out of the way – or if you use an automatic cam chain tensioner – we can now use a mirror to assess the cam chain’s status.
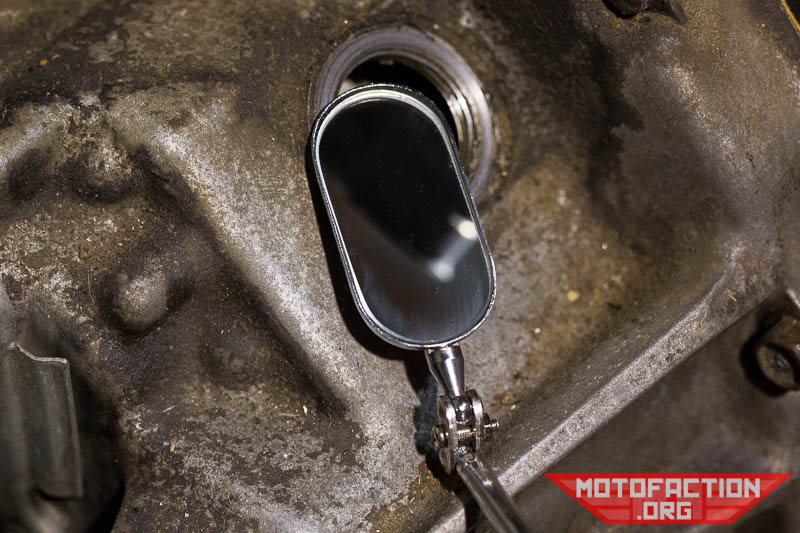
The mirror has to be small enough to get in through the inspection hole and able to be angled once it’s in there to give you a good view of the underside of the bolt you just adjusted. Take note that the flywheel is magnetic and may pull a metal mirror against it, which can be a little unhelpful at times. Also please do not drop your mirror into the engine or else you will probably be removing the engine from the frame to retrieve it! (sorry Izak!)
Peering in through the inspection cover you can see the flywheel and to the front of it (speaking in terms of the front of the motor) the starter driven gear’s teeth. The metal bar in front of and to the right of that is the manual tensioner spring.
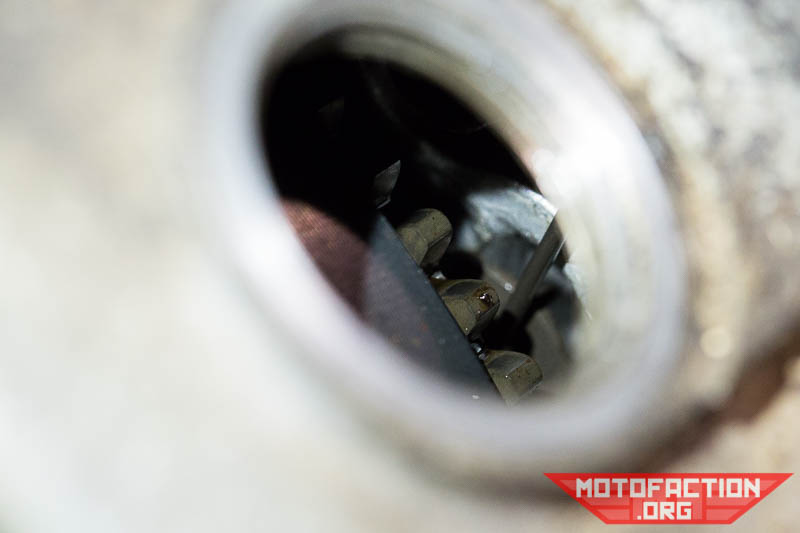
Insert the mirror and angle it towards the bolt:
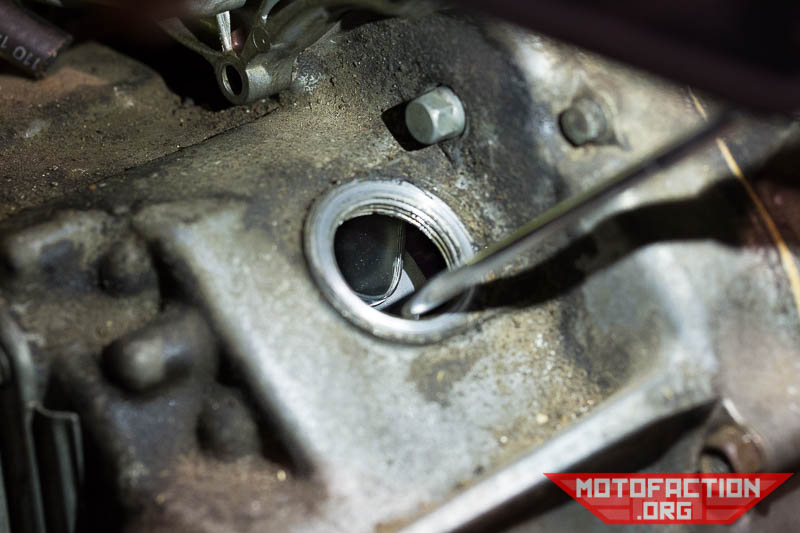
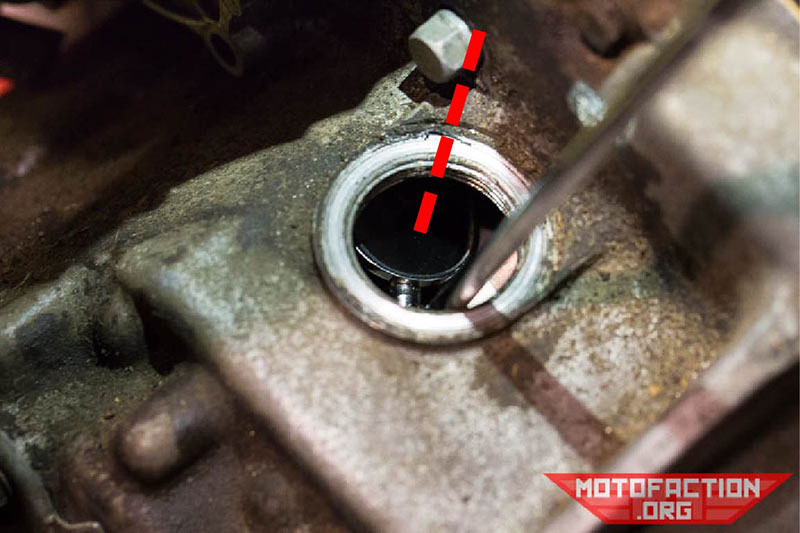
You’ll need to use some additional light to get any kind of helpful view here. A flashlight app on a smartphone is helpful. Lit up:
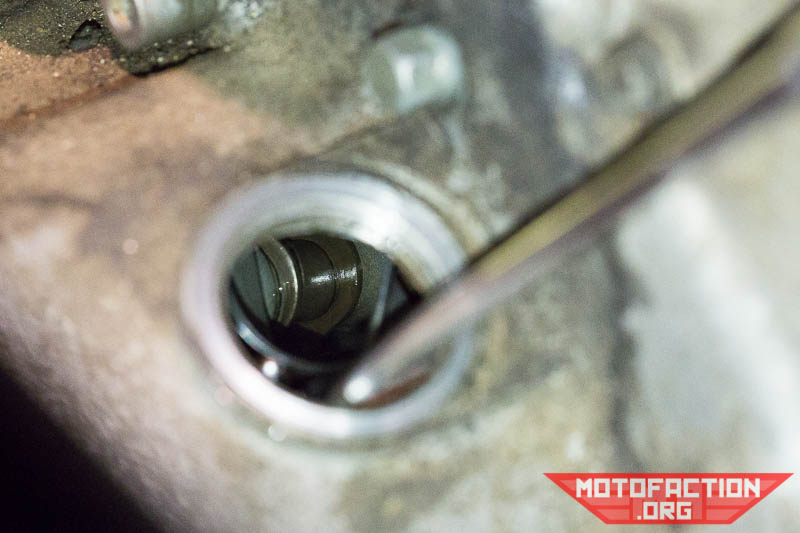
This is the underside of the manual tensioner tensioner bolt. This one is with a brand new cam chain so there is no hole visible here at all. For an example of what the hole will look like on a worn cam chain, see this page. Keep in mind that you are looking at the underside of the bolt, if you are looking at pictures of the cam chain adjustment bolt gap/hole with the rear cover removed.
Closer?
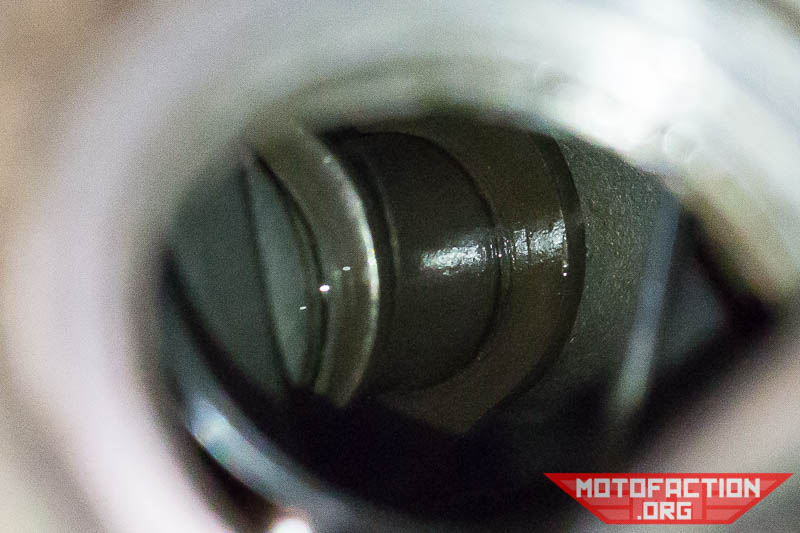
Annotated:
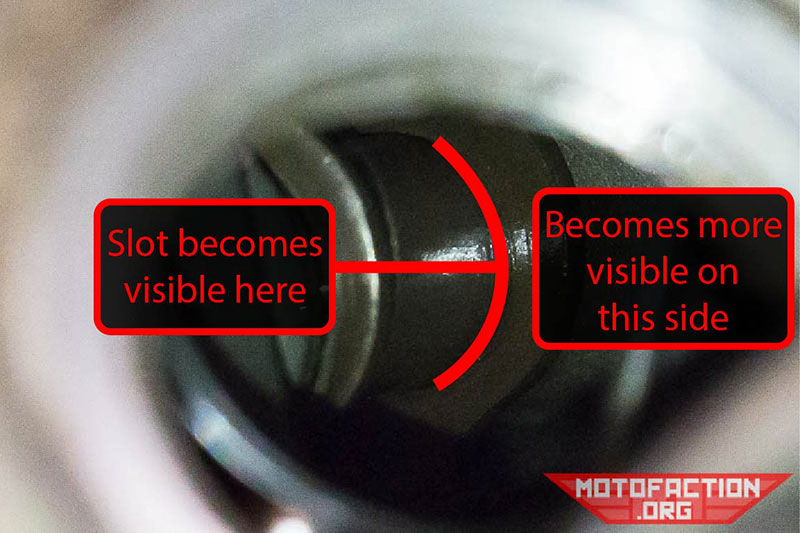
We will do similar photos of the auto tensioner setup when time is available to do so. In the meantime, you can see some of what you are looking for on this page.
As you can see on the link above, the more hole that’s visible the closer the cam chain is to the end of it’s useful life. Don’t keep riding a bike whose cam chain is shot – you’d be looking at doing at least one part of the triple or quadruple bypass.
An alternative method is to rotate the cooling fan at the front of the motor and see how many degrees it will rotate before turning the crankshaft – take the spark plugs out beforehand to make the task easier. If the fan moves more than a couple of degrees before rotating the crankshaft with it there’s too much looseness in the cam chain.