How to adjust the valve clearance on a Honda CX500, GL500, CX650, GL650
Before using this site please read the site disclaimer. Also please note that any links provided may be part of an affiliate programme (viz. eBay, Amazon) which helps support the site as I will earn a commission when visitors make a qualifying purchase.
Checking and adjusting the valve clearance is both a simple and important part of keeping your Honda CX500, GL500, CX650 or GL650 running properly; too tight or too loose and you can cause some serious damage. Read on for the procedure.
You will need:
10mm wrench, socket may work
12mm socket
17mm socket
Socket extension
Socket wrench
Feeler gauges - 0.003" (0.08mm) and 0.004" (0.10mm) for 500s, 0.004" and 0.005" for 650s
A cold engine (8+ hours of being off)
Optional:
Spark plug socket
This will probably take you an hour the first time, but once you are confident it's really only a 10-15 minute job all up. Why do the 650s use a different spec? The block is higher and more prone to thermal expansion, which means that your gaps need to be bigger cold to compensate for the greater expansion.
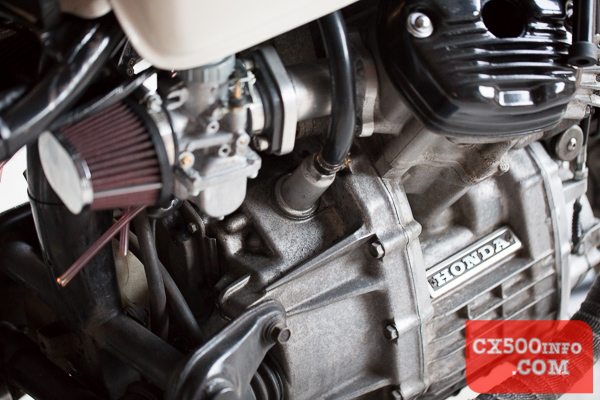
Firstly, locate your timing inspection port. It's on the right hand side of the engine behind the head and beneath the intake, and will be covered by either a blank plug with a 17mm head or a bottle breather; the bike we are working on today has a bottle breather covering it:
Closer:
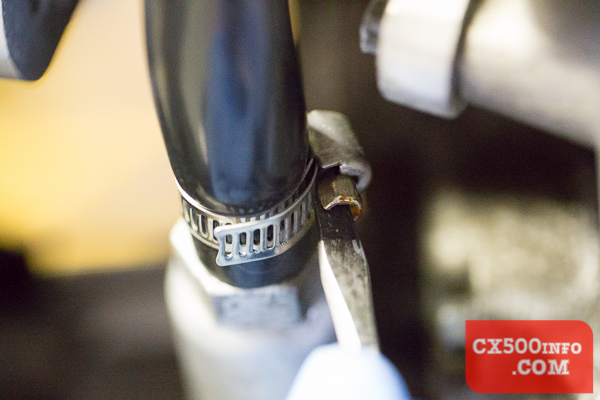
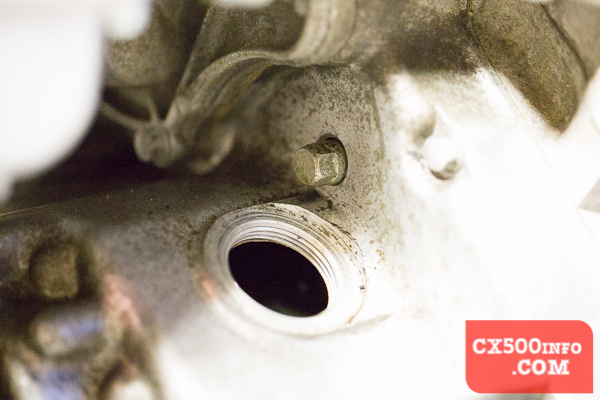
Clean the area around this and above it so that no dirt or debris can be knocked off and fall into the engine. If you have a blank plug, simply undo it with a 17mm socket. We have the breather, so we will undo the hose clamp:
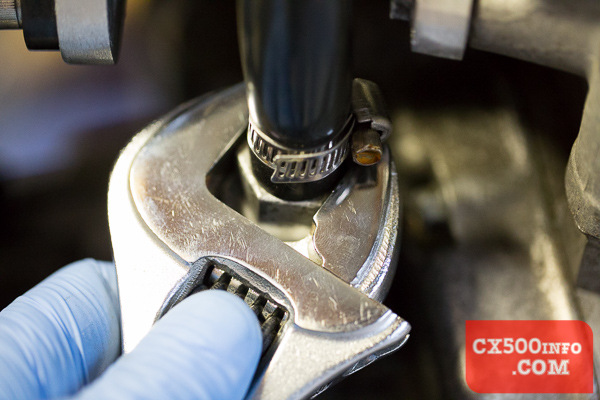
...and use an adjustable spanner to loosen the breather:
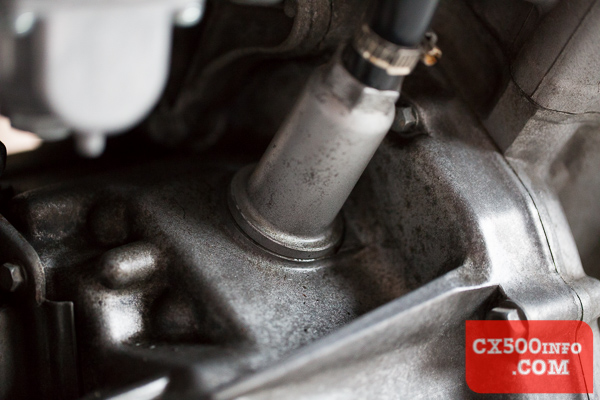
Once removed, we can see into the engine.
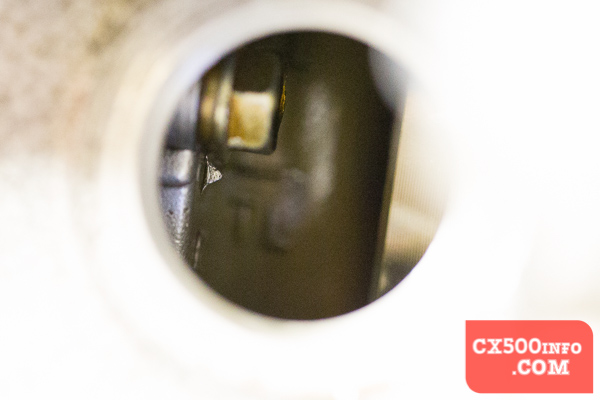
You will see a little triangular protrusion on the left-hand side:
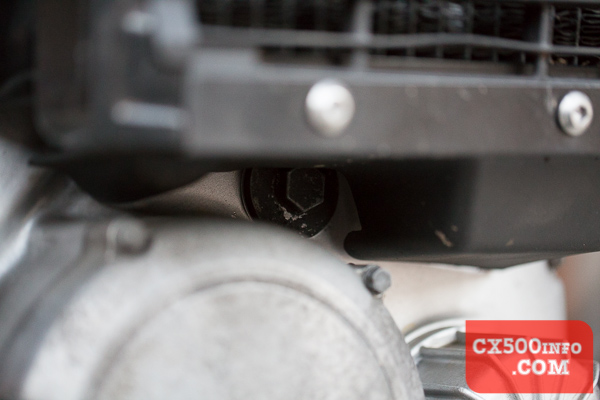
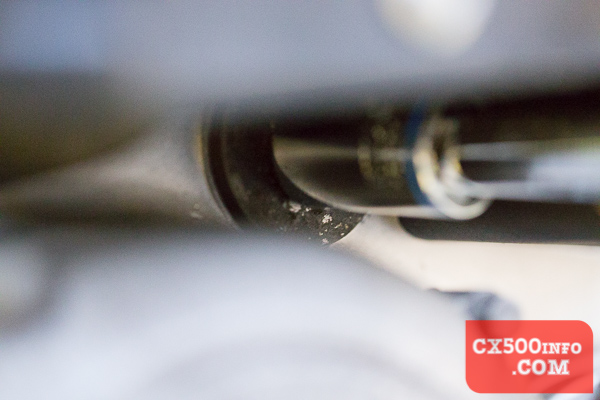
...and beneath that you will see your flywheel. At various points on the flywheel there are markings - there may or may not be any immediately visible. Now, place your cover or breather back on the hole loosely to prevent debris from falling in and locate the inspection cover on the front of your engine, in the center above the clutch cover and below the radiator.
In the above photo it's the black, crusty one. A closer view:
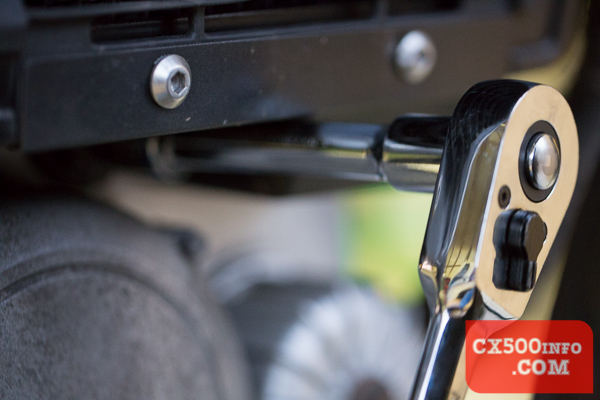
With a 17mm socket and an extension, we can reach this without having to remove the radiator or it's cover/shroud.
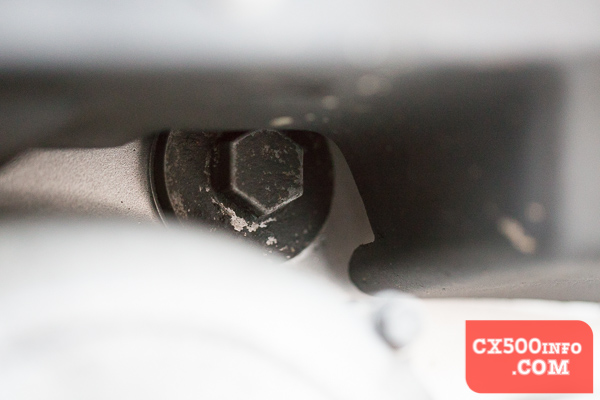
Closer:
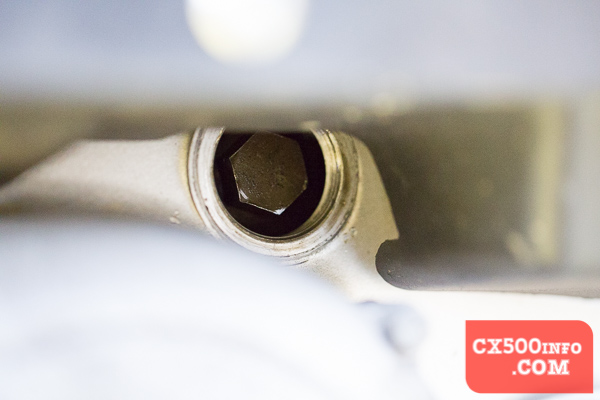
Undo this and you will see the 17mm bolt head at the end of your crankshaft. Using this, we can rotate the engine.
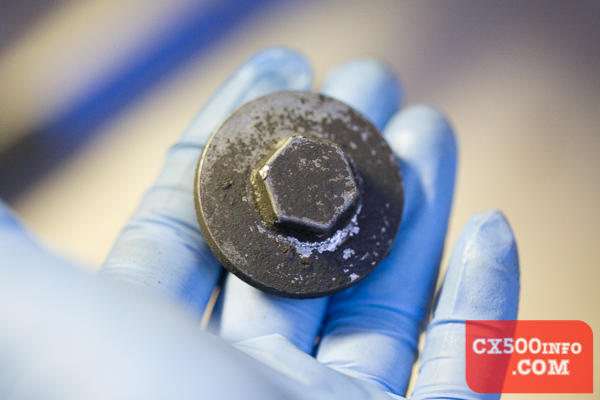
Cap removed - this one could do with a clean:
Don't put the 17mm socket/extension/wrench too far away, as we will use it to rotate the engine. At this point you can take out the spark plugs if you want it to be easier to turn the engine, as you will no longer have to overcome compression. This has the added benefit of allowing you an additional method of seeing if you are at TDC (top dead centre), as we will discuss later. It is not an essential step, however.
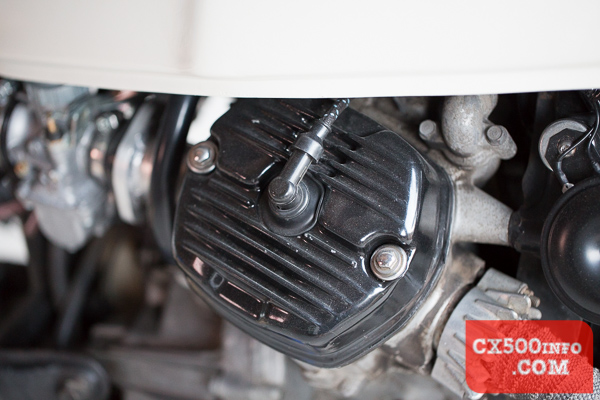
Now, locate your tappet covers:
Remove the spark plug cap, tucking it to one side out of the way:
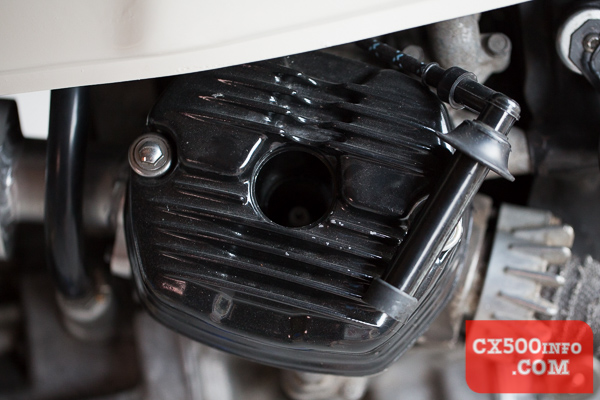
Now use a 10mm socket or wrench to undo the two bolts holding the cover on. You may have to undo the bolt at the rear of your fuel tank (hence the 12mm socket) so you can lift it slightly to give yourself more clearance to remove the covers; you shouldn't have to remove any fuel lines, though. We can now see the rocker, valve springs and adjustment screws:
*pic coming*
Now, we need to check the valve clearance with the piston at TDC (top dead center) on the compression stroke on the side that we are checking. Being a four stroke engine, the piston is at TDC twice in a cycle. Looking into the inspection cover at the flywheel, you can see TL and TR roll by as you rotate the engine using the bolt at the front; this represents TDC left and TDC right when the TR/TL mark is aligned with the little triangle on the left side. Want some photos of what the marks look like? Check them out here: LINK.
There's little point to putting a screwdriver or piece of dowel in through the spark plug hole; this won't help you discern whether it's TDC on the compression or exhaust stroke. If the valves are reasonably within spec there will be play on both sides at TDC on the compression stroke (as both intake and exhaust valves are fully shut) - here's an example of how much play you should have on a properly adjusted engine (Video appears broken, working on fixing as of Sept 2016):
If your valves have been over-tightened you might not find that they are loose at this point. The other way of determining where the piston is at in it's stroke is to watch the valves. As the piston approaches TDC on the compression stroke the intake valves (the ones facing the carburetors, or the rear of the bike) will be pressed down, then come back up; as it approaches TDC on the exhaust stroke you will see the exhaust valves being pressed down. Rotate through a few cycles to get a feel for where you're at.
Now grab your feeler gauges so you can measure the current gap. Follow the instructions above and start off on your left hand side, so find TDC On the left. Here we'll be working on a 500 engine, so we'll use 0.08mm and 0.1mm feeler gauges:
We want to be putting it into the tiny gap between the screw and the top of the valve setup:
Slide the 0.08mm feeler gauge into this gap:
You want the feeling of inserting and removing the feeler gauge to be that of sliding it into the middle of a thick phonebook; a dragging sensation, but you shouldn't have to force it in or out, but you should be able to feel it dragging. Can't get it in? Try a slimmer feeler gauge, and make sure you're on TDC compression stroke. Slides in too easily? Grab a thicker feeler gauge and keep on moving up the sizes until you find out what the current gap is. Make a note of the date/km and what the reading for the left side's inner and outer intake valves are. Then grab your 0.1mm feeler gauge and do the same for the exhaust valves:
It's a good idea to note what each valve's clearance is set to before you begin changing them; it can be useful to note this so you know how far you have changed it, and the next time you do this you will have an idea of how much it has shifted.
If your readings are 0.08mm on the intake side and 0.1mm on the exhaust side, perfect! If you need to adjust your cam chain tension, do that now or simply rotate the engine to TDC on the right side and start measuring gaps again. Assuming that you're out, however, you can change the gap quite easily by loosening the 10mm nut and turning the adjustment screw.
We have seen two types of adjustment screw so far; one is square (500s), and one has a slot for a screwdriver (650s). They should turn easily so you can just use a small shifting spanner or similar to turn the square ones; there is a Honda tool for this that turns up from time to time but it's not strictly necessary. Here's an example of the slotted screw:
...and one of the square adjuster screw:
Use a 10mm wrench to loosen the nut around the screw:
...and then turn the adjustment screw until you feel a moderate amount of drag on the feeler gauge:
Then, holding the screw in place, tighten the nut to 11-13ft/lb. Re-check the clearance after tightening the nut.
Once both sides are set to the proper gap, you're done! Re-attach the covers, making sure that the two rubber gaskets are correctly located; one around the spark plug hole:
...and one around the outside:
There are channels in the covers which mate with the rubber gaskets:
Also make sure that you tighten the tappet cover bolts down gently until they bottom out - don't go overboard trying to torque these down as you'll just break them. Forgetting to tighten these - or forgetting one altogether - results in an oily mess not far down the road. Just ask me how I know...
And with that, you're set to take it for a test ride. If it was noisy before from loose clearances it should be quieter - if it has suddenly become a lot noisier in the top end, though, there's a very good chance that you adjusted them on the exhaust stroke - go back and double check that you were doing it on the compression stroke.
MotoFaction is a free resource, but the server isn't free. If a writeup here saved you time or money, please consider supporting the site: