Assessing the oil pump tolerances - Honda CX650 and GL650
Before using this site please read the site disclaimer. Also please note that any links provided may be part of an affiliate programme (viz. eBay, Amazon) which helps support the site as I will earn a commission when visitors make a qualifying purchase.
If you have had some metal particles in your crankcase (e.g. cam chain ate some of the crank plate/bolt etc.) it can be a good idea to check your oil pump; it's in line before the oil filter, and while the mesh screen will hold the bigger particles it's not fine enough to stop some particles which are bigger than the internal pump tolerances.
We will do a separate article on removing the oil pump.
We will do a separate article on disassembling the oil pump.
Difficulty Rating
Oil pump tolerance check requirements:
| Tool |
Size |
Notes |
| Feeler gauges |
Must read below 0.1mm |
Measuring tolerances |
| Straight edge |
|
Measuring tolerances |
| Oil pump removed from engine |
|
|
| Oil pump disassembled |
|
|
What could go wrong:
| Incorrect reassembly |
Pump failure, bearings starved of oil, catastrophic engine damage |
| Incorrect measurements |
Re-use of pump that is beyond spec, poor oil pump performance |
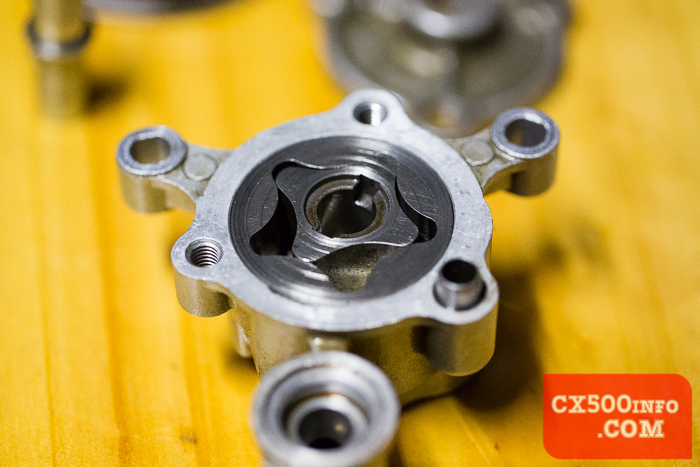
This should be a fairly quick process. With the top cover removed, you should see the inner and outer rotors, with the pump shaft/pin/washer fitting into the inner rotor:
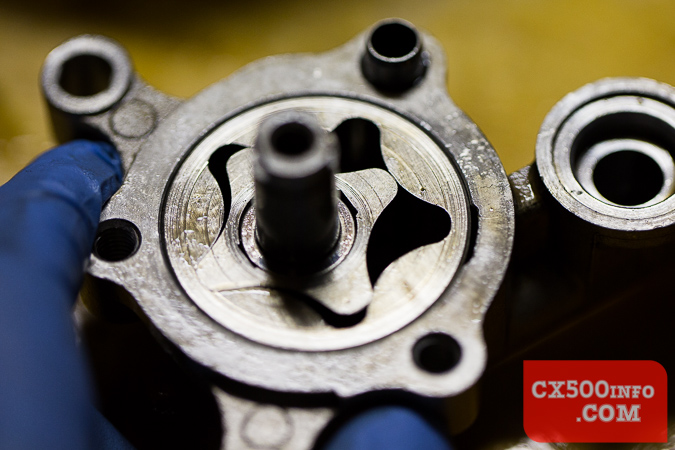
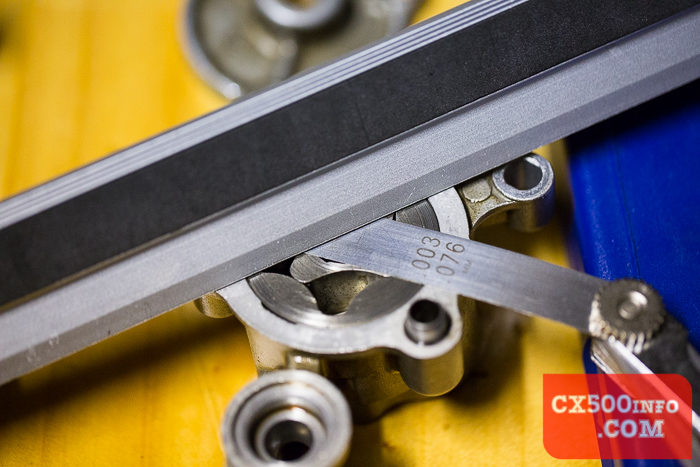
Using a feeler gauge, measure the distance between the tip of the inner rotor and the outside rotor at their closest point:
What you're looking for here is a gap of
0.1mm, or 0.004". A larger gap than that indicates that the rotor(s) need to be replaced. The example pump had done ~90,000km and had a gap smaller than 0.07mm, so well within spec.
Now take out the pump shaft, pin and thrust washer.:
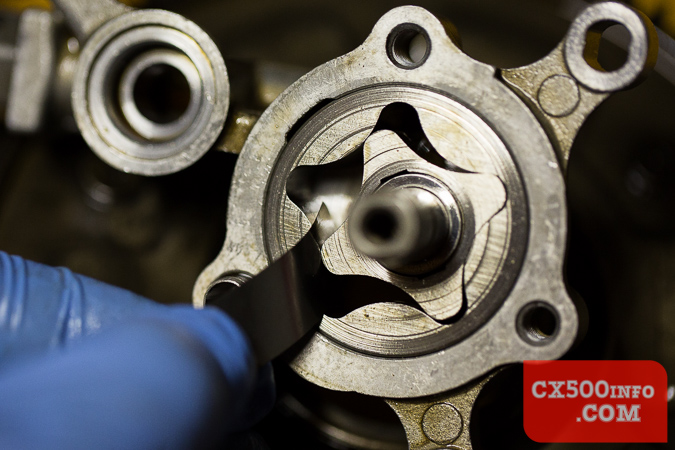
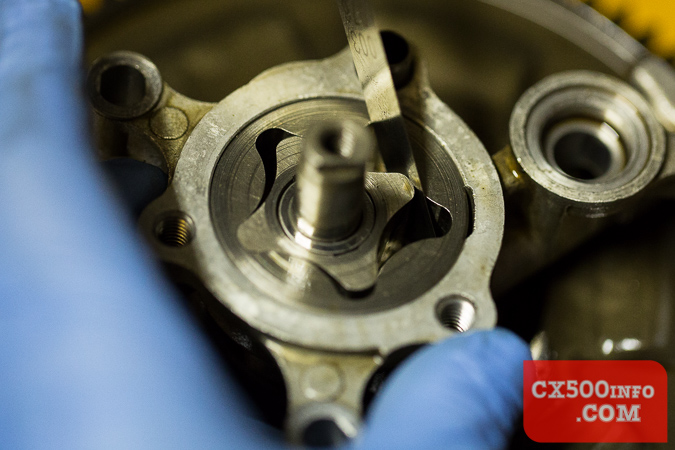
Grab your straight edge and place it across the top:
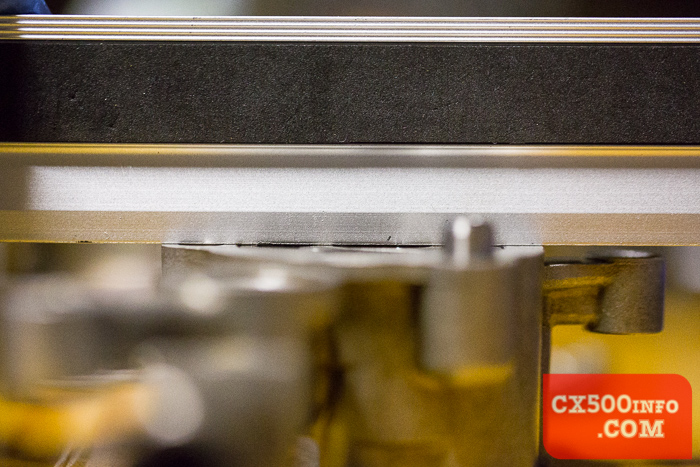
Now, take your feeler gauge and try to slide it between your straight edge and the top of the pump impellers:
The maximum allowed tolerance here is
0.1mm or 0.004". On our example pump there wasn't even 0.03mm of clearance (larger feeler gauge used for photo to demonstrate location of measurement).
Now, the base of the pickup with the screen pulls right out of the pipe - though it may be hard if the O-ring is old and stuck.
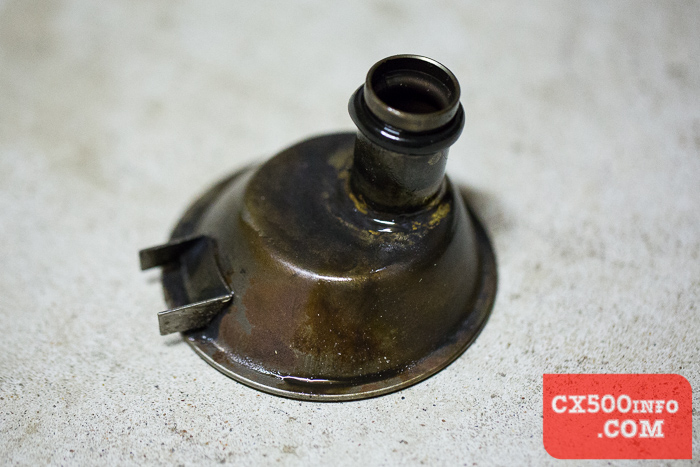
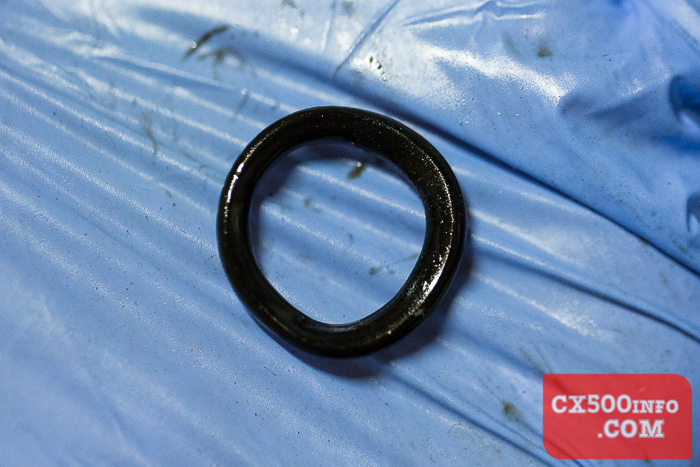
Assess the O-ring to make sure it's in good condition. We'll leave a note here as to what size it is later. This one was definitely no longer round and had seen better days:
Assess the pickup screen for damage, and clean it of any debris stuck in it:
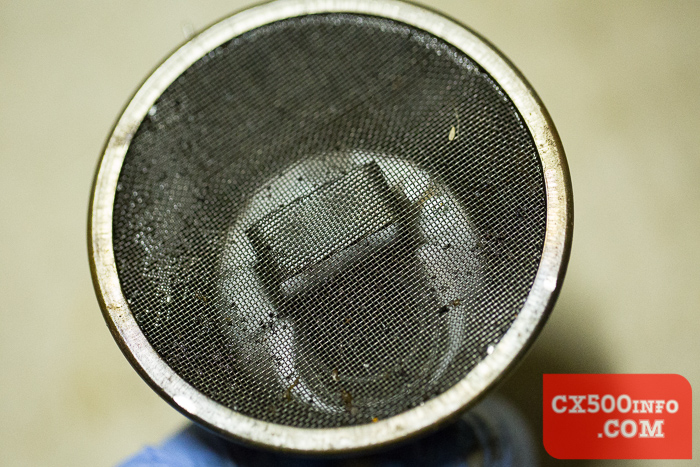
As you can see, this one just had some fine particles stuck in the screen - nothing major.
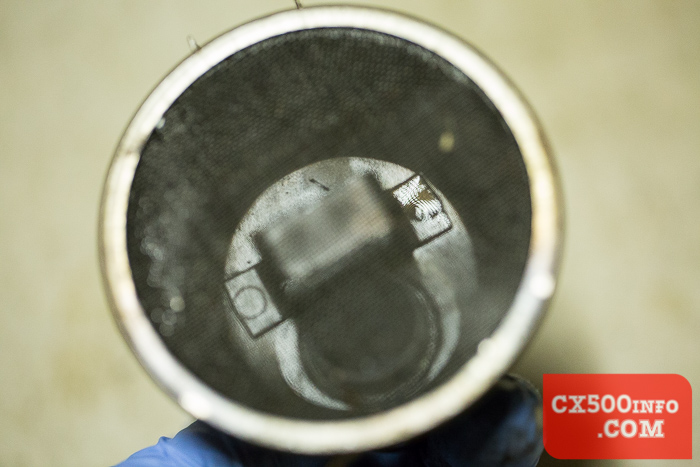
There shouldn't be anything stuck to the inside of that area, either:
Finally, we can assess the pressure relief valve. Writeup on that to come.