Here’s how to change the rear brake pads on a Triumph Daytona 675 motorcycle. The bike used as an example is the 2009-2012 model. The brake pads on this one were worn down enough that they had chewed up the brake rotor, but it functions well enough as an example! Brake pads can be found on eBay US, eBay AU, eBay UK and Amazon.
Required equipment:
- 12mm socket or wrench
- 14mm socket or wrench
- Flathead screwdriver
- 5mm allen key or socket
- Slide pin grease (eBay AU, eBay US, eBay UK)
- Torque wrench
- New brake pads (eBay US, eBay AU, eBay UK, and Amazon)
- 8mm wrench or flare wrench
- Brake fluid draining equipment
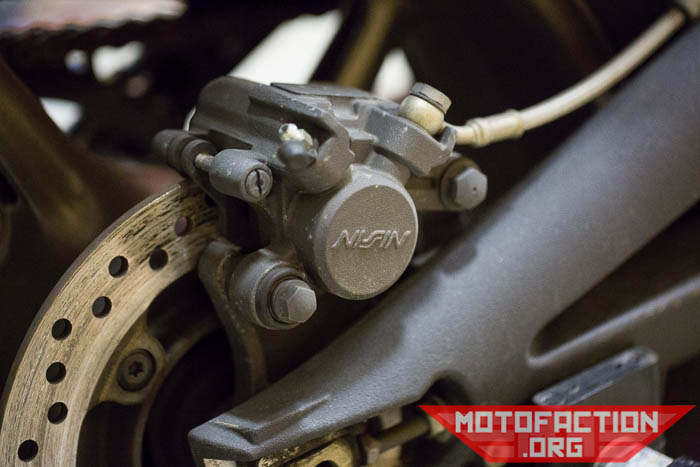
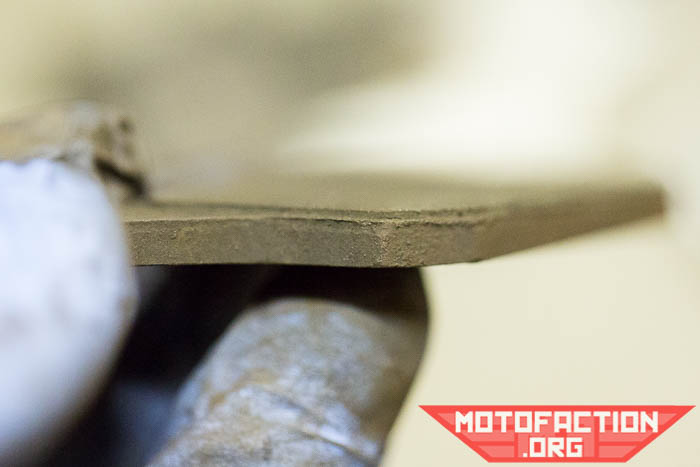
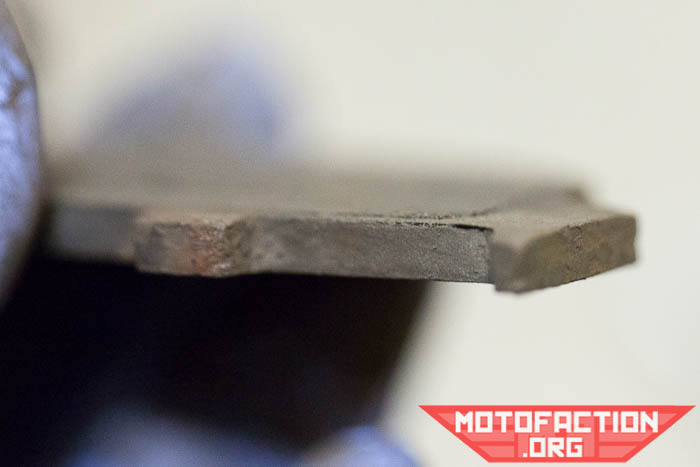
As you can see, the brake pads are rather close to the disc… too close:
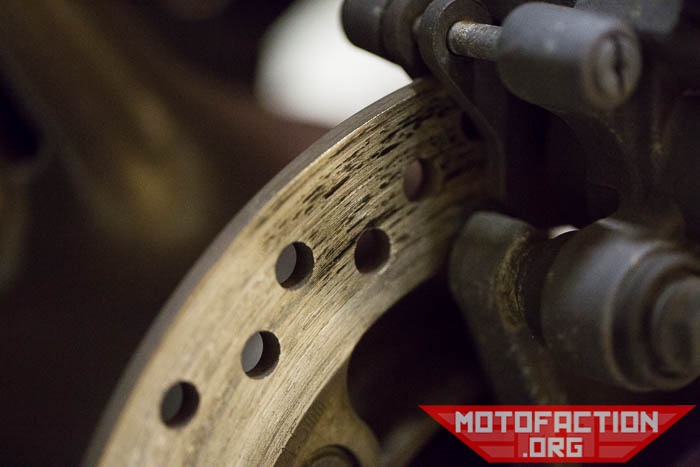
Looks like the right side has been eating the rotor:
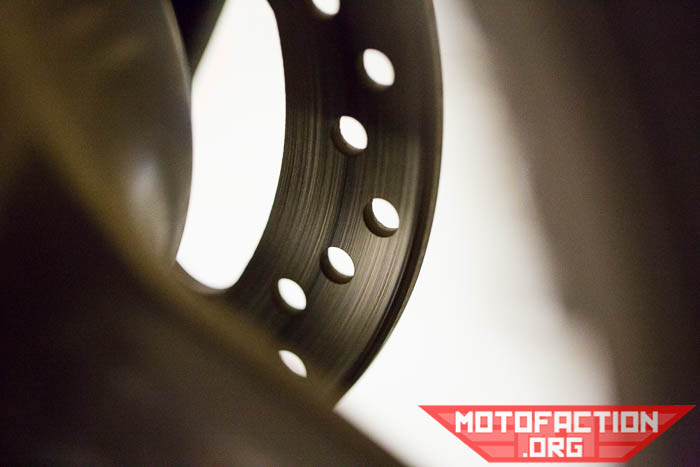
Left side looks like it hasn’t made it quite that far yet, not that that helps a lot:
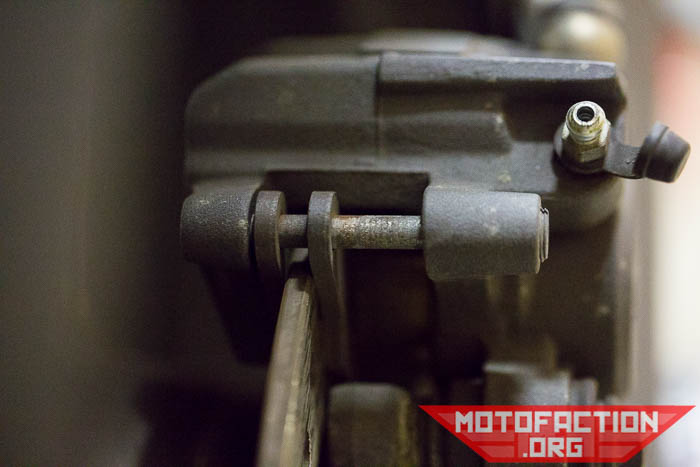
It’s probably easier if you undo the brake pad retaining bolt while the caliper is still attached to the bike. You’ll need a little flathead screwdriver to undo this:
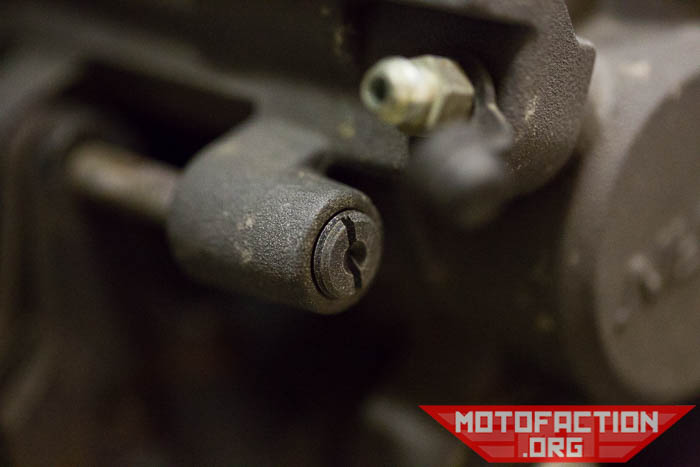
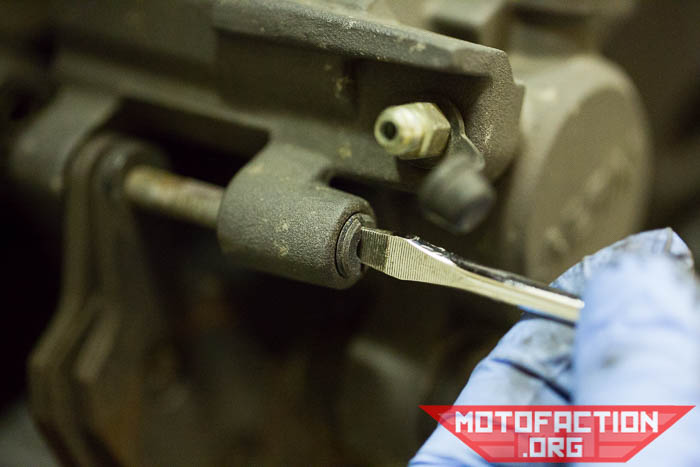
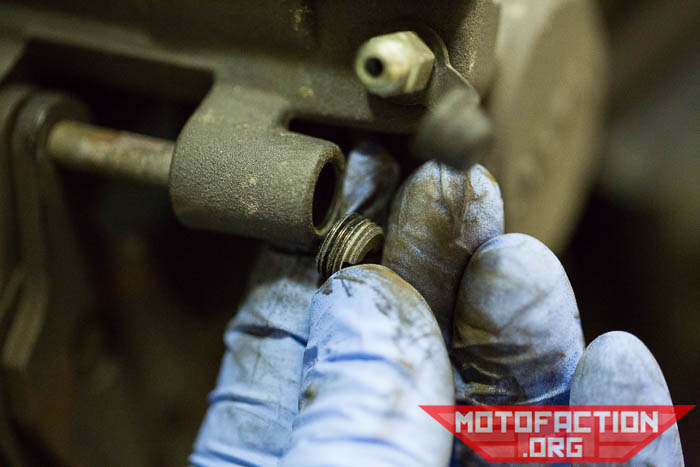
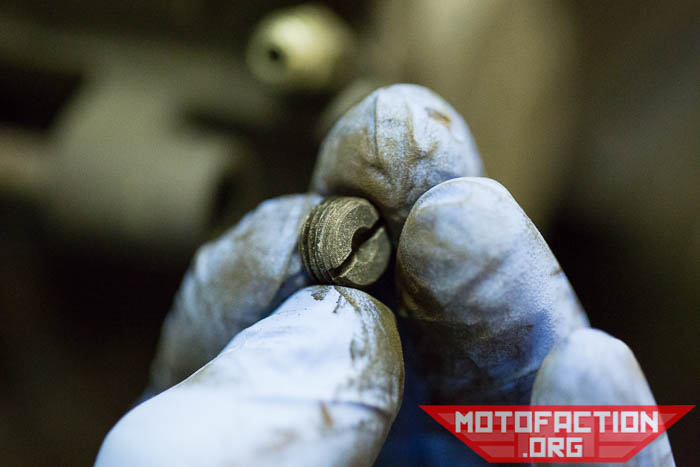
Beneath that little fastener is a hex socketed bolt. Loosen it now and remove it fully once the caliper is off the rotor:
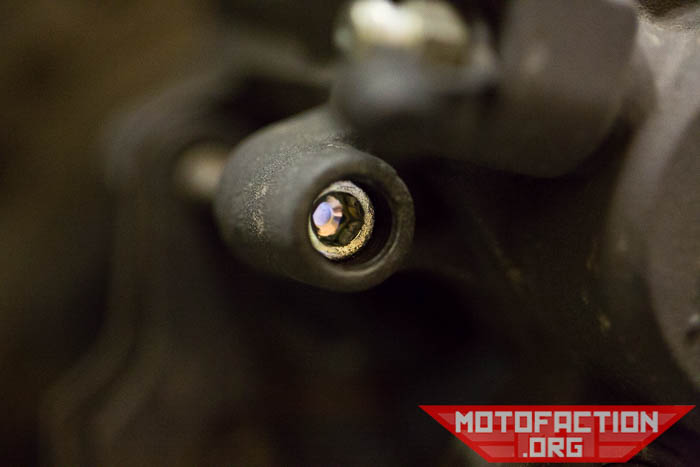
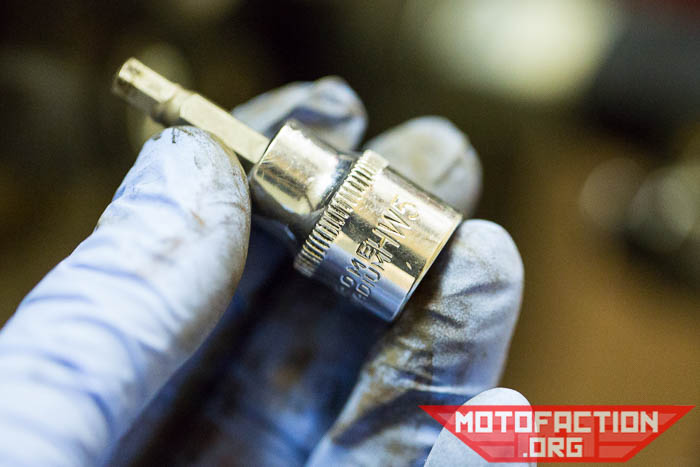
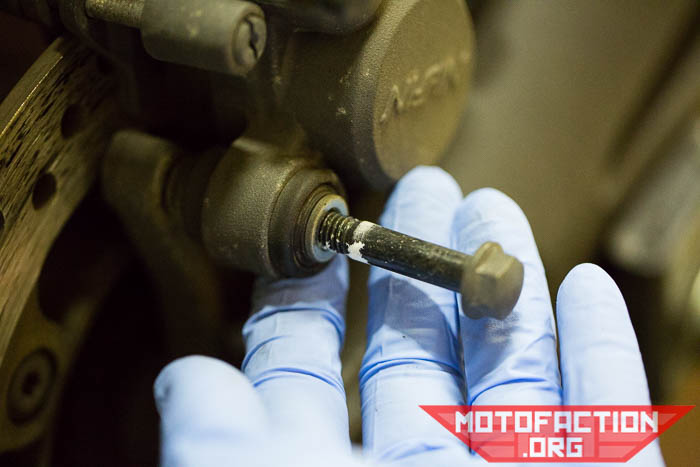
Use a 12mm socket to remove the bolt at the rear:
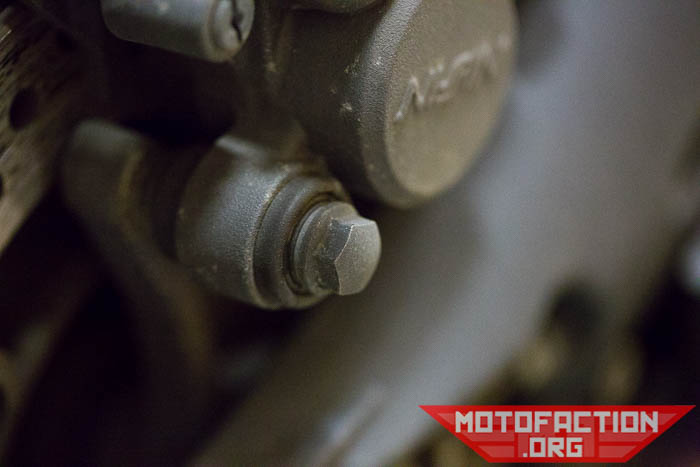
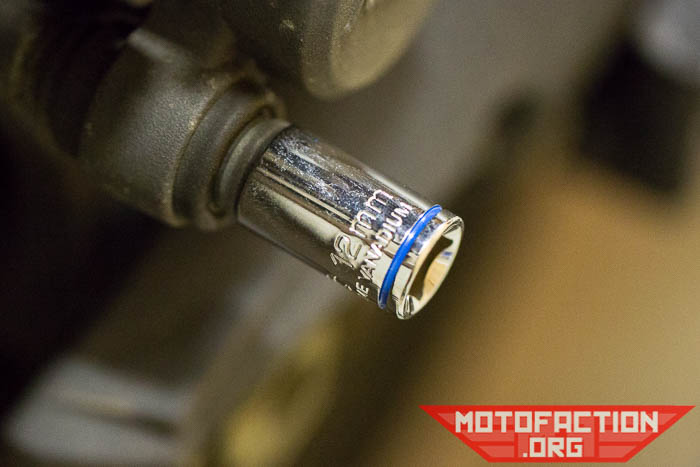
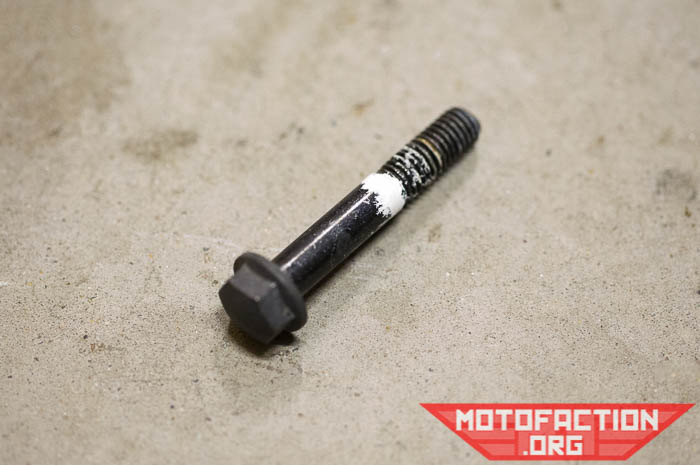
Bolt removed:
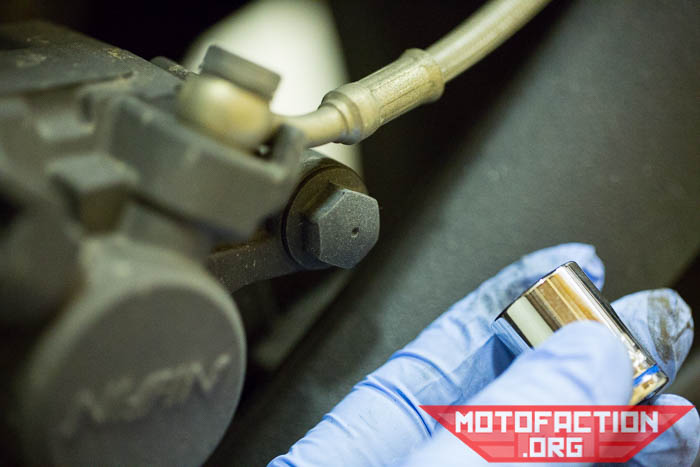
The front bolt takes a 14mm socket:
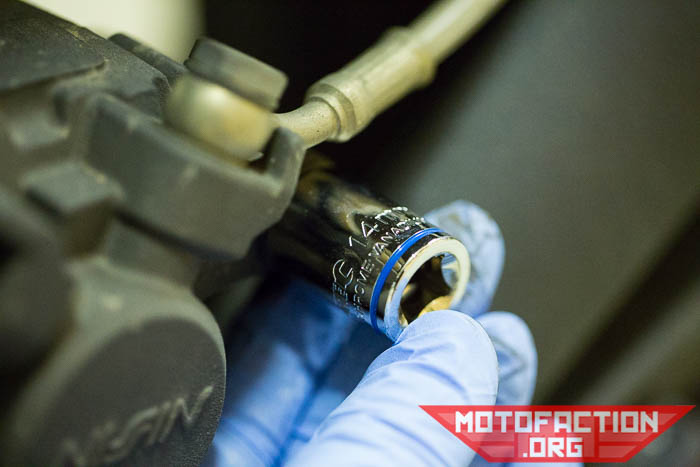
Slide pin removed:
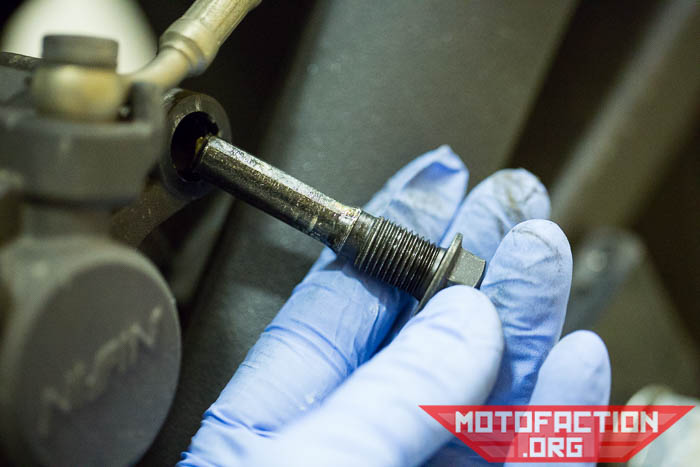
The caliper should lift free from the rotor easily now:
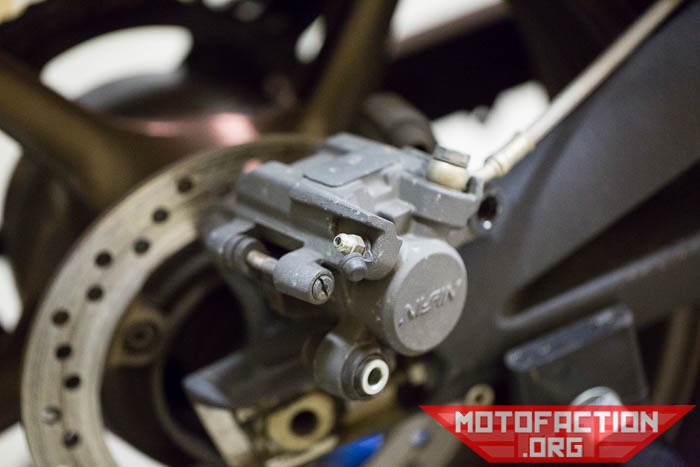
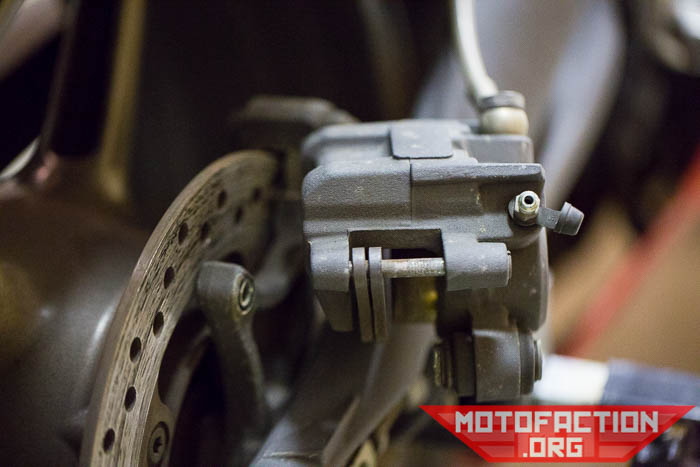
The brake pads should now be hanging from the rear pin:
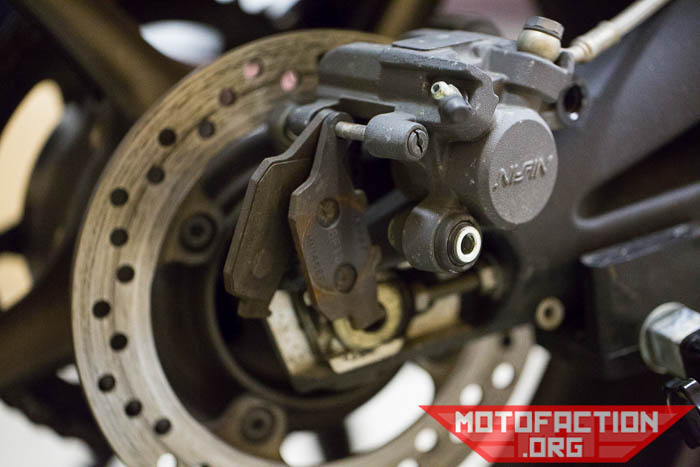
Fully remove the bolt they hang from as discussed above:
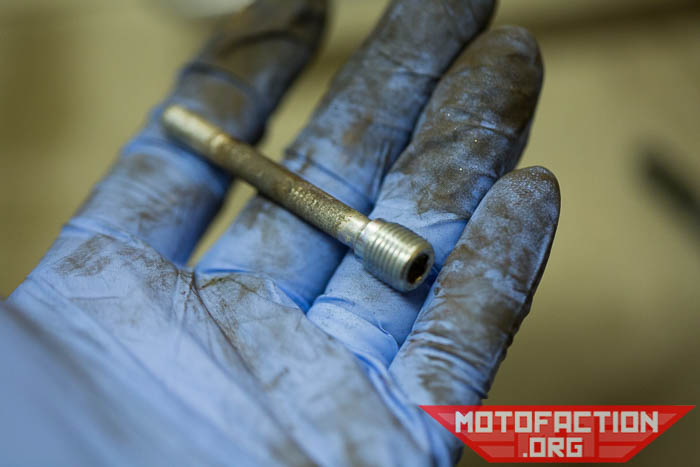
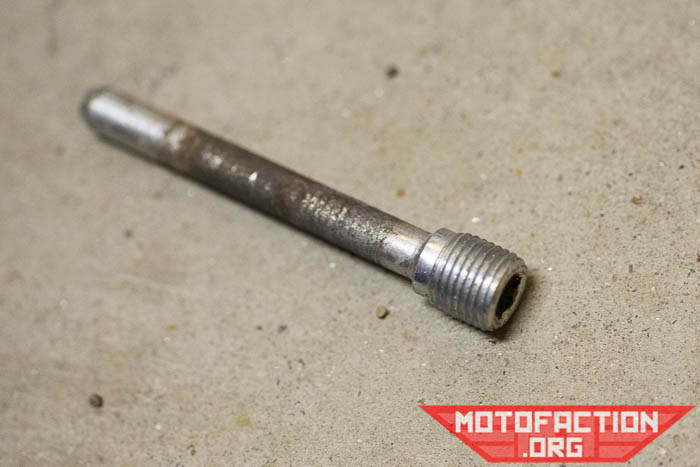
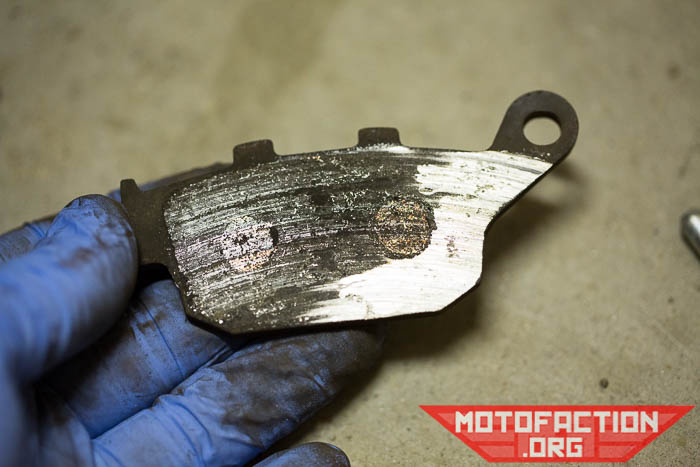
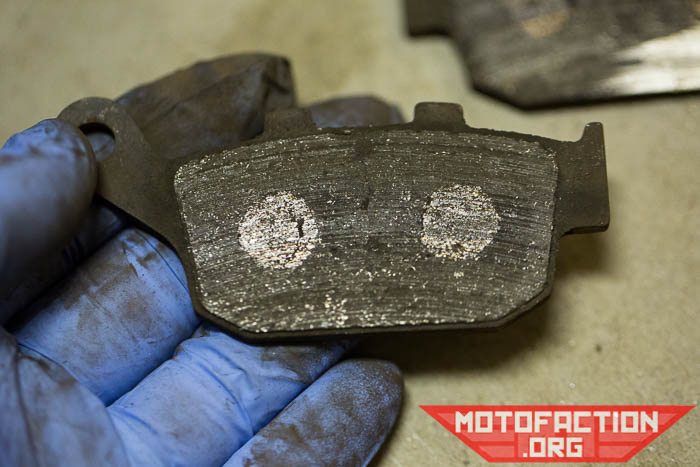
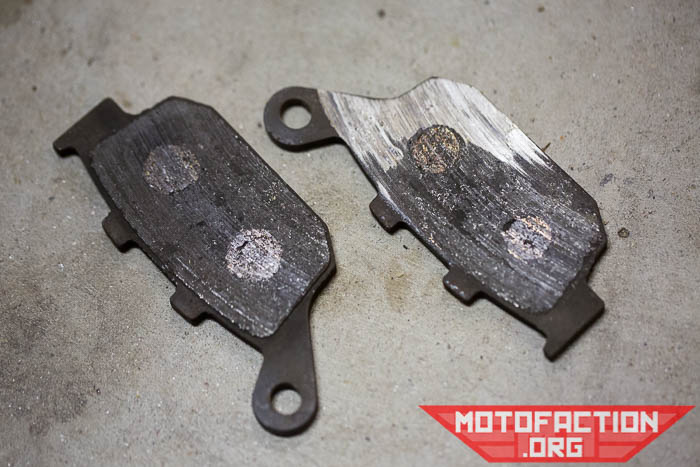
Well, these were overdue:
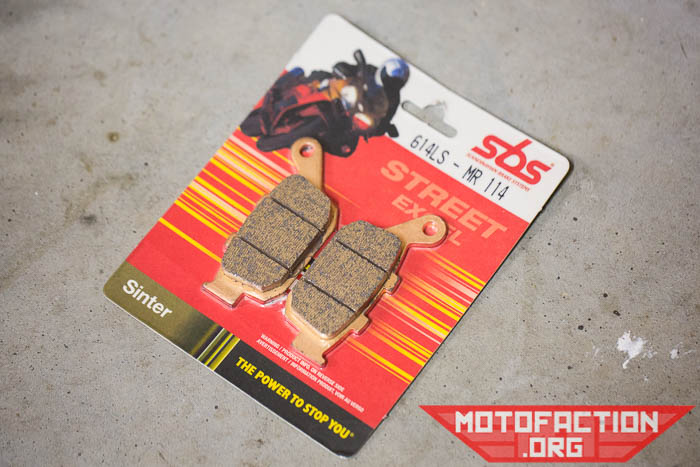
Fresh sintered pads – 614LS MR 114 SBS pads.
One last shot of the trashed pads before they’re binned:
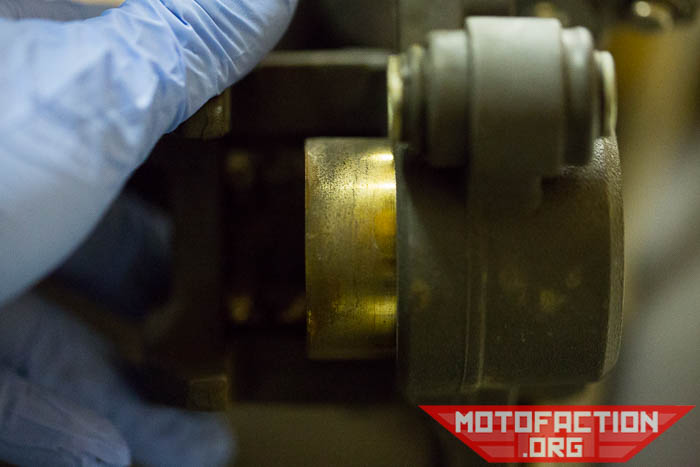
Now, as brake pads wear the piston moves further and further out of the caliper body; to compensate, fresh brake fluid should flow down into the system from the master cylinder reservoir. When you go to put fresh brake pads back in, though, you will find that the piston is much too extended to fit them and you cannot easily push it back in:
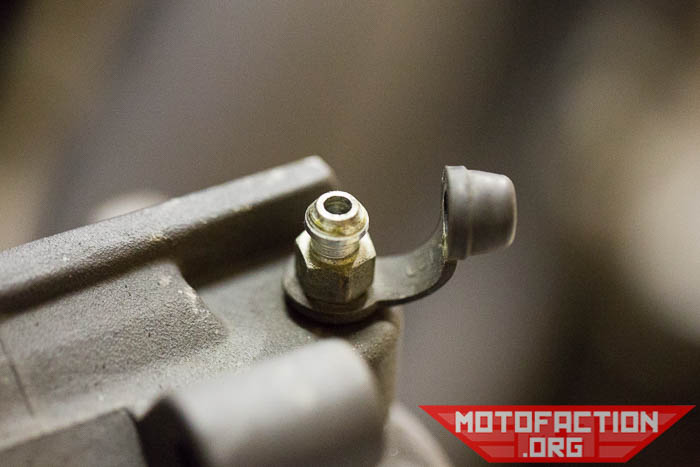
You can bleed some of the excess fluid out of the bleed screw:
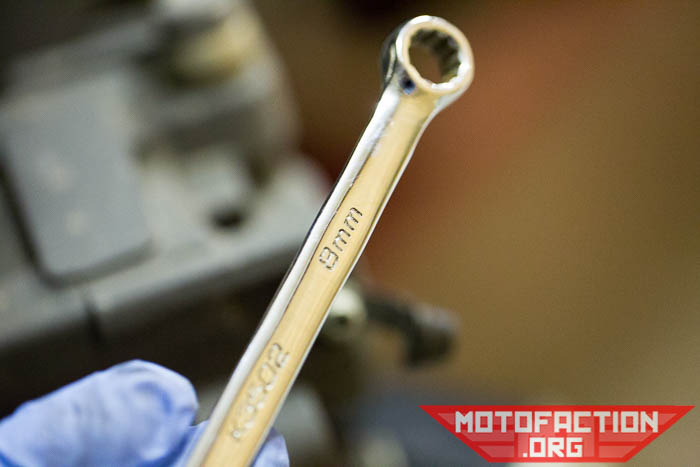
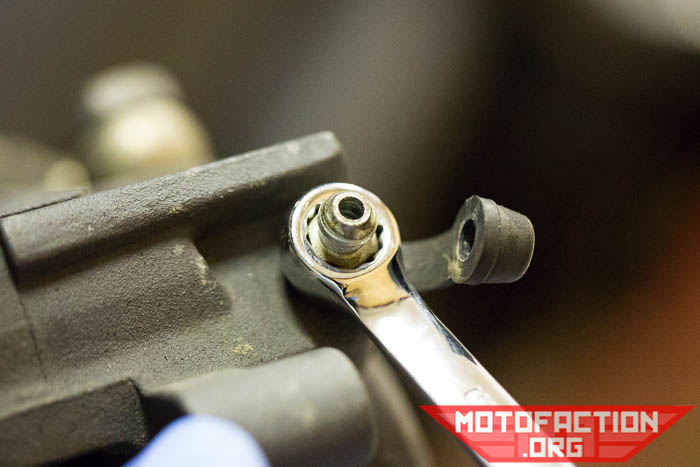
An 8mm wrench should loosen/tighten it as required:
We use a sealed plastic container with fresh brake fluid in the bottom, and a clear vinyl tube running up through a hole in the lid. The bottom end of the vinyl tube should be in the brake fluid, and the hole for it should be an interference fit so that it seals. Hook the top end of the line to the bleed screw:
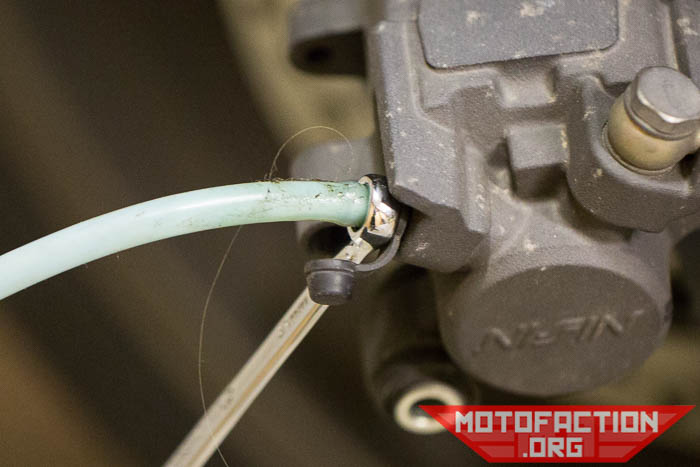
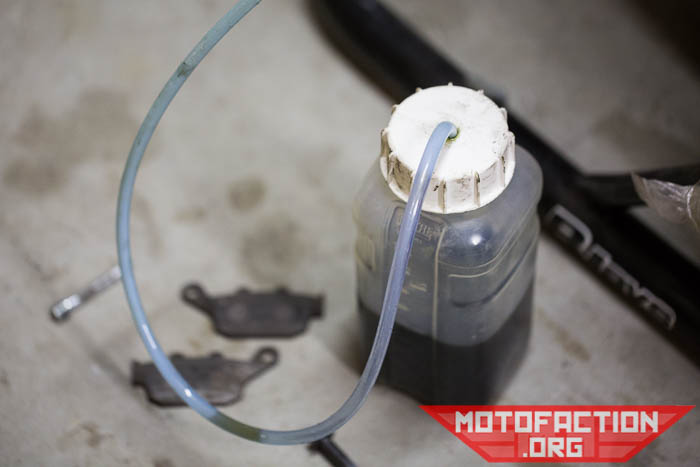
Now, making sure that the tubing is firmly attached, push on the brake piston and crack open the bleed screw – likely 1/2 a turn or more until fluid starts flowing – the piston should move back into the caliper bore, displacing fluid into the line. Close the bleed screw before you stop pushing on the piston to make sure that air doesn’t get into the caliper.
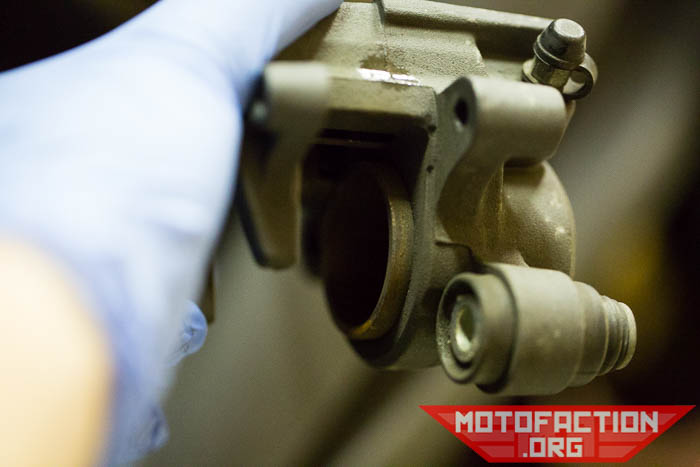
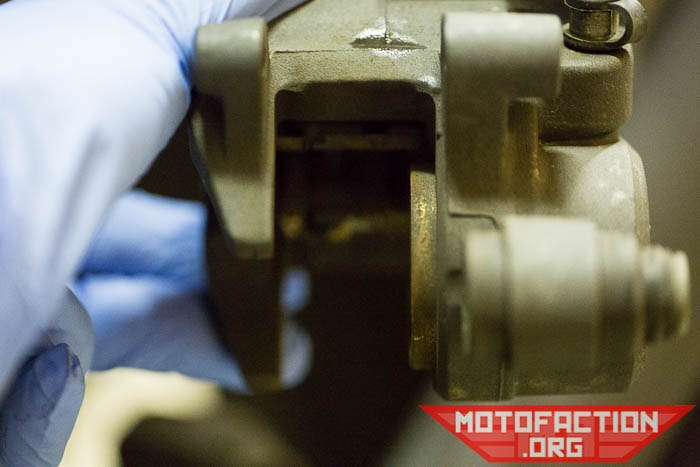
Install the brake pads on the retaining pin and lightly screw it in. Re-seat the caliper on the rotor:
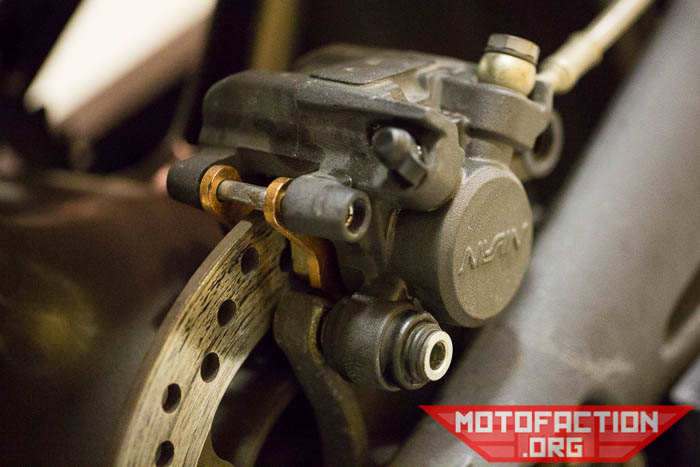
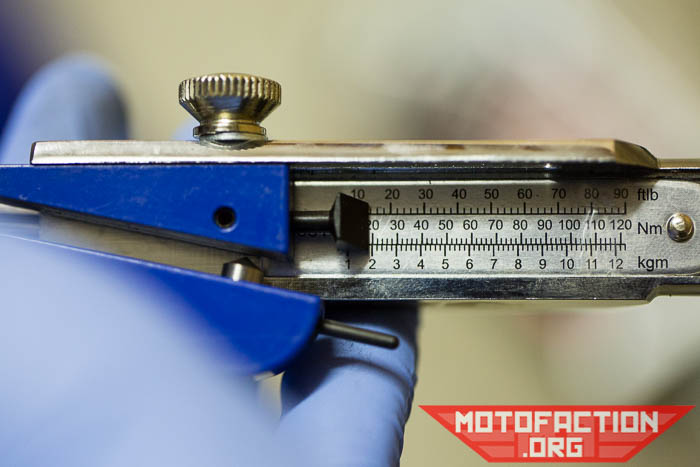
Grab your torque wrench, and tighten the brake pad retaining bolt to 19 N·m:
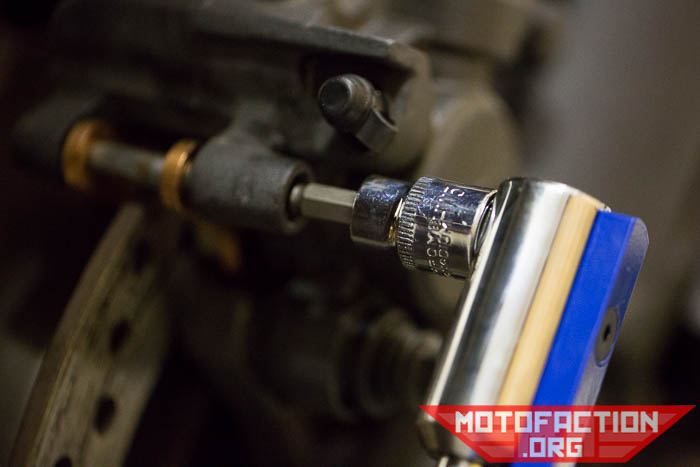
Don’t forget the little fastener which sits over it:

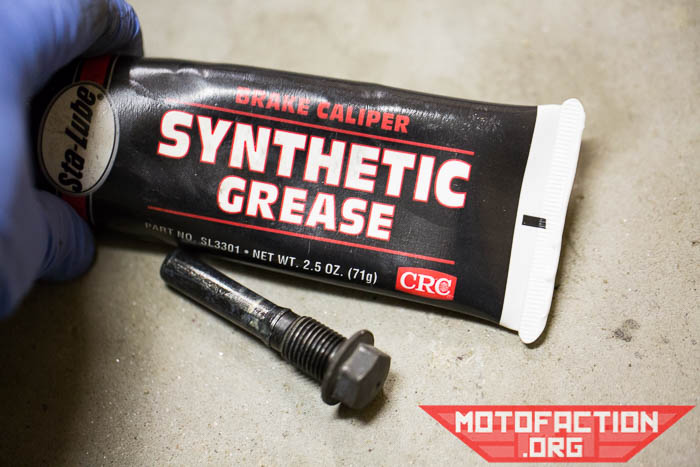
Grab some slide pin grease and apply it to the shaft of the slide pin:
Reseat the slide pin with 14mm head, torque to 29 N·m:

Reseat the rear bolt with the 12mm head, torque to 25 N·m:

…and you’re done. Make sure you test the system carefully – there’s the risk of air entering the braking system when you bled the fluid, and also the chance that something has been reinstalled incorrectly so make sure everything is working OK.