Before using this site please read the site disclaimer. Also please note that any links provided may be part of an affiliate programme (viz. eBay, Amazon) which helps support the site as I will earn a commission when visitors make a qualifying purchase.
Replacing the crumbly old CDI box on your Honda? Here's a quick set of instructions regarding how to wire up an Ignitech DC-CDI-P2 on a Honda CX500 with a stock standard stator (G47). It should be quick and painless.
Not got your Ignitech yet? They can be ordered from the manufacturer or purchased on eBay (eBay US, eBay AU, eBay UK, eBay DE, eBay CA)
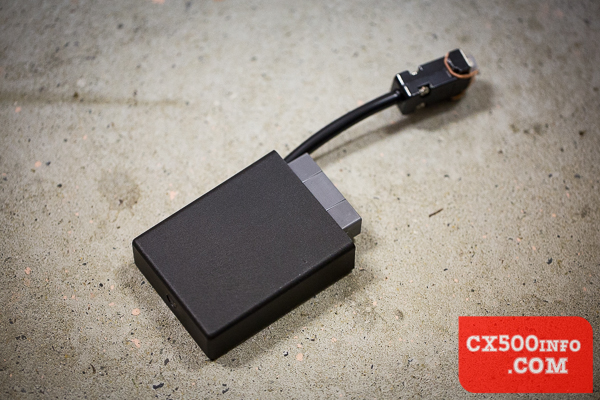
First, a word of caution - if you wire this up wrong you might damage it or your bike, and the Ignitech modules have been known to change over time so if you aren't confident or have a different unit please double check everything or get a professional to do it. We aren't responsible for blown up units! </disclaimer> If you are interested in reading up more on the Ignitech, the manufacturer's page is here. As said above, this is an install on a standard stator (G47), not the charge-only stator (G8) - the main difference there is that the CDI/G47 stator has a blue/white wire that connects to two blue wires from the Ignitech, and the charge only/G8 stator lacks these - so the Ignitech connector goes unused. Now, on to business - the Ignitech package should have the box itself:
There are two connectors; a serial port and the everything-else port. Serial:
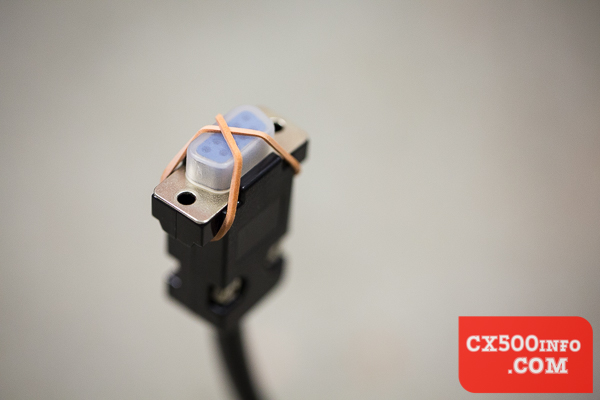
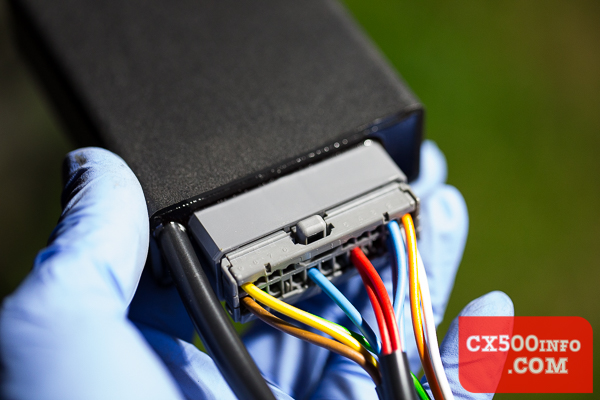
If you don't ever hook this box up to a computer to change the programming, you'll probably never use this. Look after it anyhow just in case. The other grey connector:
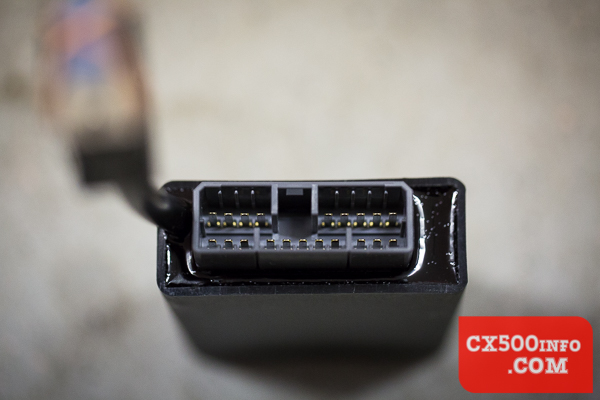
Everything else plugs into the other side of this connector. The cables:
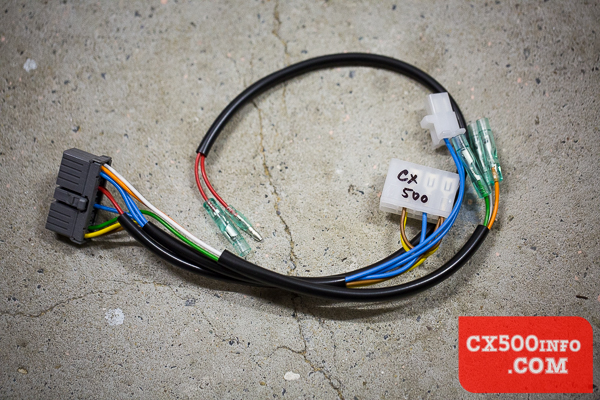
You get a spare set of cables, spade pins and a connector in case you change your stator connection or stator down the track:
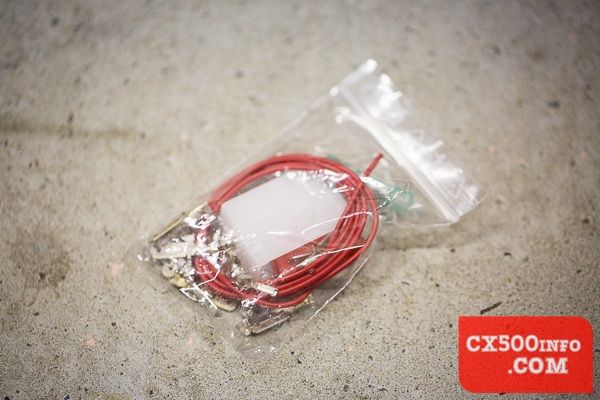
There's also a software CD and you should get some instructions too. Now, whenever we do any large amount of plugging/unplugging of electrical items we like to disconnect the battery just in case:

Next, locate your CDI - on our project bike it's underneath this cable jumble under the seat:
Cables moved out of the way:
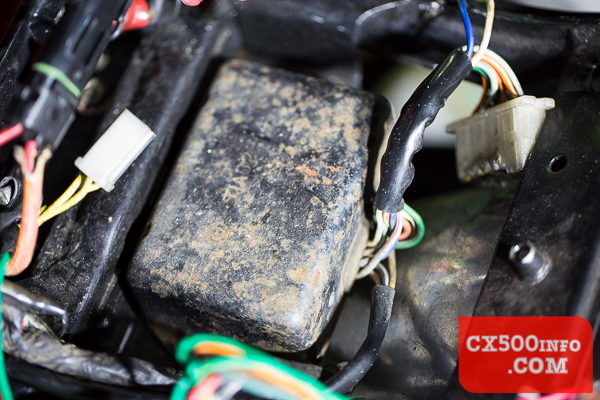
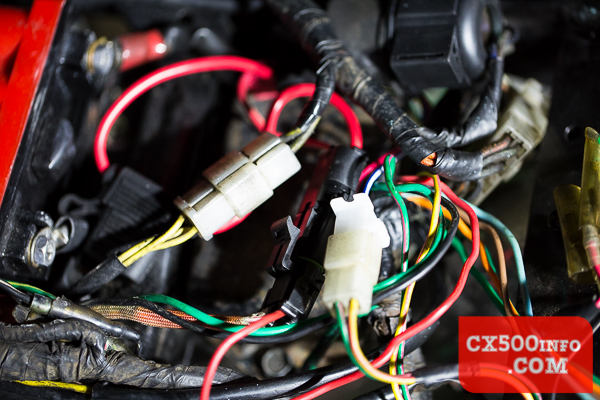
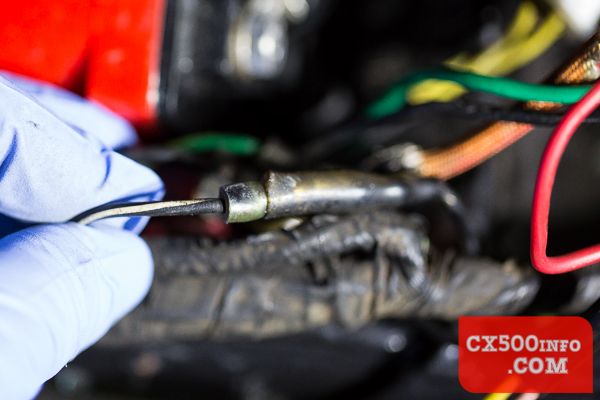
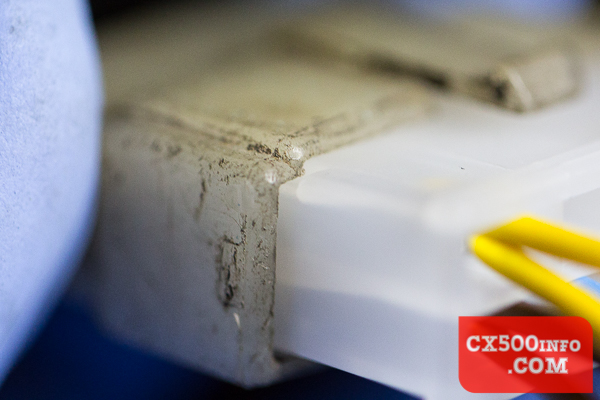
That looks healthy, doesn't it? If you are having trouble finding yours, trace the wires from the rear top part of the engine until you reach this connector:

The other end of this connector hooks up to your CDI box. Disconnect the two plastic connectors going into the CDI and find the yellow and pink cables going to the ignition coils;
Check that pink goes to pink and that yellow goes to yellow - if the colours don't match but the bike runs it's possible that someone has swapped the side that the coils are on, which is fine as far as the bike running goes but it means you'll have to swap which colour you connect the Ignitech to (yellow instead of pink and vice-versa). If pink and yellow are connected to the same colour, happy days and move on! It helps if you take photos as you go so you have a record of what was plugged into what. Locate the black-with-white-stripe wire coming from the ignition switch:
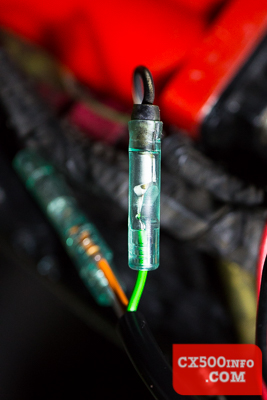
...and locate the black cable (switched power, e.g. only provides power when the ignition is ON) leading to the rear brake switch:
For that one it can be easier to trace backwards from the rear brake light switch if you're having trouble. Plug in the grey Ignitech connector:
Now, disconnect the largest plug coming from the CDI, and plug in the matching Ignitech connector:
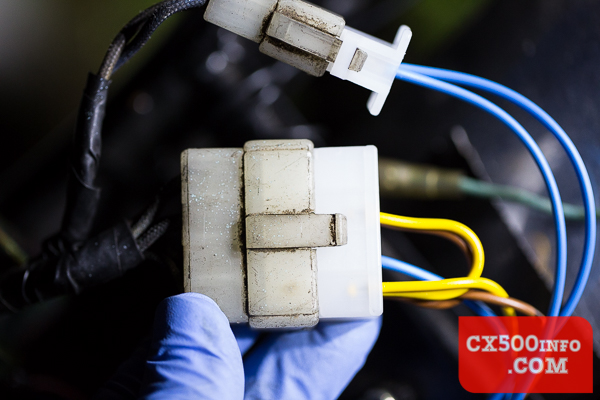
It's keyed so it will only go in one way:
Now unplug the 2-pin connector with blue and white cables coming from the stator, leading into the CDI. This is the high voltage CDI feed, and is not necessary for the Ignitech to operate. The latter point is important, as if you change to a G8 stator down the track this connector won't be present. You may also have to supply an additional ground if you use the G8 stator - the charge-only stator doesn't supply a ground connection to pin 5 as the G47 stator does, so you will have to either re-ground the connection from pin 5 (such as on the stator body as the G47 has) or create an additional ground connection for the Ignitech.
That aside, find the Ignitech connector with the two blue cables (older Ignitech models apparently lack this connector), and connect it to the end coming from the stator:
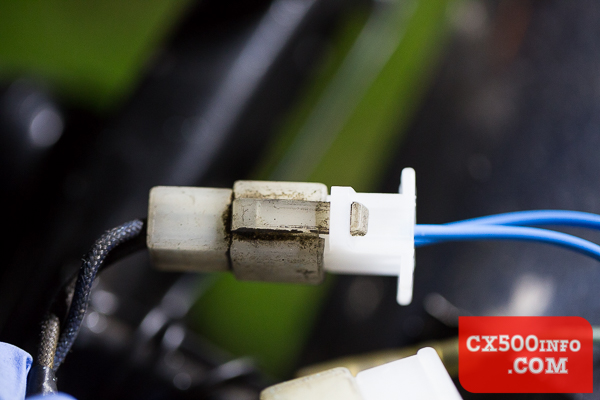
With the white/blue wires unconnected the underlying stator windings can burn out in some cases, so it seems that the blue wires are intended to place a load on them to prevent this. The windings burning out doesn't affect the Ignitech, but will prevent you from returning to a CDI down the track. Note that the "white" cable on the left is dirty and grey here, which could cause some confusion. 30 years of grime makes it hard to stay white! Now, attach the orange Ignitech cable to the pink cable leading to the right ignition coil.
Ignitech white goes to the yellow cable going to the left ignition coil - the bottom wires in this photo:

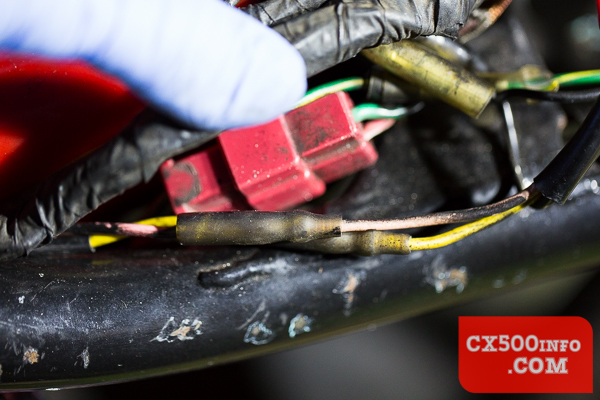
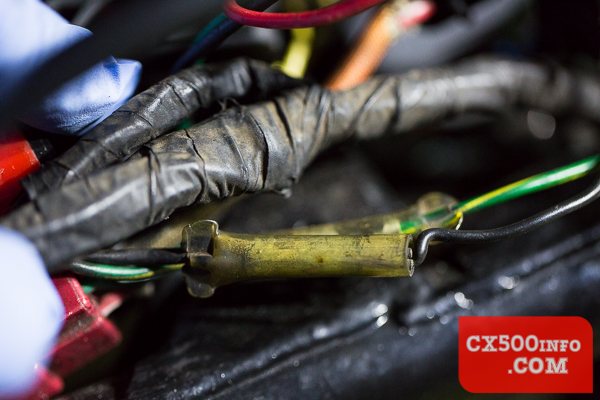
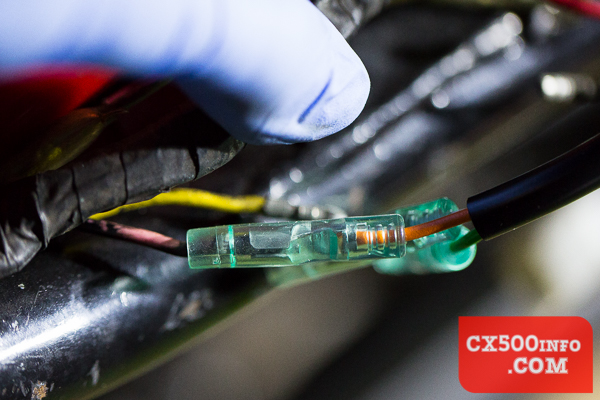
Now hook up the Ignitech green cable to the black-cable-with-white-stripe going to the ignition:
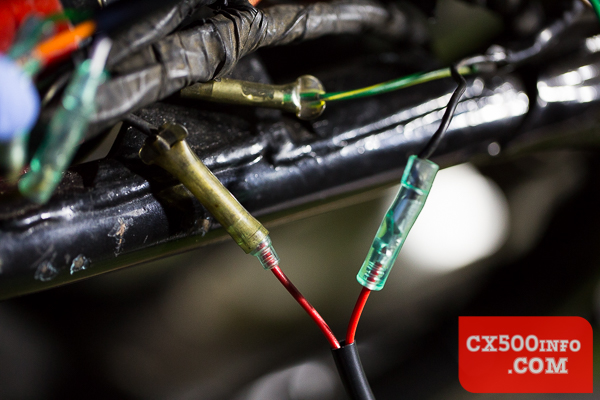
Now locate that connector in the switched power cable going to the rear brake switch (solid black wire) that we found earlier, separate it and plug each of the two separate ends into the red cables on the Ignitech unit:
Fasten the Ignitech unit securely - here we have test fitted it with some cable ties:

Safely cover the serial port with some electrical tape (well, gaffer used here temporarily):
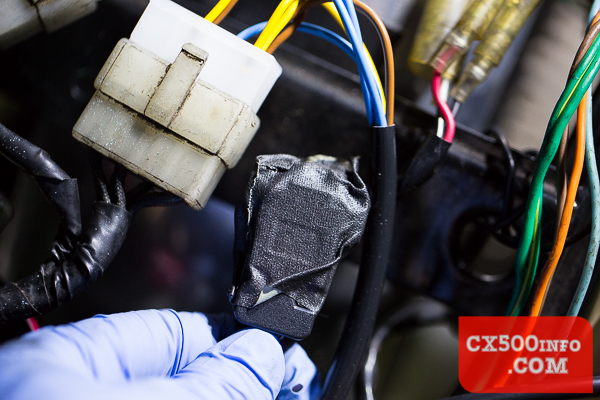
You don't want to find yourself needing the serial port down the track only to find it corroded/full of grime... Now check and double check all of the connections before reconnecting the battery and starting the bike again. That's should be all there is to it!
MotoFaction is a free resource, but the server isn't free. If a writeup here saved you time or money, please consider supporting the site:
You can also support us via Patreon.