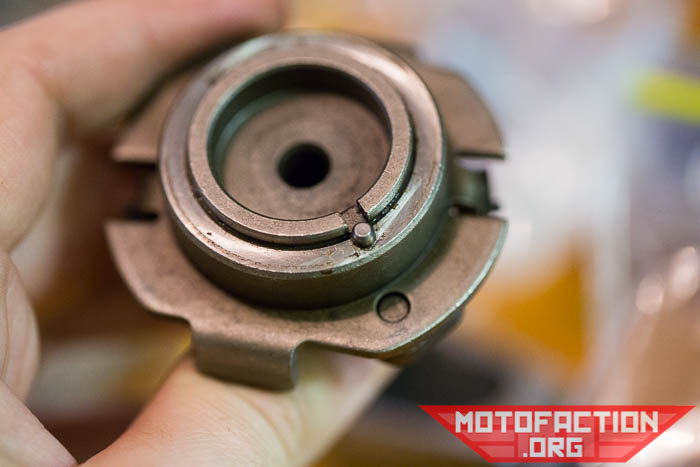
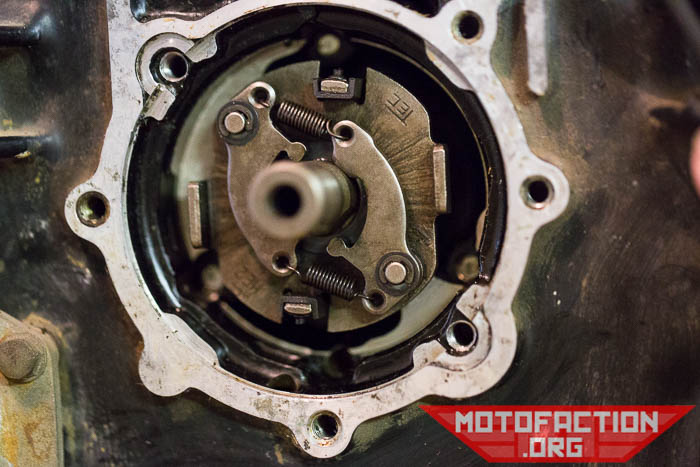
Here is the procedure for checking your ignition timing on your TI-equipped CX500, GL500, CX650, GL650, GL700, CX400 or GL400. On these bikes you will need to check your timing when you reassemble the motor after a triple or quadruple bypass, as you need to disassemble the timing setup to get the rear engine cover off. Let’s look at putting it back together. First off we have the spark advancer (part number 30220-ME2-000 for the 650s):
Normally it has this attached to the rear of it, but in this case it came out when the timing setup was being removed. If yours is still together there’s no need to separate it unless the timing is out, which we’ll look at below:
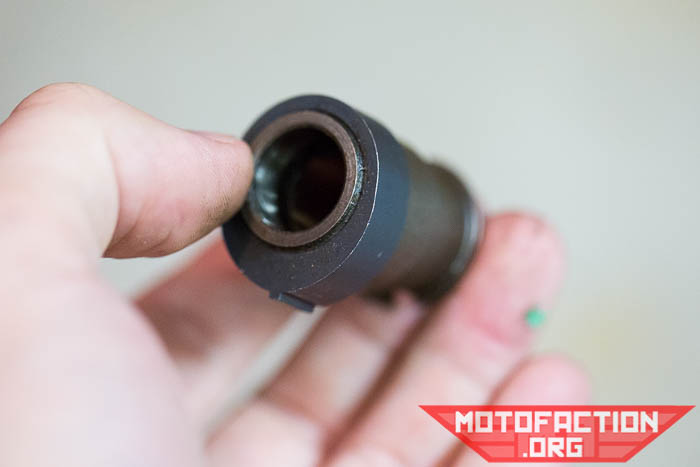
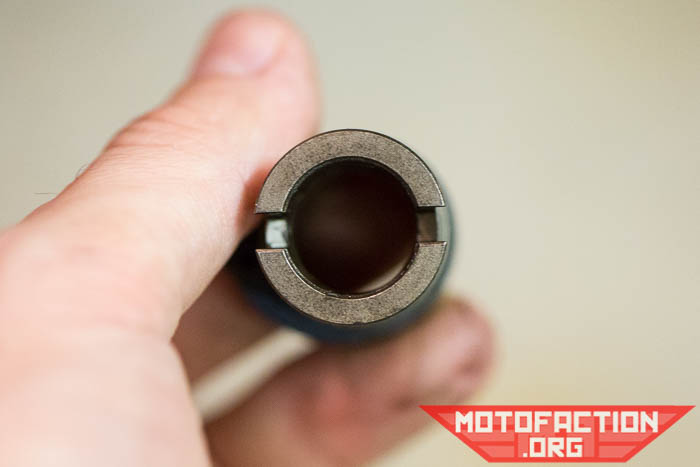
On the rear side there’s a locating pin:
Looking in through the pulser cover hole in the rear cover we can see a pair of cut-outs in the flywheel. The locating pin matches the small cut-out, not the large one.
Putting them together:
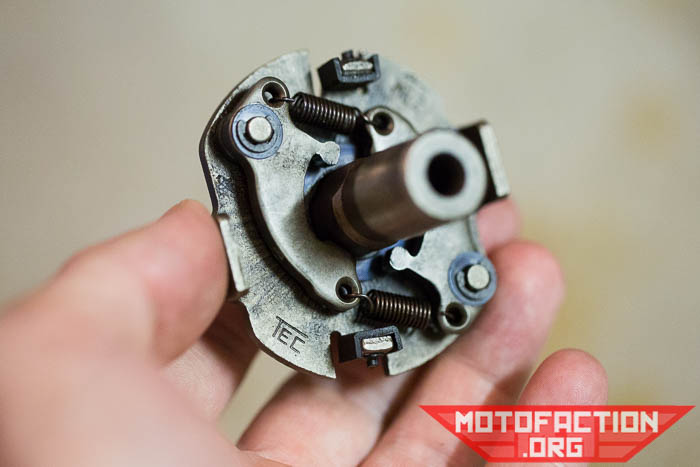
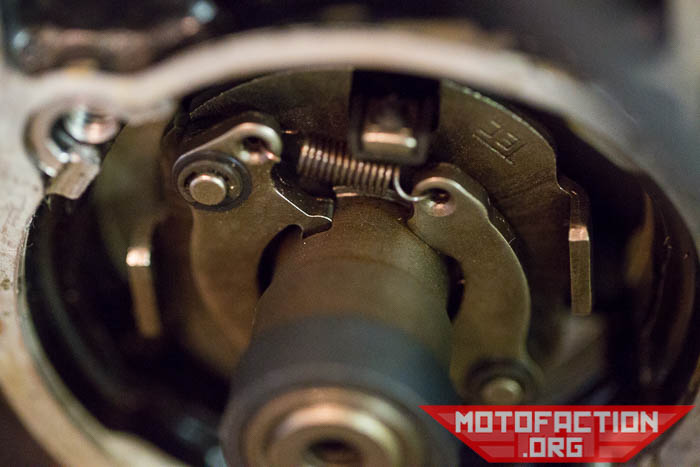
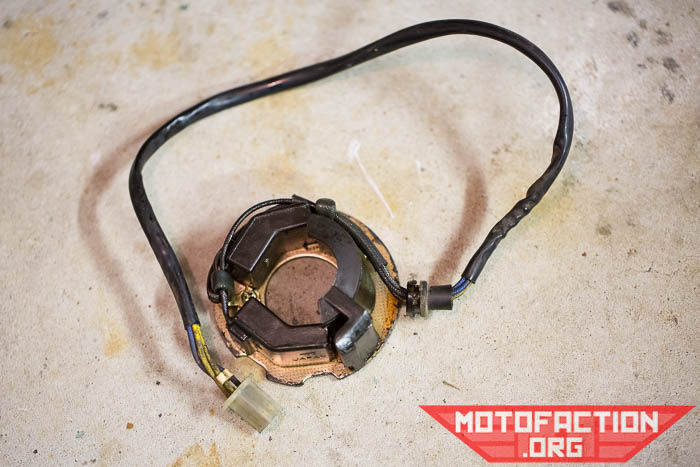
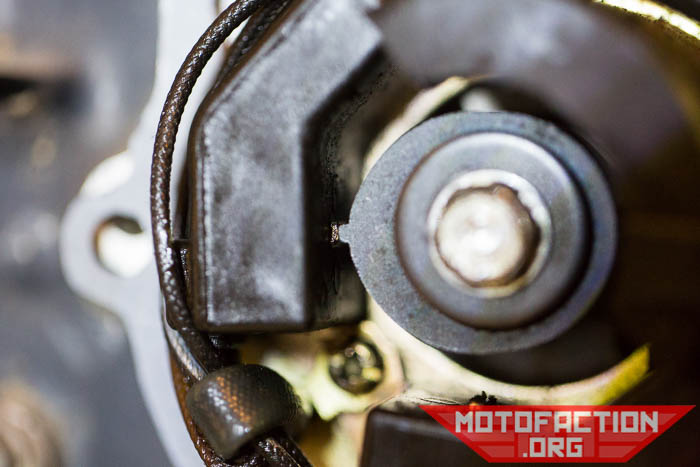
So if the little rotor at the back has come out:
…you’ll notice on the back it has two locating cutouts:
…which match neatly with the little tangs on the spring-loaded bits:
It sits on the end like so:

Note that the rotor can be put on one of two ways 180 degrees apart. Pick one and you’ll find out whether you got it right once we check the timing. 50:50 chance! If you never separated yours when removing it there’s no reason to change the orientation at this point. Now add the washer (90417-115-000) and bolt (95700-0606000 or 95701-0606000, 6x60mm) – use blue Loctite on the bolt – grab a 10mm socket:
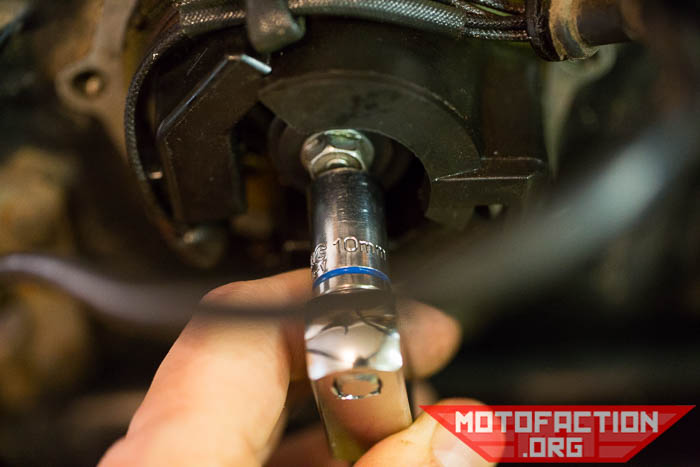
…and torque to 10Nm:
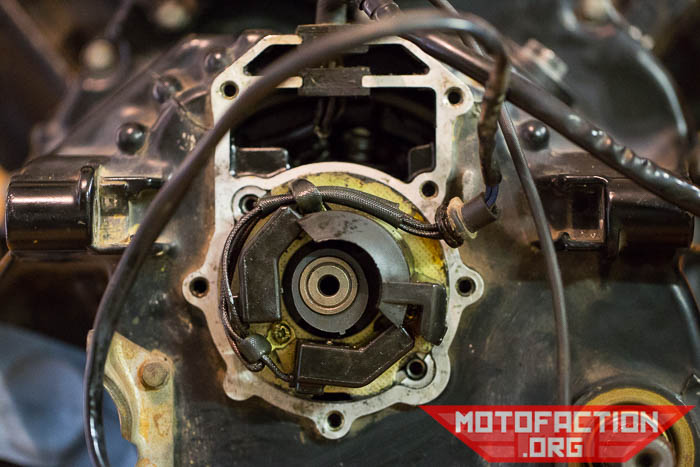
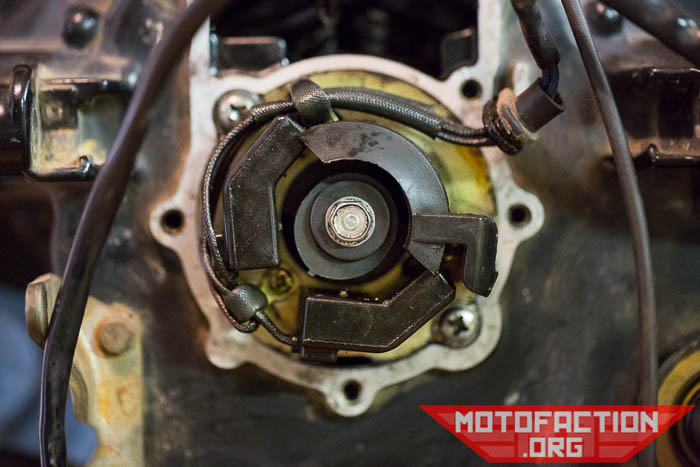
The pulse generator is next, part number 30300-MA1-154 for 500s and 30300-MG0-000 for 650s:
Place it over the rotor, aligning it with the scribe mark if you made one on disassembly:
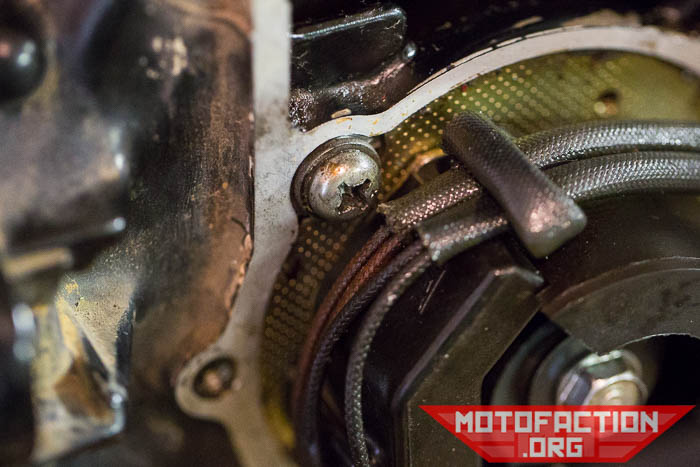
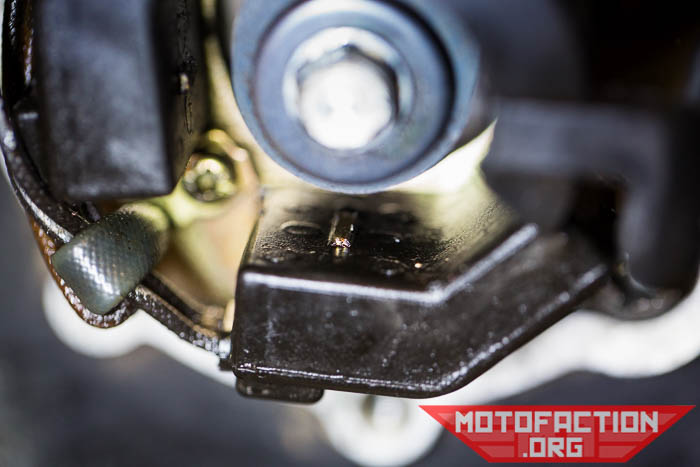
Put the two screws in, though don’t tighten them:
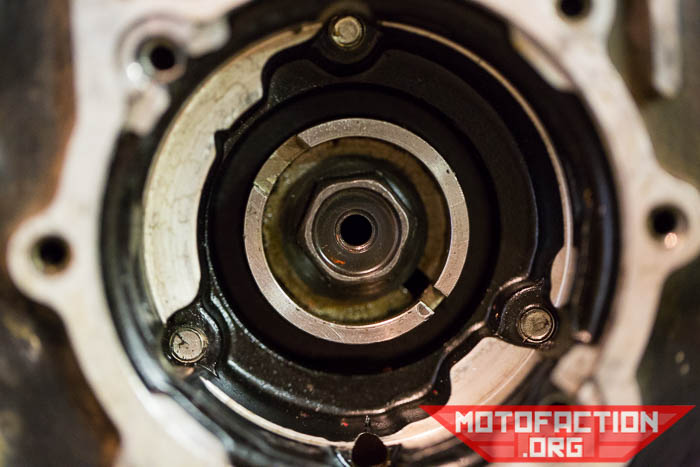
Now grab a 17mm socket and remove the inspection cover on the right hand side of the rear cover:
Look inside and you’ll get a view of the outside of the flywheel. Rotate the motor clockwise (very unlikely you’ll loosen the bolt at the end of the crank at the amount of force required to simply turn the motor, but a good habit to be in) using a 17mm socket on the front of the crankshaft and you’ll see some marks pass:
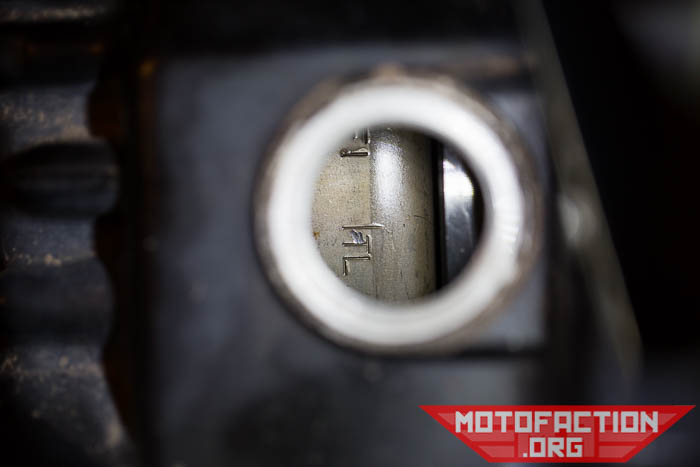
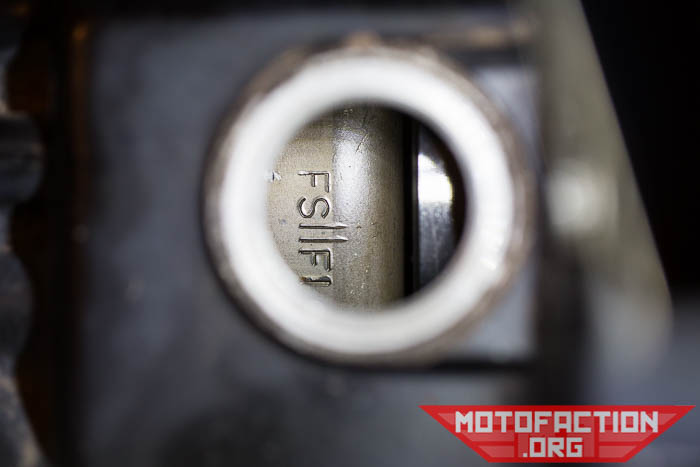
On the rear side of the inspection port there’s a little triangle, which is the index mark:
The lines you’re looking for are FS, and you want to align the FS line with the index mark. There are two FS marks – one for the left and one for the right cylinder. Make sure you’re viewing the inspection port from directly above, and not at an angle.
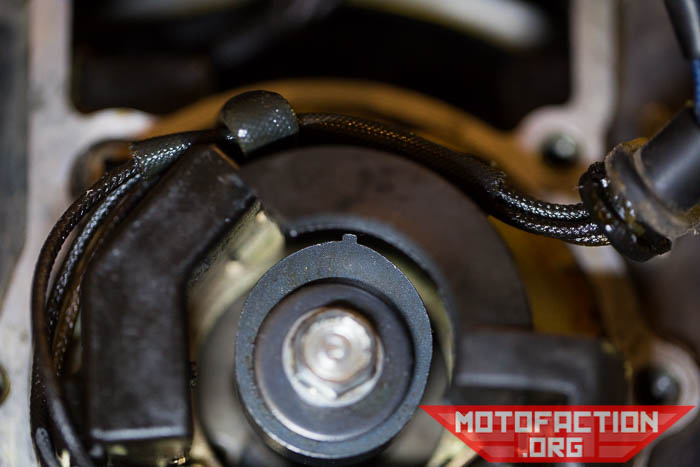
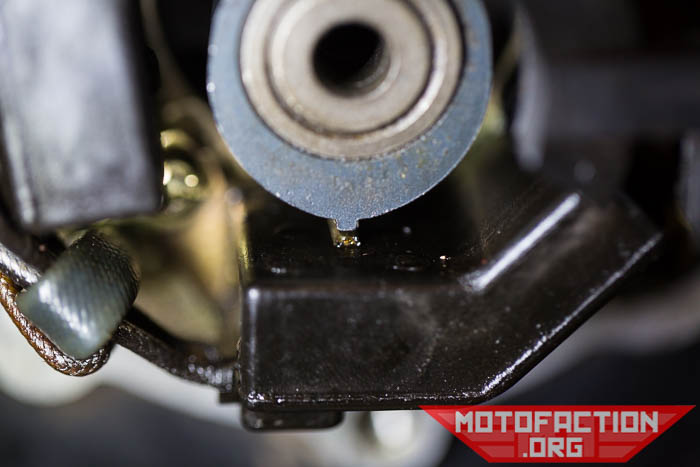
On the pulse generator there are little bumps to pick up the passing of the rotor:
At this point you want the nub on the end of the rotor to be pointing directly at the pickup. In this case we’re 180 degrees out:
Ah, darn. If this happens undo the bolt and remove the bolt/washer and re-insert the rotor in the opposite alignment. That ought to put you near or close to the correct timing:
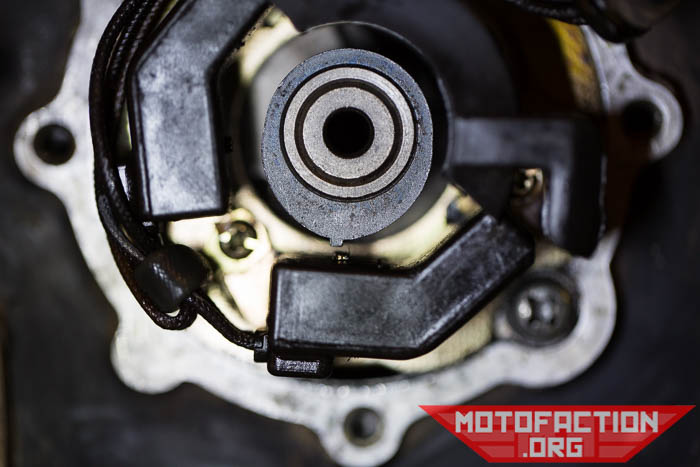
If you’re out by a little bit, rotate the plate that the pickups are on (this is why we didn’t tighten the screws) until the rotor and pickup align:
Once you’ve done one side, the other ought to be in perfect alignment once you rotate the motor around to the other FS mark:
…and now your timing should be correct! Don’t forget to tighten the screws.
If you’re doing following the static timing procedure + assessment, click here to go back to the main page for that procedure and head to the next item.