How to remove the final drive unit - Honda CX500, GL500
Before using this site please read the site disclaimer. Also please note that any links provided may be part of an affiliate programme (viz. eBay, Amazon) which helps support the site as I will earn a commission when visitors make a qualifying purchase.
This process should be very similar between the CX500 and GL500, except that the GL500 lacks the mount for the rear shock as it's a monoshock design.
This assumes that you have already removed the rear wheel - if you haven't already
click here to read the rear wheel removal how-to.
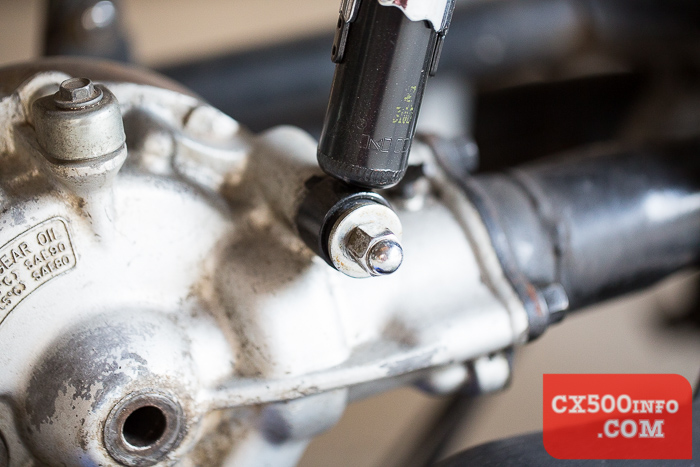
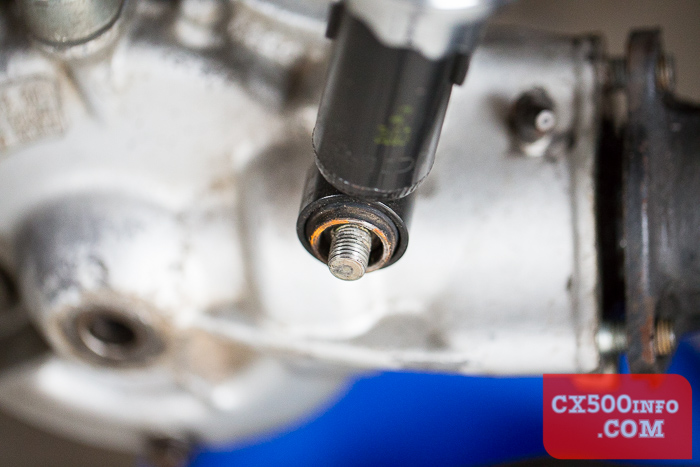
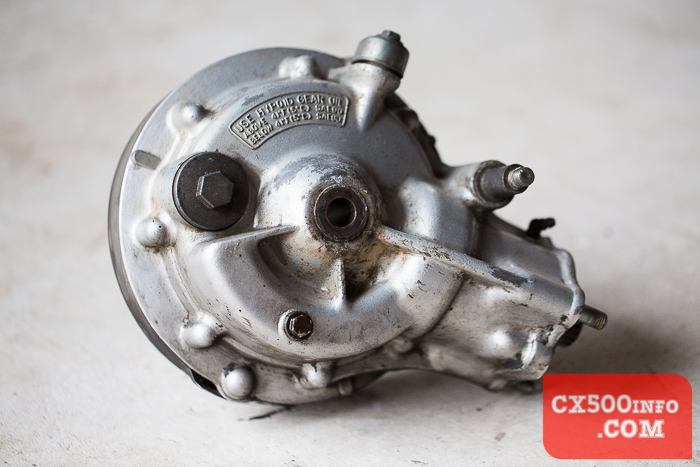
On the right hand side, loosen and remove the nut over the shock mount (not applicable to GL500):
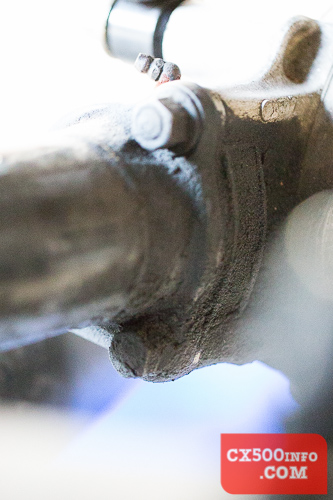
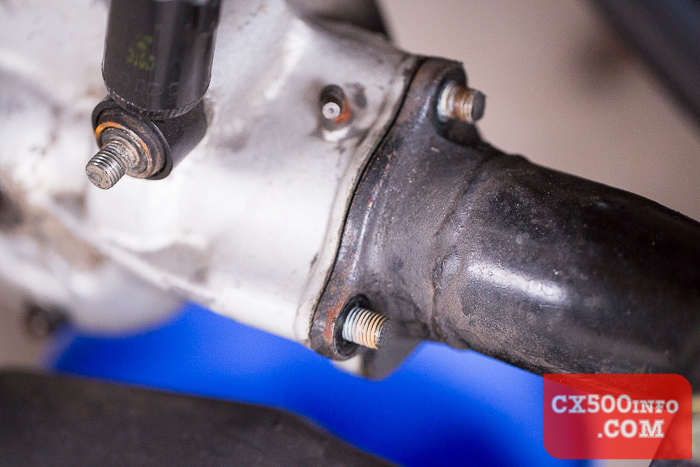
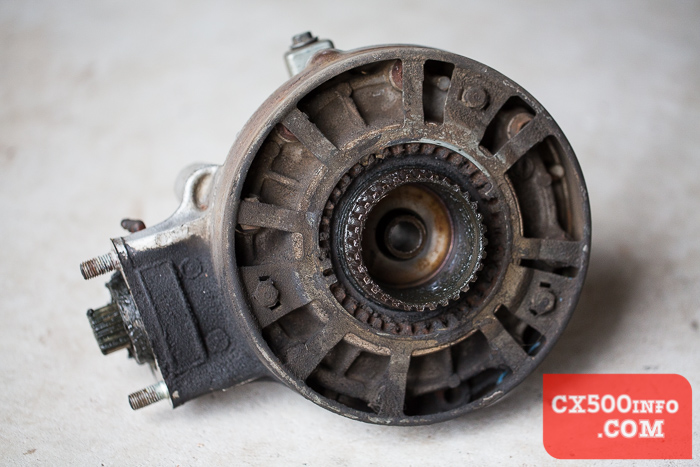
The shock and final drive should stay in place without the nut attached. Now, take a look at the three nuts where the swingarm meets the final drive unit. The underside nut is probably covered in road crud - this photo is taken from the inside of the frame, looking back towards the final drive:
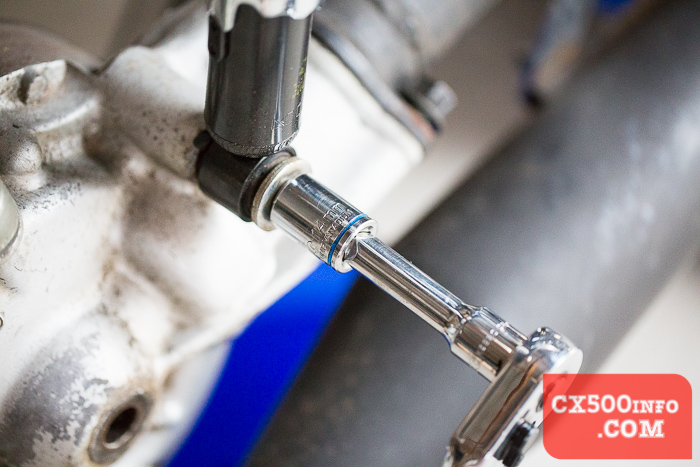
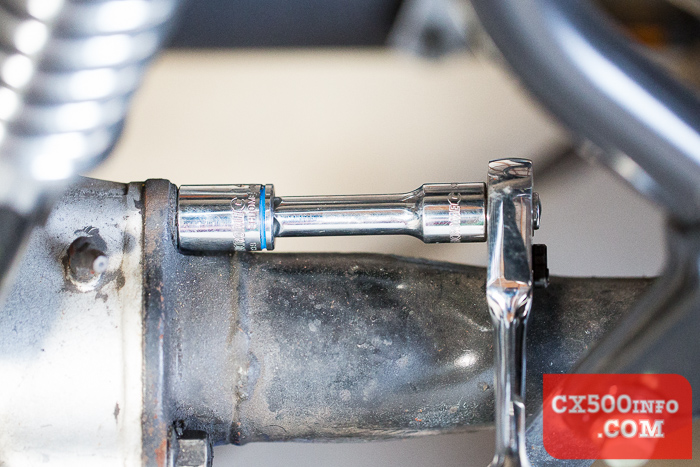
Give them a clean before you try to remove them, as it's a whole lot easier to remove clean nuts you can get a good grip on with the socket. The swingarm may get in the way of your wrench, so a knuckle or short extension can help:
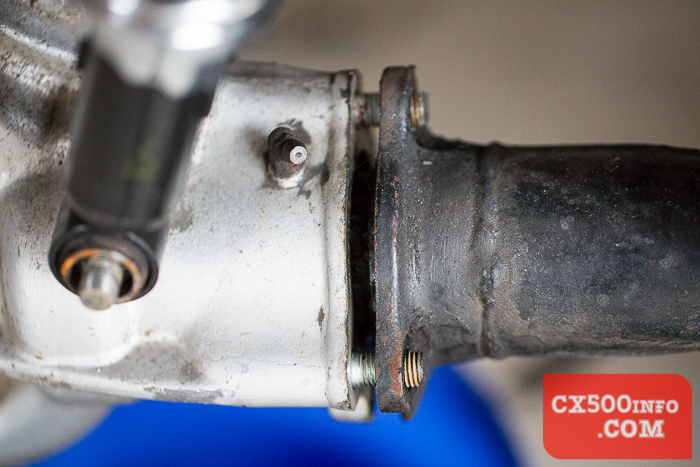
This should leave you with four nuts removed in total;
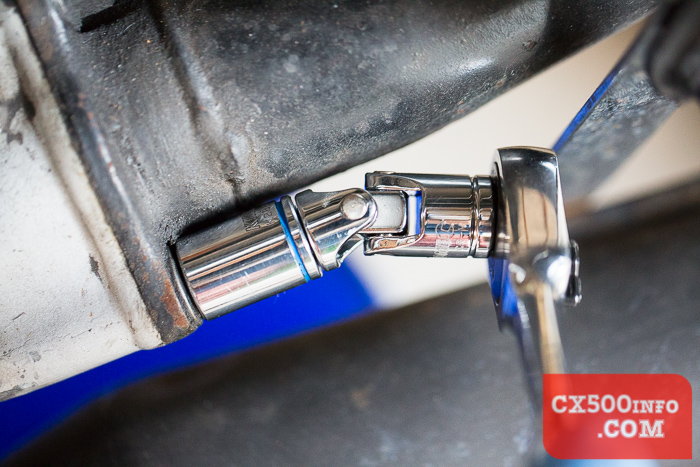
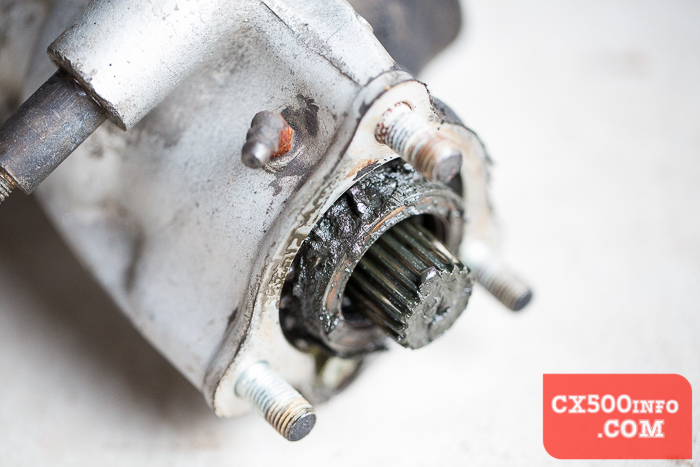
Supporting the final drive, slide it backward:
Tilt it inward slightly and push the shock off it's peg:
Now the final drive unit should be free!
MotoFaction is a free resource, but the server isn't free. If a writeup here saved you time or money, please consider supporting the site:
Buy me a coffee
You can also support us via Patreon.