CMS-Japanese Motorcycle Supply Parts


How to remove and assess the starter driven gear - Honda CX500, GL500, CX650, GL650


Before using this site please read the site disclaimer. Also please note that any links provided may be part of an affiliate programme (viz. eBay, Amazon) which helps support the site as I will earn a commission when visitors make a qualifying purchase.


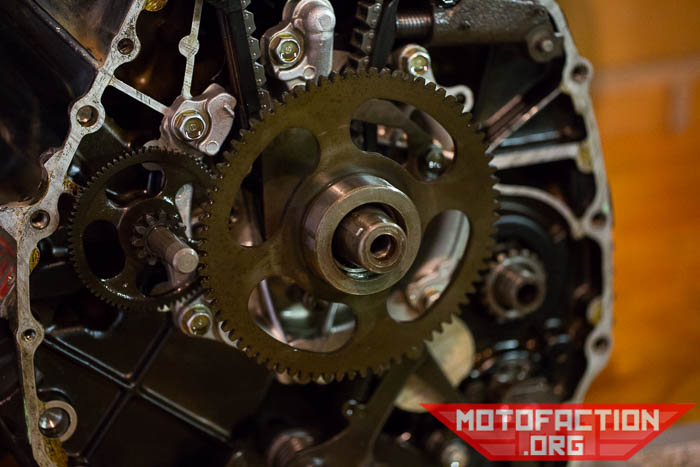
Once you have your flywheel off you will be faced with the starter driven gear which sits around the crankshaft:
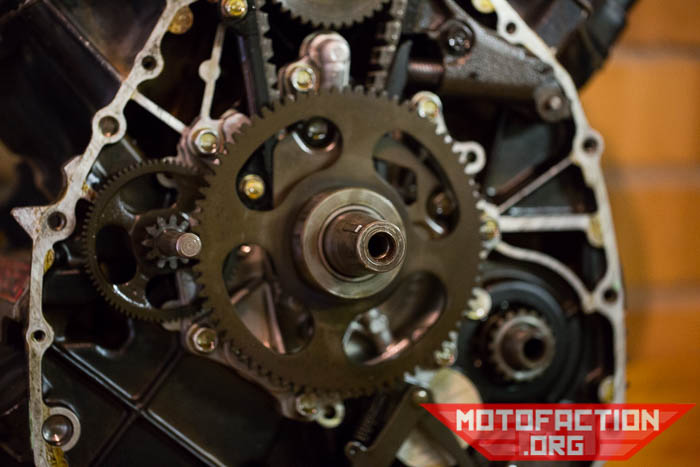
Here are some photos showing the removal procedure for a Honda CX500, GL500, CX650 or GL650 starter driven gear, how to assess it and the differences between each type that you might find inside your engine, as featured on MotoFaction.org.

It should pull towards you easily;

Here are some photos showing the removal procedure for a Honda CX500, GL500, CX650 or GL650 starter driven gear, how to assess it and the differences between each type that you might find inside your engine, as featured on MotoFaction.org.

The needle roller bearing may stay on the crankshaft or you may end up with it staying inside the gear;
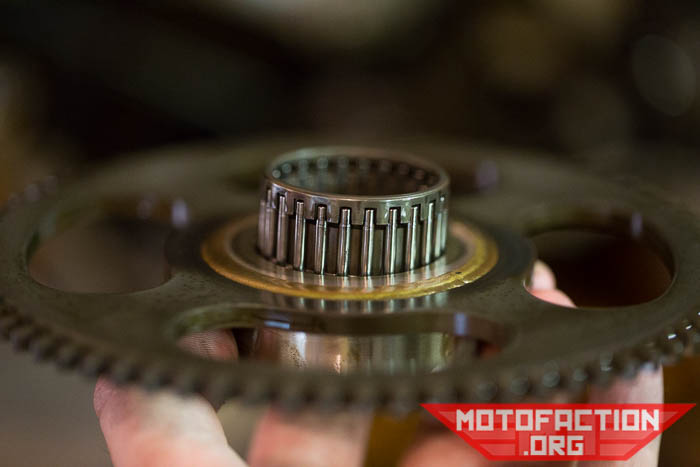
Here are some photos showing the removal procedure for a Honda CX500, GL500, CX650 or GL650 starter driven gear, how to assess it and the differences between each type that you might find inside your engine, as featured on MotoFaction.org.

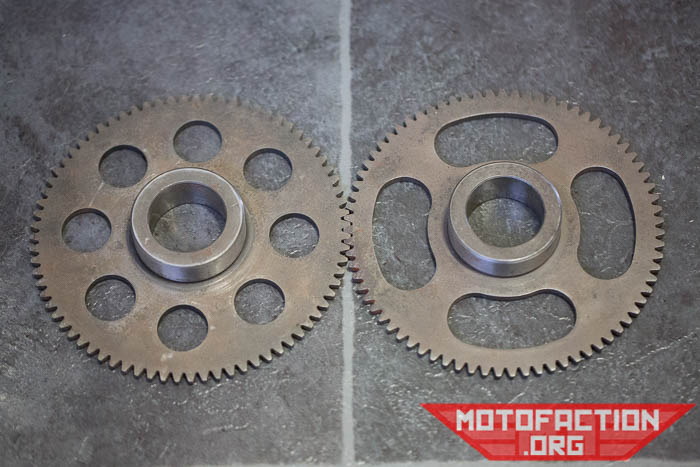
Now you can see your cam setting plate. Gee, that was easy. Now for the assessment part. This is particularly relevant for the CX650 and GL650 models, which are harder on starter motors, but it's worth checking 500s while you have it in your hand. You'll have one of these two styles:

Here are some photos showing the removal procedure for a Honda CX500, GL500, CX650 or GL650 starter driven gear, how to assess it and the differences between each type that you might find inside your engine, as featured on MotoFaction.org.

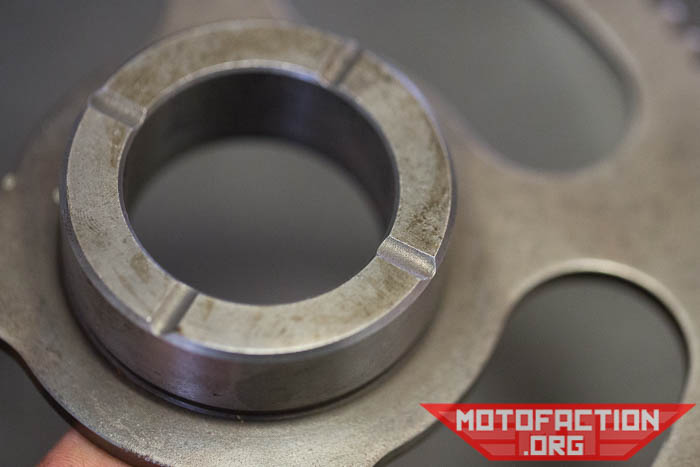
The left hand one in the above photograph is of a stronger design than the right hand one. We have seen some with four marks machined in them like so - not sure what the story with that is:

Here are some photos showing the removal procedure for a Honda CX500, GL500, CX650 or GL650 starter driven gear, how to assess it and the differences between each type that you might find inside your engine, as featured on MotoFaction.org.

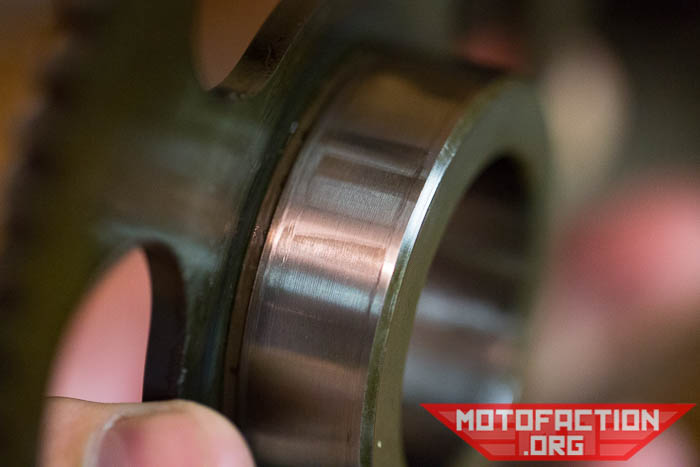
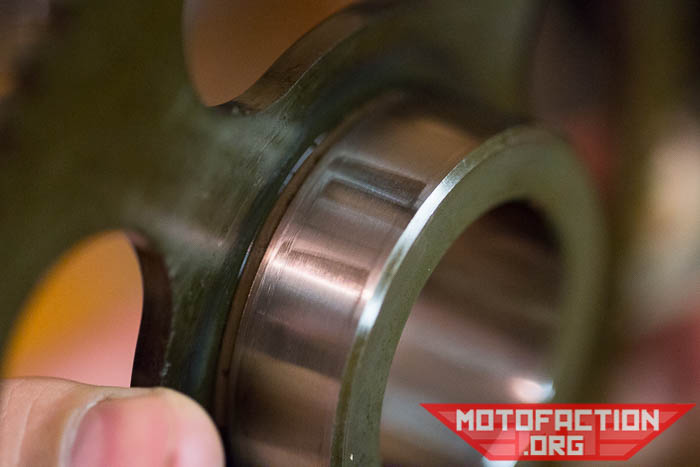
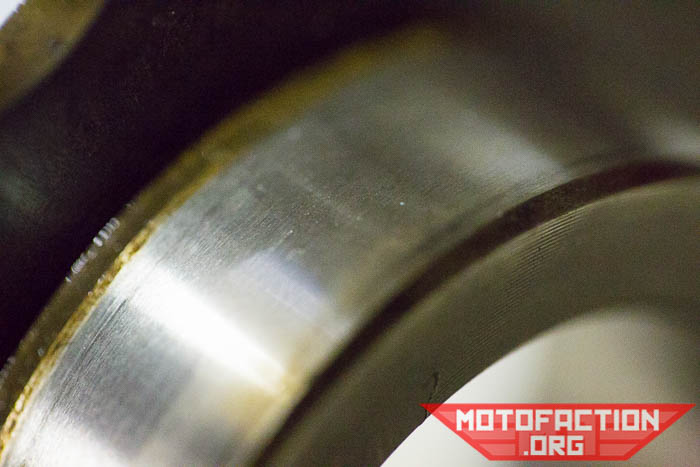
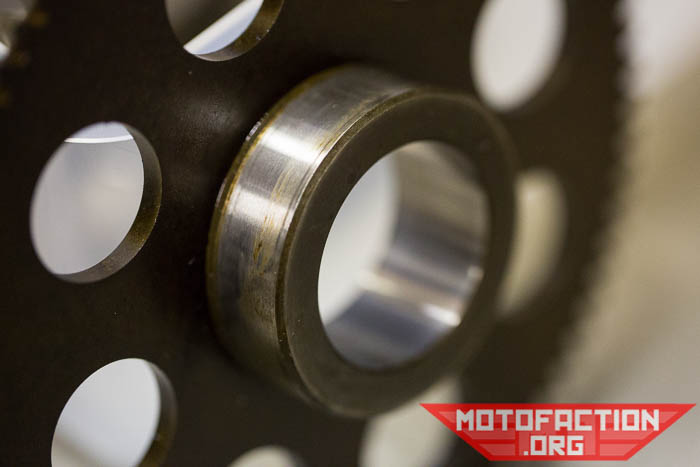
Now, the part of the starter driven gear which sits against the starter clutch (the bit which fits inside the flywheel) should be perfectly smooth. If you have a weak starter motor, a weak battery, old and worn starter springs or a similar issue you can wear flat spots in this surface like so:
Here are some photos showing the removal procedure for a Honda CX500, GL500, CX650 or GL650 starter driven gear, how to assess it and the differences between each type that you might find inside your engine, as featured on MotoFaction.org.

One from a 650:

Here are some photos showing the removal procedure for a Honda CX500, GL500, CX650 or GL650 starter driven gear, how to assess it and the differences between each type that you might find inside your engine, as featured on MotoFaction.org.

Here are some photos showing the removal procedure for a Honda CX500, GL500, CX650 or GL650 starter driven gear, how to assess it and the differences between each type that you might find inside your engine, as featured on MotoFaction.org.

A different 650:

Here are some photos showing the removal procedure for a Honda CX500, GL500, CX650 or GL650 starter driven gear, how to assess it and the differences between each type that you might find inside your engine, as featured on MotoFaction.org.

Again, this is most common in a 650 motor. If you find flat spots like these in your starter driven gear it's best to replace it with one that has a clear surface - or have it machined ever so slightly to present a smooth surface again. Joe Hovel on the Australian CX forums provides that service.

The flat spots can cause the starter clutch rollers to skip, worsening the damage and causing improper starting. If your 650 has destroyed yours a good bet is to grab one out of a low mileage 500, as they're typically easier on them.

If you have the tooling to accurately measure the inside diameter of the gear where it sits around the crankshaft, it should measure at no more than 37.100mm - that's the service limit, if it's greater than that it needs to be replaced.

If you're doing this as part of the triple or quadruple bypass, click here to go back to the bypass page.


Search MotoFaction:


Follow us on Facebook!

Follow us on Instagram!


CMS-Japanese Motorcycle Supply Parts

Search MotoFaction:


In 2019 the server has had to double in capacity to support the growing site... please consider dropping the site a donation to help cover the costs! Check out our Patreon for support options, buy a shirt, buy our apps, use my NordVPN affiliate link to sign up to their service or donate via Paypal:

Paypal $5 link ->>
Paypal $10 link ->>