The starter clutch on a Honda CX500, GL500, CX650 or GL650 lives inside the flywheel:
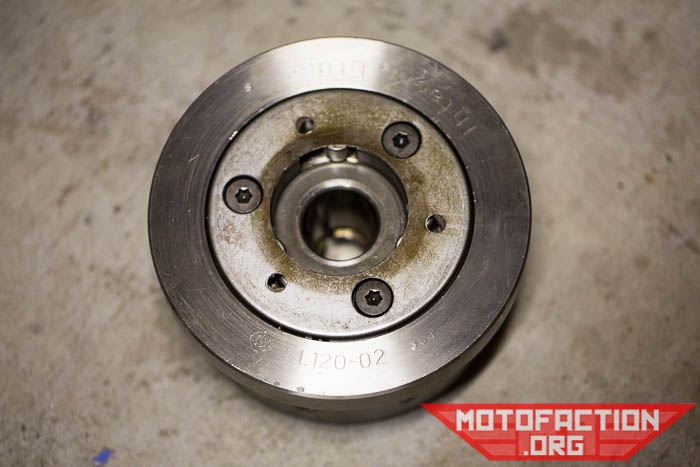
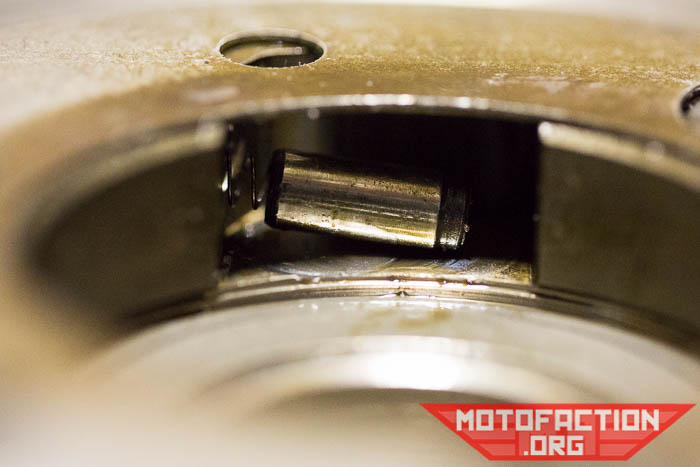
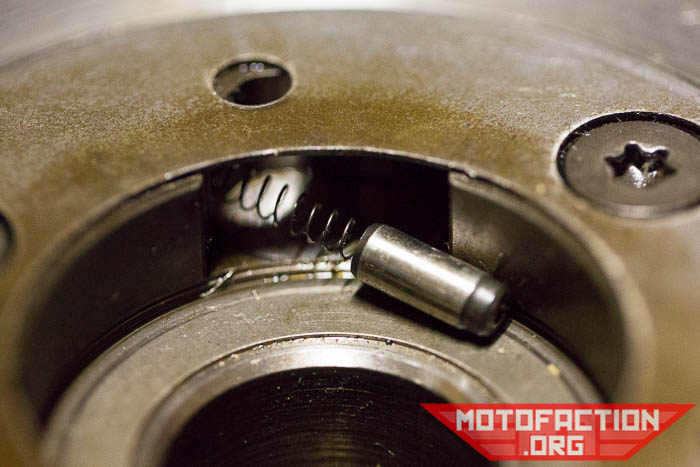
If they didn’t fall out when you removed the flywheel, there will be three little round rollers sitting in openings in the starter clutch mechanism:
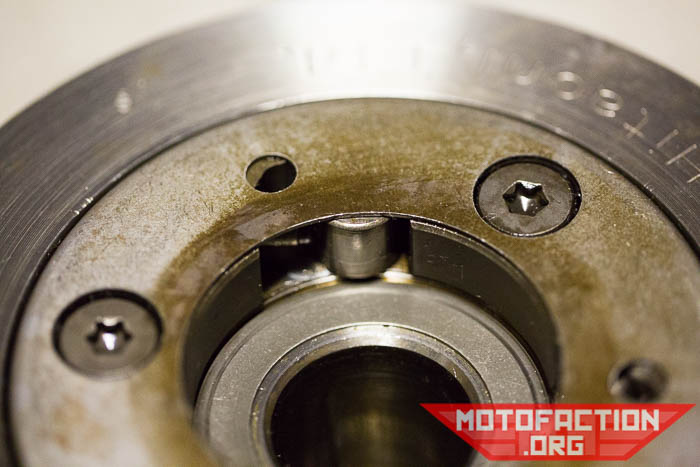
The rollers should be able to be rolled back into their openings like so:
Here’s a video of moving it back and forth:
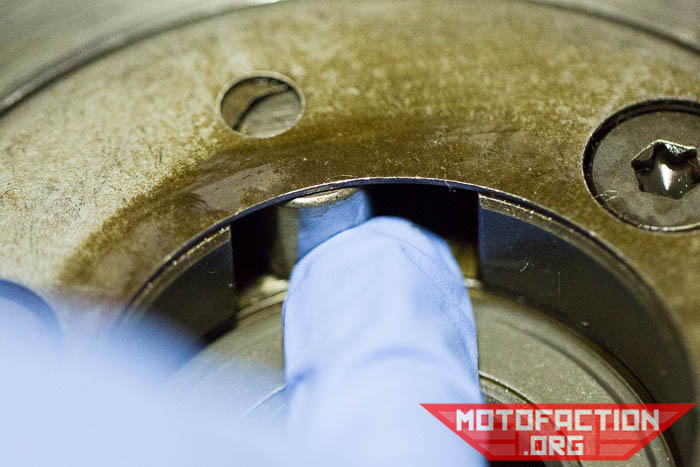
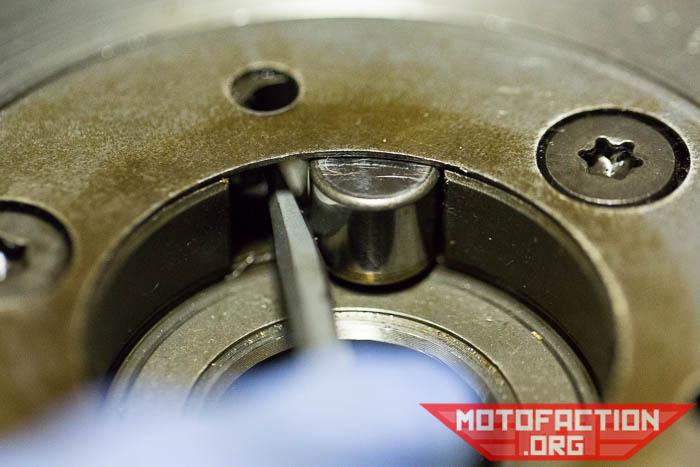
If you can’t roll it out with your fingers easily a flat bladed screwdriver should push it free with ease:
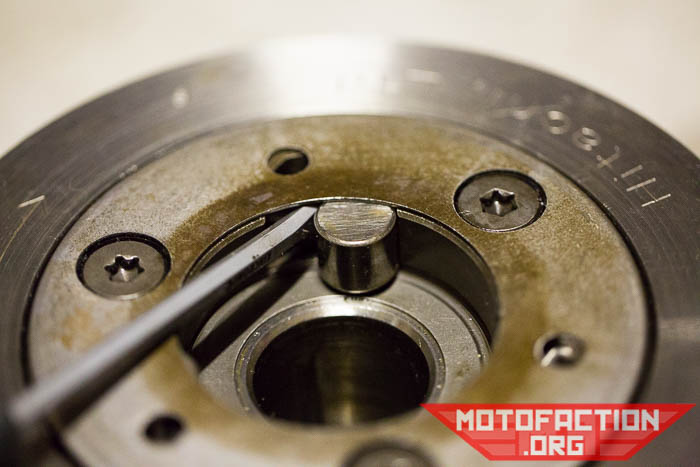
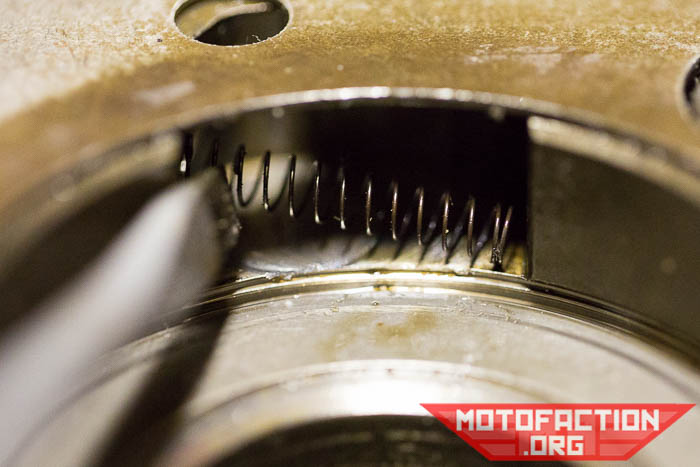
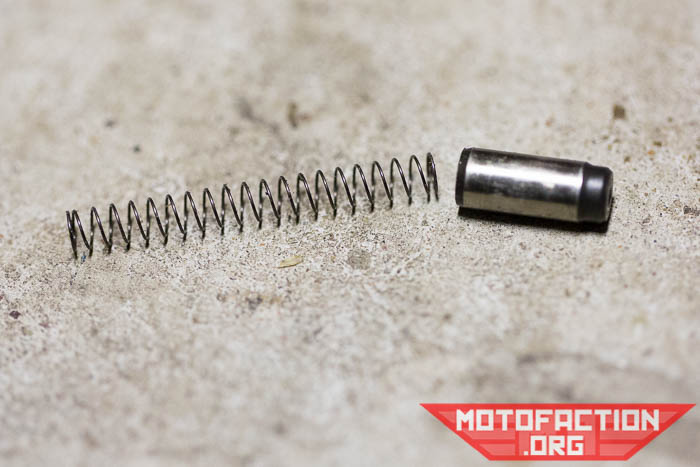
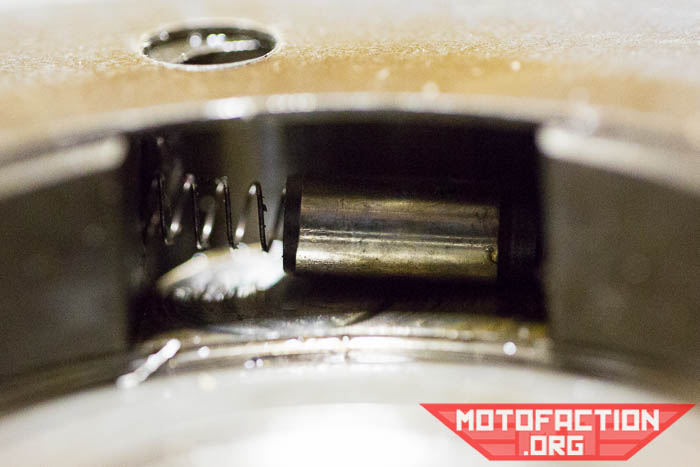
The roller is part number 91101-516-000, and can still usually be found on eBay. Check that the roller has no flat spots or rust/corrosion/other damage – if the surface is damaged replace it. Once the roller is out you should be able to see the spring cap and spring inside:
Cap off, showing the spring:
Cap – part number 28126-516-020, they can also usually be found on eBay:
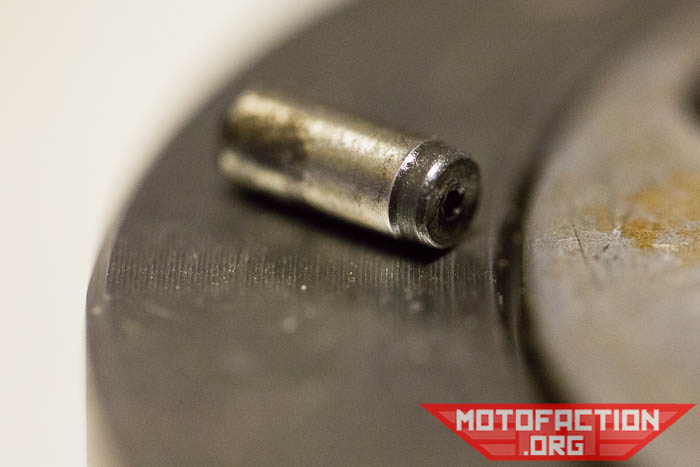
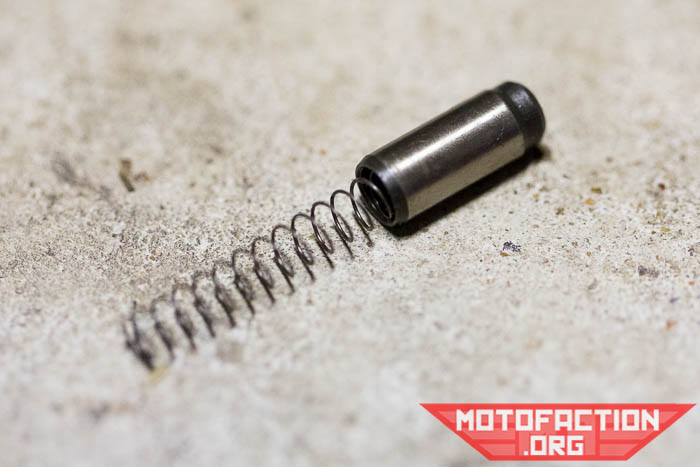
Assess the cap for rust, cracks or other damage. Light rust can likely be cleaned up, but cracked/damaged? Replace it. Spring:
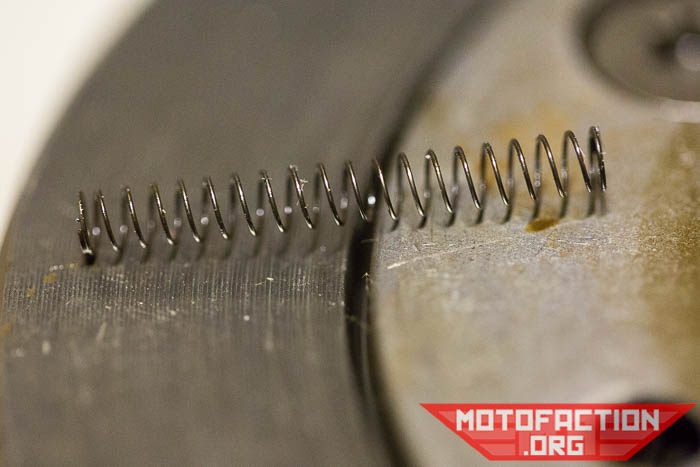
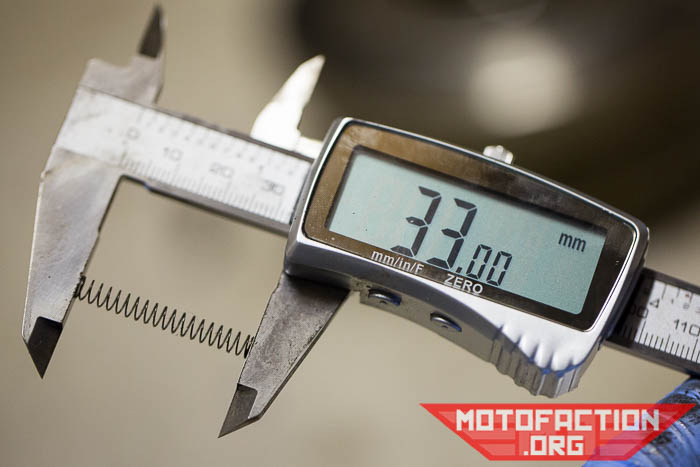
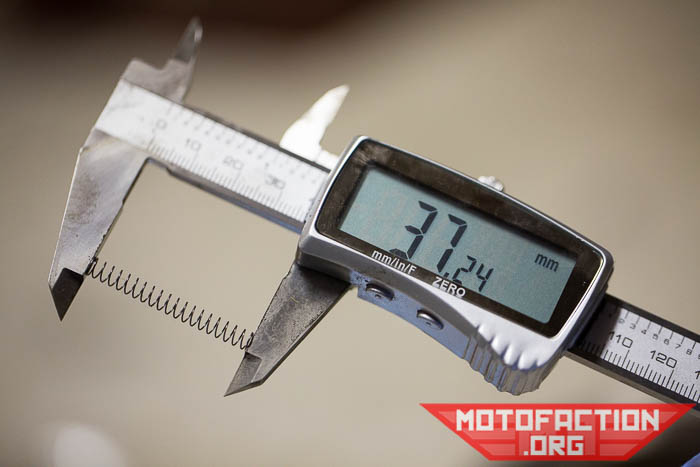
While we can’t find a spec for the spring length anywhere, all of the used ones we have measured have been notably shorter than a new one – using digital calipers we measured the springs out of a 650:
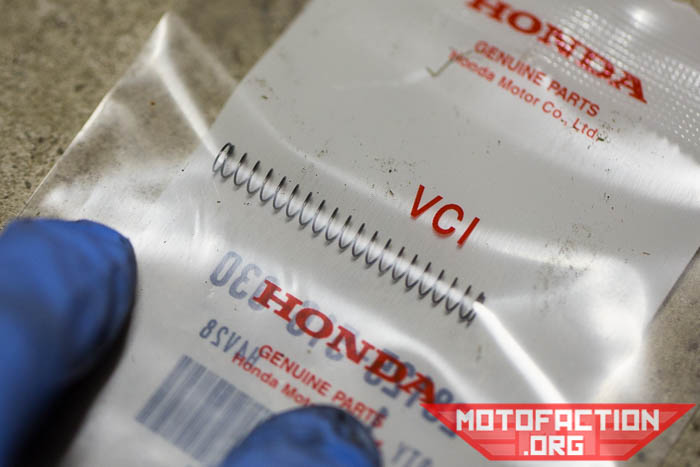
New springs are part number 28125-516-030 and genuine Honda springs can usually be found for less than $2ea on eBay:
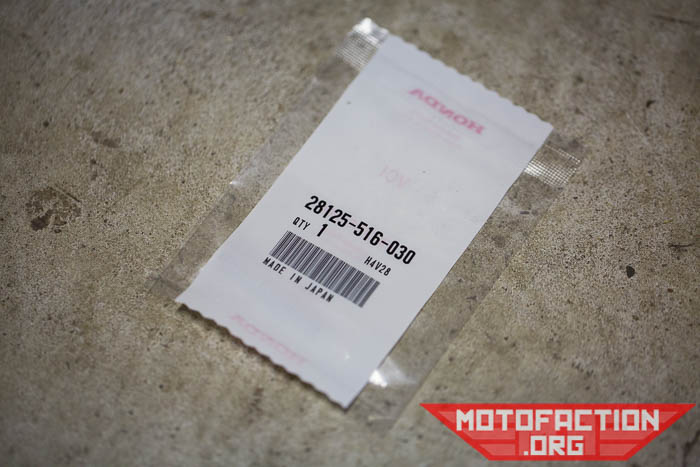
You get one per packet, so order three:
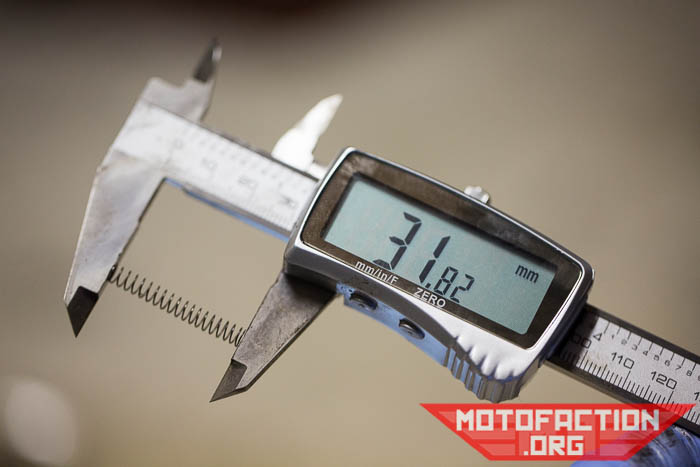
Don’t order non-Honda springs – there has been an observed high premature failure rate for non-genuine springs, and given their relatively low cost there’s not much to be saved by going off-brand. Measuring a new spring:
The new spring also feels harder to compress than the old ones. Given that there is probably a low chance that the ones in a 30-year-old motor have ever been changed, we routinely change them as part of a triple bypass (making it a quadruple bypass) out of hand – they’re not expensive.
Repeat the process for the other two spring/caps/roller sets and check the starter clutch where the rollers are:
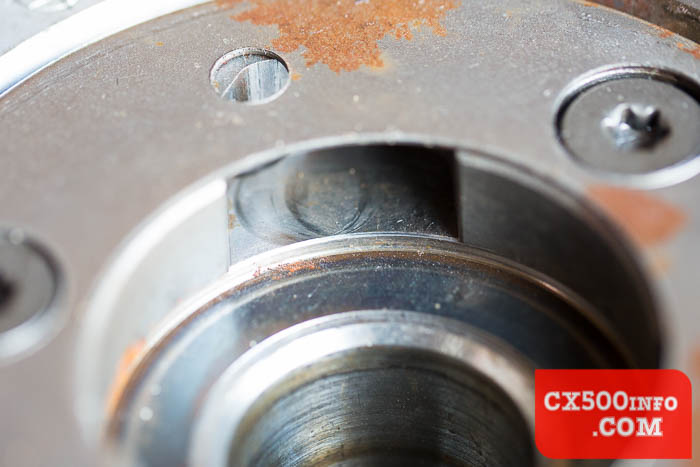
Make sure that there aren’t ridges for the roller to catch on. At this stage we don’t have any suggestions for repairing indents found here except for replacement – we will update after we consult an expert! You can see some polished areas in the above photo but there aren’t noticeable ridges in that particular starter clutch.
Clean everything up and insert the new springs into the caps:
Insert the cap and spring into their hole:
Putting the roller in can be a little tricky sometimes; it’s often easier to use a flat bladed screwdriver and push the cap in towards the spring, slot the roller in and remove the screwdriver:
Repeat for the other two and you should have a starter clutch ready to go for a long while yet.
If you’re doing this as part of the triple or quadruple bypass, click here to go back to the bypass page.