How to install the water pump cover – Honda CX500, GL500, CX650, GL650

This assumes that:

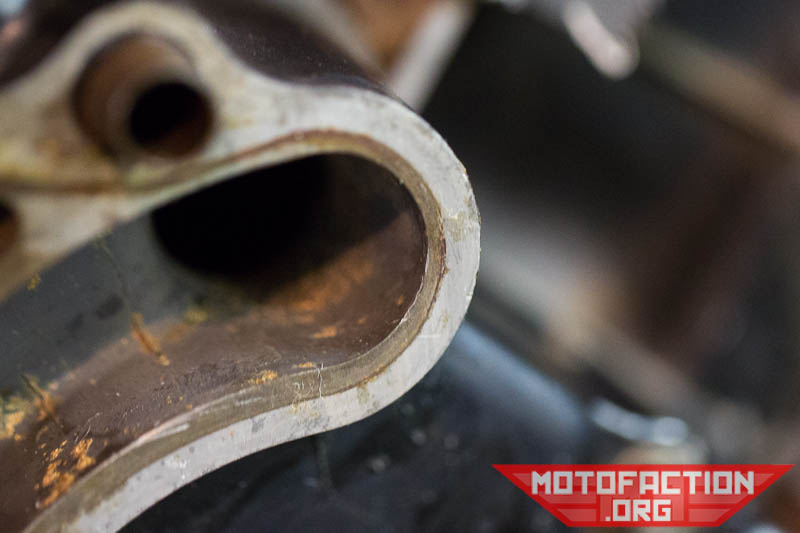
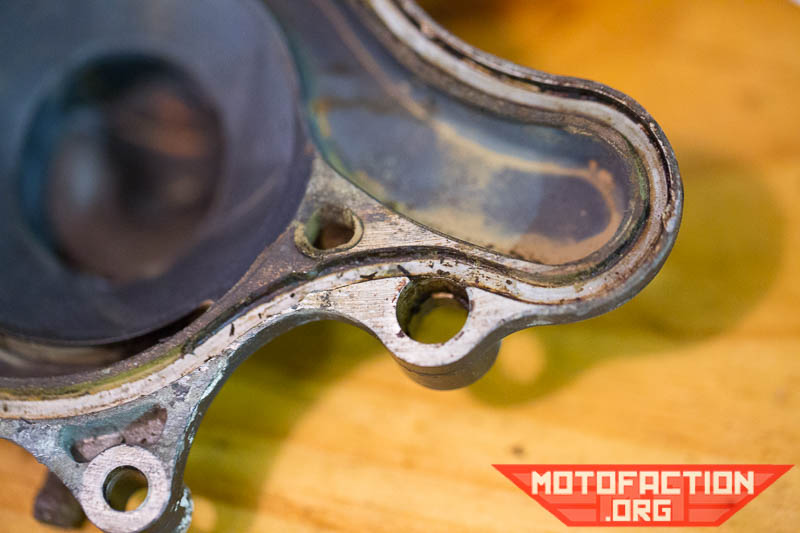
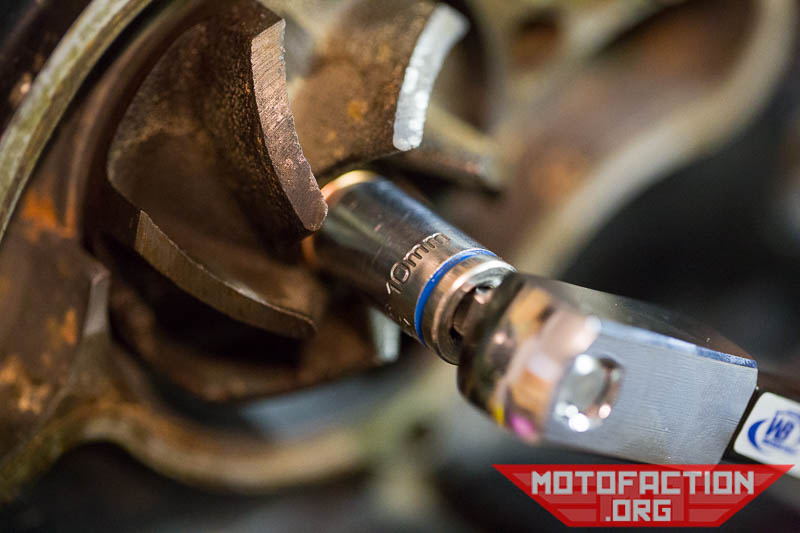
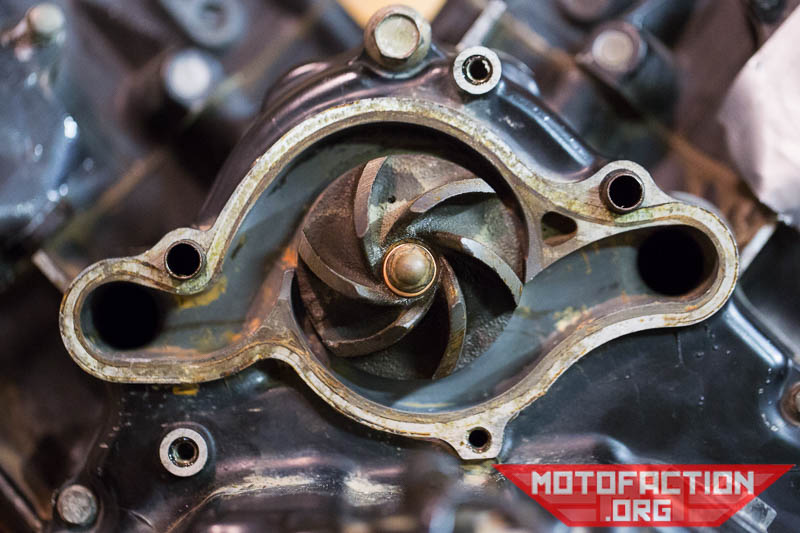
Given the above you should be looking at something like this – this is for a TI rear cover so there’s no upper engine mounts above the water pump, in case you’re wondering about the visual differences to a CDI motor’s rear cover:
Here are some photos showing the reinstallation process for the water pump impeller cover on a Honda CX500, GL500, CX650 or GL650 motorcycle as shown on MotoFaction.org.

The process is the same for CDI or TI motors. If you haven’t already, clean up the surfaces on the rear cover:
Here are some photos showing the reinstallation process for the water pump impeller cover on a Honda CX500, GL500, CX650 or GL650 motorcycle as shown on MotoFaction.org.

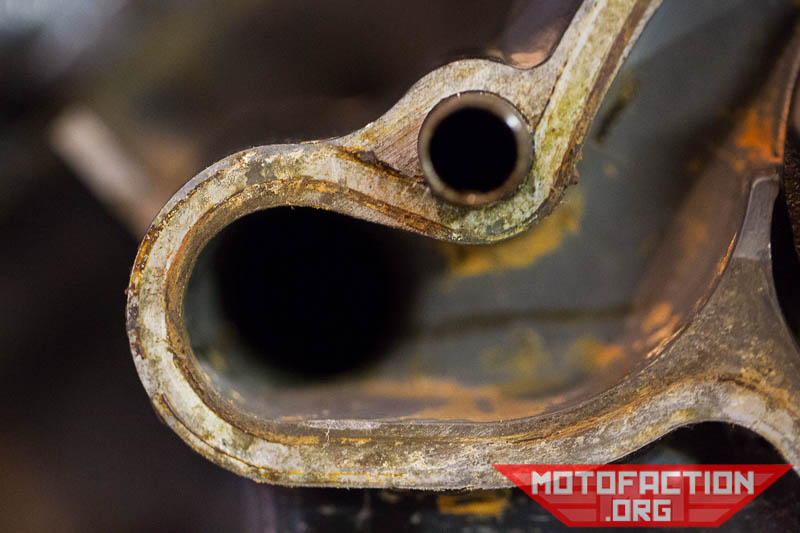
You want the mating surfaces to be free from any residue from the old gasket material or silicone or whatever else previous owners have left:
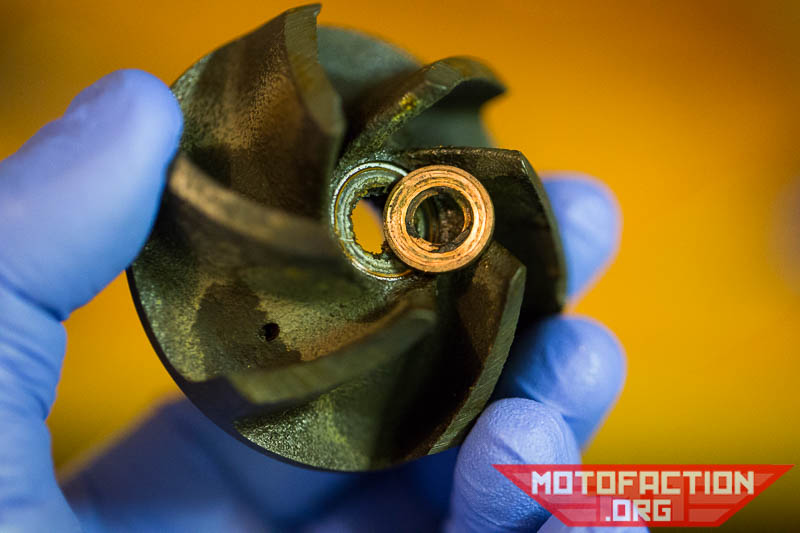
Here are some photos showing the reinstallation process for the water pump impeller cover on a Honda CX500, GL500, CX650 or GL650 motorcycle as shown on MotoFaction.org.

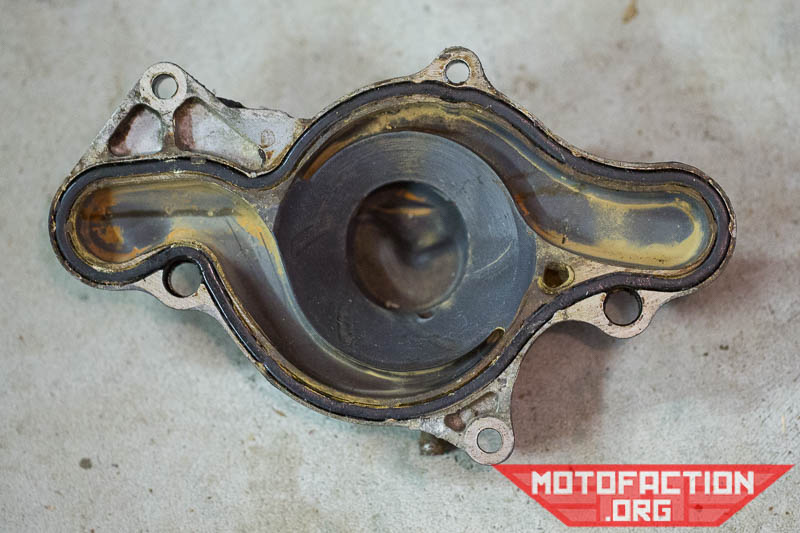
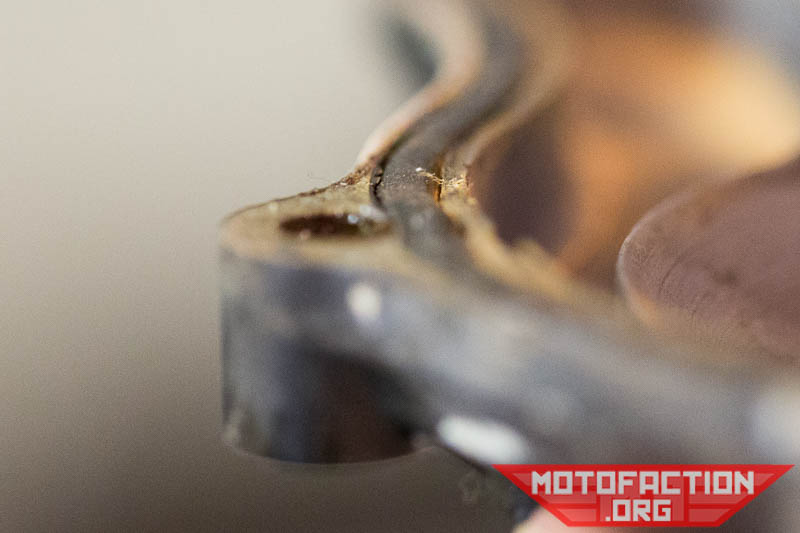
The back of the impeller cover looks like this – the old rubber gasket is in place still:
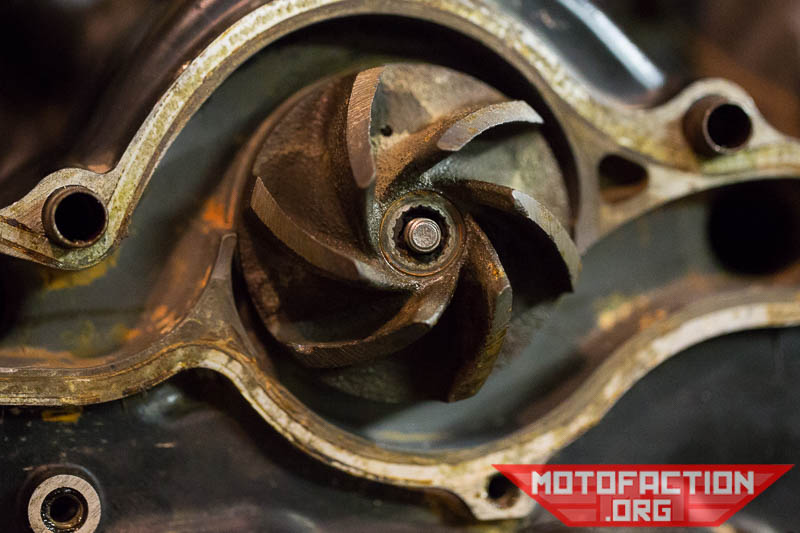
Here are some photos showing the reinstallation process for the water pump impeller cover on a Honda CX500, GL500, CX650 or GL650 motorcycle as shown on MotoFaction.org.

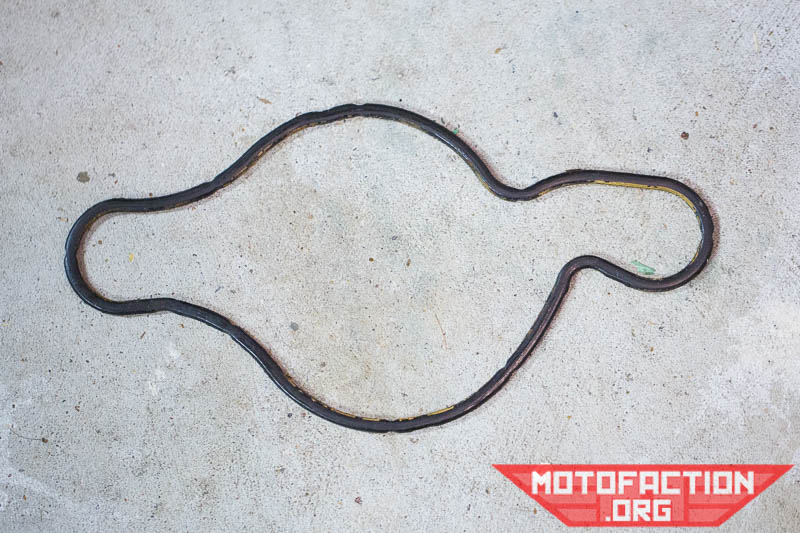
The old rubber gasket is pretty well flat:
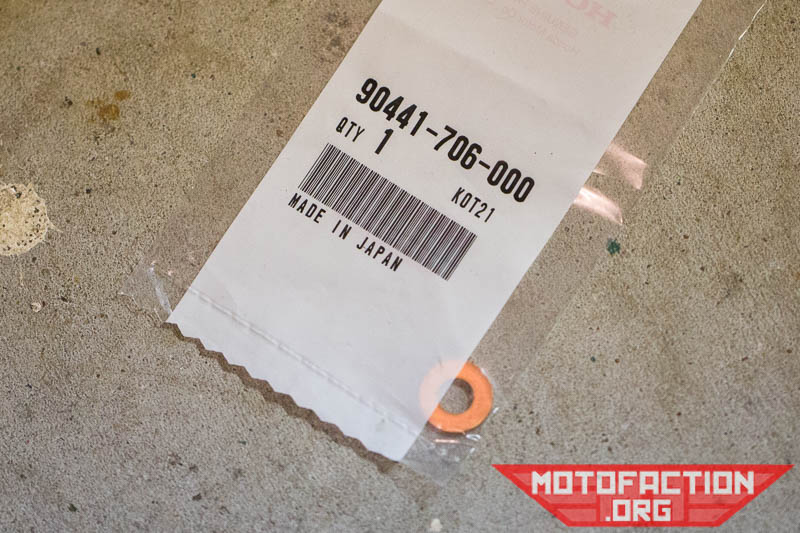
Here are some photos showing the reinstallation process for the water pump impeller cover on a Honda CX500, GL500, CX650 or GL650 motorcycle as shown on MotoFaction.org.

Pry it out with a pick or similar tool:
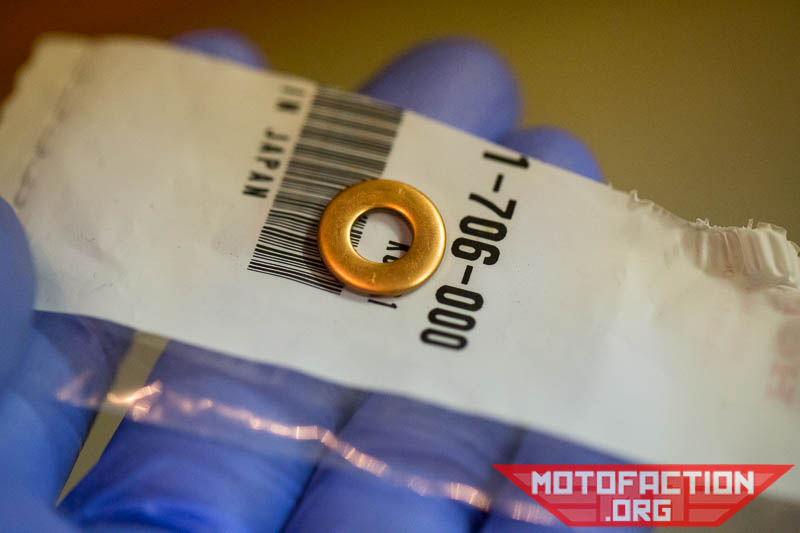
Here are some photos showing the reinstallation process for the water pump impeller cover on a Honda CX500, GL500, CX650 or GL650 motorcycle as shown on MotoFaction.org.

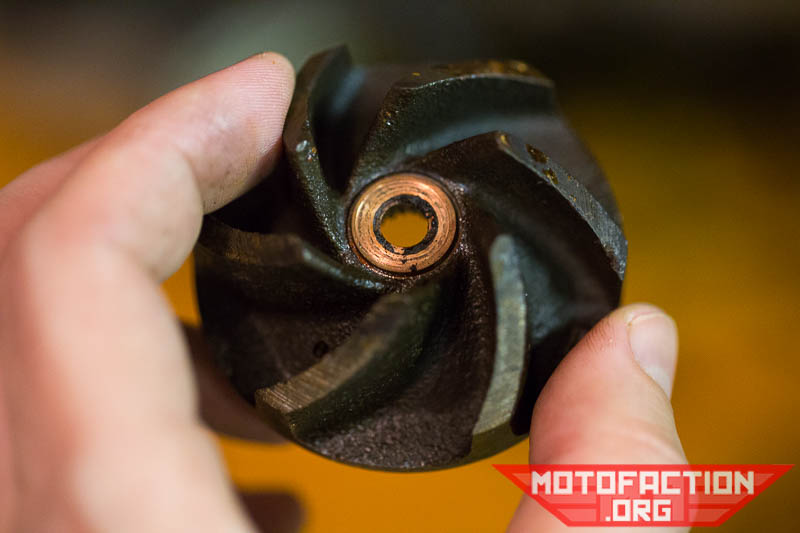
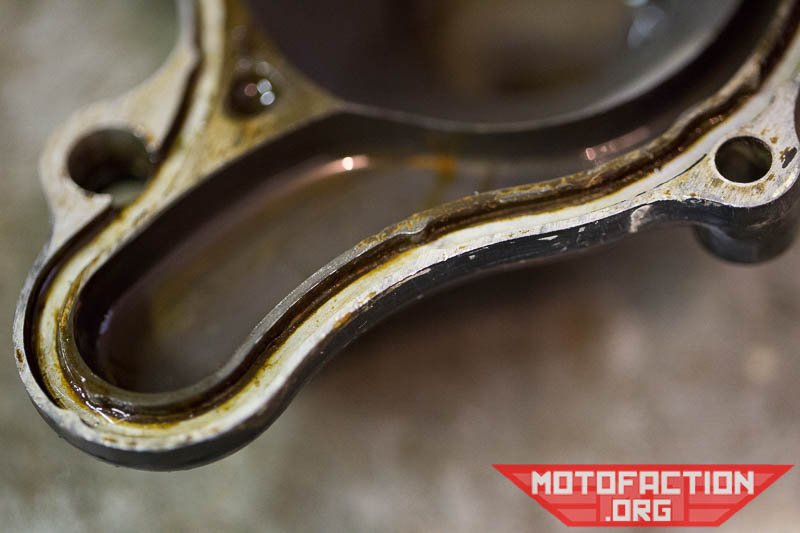
Looks vaguely like Saturn and it’s rings.
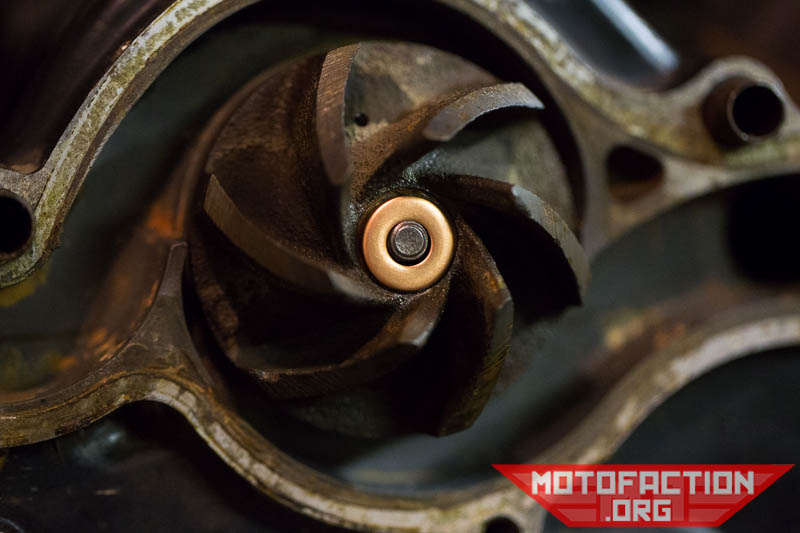
Here are some photos showing the reinstallation process for the water pump impeller cover on a Honda CX500, GL500, CX650 or GL650 motorcycle as shown on MotoFaction.org.

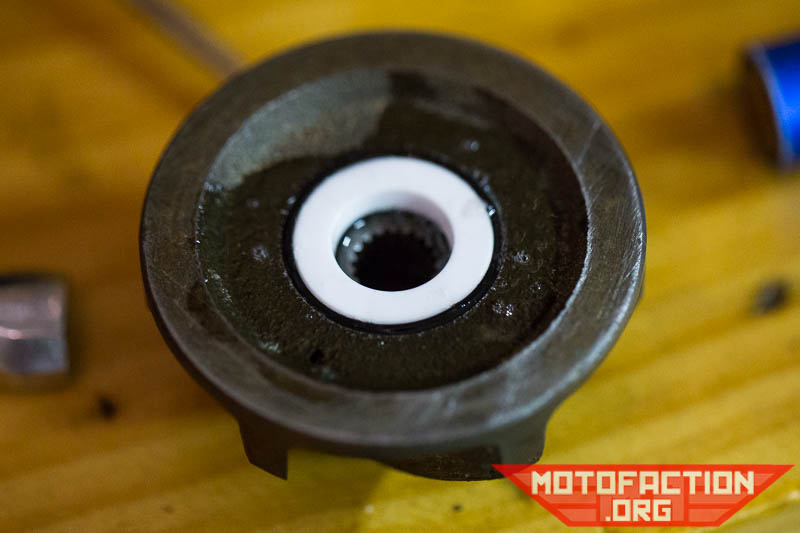
There’s likely to be gasket residue and general crud in the recess that the gasket sits in; clean it out.
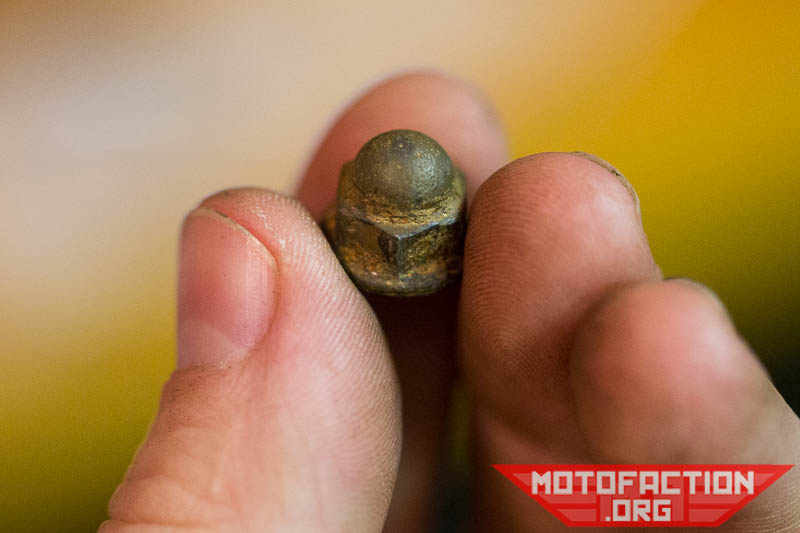
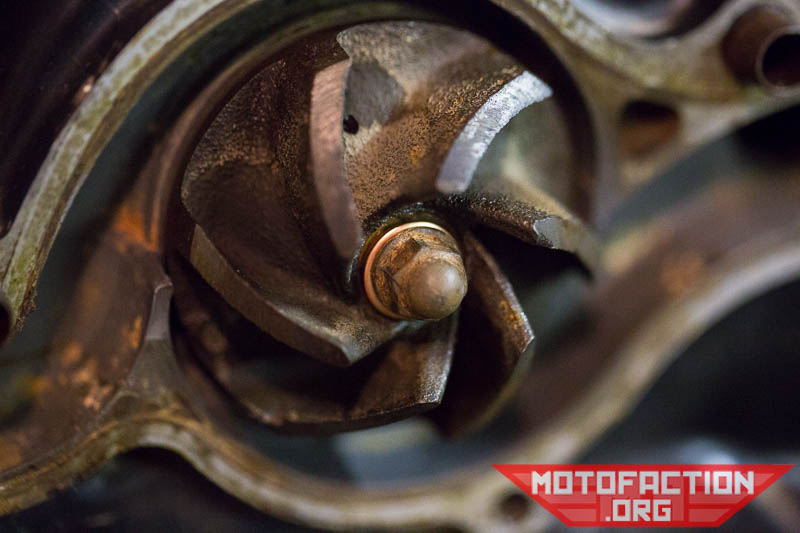
Here are some photos showing the reinstallation process for the water pump impeller cover on a Honda CX500, GL500, CX650 or GL650 motorcycle as shown on MotoFaction.org.

Here are some photos showing the reinstallation process for the water pump impeller cover on a Honda CX500, GL500, CX650 or GL650 motorcycle as shown on MotoFaction.org.

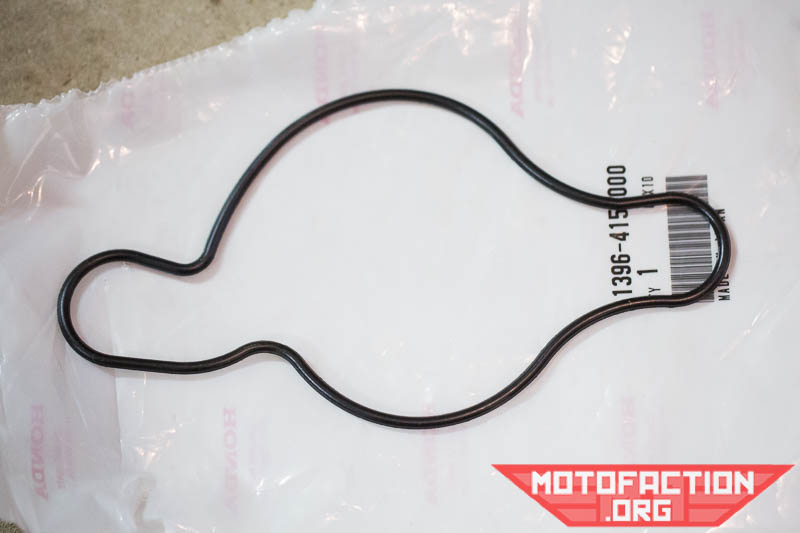
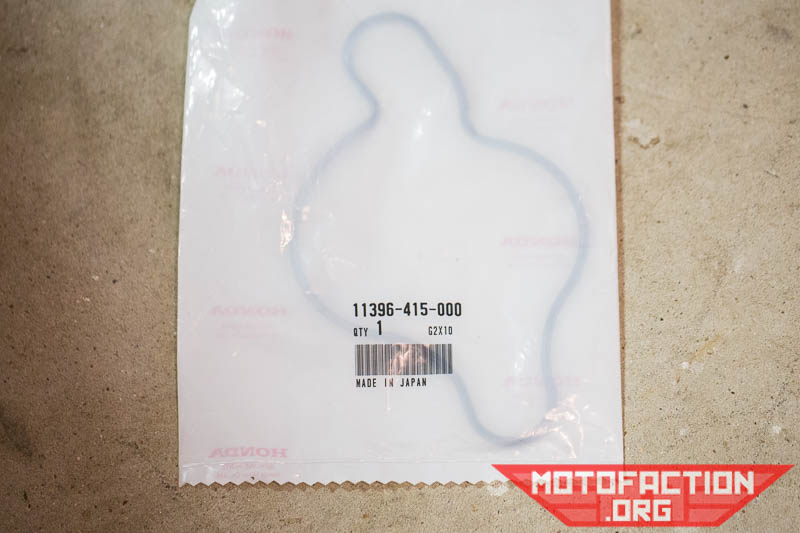
New genuine gaskets are available fairly cheaply and are part number 11396-415-000 (eBay US, eBay AU, eBay UK):
Here are some photos showing the reinstallation process for the water pump impeller cover on a Honda CX500, GL500, CX650 or GL650 motorcycle as shown on MotoFaction.org.

Otherwise a regular O-ring will work – 127x3mm can be squashed into the right shape. Fit the new gasket into place:
Here are some photos showing the reinstallation process for the water pump impeller cover on a Honda CX500, GL500, CX650 or GL650 motorcycle as shown on MotoFaction.org.

Here are some photos showing the reinstallation process for the water pump impeller cover on a Honda CX500, GL500, CX650 or GL650 motorcycle as shown on MotoFaction.org.

As you can see, this one is much less flat than the old:
Here are some photos showing the reinstallation process for the water pump impeller cover on a Honda CX500, GL500, CX650 or GL650 motorcycle as shown on MotoFaction.org.

New gasket installed:

Here are some photos showing the reinstallation process for the water pump impeller cover on a Honda CX500, GL500, CX650 or GL650 motorcycle as shown on MotoFaction.org.

Now, there’s two locating dowels on either side of the impeller – make sure they’re there. They may still be stuck in the block or they may have come out with the impeller cover.
Here are some photos showing the reinstallation process for the water pump impeller cover on a Honda CX500, GL500, CX650 or GL650 motorcycle as shown on MotoFaction.org.

Here are some photos showing the reinstallation process for the water pump impeller cover on a Honda CX500, GL500, CX650 or GL650 motorcycle as shown on MotoFaction.org.

Assuming they’re in place the cover simply fits over the impeller – don’t force it at an angle, make sure it’s going on straight:
Here are some photos showing the reinstallation process for the water pump impeller cover on a Honda CX500, GL500, CX650 or GL650 motorcycle as shown on MotoFaction.org.

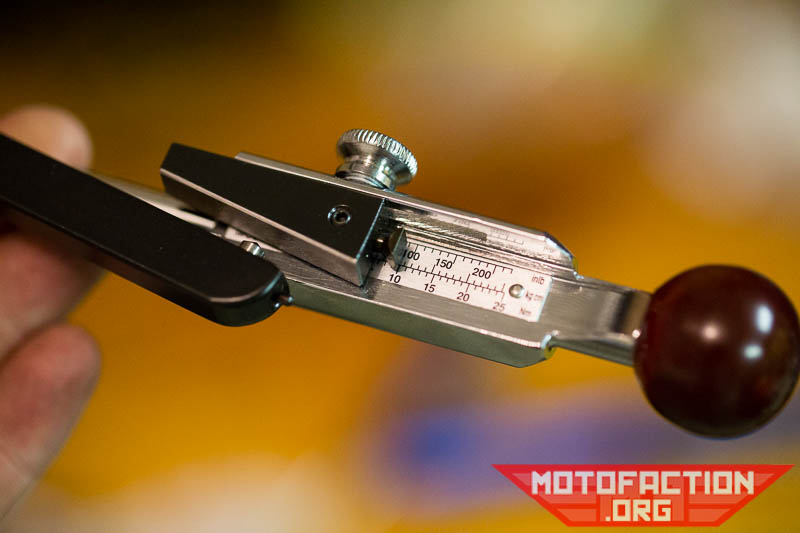
There’s two larger bolts and two smaller ones – install them all and torque the larger bolts first to ~18ft/lb with a 12mm socket:
Here are some photos showing the reinstallation process for the water pump impeller cover on a Honda CX500, GL500, CX650 or GL650 motorcycle as shown on MotoFaction.org.

Here are some photos showing the reinstallation process for the water pump impeller cover on a Honda CX500, GL500, CX650 or GL650 motorcycle as shown on MotoFaction.org.

The smaller bolts take an 8mm socket and should be tightened to ~10Nm:
Here are some photos showing the reinstallation process for the water pump impeller cover on a Honda CX500, GL500, CX650 or GL650 motorcycle as shown on MotoFaction.org.

Here are some photos showing the reinstallation process for the water pump impeller cover on a Honda CX500, GL500, CX650 or GL650 motorcycle as shown on MotoFaction.org.

Now you should be done!

If you are doing this as part of the triple bypass procedure you can go back to the main triple bypass page here.

Leave a Comment

Your email address will not be published. Required fields are marked *

Scroll to Top