Before using this site please read the site disclaimer. Also please note that any links provided may be part of an affiliate programme (viz. eBay, Amazon) which helps support the site as I will earn a commission when visitors make a qualifying purchase.
For this you will need:
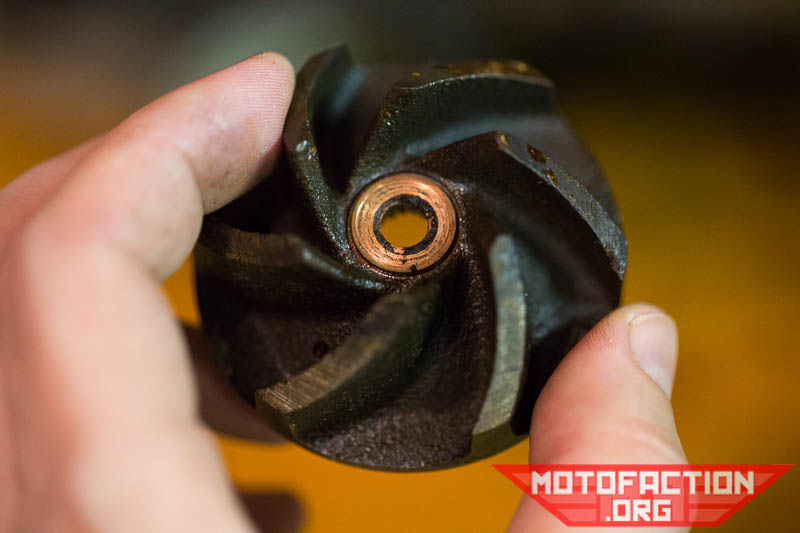
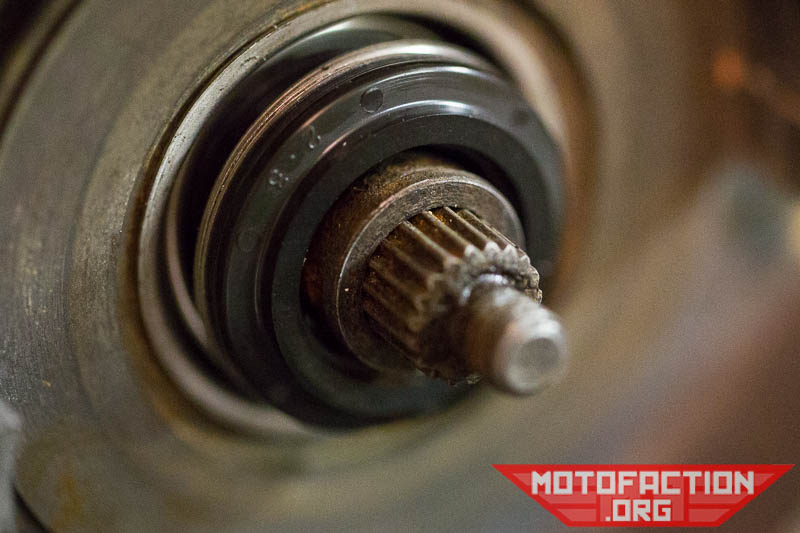
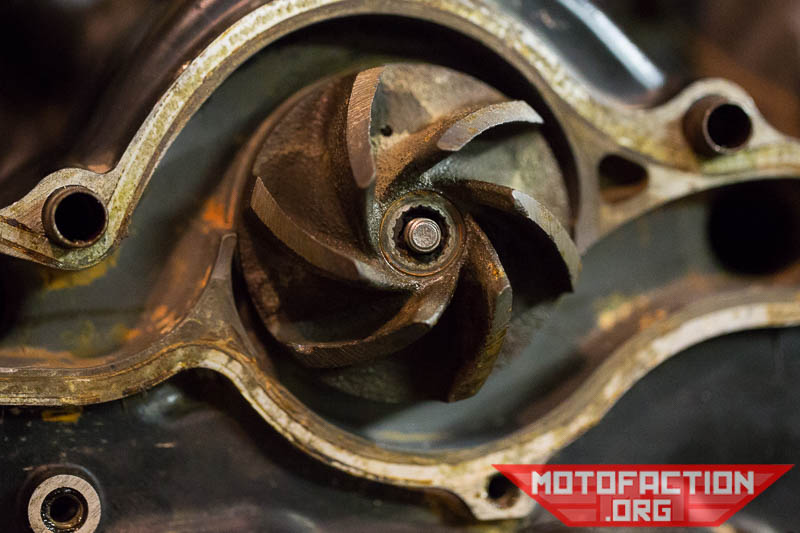
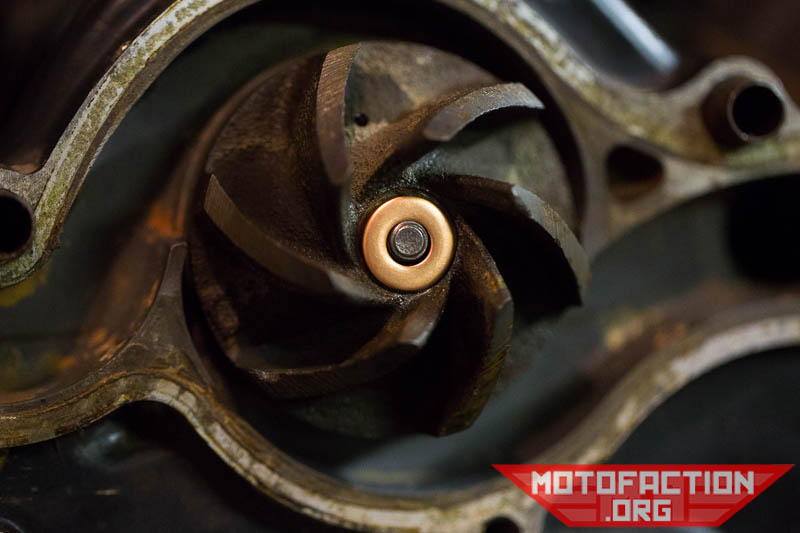
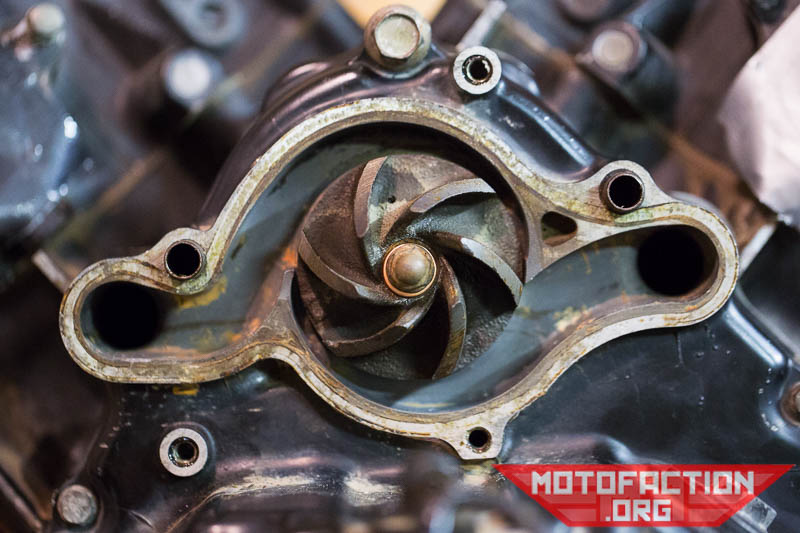
As far as installing the polo mint and rubber surround for the mint into the rear of the impeller, check out the mechanical seal installation guide (not yet up). This guide assumes that that has already been taken care of. First up, let's take a look at that impeller - the polo mint should be present on the back:
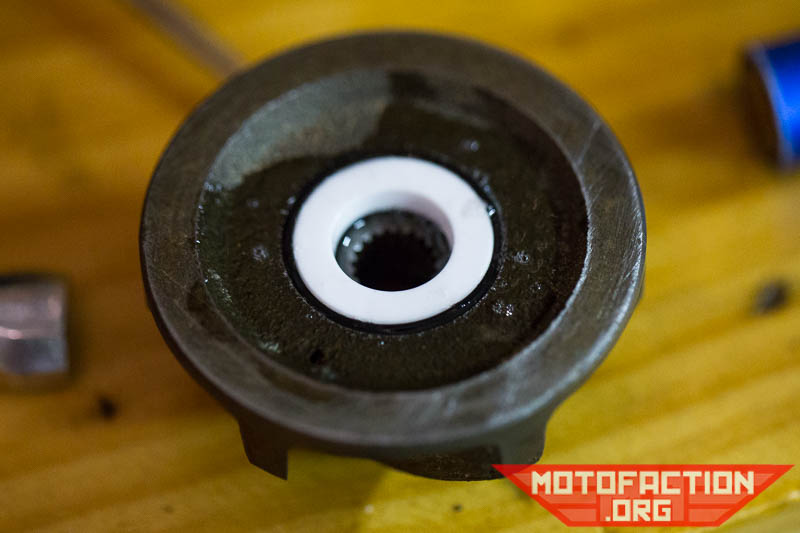
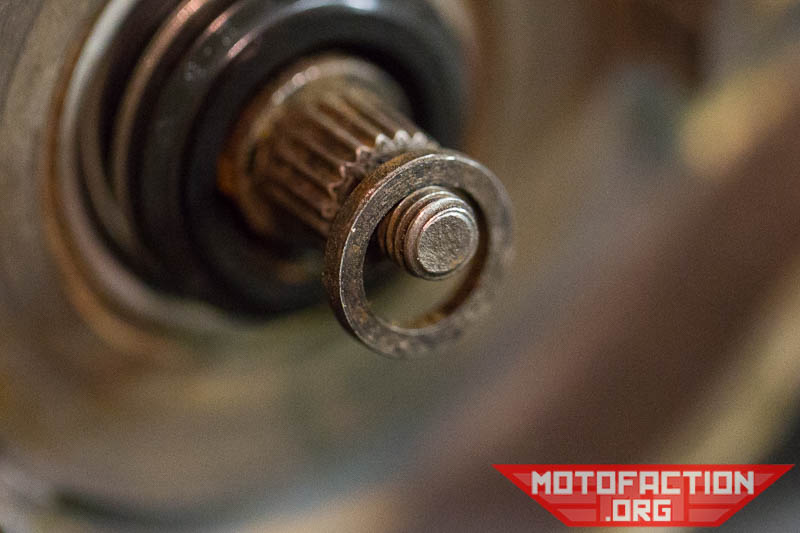
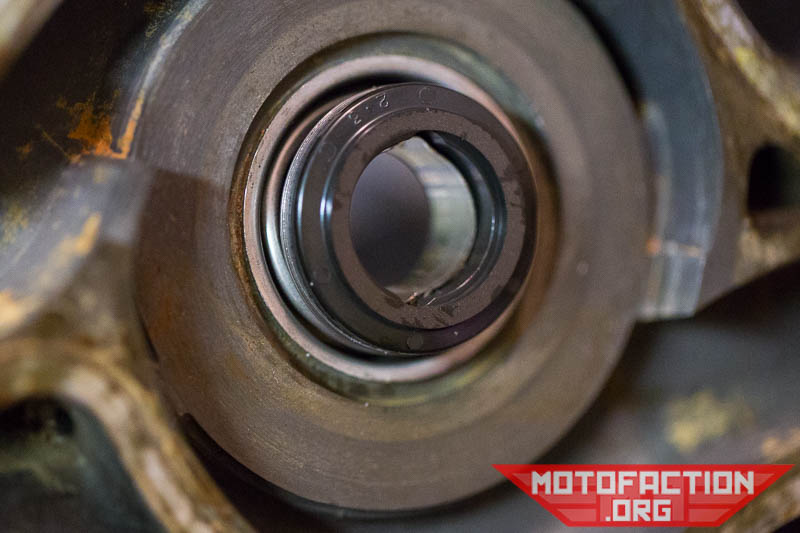
Don't touch the polo mint after installation into the impeller! Take a look at the front:
Look closely - make sure there isn't a copper washer stuck to the front of it as there is in the photo above.
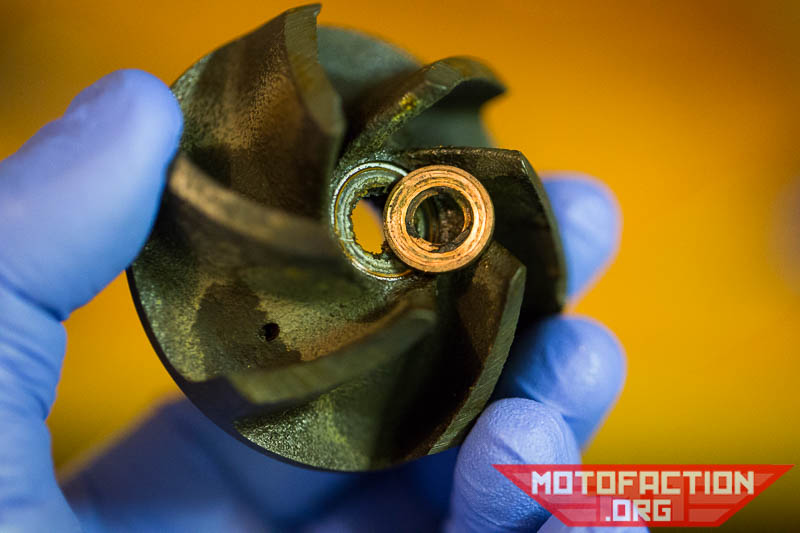
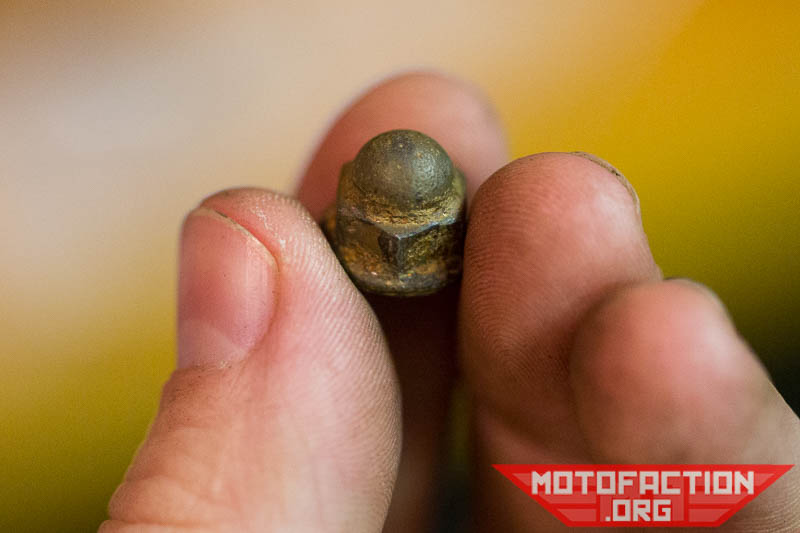
You definitely don't want to double up on that washer. Now, make sure that you have the thrust washer:

If you can't find it, check the back of the old polo mint:
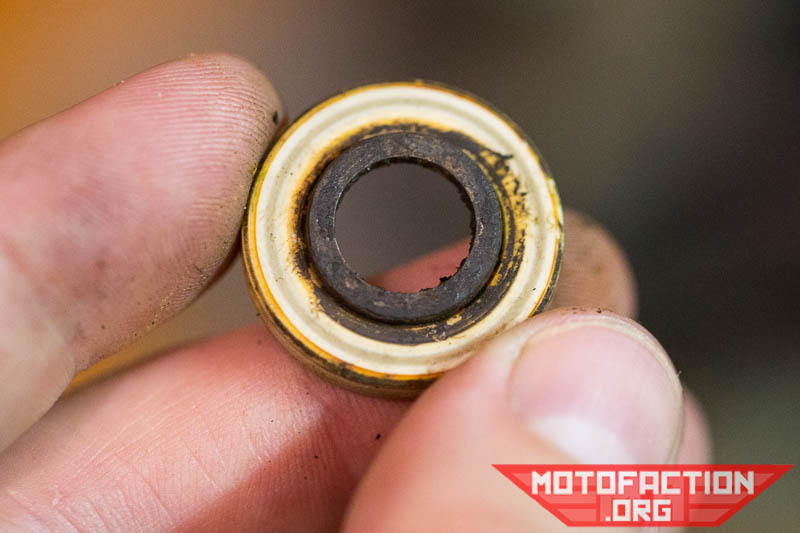
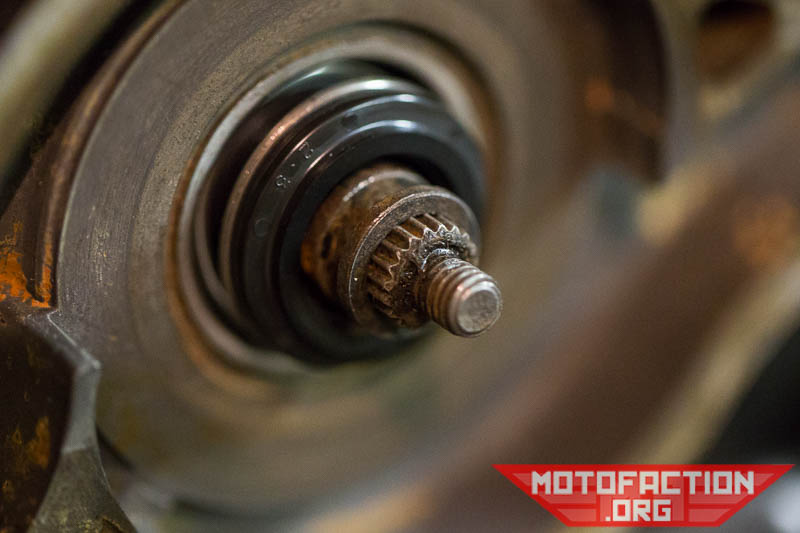
...or on the camshaft already - it can look like it's part of the camshaft:
If you have a factory Turbo bike this washer is not present so don't go looking for it! This is also something that can't be doubled up. Don't omit this - you'll end up with a leak. If you cannot verify whether it's there or not don't assume - make absolutely sure! Install it on the camshaft:
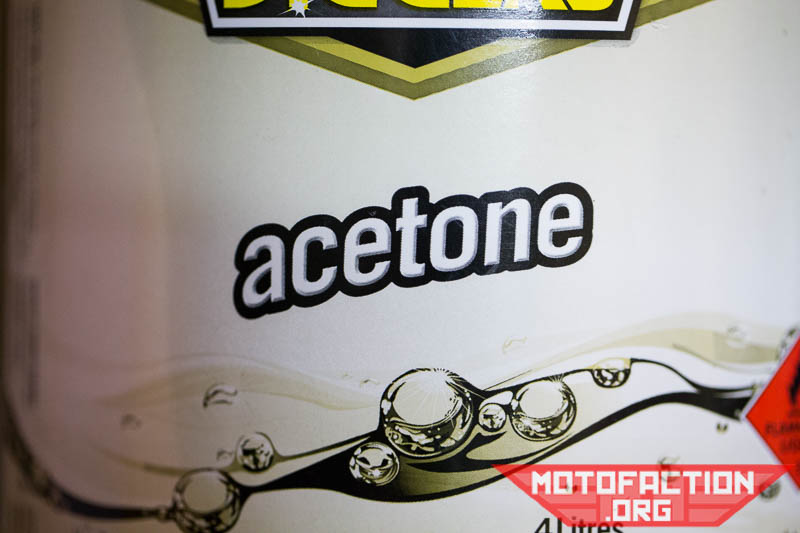
Clean the face of the mechanical seal face that's in the rear cover with some acetone (just the carbon-graphite face that will mate to the ceramic polo mint, you don't need to rub acetone into the rubber bellows as we don't need that to be free from grease and grime) and let it dry (below pictured prior to rear cover installation):
Press the impeller onto the camshaft splines - it'll be slightly spring loaded due to the spring in the mechanical seal:
Grab your new copper washer, part number 90441-706-000 (eBay, AMA
):
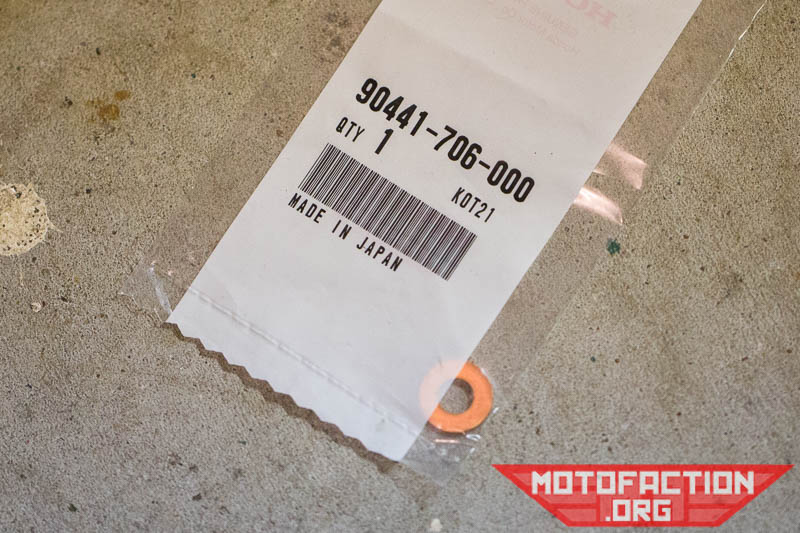
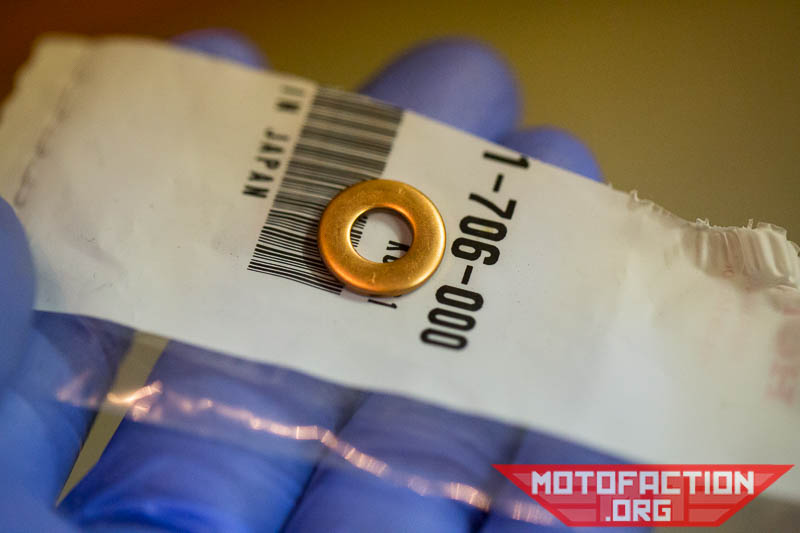
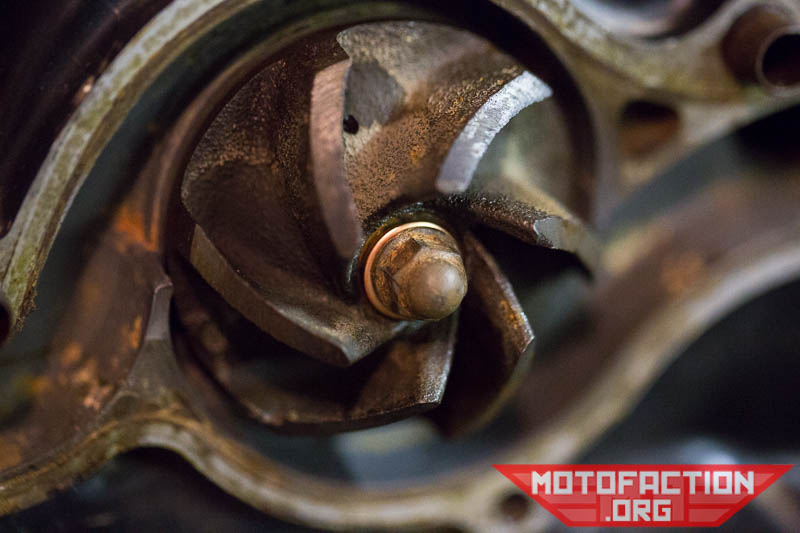
Some people re-use the old one after annealing it; it's only a couple of bucks so I tend to go with new, but people generally don't seem to be having issues re-using it so long as it's annealed. Don't simply re-use it or else you may end up with a leak. Install the copper washer onto the impeller:
At this point it's a good idea to press the impeller inwards with your hands (evenly on either side) to check that nothing is binding and that the impeller presses in far enough that the acorn nut will seat properly - better off finding out now with your hands that something doesn't feel right rather than shortly with your socket (e.g. cracking the polo mint due to misalignment or stripping the threads on the end of the camshaft due to only one or two mating). Grab your acorn nut (this one could do with a clean):
It must be an acorn nut and not just a regular hex or flanged nut - otherwise you may end up with coolant leaking down the threads.
If you can't get enough threads out past the copper washer try removing the washer and very lightly tightening the acorn nut without the washer to compress the spring a little - sometimes new mechanical seals seem to be a bit stiff. Once you have done that, remove the acorn nut, re-install the copper washer and proceed.
Install the acorn nut onto the end of the camshaft using blue threadlocker:
Using a 10mm socket...

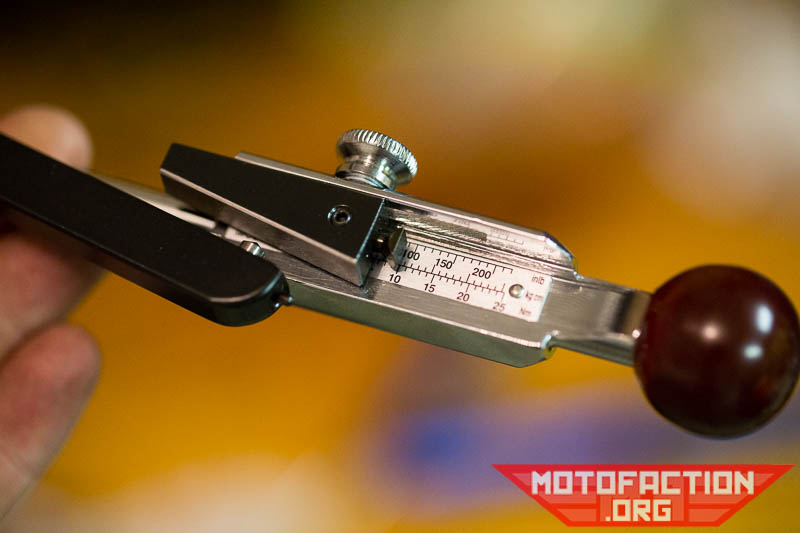
Torque the acorn nut to 6-9 ft/lb - we would suggest not going for the higher end of that range, 90-95in/lb is a good point to aim for - note that this is a very low torque setting and many torque wrenches won't go that low. We have to use a 1/4" drive torque wrench for this as our 3/8" and larger wrenches don't go that low. Using a small (read: short) wrench also makes it less likely that you overshoot the torque value by accident:
Impeller installed!
If you're doing this as part of the triple bypass procedure, click here to go back to the main bypass page.
In 2019 the server has had to double in capacity to support the growing site... please consider dropping the site a donation to help cover the costs! Check out our Patreon for support options, buy a shirt, buy our apps, use my NordVPN affiliate link to sign up to their service or donate via Paypal:
| Paypal $5 link ->> | |
| Paypal $10 link ->> |