Before using this site please read the site disclaimer. Also please note that any links provided may be part of an affiliate programme (viz. eBay, Amazon) which helps support the site as I will earn a commission when visitors make a qualifying purchase.
Before we begin the how-to, a note on the mechanical seal size vs. the aperture in the rear cover.
Older Honda CX models (and some of the early GL500 models, it seems?) came with a smaller size of mechanical seal - and matching hole (27.8mm) in the rear engine cover - than what is available today. Later models had a larger seal and hole (28.3mm) and that is the size of mechanical seal that's currently available. What do you do if you have an older motor with the smaller hole? There are two options;
For how we enlarge the mechanical seal's hole, see this article.
For more information on the mechanical seal and the nearby components, check out the infographic here.
Also - this needs to be done before the camshaft oil seal is replaced.
You will need:
The mechanical seal comes in two main pieces:
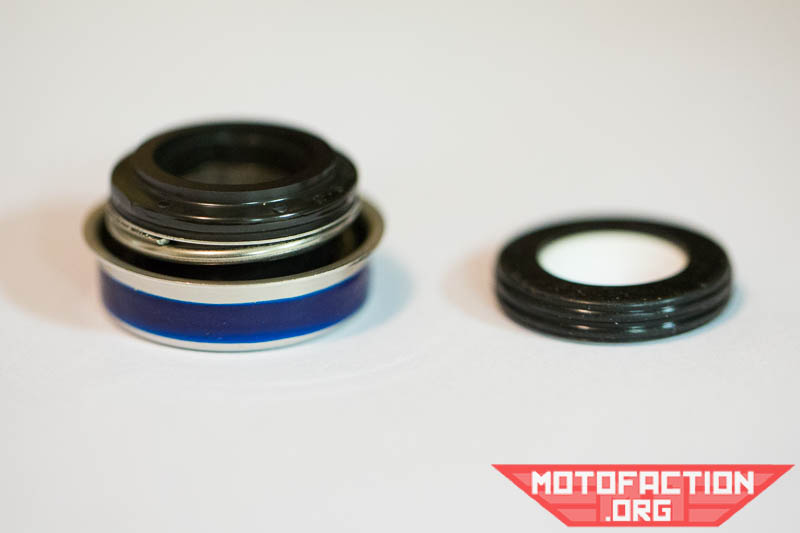
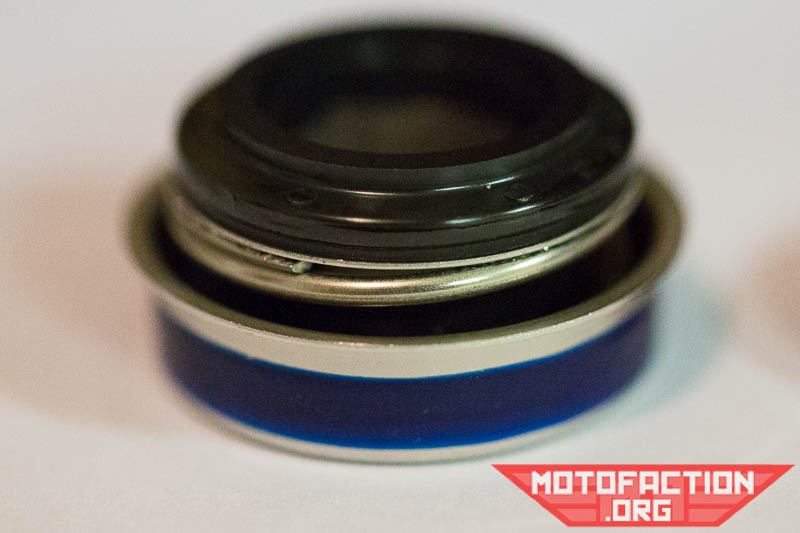
The piece on the left is fitted into the hole in the rear engine cover and the piece on the right fits into the back of the water pump impeller. A top-down view:

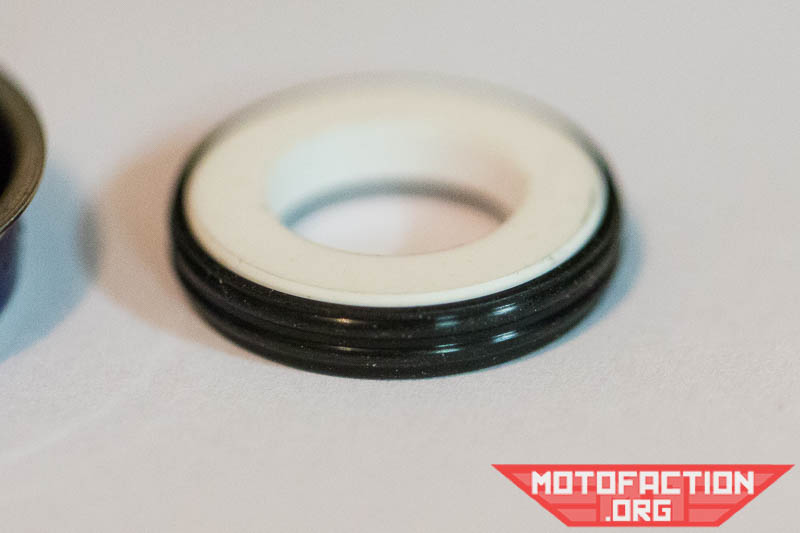
The piece that fits into the back of the impeller is commonly referred to as the "polo mint" due to it's similarities to - you guessed it - a polo mint.
Depending on which brand you buy your mechanical seal may have a band of sealant around it's circumference already (blue here):
If yours doesn't have any sealant we have some suggestions for sealant on this page. The polo mint also has a surrounding rubber piece:
Firstly we will deal with the piece which fits into the rear cover. For the purposes of this particular write up we are assuming that you either have one of the later rear covers or have enlarged the smaller hole with a flap wheel to match the 28.3mm mechanical seals.
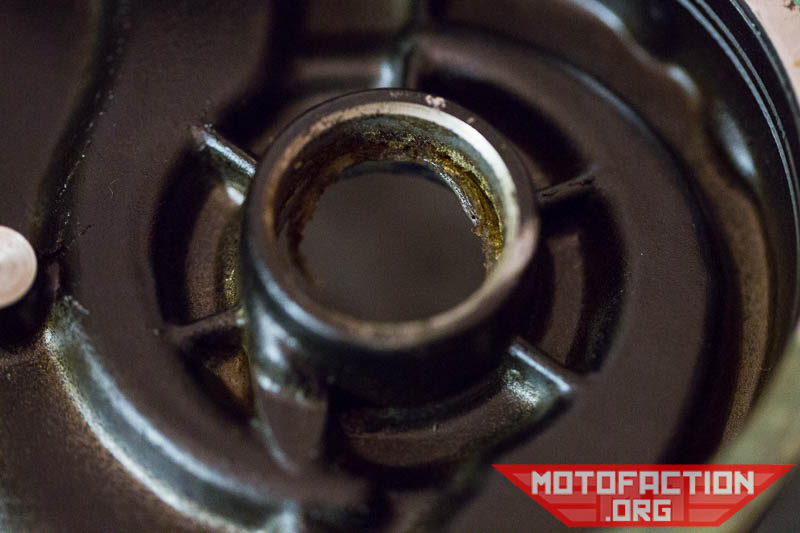
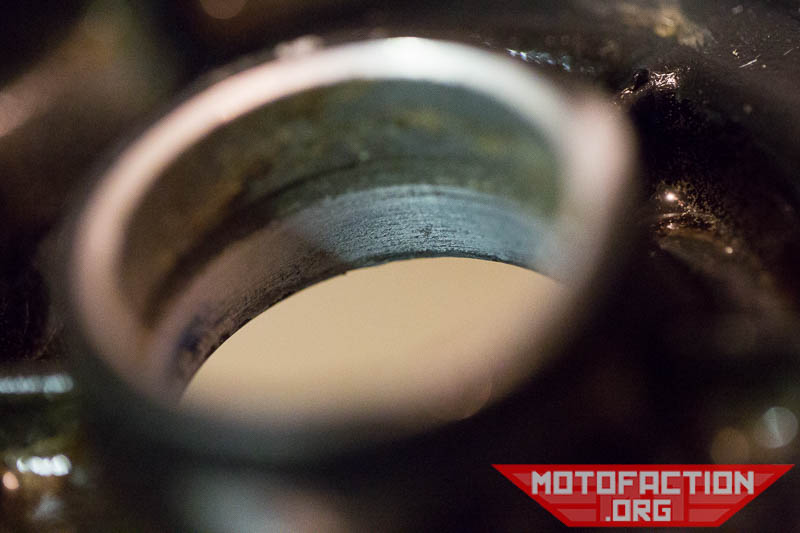
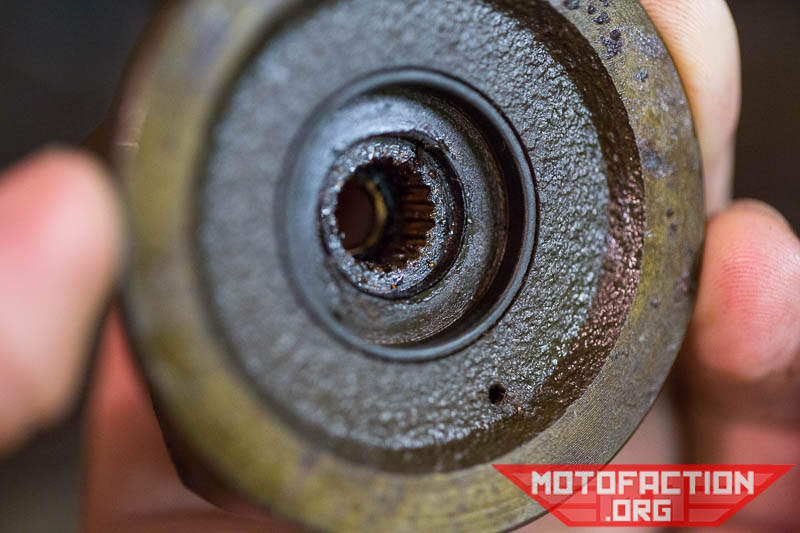
Make sure that the hole is clean and doesn't look like this:
Partly cleaned up:
Ensure that the weep hole is clear. The best way of installing the mechanical seal (read: lowest chance of damaging the seal and needing to do this again) is by pressing it in. To do this you can make a press tool using a threaded rod or long bolt, washers/sockets or pipe - or something similar that you have laying around. For the side that is doing the pushing on the mechanical seal, the contact point should be here:
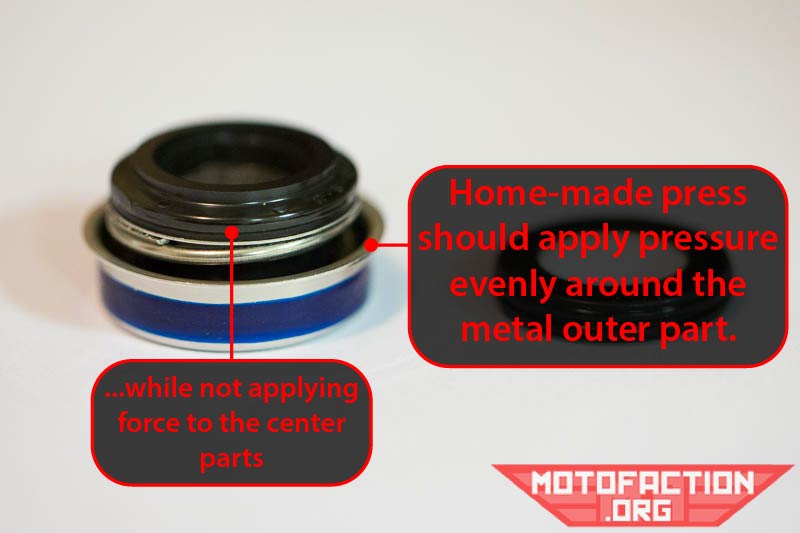
We do have a Honda tool for this job - photos of it coming soon. The seal is a tight interference fit. Please note - if you have the larger seal and the smaller hole no amount of pressing is going to get it to fit as the difference is simply too big, so if in doubt measure the hole. Here we have used a bolt and a washer (happens to have rubber around it, not important) for the end that's on the inside of the rear cover:
...and some PVC pipe, a matching washer and a nut on the other end:
Ensure that whatever you are using has flat ends - you don't want to push it in at an angle. The mechanical seal should drop into the hole slightly - ensure that it is aligned correctly to drive in straight and tighten the nut/bolt slowly. You want the lip on the mechanical seal to be sitting flush with the rear cover and even all the way around:

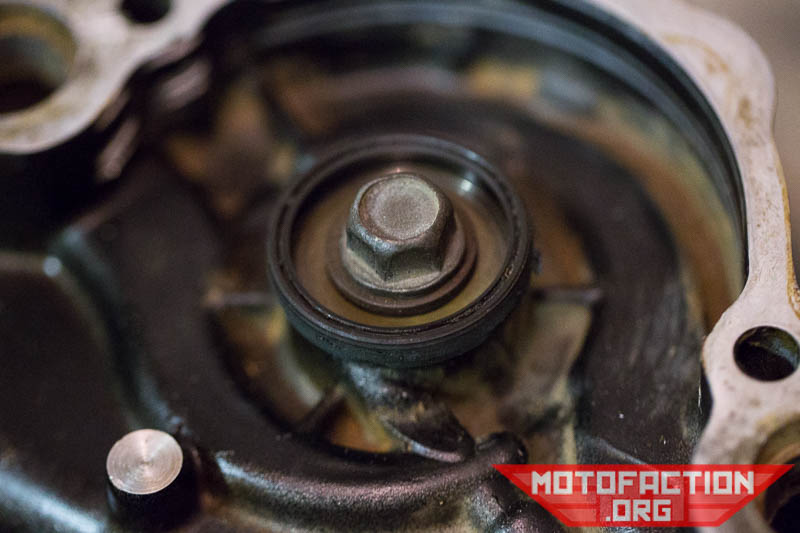
On the inside of the hole you should still be able to see the weep hole:

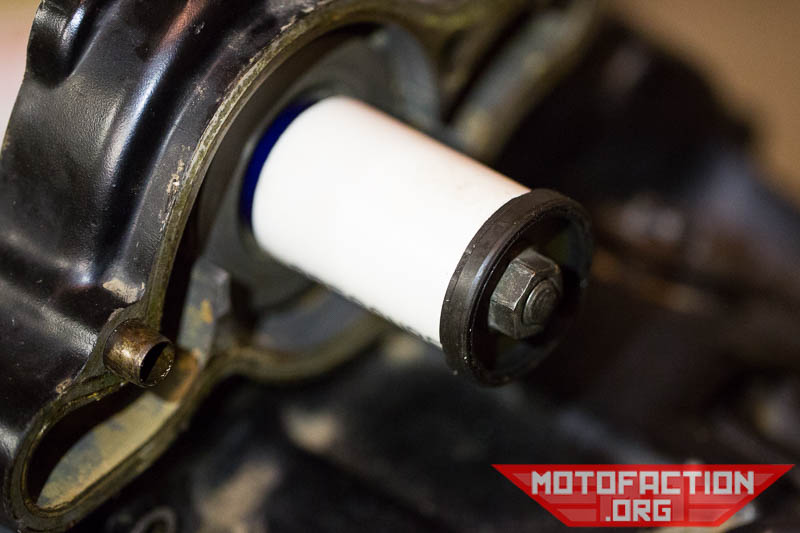
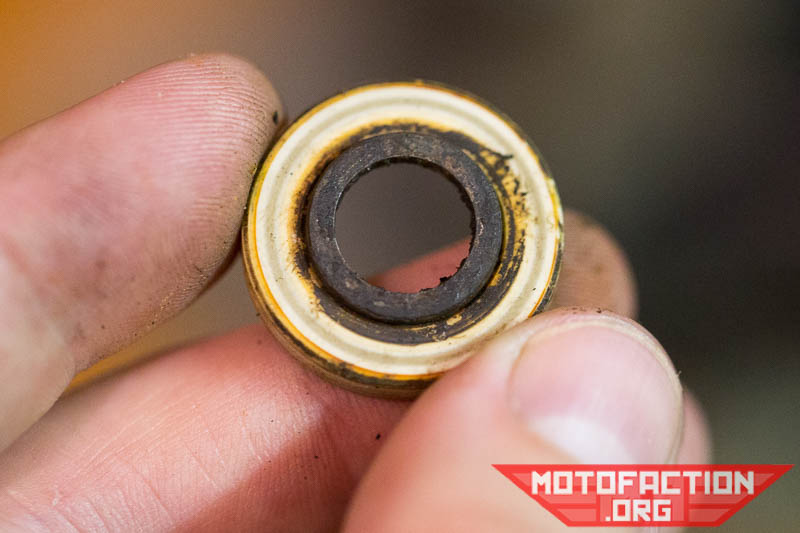
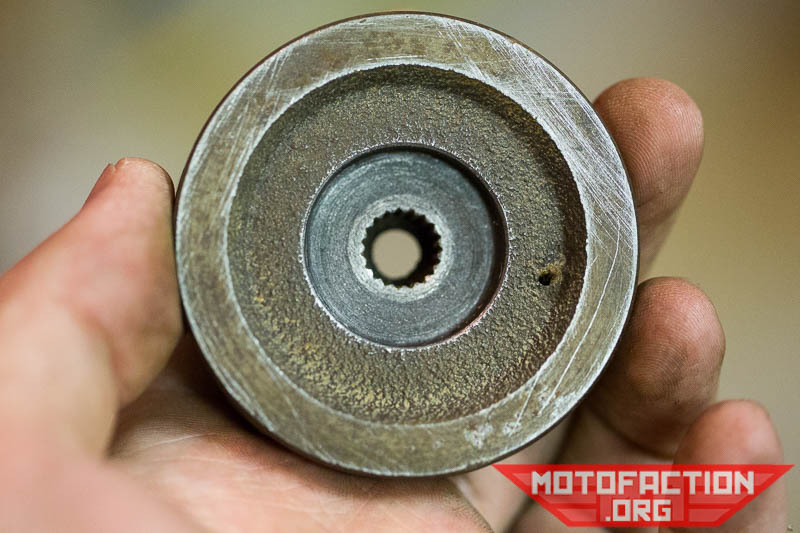
Now for the polo mint. Take a look at your water pump impeller - there's probably the rubber piece from the polo mint still stuck in there:
Speaking of the old polo mint, before you throw it out make sure that the thrust washer isn't stuck to the back of it:
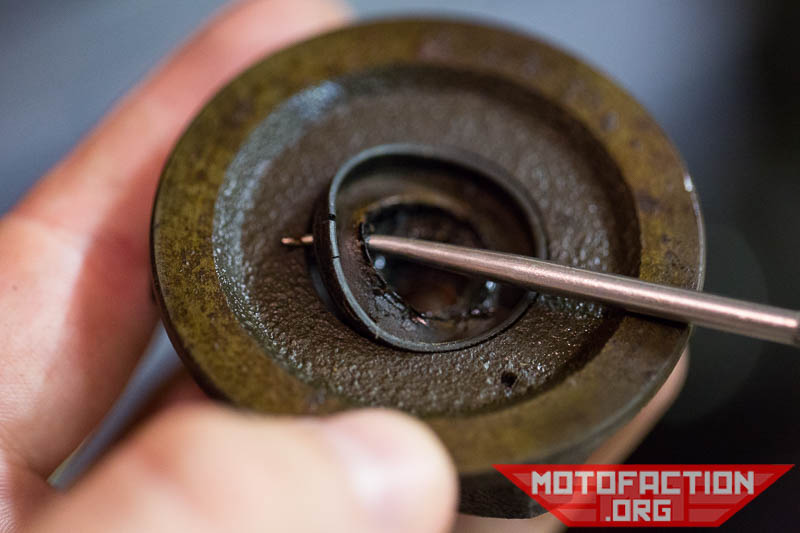
The polo mint should all be one material - there are no metal parts to it. If one side of the mint is chamfered and the other one isn't, the chamfered side faces the mechanical seal - not the impeller rear. Some brands of mechanical seal seem to have polo mints with chamfered edges on both sides - your mileage will vary. The seal will generally be shipped with the correct side facing out of the rubber - some have only one micro-ground side that should be the one to mate with the rest of the mechanical seal - and sometimes the side that isn't micro-ground will have a texta mark or similar on it to identify it as the side not to use. Prise out the old rubber seal if it is stuck to the inside of the impeller:
This needs a clean up:
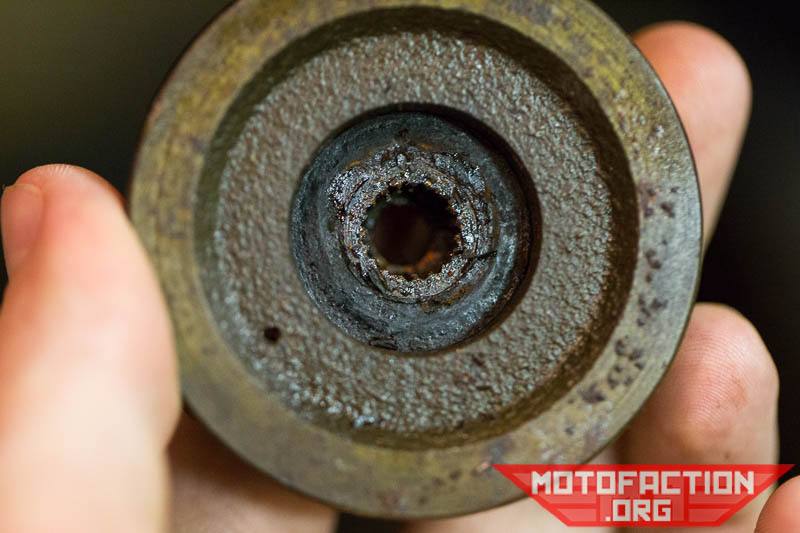
A Scotchbrite and some degreaser should take care of that:
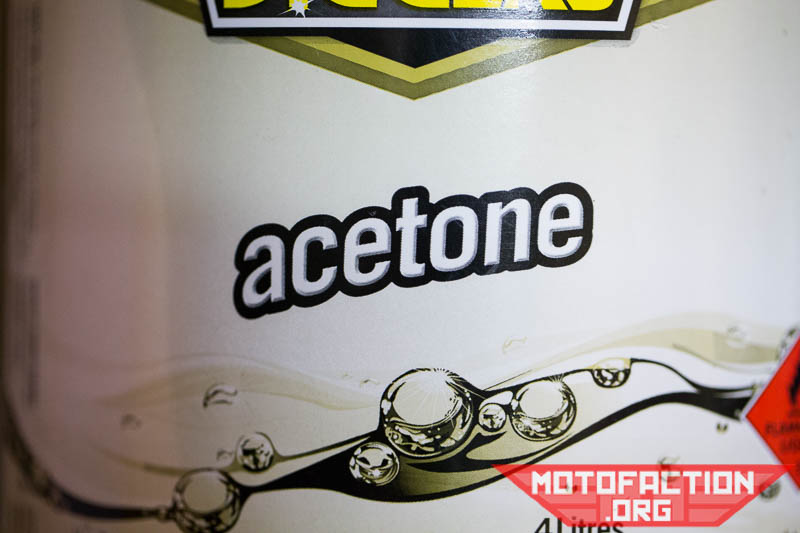
Clean the polo mint with some acetone or methylated spirits, and don't touch it with your bare fingers (or otherwise contaminate it) after that:
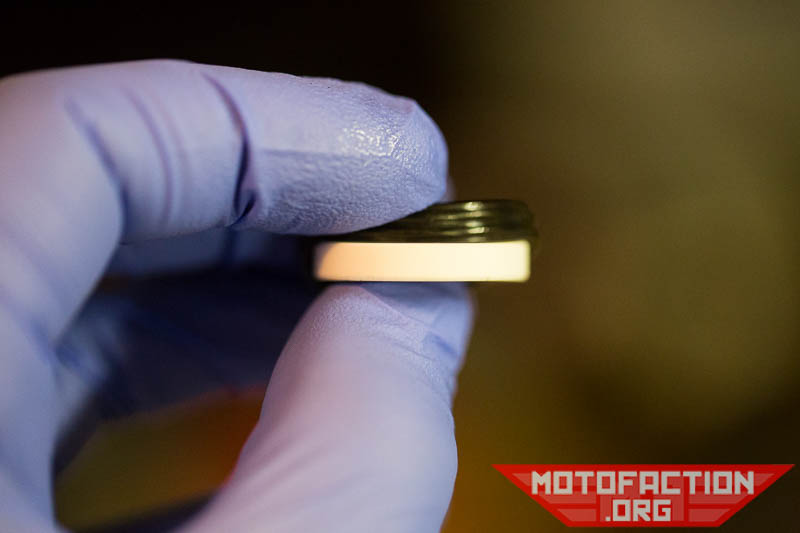
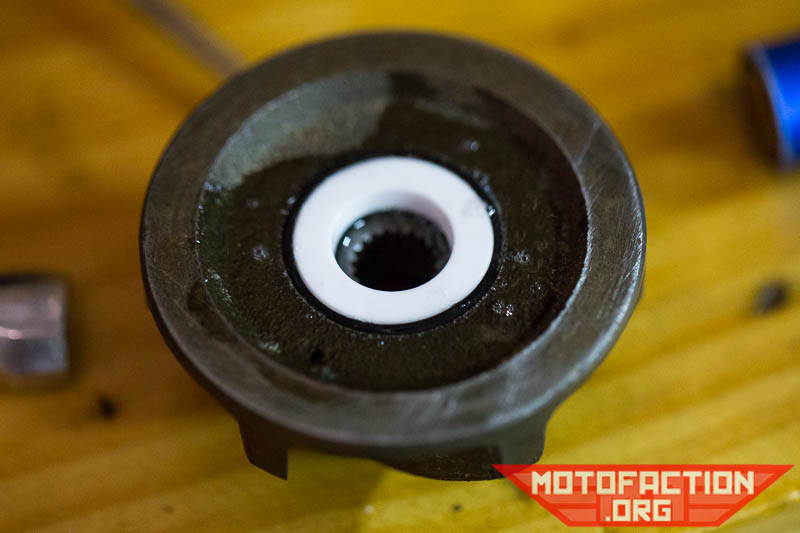
Using a clean rubber glove or similar (i.e. not your grubby finger), apply some dishwashing liquid to the polo mint and the black face of the mechanical seal in the rear cover to give them an oil-free sliding surface during break-in. Some dishwashing liquid on the rubber can make it's insertion into the impeller easier, too. Insert the rubber into the back of the impeller and then the polo mint:
Having difficulty making it fit? Some people have been sent the wrong size of polo mint - if in doubt, measure up the dimenisons of the one you removed and compare it to your new polo mint. Make sure that the rubber seal and polo mint are pressed in squarely and evenly. That should be the mechanical seal all done. Next you'll probably want to install a new camshaft oil seal, or go back to the main triple bypass page.
MotoFaction is a free resource, but the server isn't free. If a writeup here saved you time or money, please consider supporting the site:
You can also support us via Patreon.