Before using this site please read the site disclaimer. Also please note that any links provided may be part of an affiliate programme (viz. eBay, Amazon) which helps support the site as I will earn a commission when visitors make a qualifying purchase.
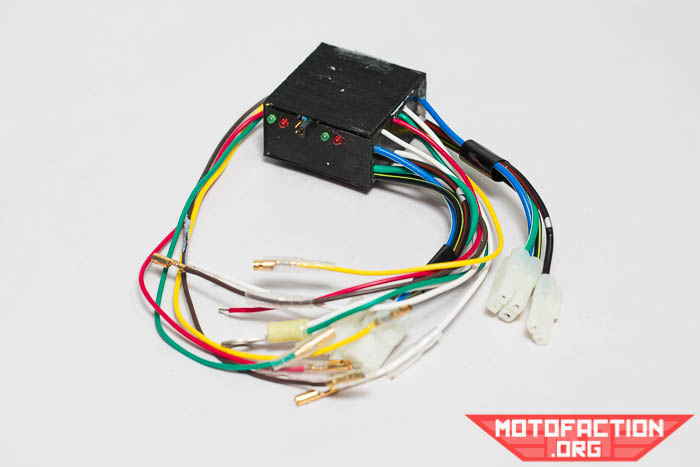
Here's how to connect the wires of the Rae San Hall Effect full kit on a Honda CX500 with CDI ignition.
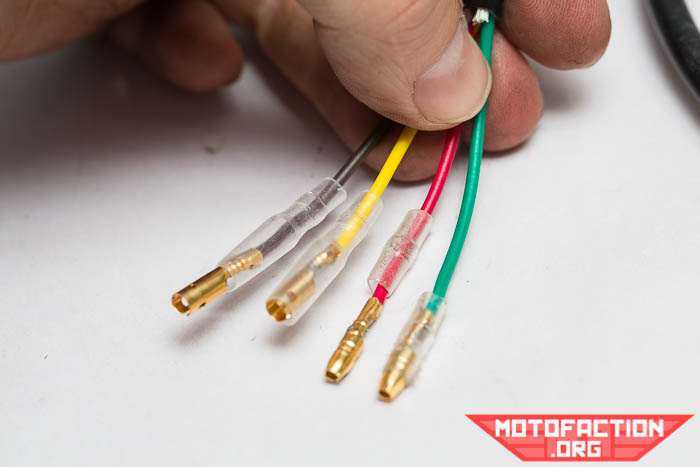
On the input side we have brown, yellow, red and green:
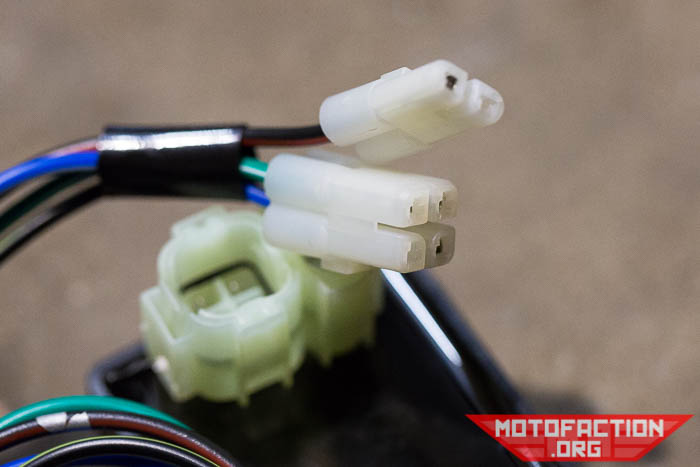
On the other side we have the outputs:
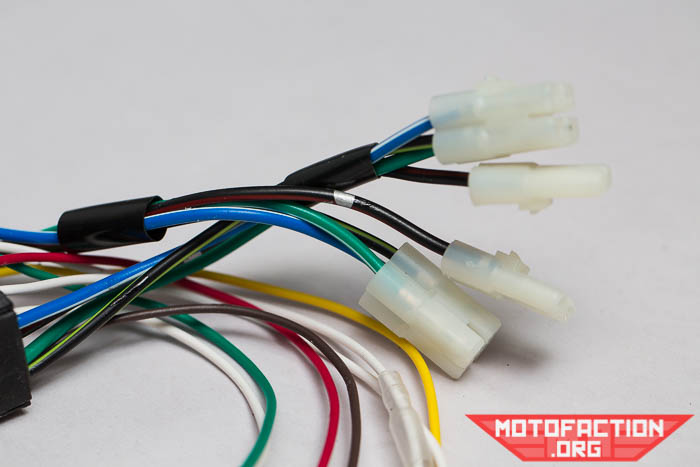
In the above we have the connectors for the coils - left is on the side that has the yellow wire near it, right is on the side that has the brown wire near it. While the ignition modules could handle being used for both sides it's easier for troubleshooting to have them separated.
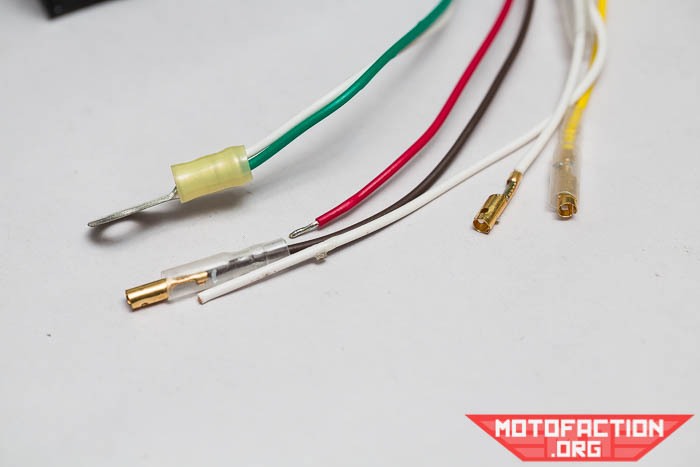
Here we have:
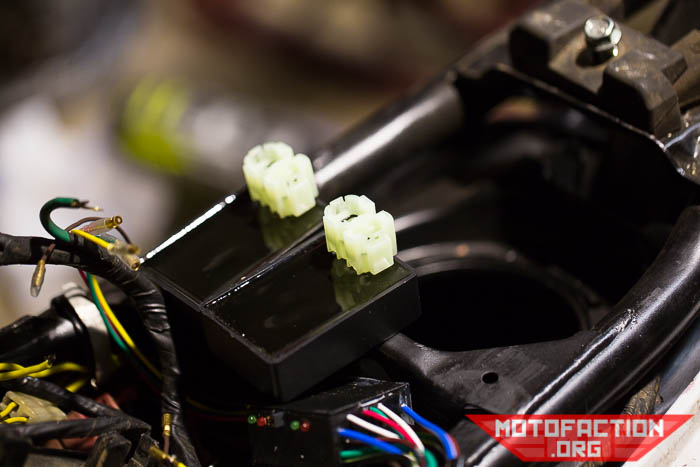
Remove the original CDI box if it's still present in your bike.
Grab the two ignition boxes:
Connect them - they're identical so it doesn't matter which goes on which side:
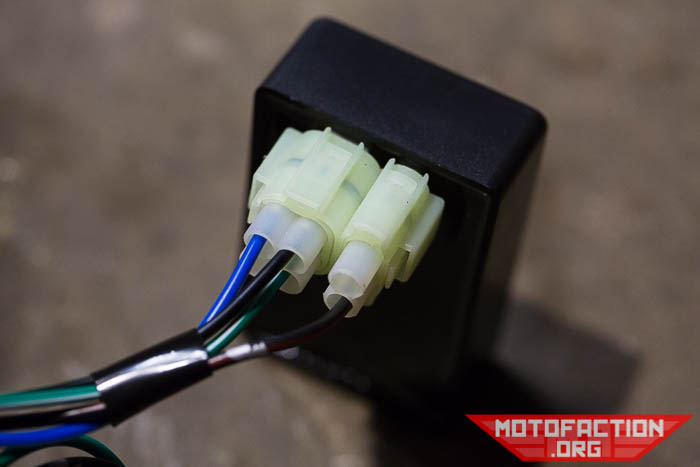
Double check that the pins in the connectors are seated all of the way - if you look carefully at the above photos you can see the black wire with yellow trace seems to be a little high in the connector.
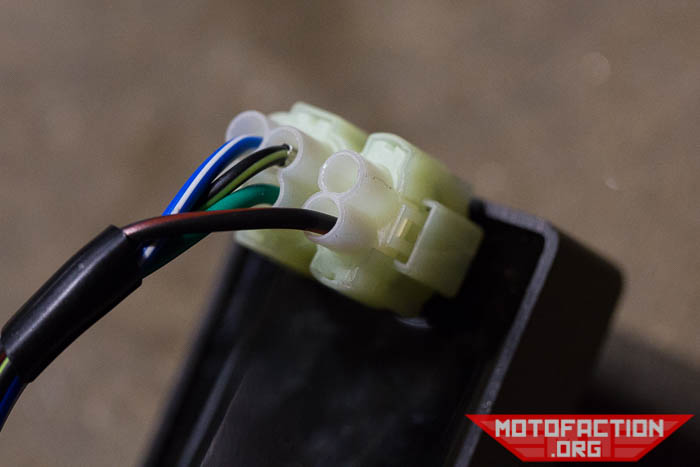
On the other side connect the colours - brown, yellow, red and green to the matching connectors coming from the pickup:
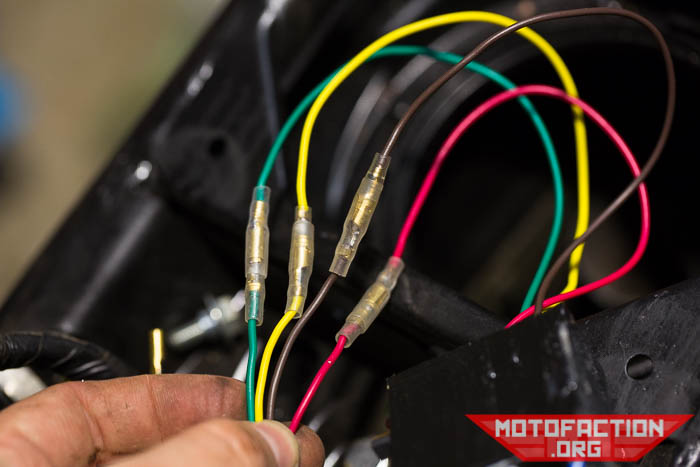
That connects power, ground and the left and right pickup signal between the pickups and the central box.
Connect the ground lug to the chassis ground:
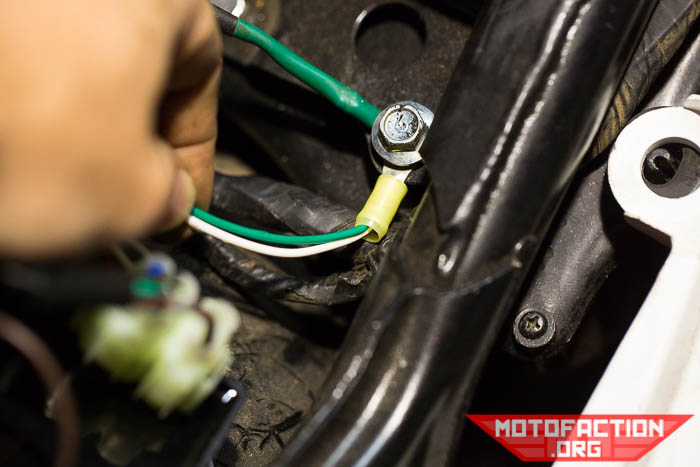
Connect the white kill switch wire to the bike's black-with-white-trace kill switch wire, which was going into the old CDI box.
(photo TBA)
Connect the red power input to the black switched power - in this vicinity on the bike there will usually be a line going in to the rear brake light switch. If you utilise this you will have to make a Y-piece or splice the connector in to an existing connection so that you can still have power going to your rear brake switch...
(photo TBA)
If you have an electronic tacho hook it up to the other white wire.
(photo TBA)
As far as arranging the Rae San unit under the seat, there's any number of ways to do that - photos will be forthcoming of our approach - but however you do it please make sure to not kink or sharply bend any of the wires as it may result in premature failure of the wires and thus unit.
Ray says that since the unit draws less than 2A max power a separate fused link is not necessary.
Coming soon - notes on using the jumper to change the advance curve...
MotoFaction is a free resource, but the server isn't free. If a writeup here saved you time or money, please consider supporting the site:
You can also support us via Patreon.