How to remove the carbs – Honda CX500, GL500, CX650, GL650

Need a guide for removing the carbs on your Honda CX500, GL500, CX650 or GL650? Here are some pointers for the CX500 – other models will be similar and when possible we will get pics of those too.

Remove the seat and fuel tank before you begin, being careful to turn the petcock off so you don’t spill fuel everywhere.

Here are some photos showing a removal guide for the carburetors on a Honda CX500, GL500, CX650 or GL650 motorcycle, as shown on MotoFaction.org.

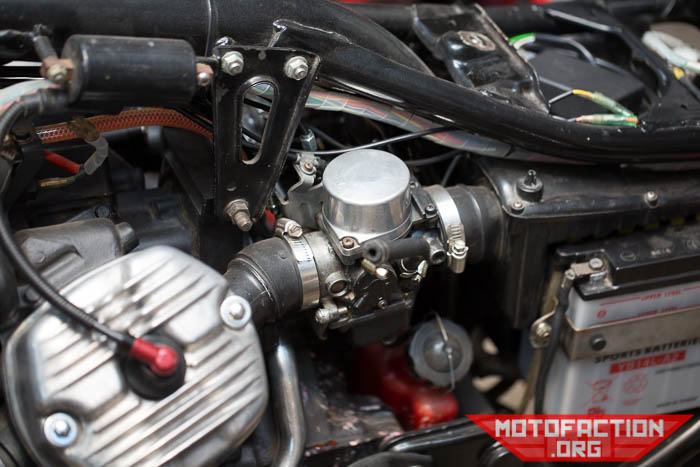
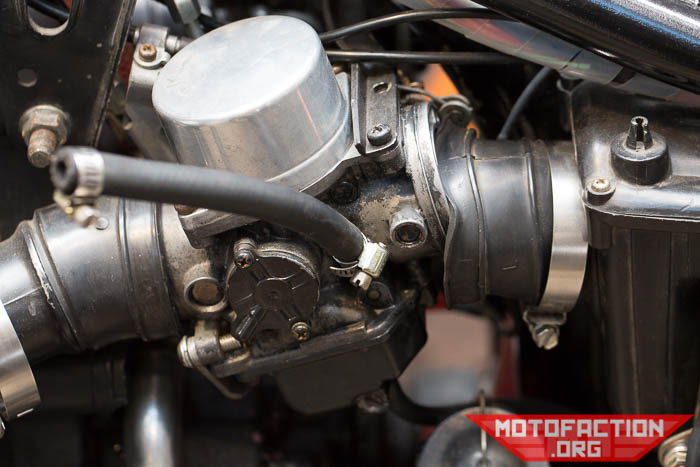
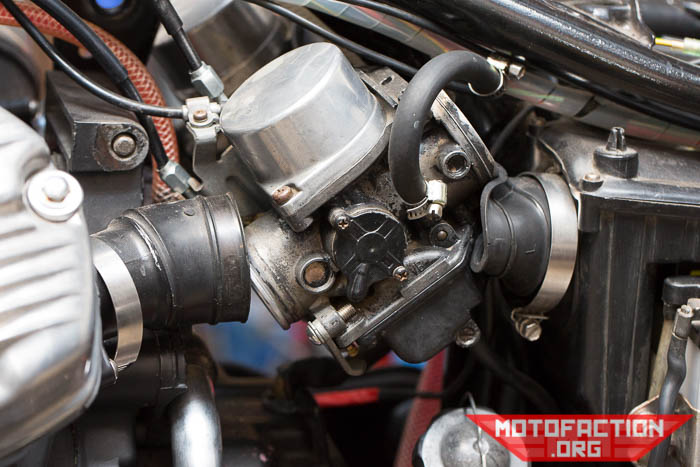
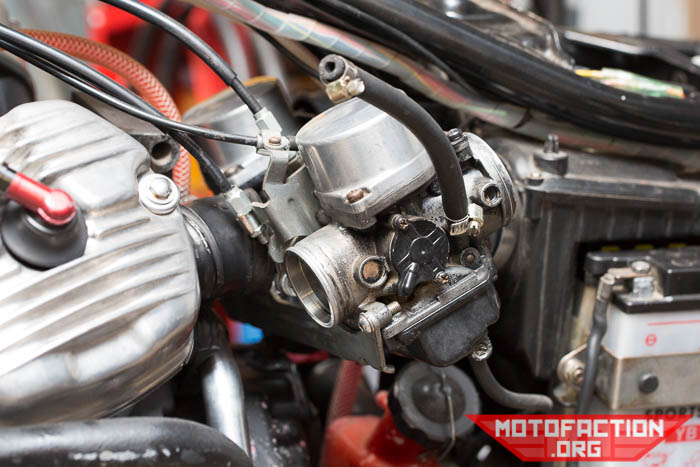
There are two clamps per carburetor (and one carburetor per cylinder, so two total) – one between the airbox and carb and one between the carb and inlet (aka insulator):

Here are some photos showing a removal guide for the carburetors on a Honda CX500, GL500, CX650 or GL650 motorcycle, as shown on MotoFaction.org.

Here are some photos showing a removal guide for the carburetors on a Honda CX500, GL500, CX650 or GL650 motorcycle, as shown on MotoFaction.org.

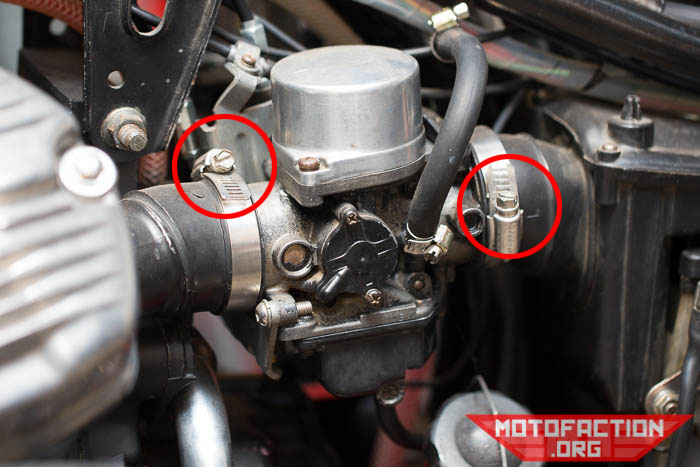
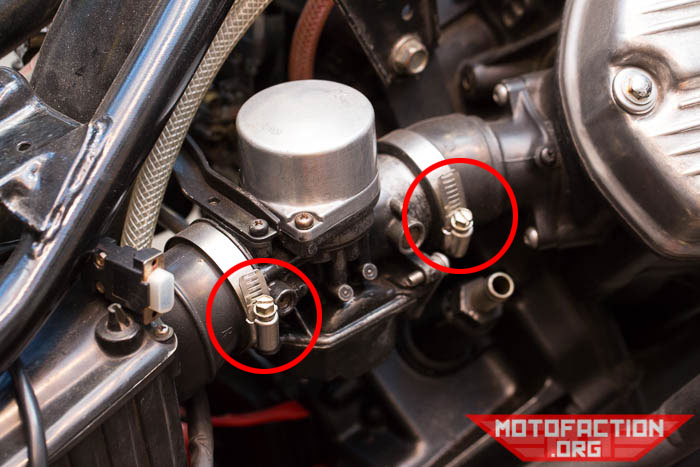
As an aside, if your crank breather bottle is also open cover it! Loosen the clamps and move them out of the way:

Here are some photos showing a removal guide for the carburetors on a Honda CX500, GL500, CX650 or GL650 motorcycle, as shown on MotoFaction.org.

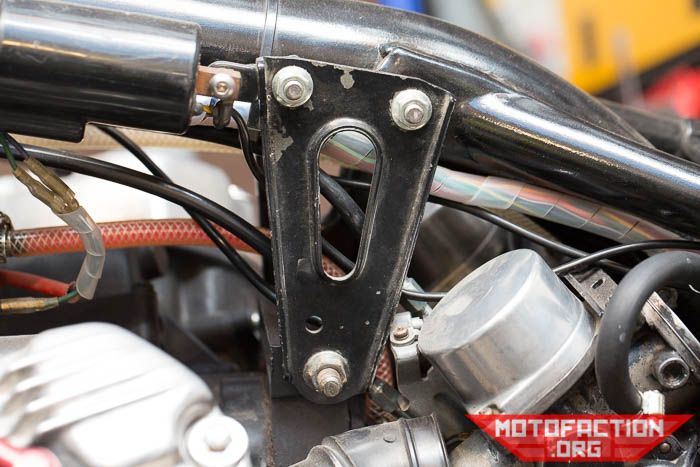
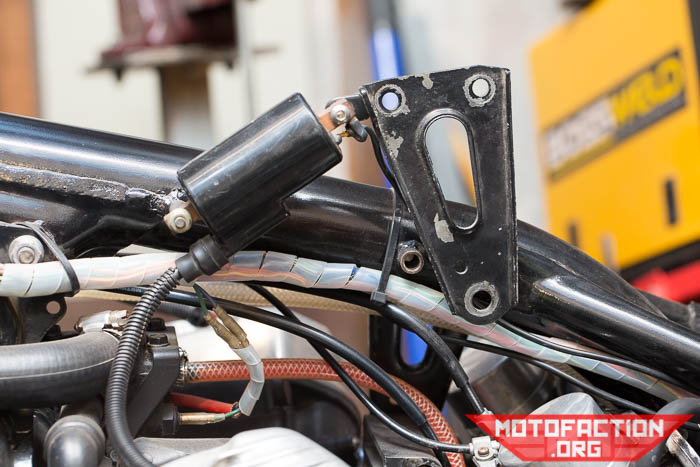
On CDI bikes the upper engine mount needs to be removed – you can remove the bolts and pivot it upwards out of the way without having to remove the coils:

Here are some photos showing a removal guide for the carburetors on a Honda CX500, GL500, CX650 or GL650 motorcycle, as shown on MotoFaction.org.

Here are some photos showing a removal guide for the carburetors on a Honda CX500, GL500, CX650 or GL650 motorcycle, as shown on MotoFaction.org.

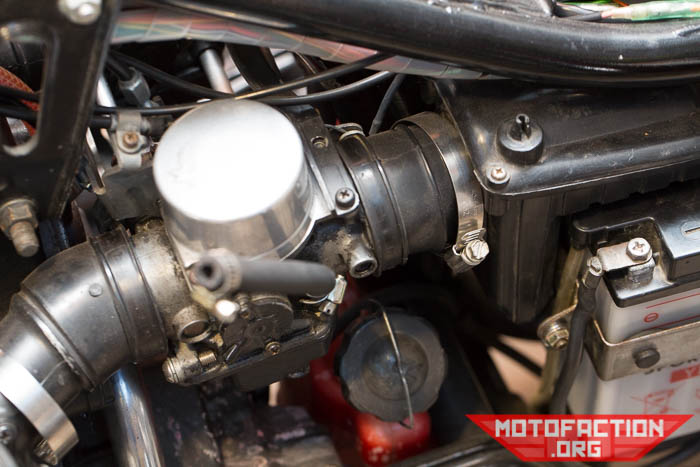
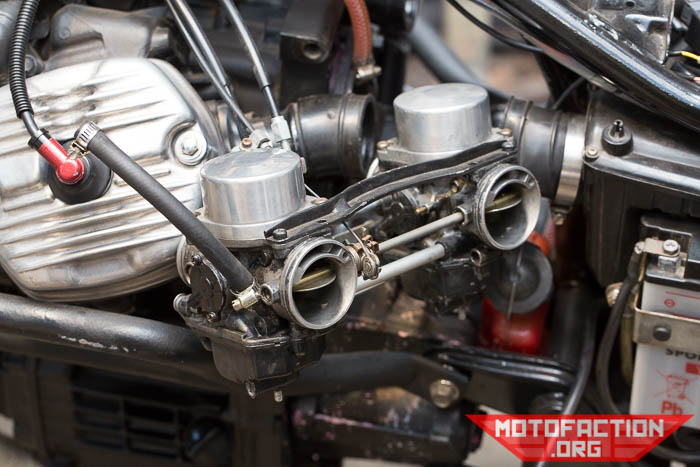
Twist the carburetors so they pop out of the airbox-side rubbers:

Here are some photos showing a removal guide for the carburetors on a Honda CX500, GL500, CX650 or GL650 motorcycle, as shown on MotoFaction.org.

Here are some photos showing a removal guide for the carburetors on a Honda CX500, GL500, CX650 or GL650 motorcycle, as shown on MotoFaction.org.

Having trouble with stiff rubber on the engine side, or worried you will crack them? You can undo the bolts holding the insulators to the head and rotate the (top towards the center of the bike) to remove them from between the engine and carburetor which will make this process easier.

Wriggle them out to the left side of the bike:

Here are some photos showing a removal guide for the carburetors on a Honda CX500, GL500, CX650 or GL650 motorcycle, as shown on MotoFaction.org.

Here are some photos showing a removal guide for the carburetors on a Honda CX500, GL500, CX650 or GL650 motorcycle, as shown on MotoFaction.org.

Sometimes it may be easier to disconnect the thermostat bypass hose that runs between the thermostat and the top of the water pump impeller cover. I generally don’t find that this is necessary. Now you can disconnect the pull, push and choke cables:

Here are some photos showing a removal guide for the carburetors on a Honda CX500, GL500, CX650 or GL650 motorcycle, as shown on MotoFaction.org.

Here are some photos showing a removal guide for the carburetors on a Honda CX500, GL500, CX650 or GL650 motorcycle, as shown on MotoFaction.org.

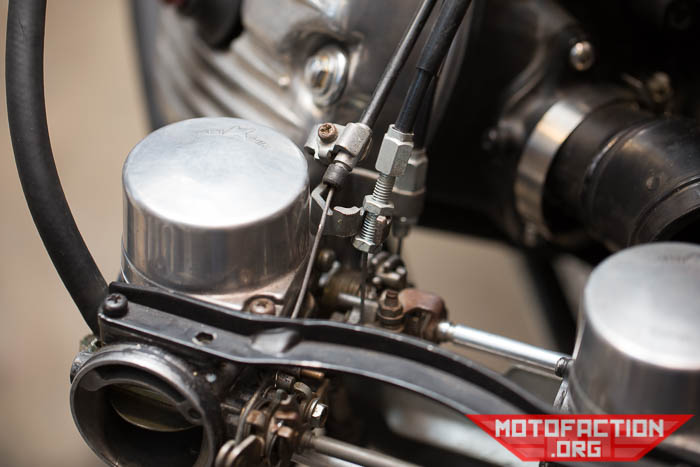
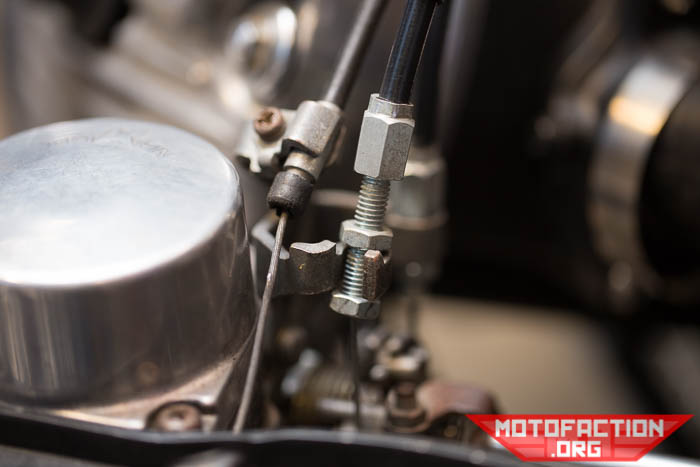
Once they are disconnected the carburetors are free!

Here are some photos showing a removal guide for the carburetors on a Honda CX500, GL500, CX650 or GL650 motorcycle, as shown on MotoFaction.org.

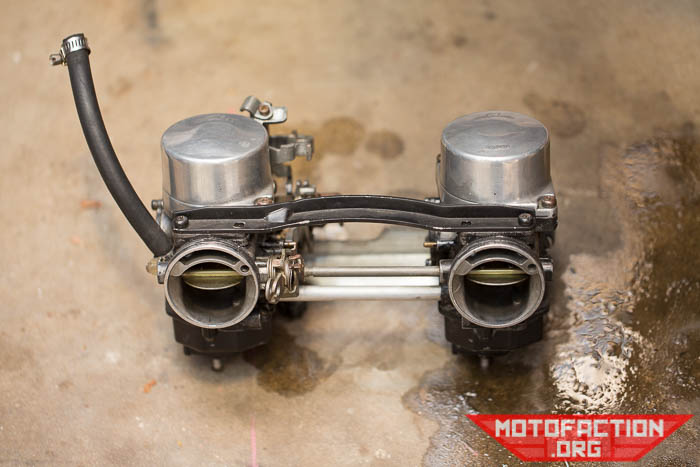
Notes on the other models will be forthcoming as I have the opportunity to document the process.

Now, on to the carb cleaning process

Some quick notes on the reinstall process before a separate page goes up for it;

  • Adjust the cables when you reinstall them to the carb bodies; you don’t need to have the carbs actually fully installed to set the slack
  • 1/4″ to 1/8″ of throttle play when you do set that
  • Check the intake O-ring state and presence when reinstalling
  • Having trouble fitting them back in? Remove the intakes that sit between the head and carbs and install those after you fit the carbs to the airbox rubber
  • Check that the throttle twists and springs back as it should after you have installed them to the airbox, including with the bars to full lock either side – sometimes it binds when the bars are turned to the right. If binding, check cable routing.

Leave a Comment

Your email address will not be published. Required fields are marked *

Scroll to Top