Before using this site please read the site disclaimer. Also please note that any links provided may be part of an affiliate programme (viz. eBay, Amazon) which helps support the site as I will earn a commission when visitors make a qualifying purchase.
At this point you have removed the forks from your Honda CX500 and now need to disassemble them. Here's how!
As noted in the previous how-to this process is made easier if you have loosened the top bolt slightly while the fork was still in the clamps;
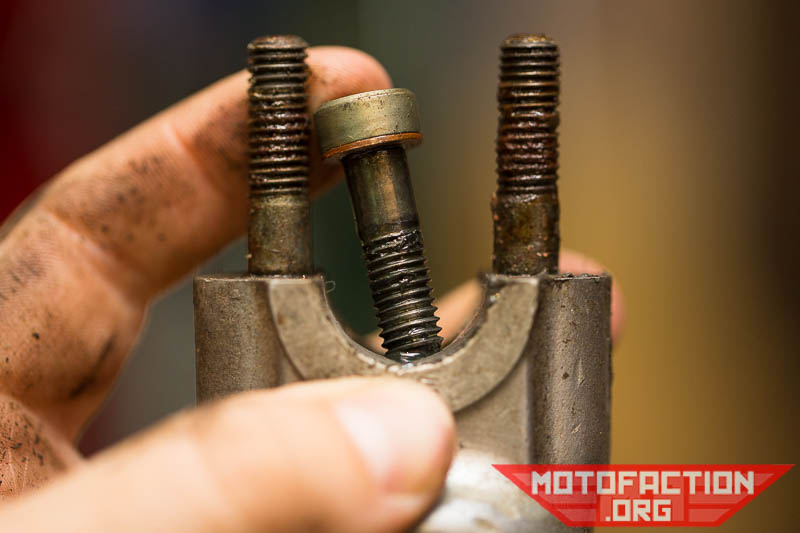
Leaving that bolt alone for now we want to turn our attention to the bolt on the bottom of the forks:
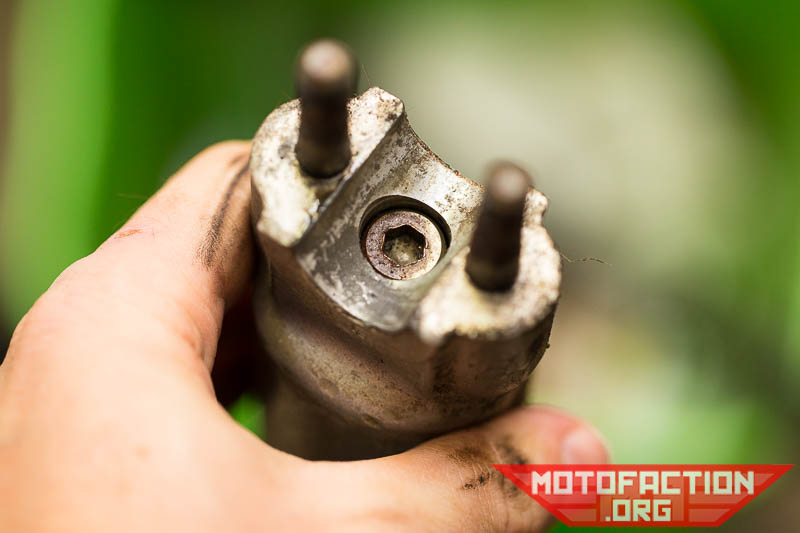
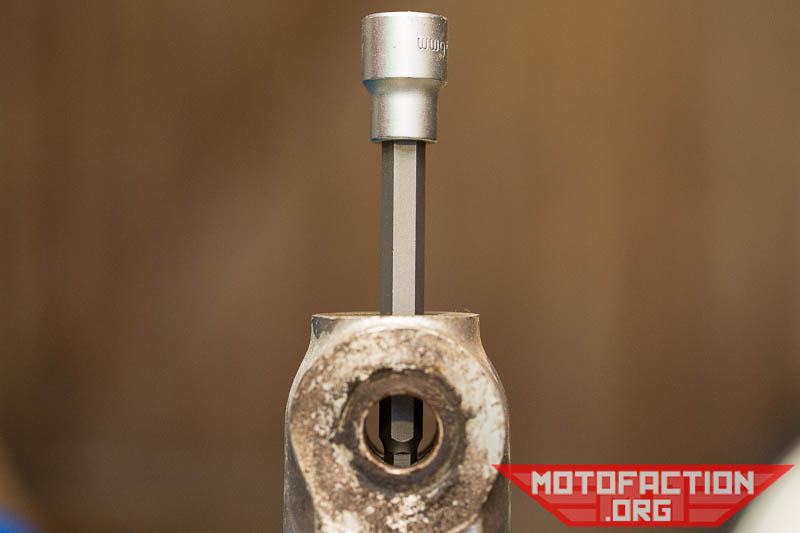
It's an 8mm socket bolt, part number 90116-383-721 (eBay US, eBay UK, eBay AU - original part number 90116-283-010). Use a 6mm hex/allen bit to loosen it - you'll probably need a deep socket for one side:
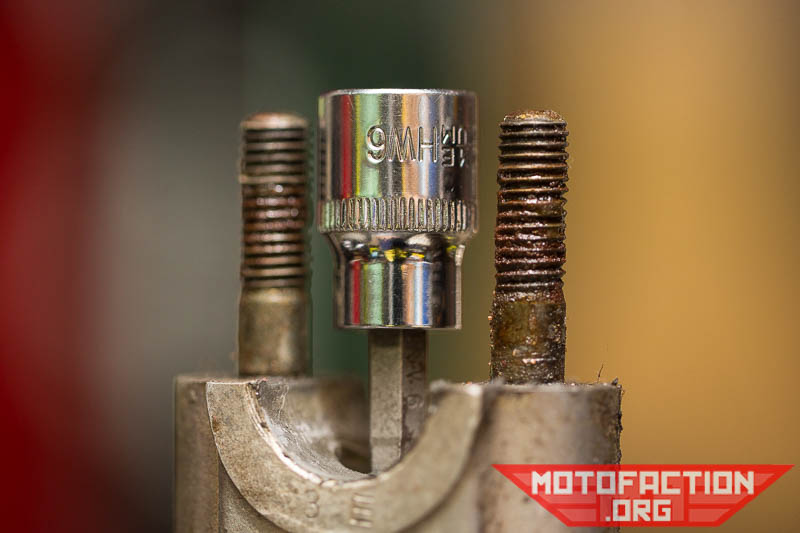
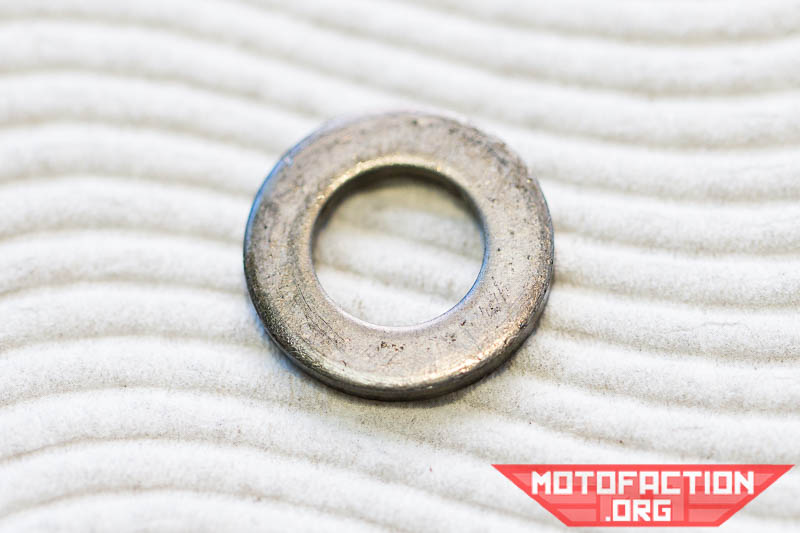
There's an 8mm copper washer underneath (90544-283-000 - eBay US, eBay UK, eBay AU):
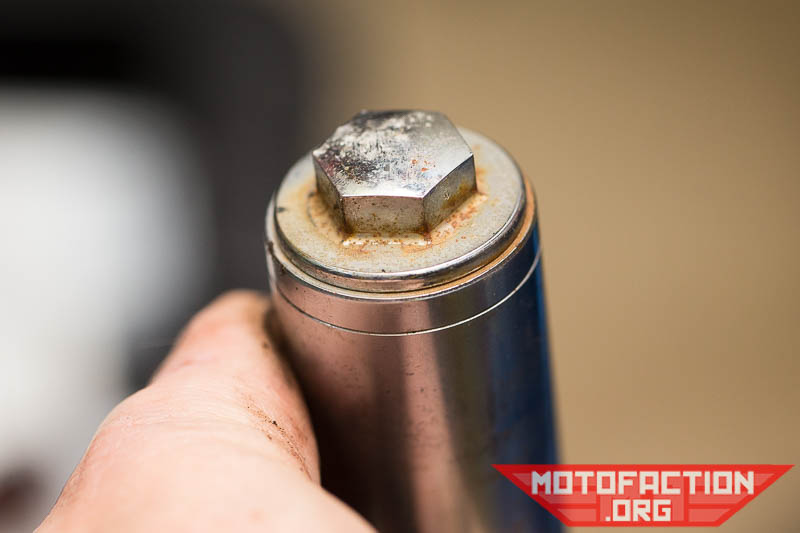
Undo the bolt at the top of the chrome stanchion - it's a 17mm socket for the non-air-assist models. Be careful as it's under spring pressure and will shoot upwards as soon as it is released, so keep pushing downward as you remove it and be careful of your face etc.:
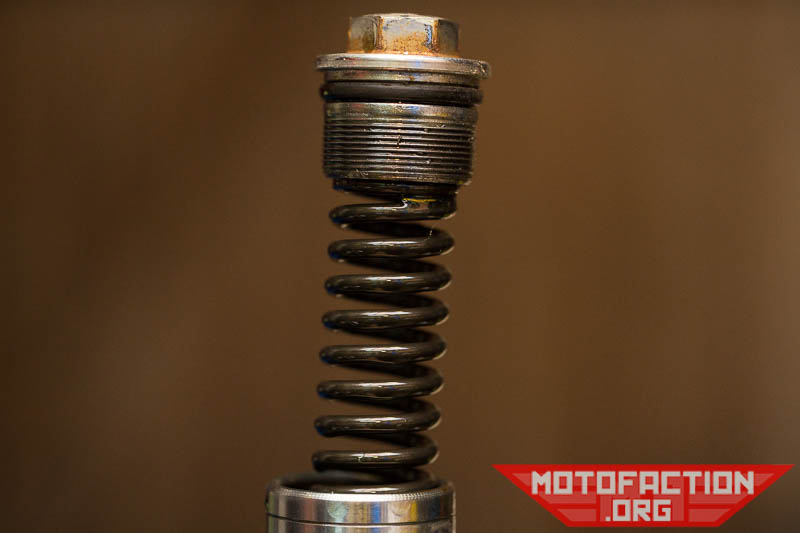
The non-air-assist cap is part number 94605-27101 (eBay US, eBay UK, eBay AU). There's an O-ring around it:
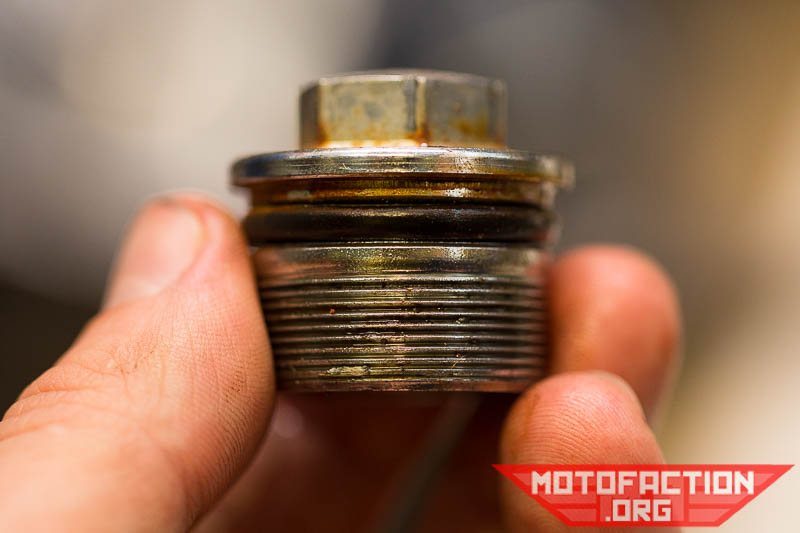
The O-ring is 23x2.4mm and is part number 94608-30000 (eBay US, eBay UK, eBay AU).
Now that the top cap has been removed you can remove the springs. On the models with two springs the order is this, from top to bottom - the top linear spring (51401-415-003):
Washer - part number 51403-362-010:
Long progressive spring (51402-415-003):
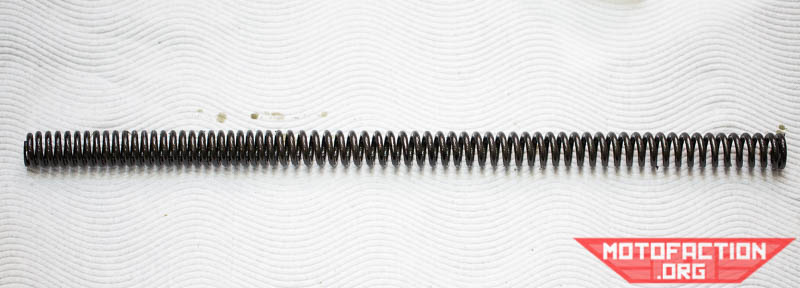
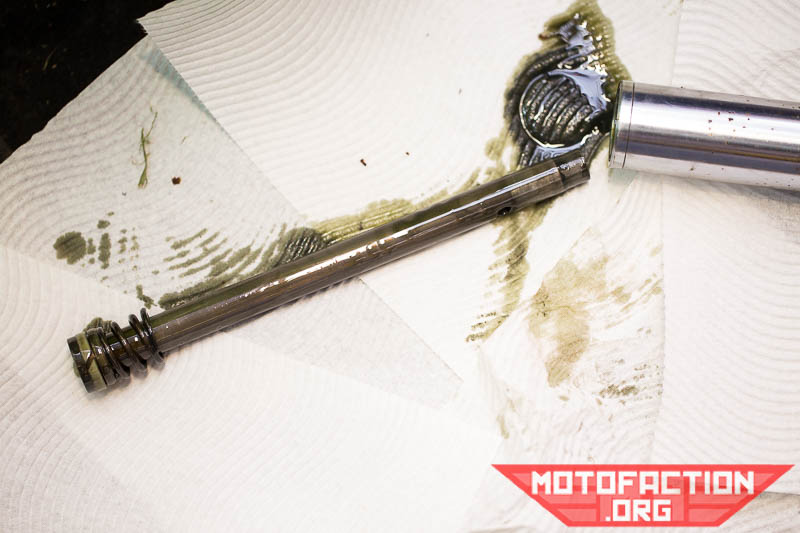
33mm fork models with the single spring setup will have just the one progressive spring (51401-470-751). After that the damper rod and rebound spring should come out:
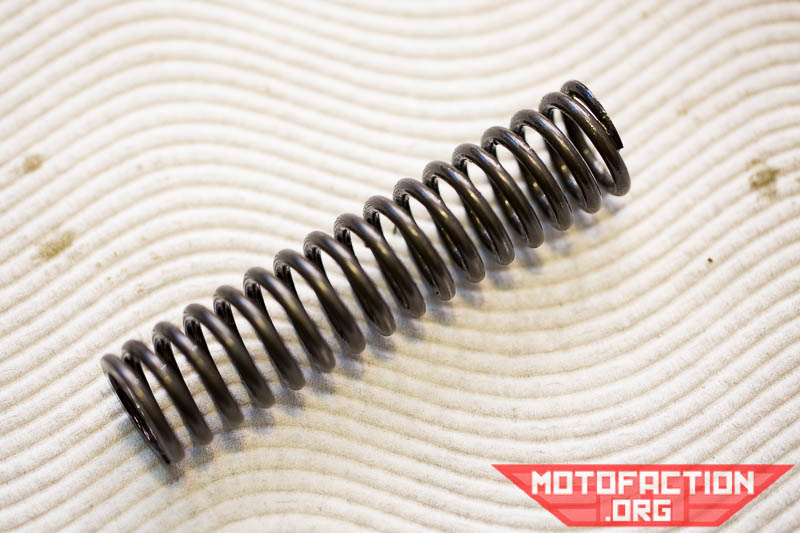
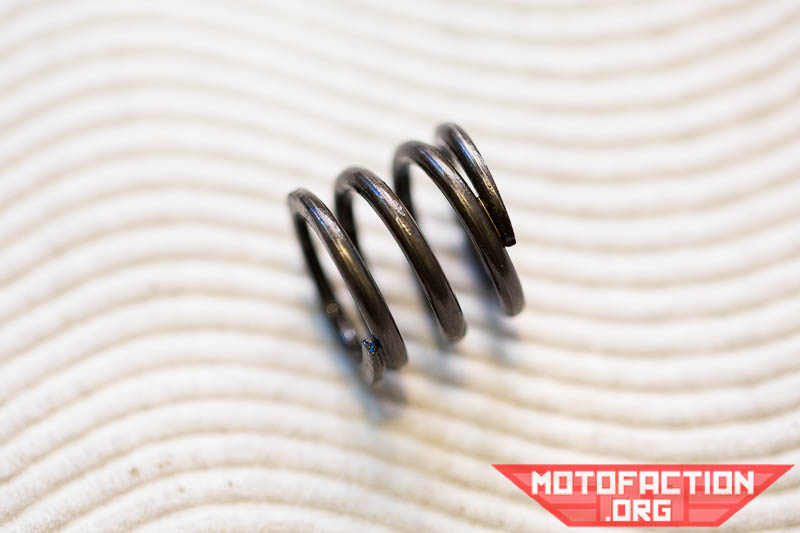
A closeup of the spring:
Next remove the dust cover - part number 91254-413-881 (eBay US, eBay UK, eBay AU). It should pry upwards easily - be careful of the soft aluminium fork, don't use anything too hard or be rough.
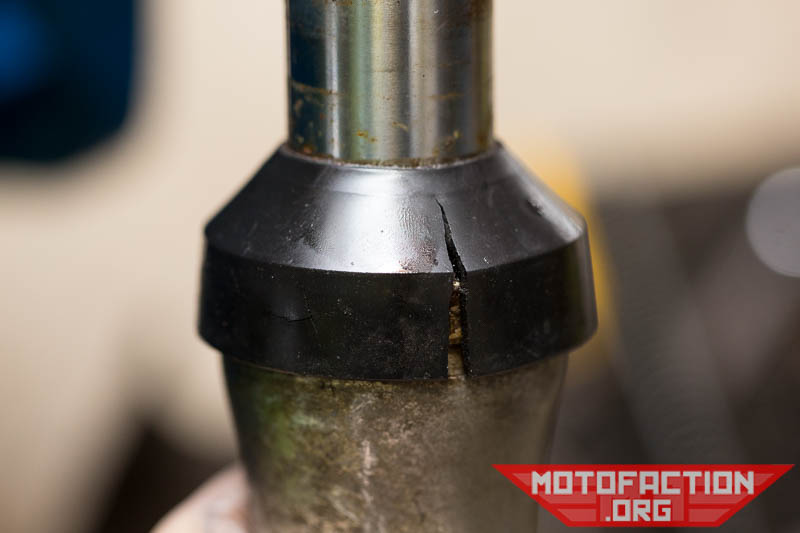
With the original bushing-less forks you can now remove the chrome stanchion from the lowers at this point. You may have to twist the top chrome section a little as you pull it away from the lower to get it to come free easily;
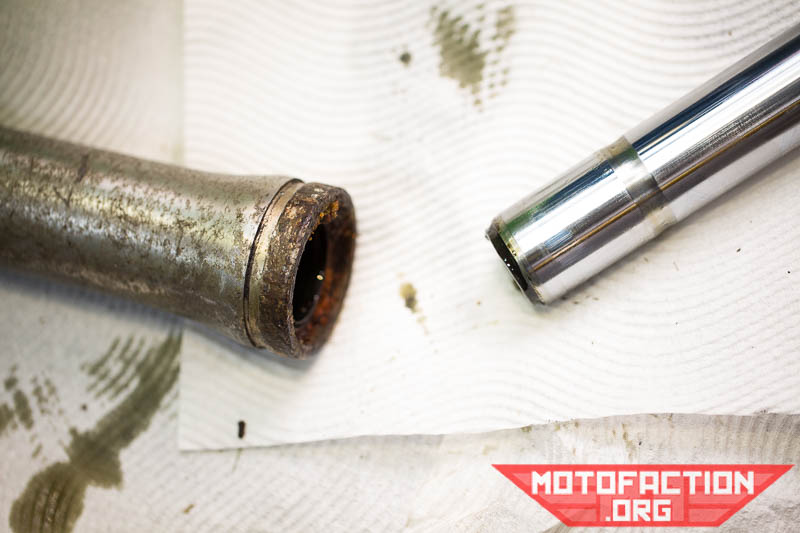
This gives us a clear view of the fork seal and retaining clip. Here's hoping yours looks better than this:
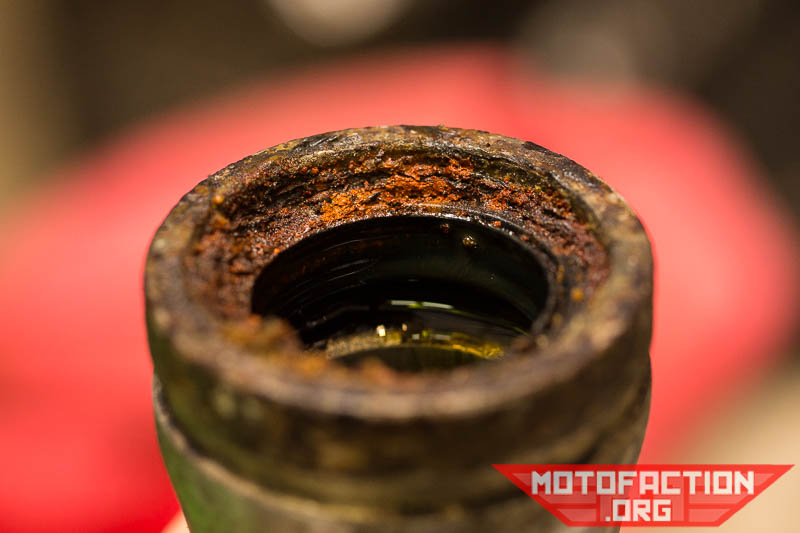
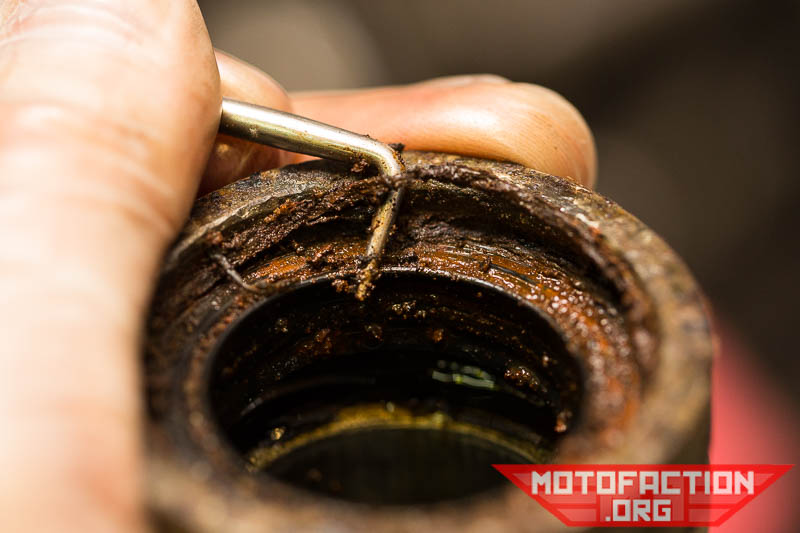
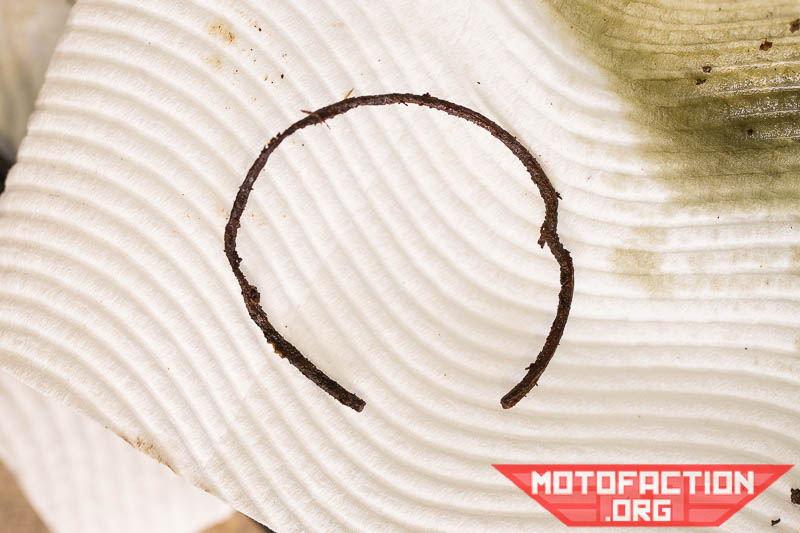
It's a little hard to see here but there's an oil seal stop ring here, part number 90601-369-000 (eBay US, eBay UK, eBay AU):
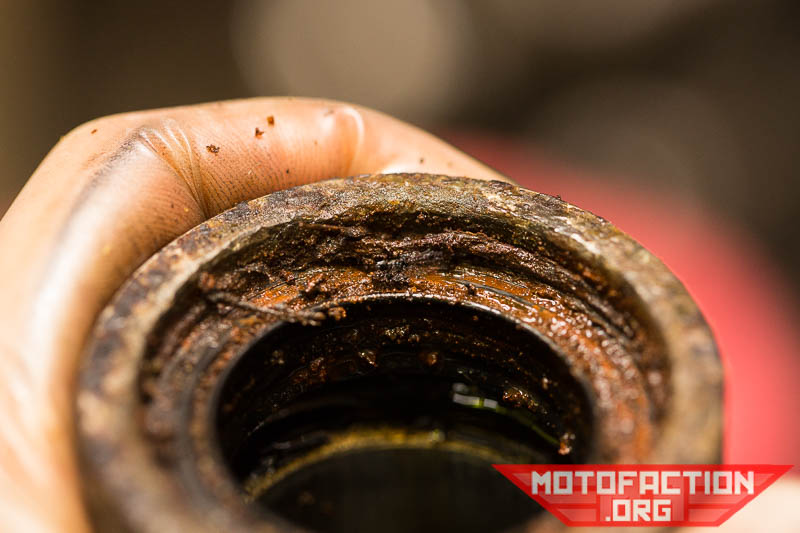
Use a pick or similar tool and remove the ring:
At this point the fork seal can be prised out. The seal is 33x46x11mm and is part number 91255-413-881 (eBay US, eBay UK, eBay AU - previous part number 91255-369-000). If you are going to use something like a pry bar to remove it be very careful not to mar the soft aluminium insides of the fork leg lower - if you leave a gouge like this:
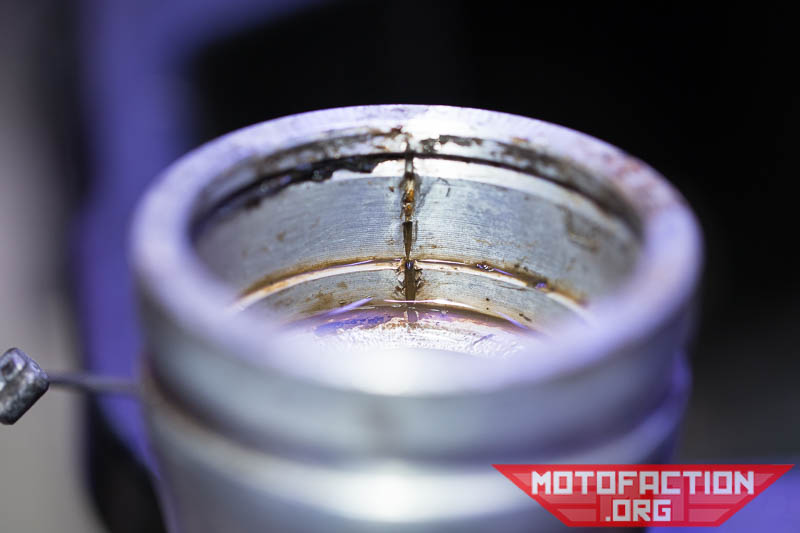
...you may never get a seal to seal properly again.
At this point you should have one fork fully disassembled and you're now ready to start assessing, cleaning and rebuilding. Articles on those steps coming soon.
MotoFaction is a free resource, but the server isn't free. If a writeup here saved you time or money, please consider supporting the site:
You can also support us via Patreon.