Before using this site please read the site disclaimer. Also please note that any links provided may be part of an affiliate programme (viz. eBay, Amazon) which helps support the site as I will earn a commission when visitors make a qualifying purchase.
To my irritation my Abbott and Ashby 200mm bench grinder had a bolt holding the motor body to the stand loosen after only five hours of use, resulting in a sudden increase in vibration followed by the motor shaking around quite a bit on the stand. This required the end caps to be removed to fix, and while I was in there I changed out the bearings to Japanese-made ones. Here's what was involved in swapping out the grinder bearings - there aren't as many photos of each step as usual as I was not intending on doing a how-to on this but was asked to, the next time I do this I'll update with more pics to explain the steps more fully.
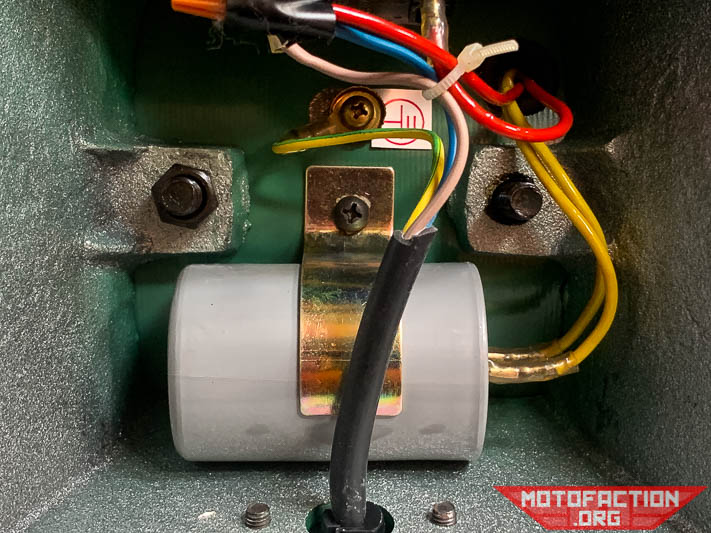
The shot below shows which nut backed off (on the right)- the grinder bottom plate has been removed here, which is a few screws.
After removing the wheel guards and grinding wheels, take out the four bolts holding the end cap on:
It only required a slight tap with a soft mallet to loosen the end cap:
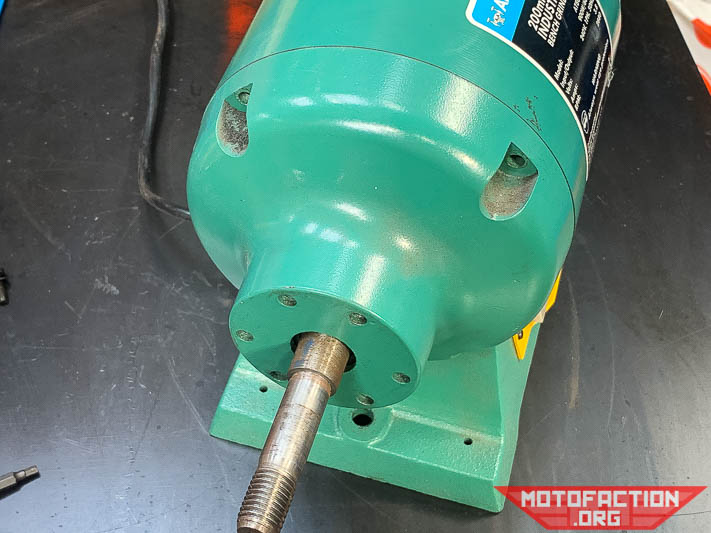
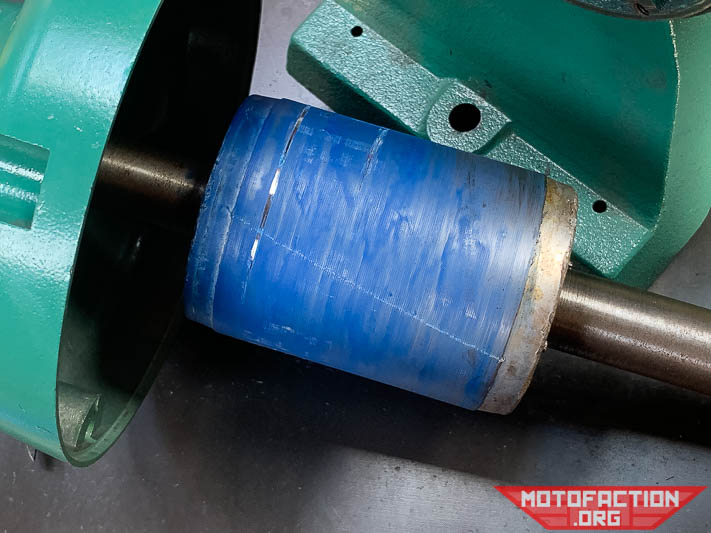
The moving part of the motor, removed:

When you place it down make sure not to put it anywhere which would result in contamination - you don't want swarf, grit or dust to go along with it when you reinstall. Force of habit leads me to mark it so that I know which end went in which side of the bench grinder so that it can be put back the same way. The same applies to the end caps.
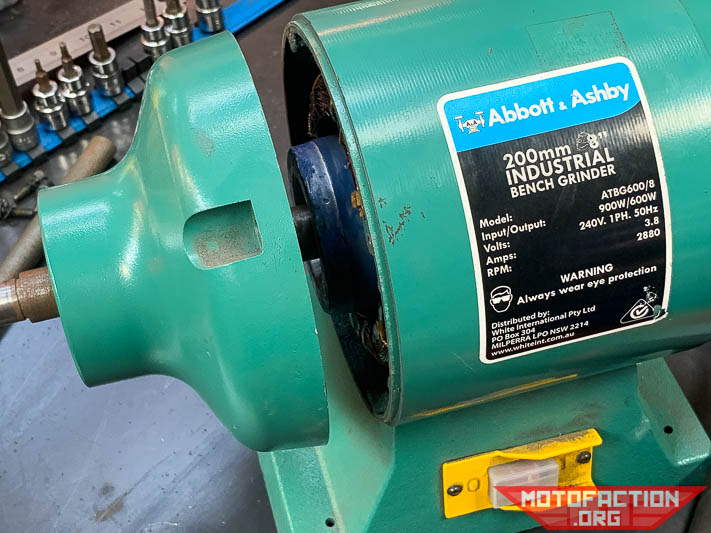
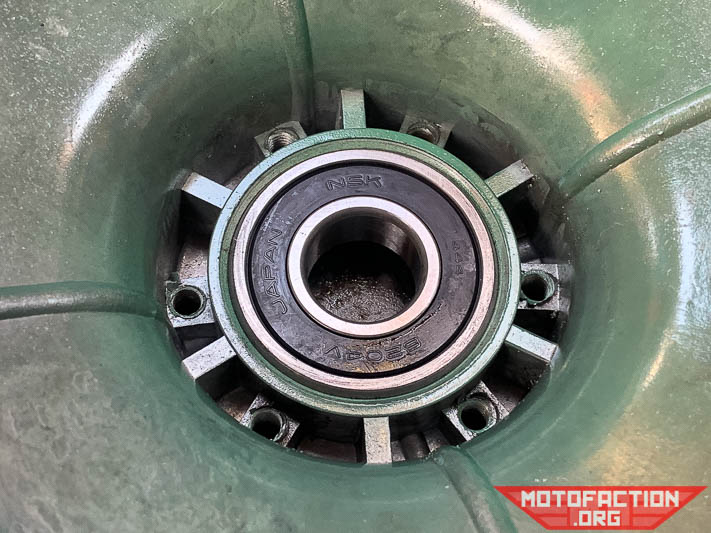
A look into the motor at the static part:
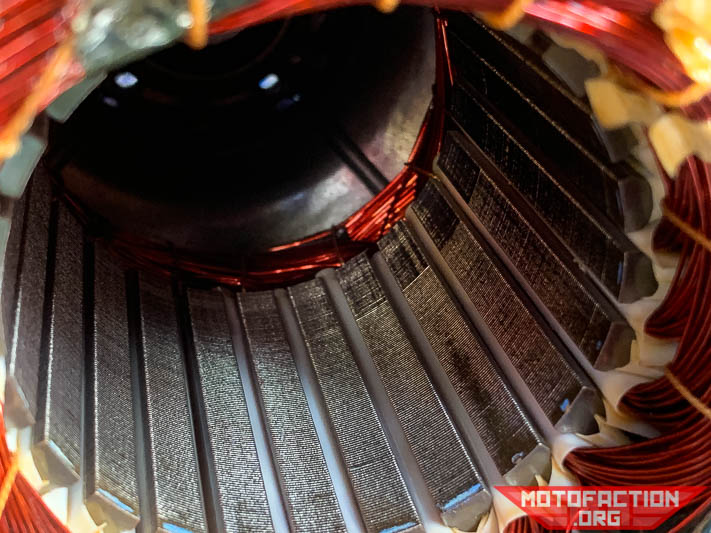
A little bit of bonus rust on the inside of this new machine:

The offending bolts can be seen in this video - they were tightened up and some blue Loctite (eBay AU, eBay US, Amazon) was used to discourage this sort of thing from recurring:
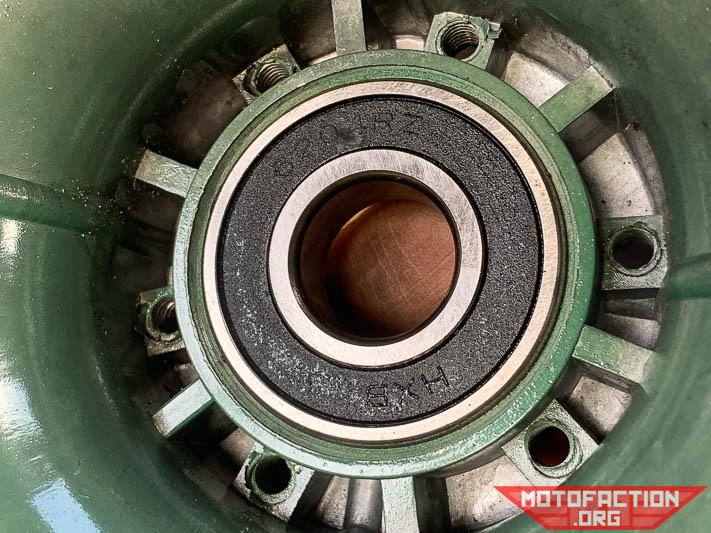
The stock bearings - 6204RZ units from Hangzhou Lulin Bearing Co., Ltd. - not surprising since the Abbott and Ashby grinders are made in China. The bearings are 20mm ID, 47mm OD and 14mm thick which is a reasonably easy to find size on eBay AU, eBay US, Amazon - or try your local bearing supplier like CBC or BSC in Australia.
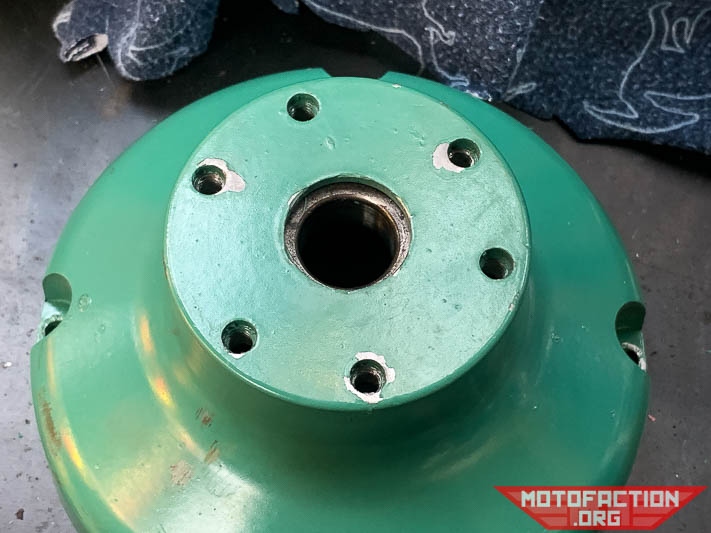
With the end cap on the bench you can see the inside race of the bearing through the hole that the spindle passes through:
Using a hard, straight-cut shaft that only just fits through the hole and sits on the inner race neatly - an old socket works well for this - making sure to drive the bearing out straight and not cocking it in the bore that it sits in. Make sure to wear appropriate protective equipment for this - and make sure not to use something that is so tight in the cap that it binds and some of the force goes into the cap.
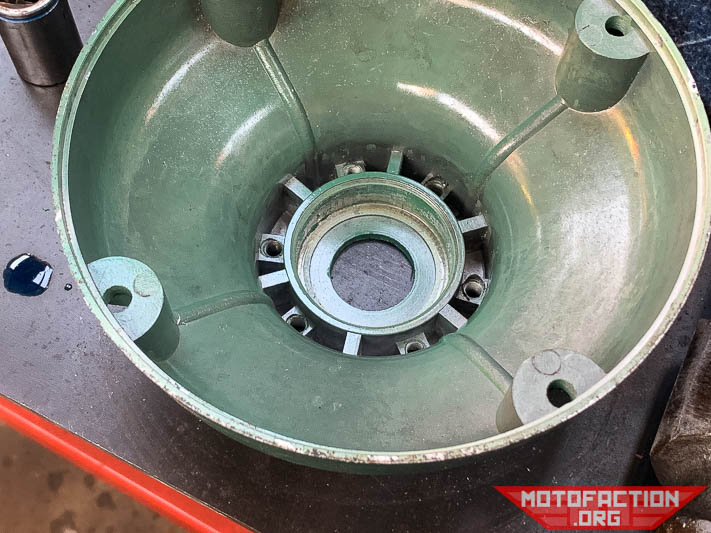
The inside of the bearing cap, bearing removed:
New NSK bearings:
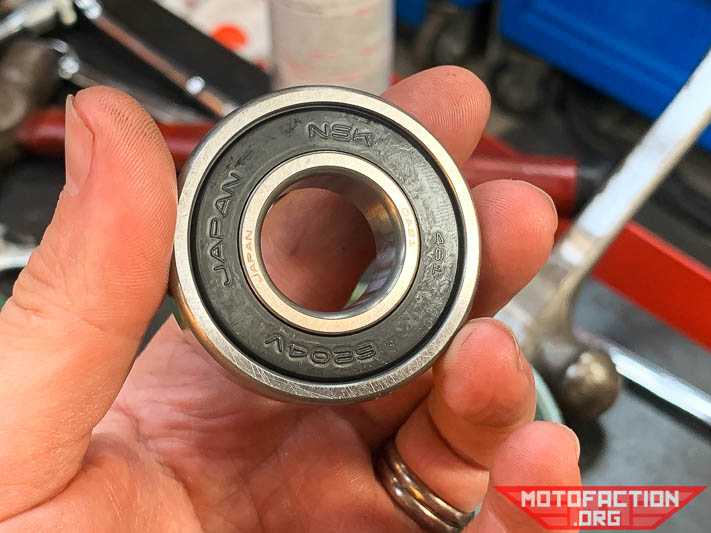
To install them it can be helpful to leave them in the freezer overnight and install them whilst still cold - that way they're slightly smaller than the space that they're going into and will push in more easily. You have to drive them in perfectly straight, and make sure to only apply force to the outer race - not the rubber seal or the inner race.
Repeat the process for the other side and you have successfully swapped the bearings out. Reinstallation is the reverse, though I would suggest applying some Loctite and snugging up the bolts which hold the motor body to the stand to prevent you having to pull the ends off to do just that in the future should they come loose as they did for me.
The bearings did make a difference to how the unit ran - smoother and quieter now than it was (before the bolt began backing out, not just after), so for the small cost of the bearings it was a worthwhile upgrade since I was spending the time to open the unit up anyway. Why not make a warranty claim? I already had the bearings on-hand and it took less time to change them out than it would have taken to drive to the store it came from.
MotoFaction is a free resource, but the server isn't free. If a writeup here saved you time or money, please consider supporting the site:
You can also support us via Patreon.