We recently picked up a TTR400 Preload Adjuster set to assist in playing around with various preload settings for the front shocks. They can be found on eBay.
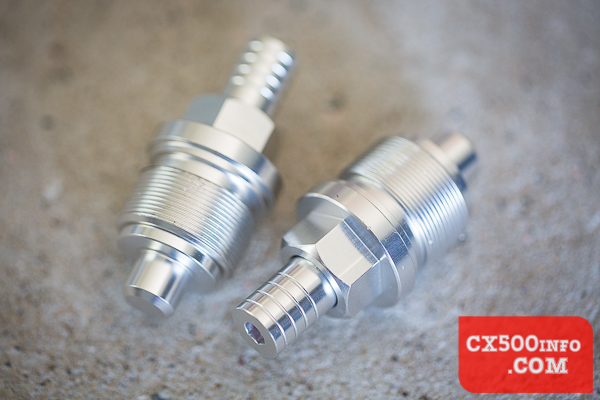
Some info on these:
- CNC machined from 6082T6 aluminium
- 20mm adjustment range
- Internal O-ring for adjuster
- Uses the stock fork cap O-ring
- Available in various colours
This particular set is silver, as you can see. Why would you want these? They provide you with a quick and easy way of setting preload with nothing more than a quick twist of an Allen key. The usual process consists of jacking up the front end of the bike, removing the fork cap, adding washers/coins and then trying to force the fork cap back with the added resistance of the new preload spacers. Taking a closer look at these:
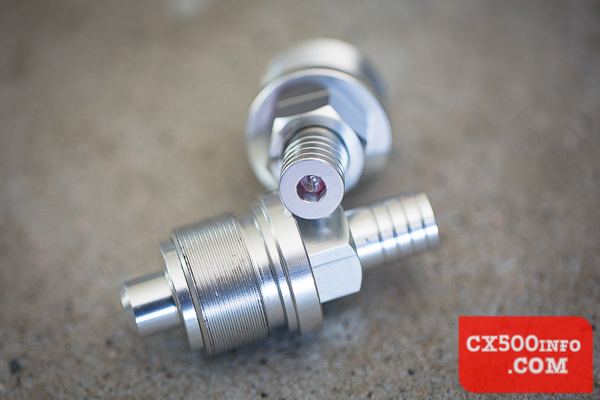
The hole at the top you can see there is a 5mm hex socket. Sharp eyes will note that the top looks a little chunkier than the stock Honda 94605-27101 – you need a 19mm socket to screw this in, not the stock 17mm. When off the bike the preload can easily be adjusted with nothing more than finger pressure – on the bike it’s surprisingly easy as well, even with the short end of an Allen key. As you screw the adjuster in:
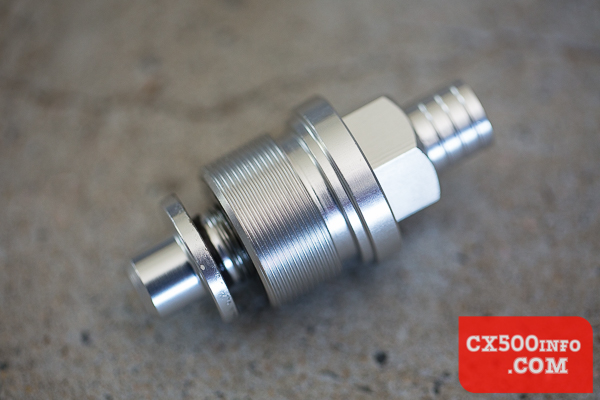
…you can see that a flat plate begins to protrude from the underside of the cap – this presses down into your fork and compresses your spring or springs. Closer?
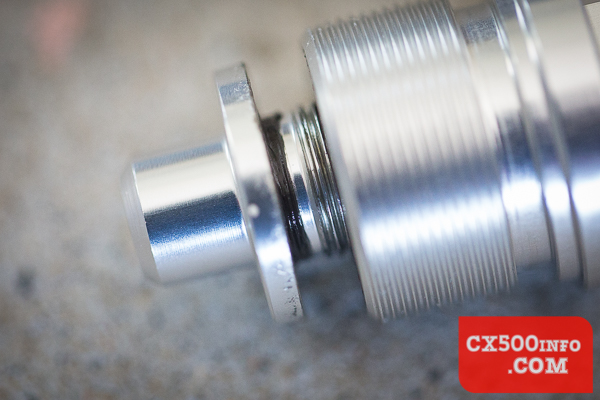
If you continue to screw in beyond the fourth line on the top part:
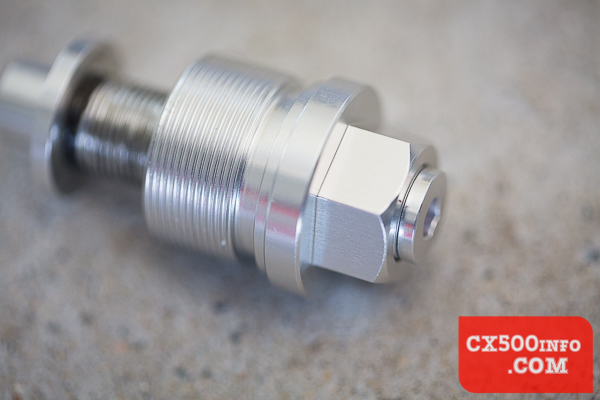
…at this point here – not a lot further in:
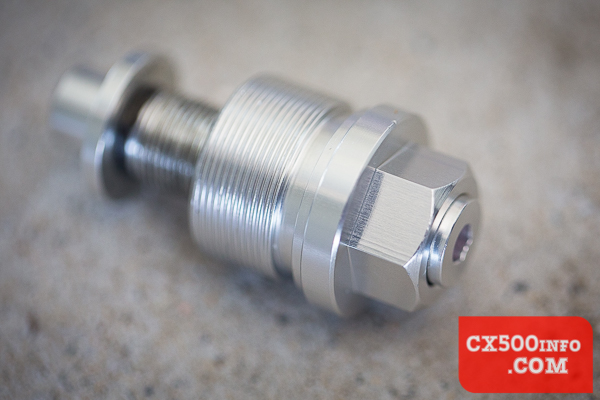
…the center part is free from the internal threads:
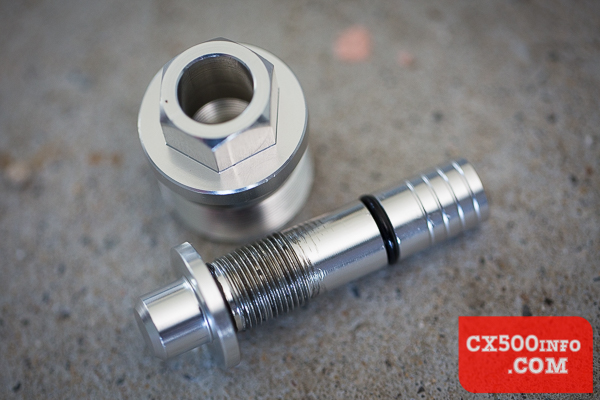
Probably best not to do that while it’s on the bike in case it becomes cross-threaded when trying to bring it back up. Here you can see the internal O-ring – good to know that it’s easily accessed if it ever needs replacing. The underside of the cap is fairly unremarkable:
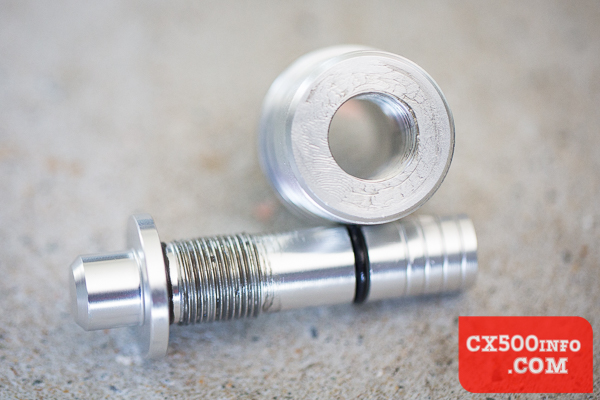
We weighed these in at 54.5gm each – they feel ridiculously light in-hand, particularly compared to the stock ones. Speaking of the stock ones:
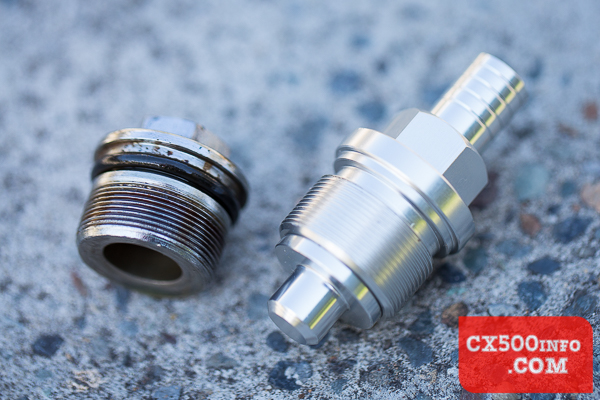
Don’t forget to take that O-ring off and move it to the new ones.
Time to install the preload adjuster caps! You will need:
- 10mm socket
- 17mm socket
- 19mm socket, preferably deep
- Socket wrench
- Socket extension
- Means of raising your front wheel off the ground
The extension isn’t strictly necessary but I find it easier to maintain pressure and the correct angle by using it… and it helps to clear the handlebars/gauges/etc. Lift the front of your bike off the ground however is most convenient; you don’t want weight on the front wheel while you’re taking off the fork caps.
Once the bike is lifted, locate your fork caps at the top of your front forks:
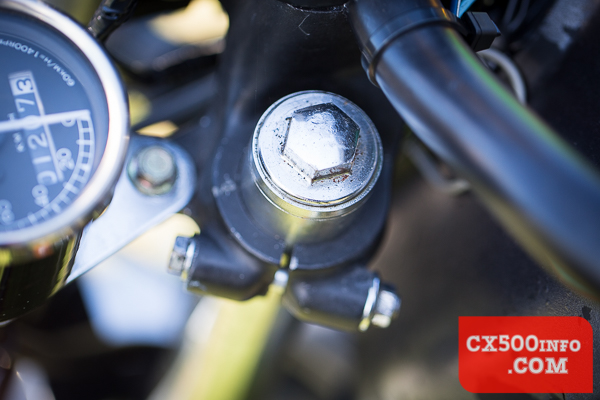
Slightly crusty but not bad for 34 years old. Loosen the two 10mm bolts clamping the fork tube just below it – in focus here:
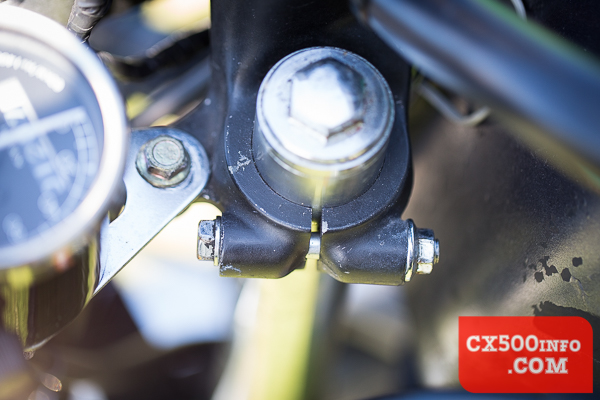
Why? The pressure of these clamping on the tube can slightly change the shape of the fork tube, which can make it harder to screw the fork cap in/out. The fork won’t slide down unless you also loosen the lower clamp as well. On the pictured bike the forks have been slid up through the clamps about an inch; if your suspension hasn’t been modified like this the two 10mm bolts should be sitting only just below the fork cap. You could use a 17mm wrench:
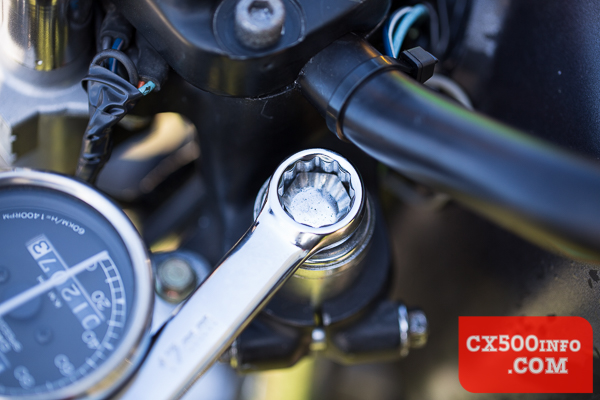
…but your life will be a lot easier – and you’ll probably be hit in the face by less flying wrenches – if you use a 17mm socket:
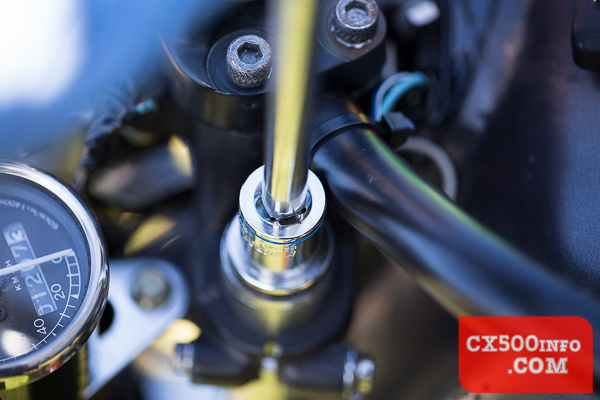
…to loosen the cap. NOTE: Even with the front wheel off the ground, the spring still exerts force on the underside of the fork cap and depending on your current suspension setup it may have enough force to shoot off into the garage somewhere… or just smack you in the face. Apply downward pressure while removing to minimise the chance of this happening. If you have shagged springs and no extra preload spacers, there probably won’t be a particularly bothersome amount of force present but YMMV. The old cap is now off:
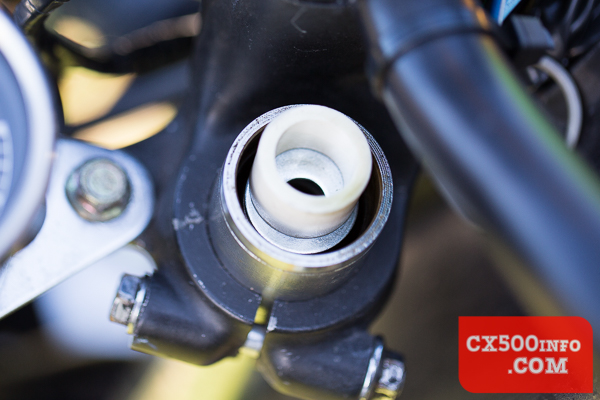
This bike runs Progressive-brand front springs (single spring) with a single washer and PVC spacer at the top, as you can see. We leave all of this intact and examine the old O-ring in case it can be used again:
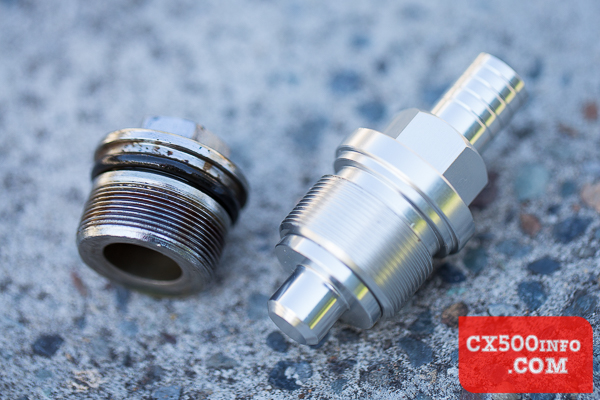
In this case it was quite OK. Moving it across:
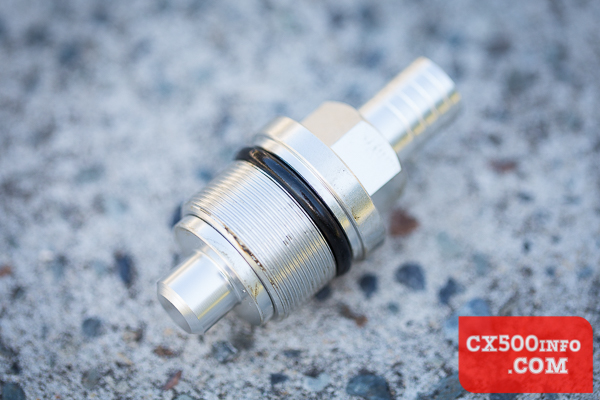
Now it’s time to install the new cap. A deep socket can help here as the socket needs a fair reach to get past the full range of adjustment… and if you screw the adjustment in you have to force the spring to compress even more when you’re attempting to mate the threads, which isn’t all that easy. A longer socket is preferable; we found that a 3/8″ 19mm socket wasn’t deep enough but the 1/2″ drive 19mm Kincrome sockets we have were just deep enough;
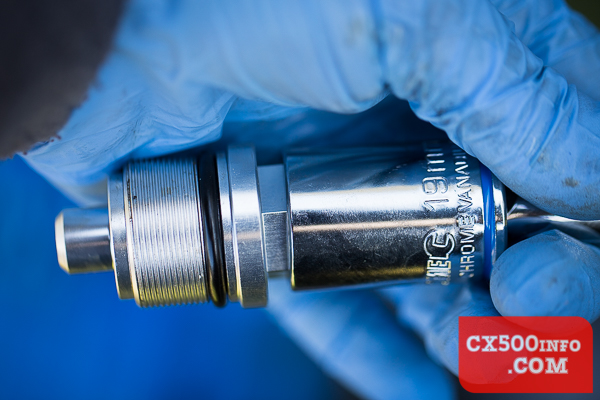
It did end up seating fully once pressed in – it did slightly displace the 1/2″ drive extension, but not enough to cause problems. Making sure to keep the cap in-line with the fork and applying downward pressure, we can install the new caps:
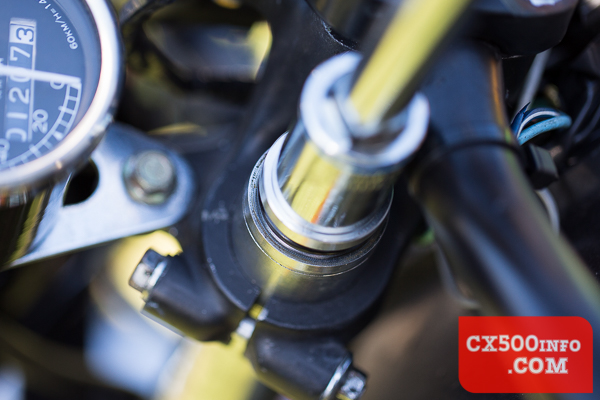
If you don’t have clear access thanks to the handlebars you may need to loosen the four bolts on the handlebar clamp (6mm Allen) and move the bars temporarily out of the way. Make note of where the bars were sitting so you can put them back in the center! Here we can see that the cap has screwed in part-way; it’s a little awkward keeping the right angle whilst trying to get the threads to mate, all the while fighting against the spring but be patient and it should be short work.
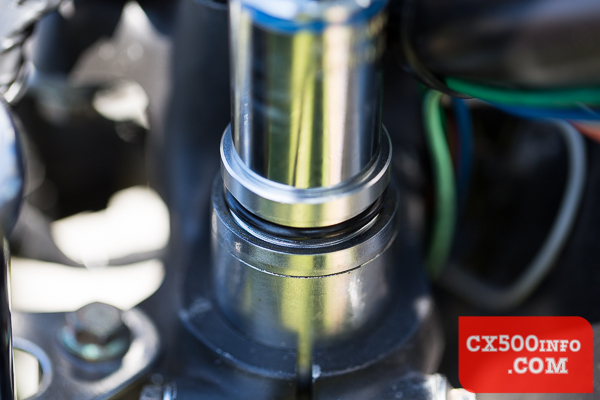
Once they’re on, torque to 33-40ft/lbs (we suggest ~36-37ft/lb for the most margin of error either side… the below picture shows the lower end of that scale):
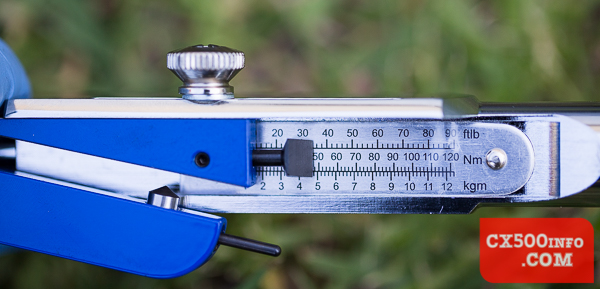
…and they’re installed! If you removed the bars, replace them and tighten the four clamp bolts, and remember to tighten the two bolts (10mm socket) for the top fork clamp.
Once they are installed, they work as expected – it’s dead easy to adjust the amount of preload and the amount you can dial in makes a meaningful difference to the suspension setup. Don’t forget you can add washers/coins/etc. underneath to add some more preload before you add more using these fork caps to get a wider range of available preload.
You can grab a set for yourself here! Assuming they’re in stock, of course…