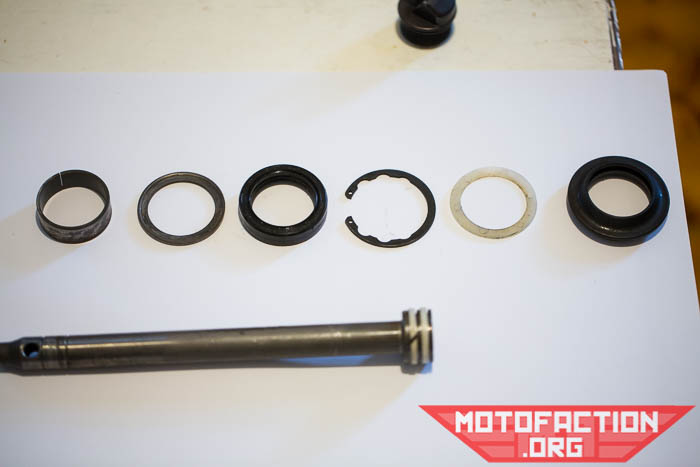
We’ll assume you disassembled and cleaned (article coming) and assessed (article coming) the fork components and are ready to put it all back together now with new fork and dust seals. Reassemble the fork before putting the TRAC apparatus back on. It helps to have a clean working environment where you can lay everything out neatly in order. Here, from left to right we have:
- Guide bush (51414-461-003, superseded by 51414-MN4-003, CMSNL)
- Back up ring (51412-461-003, CMSNL)
- Fork seal (51490-MC5-315 set, CMSNL)
- Circlip (51447-461-003, CMSNL)
- Washer (51439-MC5-003, CMSNL)
- Grease holder would go here, except we omit it upon reassembly (51438-MC5-003, CMSNL)
- Dust seal (91254-461-003 superseded by 91254-KAZ-003, CMSNL)
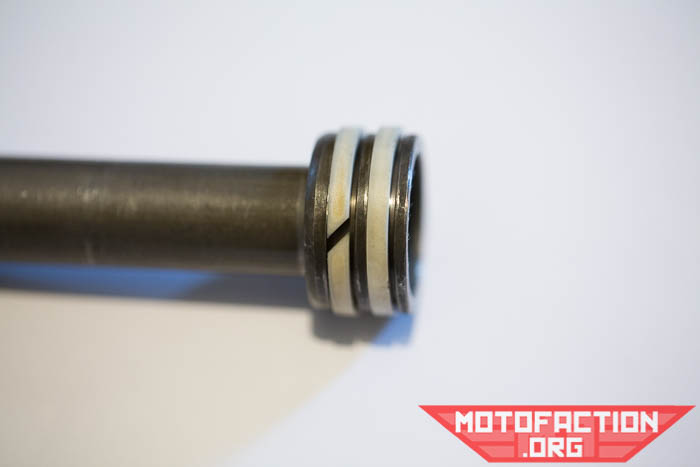
If you’re wondering which of the dampers is which, the TRAC side has two plastic rings (called piston rings, part number 51437-MA0-771 – two of) at the top:
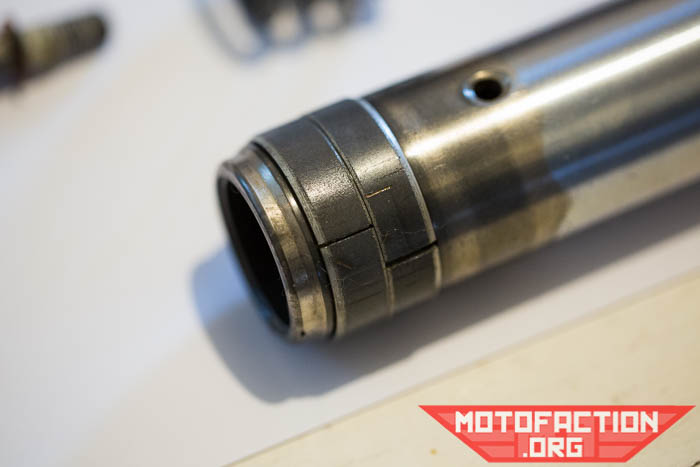
The matching fork tube is the one with the two bushings at the bottom (part number 51440-MG0-003, two of) rather than the single larger bushing on the right fork:
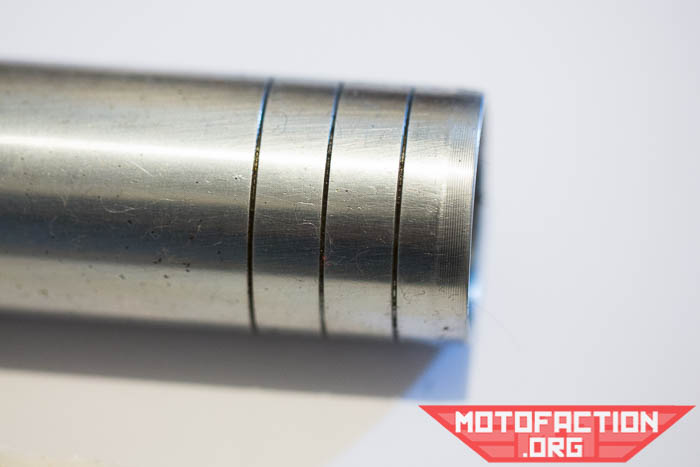
…and the three lines at the top:
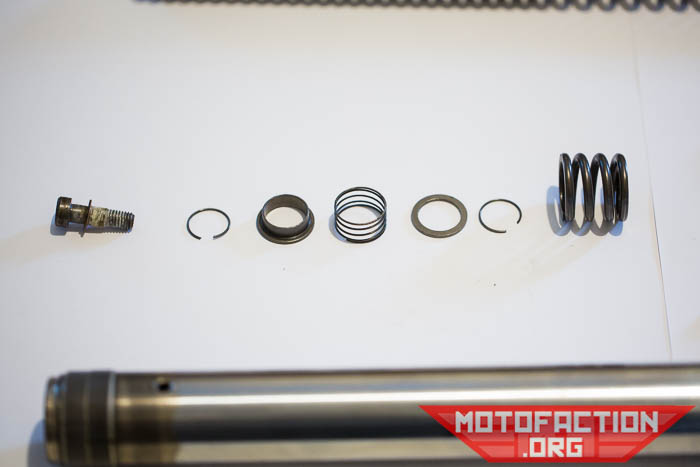
These all sit in or around the damper rod. From left to right, we have:
- Hex bolt (90116-283-010 or new part number 90116-383-721)
- Copper washer (90544-283-000)
- Stopper ring (51405-MC7-003)
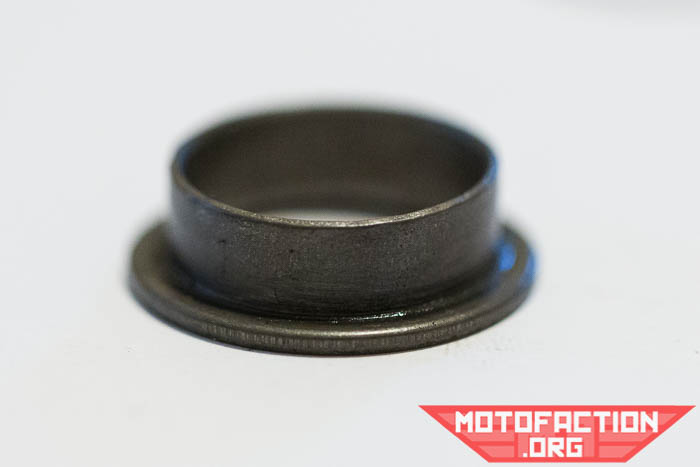
- Oil lock valve (51403-MA6-003)
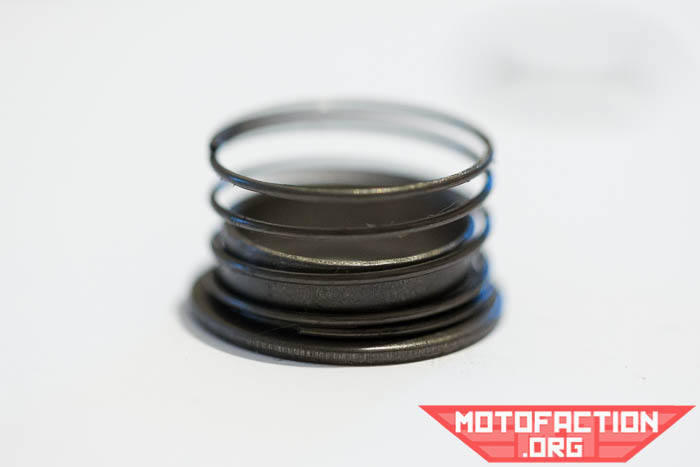
- Spring B (51402-MA6-003)
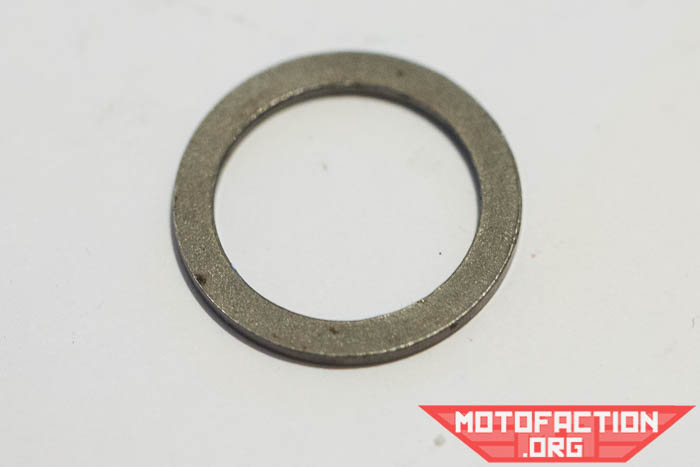
- Spring seat (51405-MA6-003)
- Stopper ring (51405-MC7-003)
- Rebound spring (51412-ME1-671)
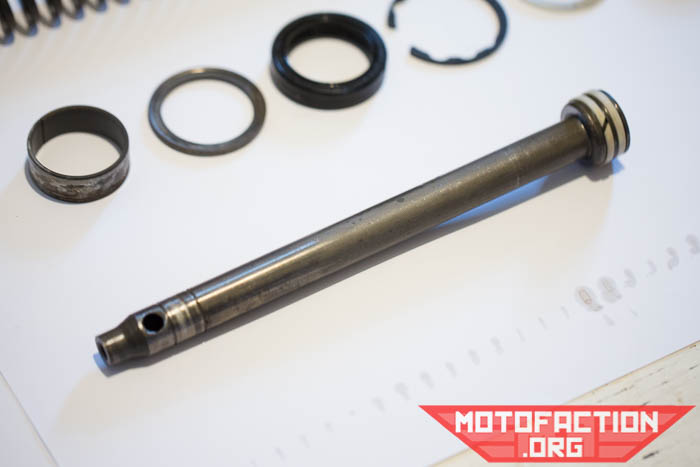
The rod itself, part number 51540-MC5-003 (51440-MG0-003 for the opposite leg):
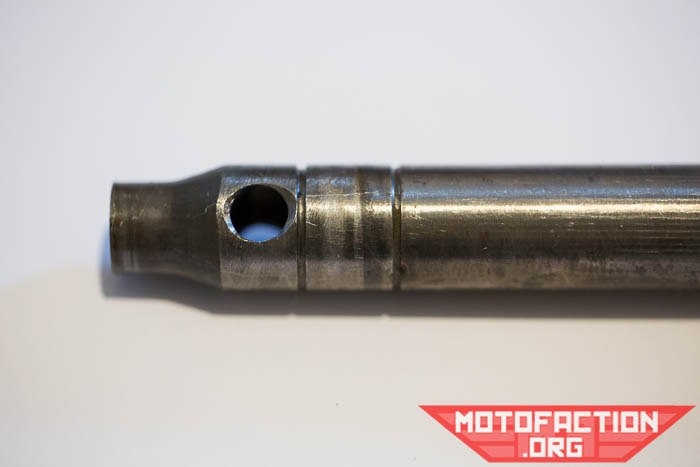
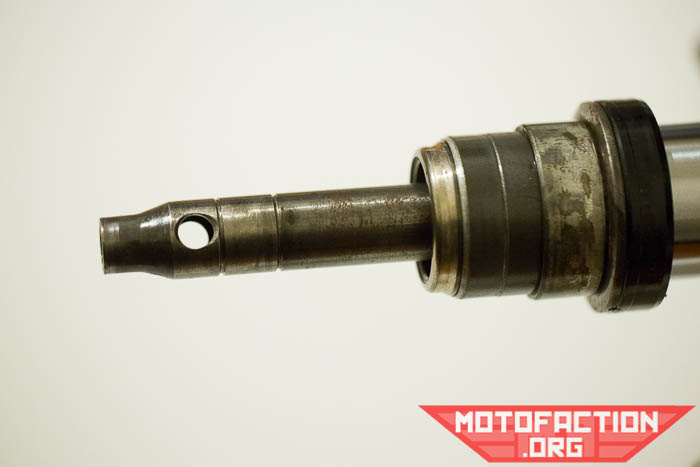
Note the two grooves which the stopper rings sit in:
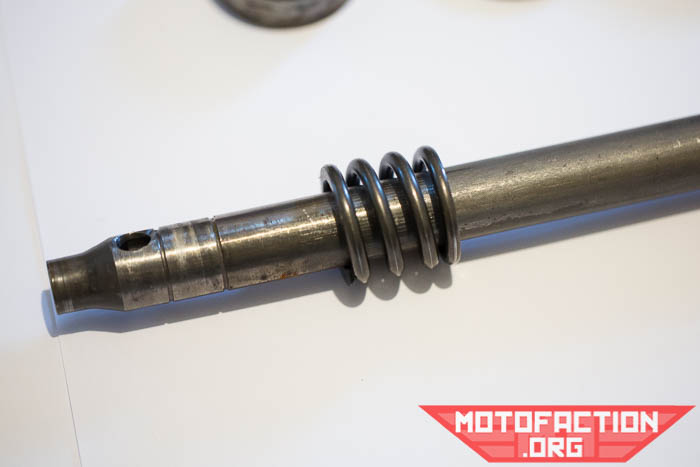
The rebound springs goes onto the rod:
Install the rod + spring into your fork slider (ignore the other stuff on the slider in this pic, the pics were done slightly out of order):
Take the oil lock valve:
Add the spring:
Add the spring seat:
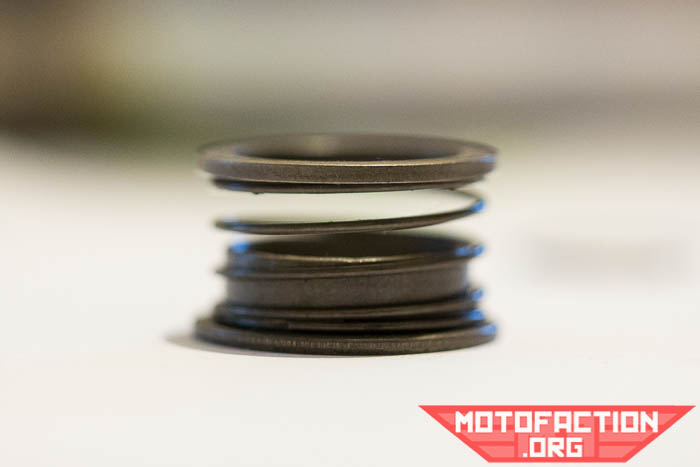
Locate the two stopper rings:
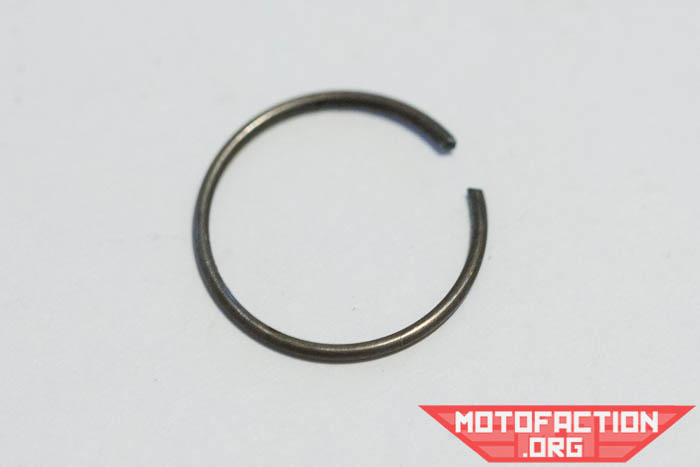
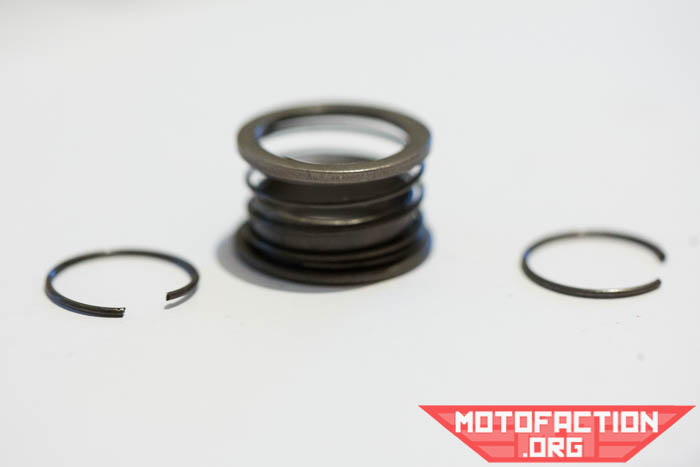
Slide the first stopper ring over the first slot and into the second:
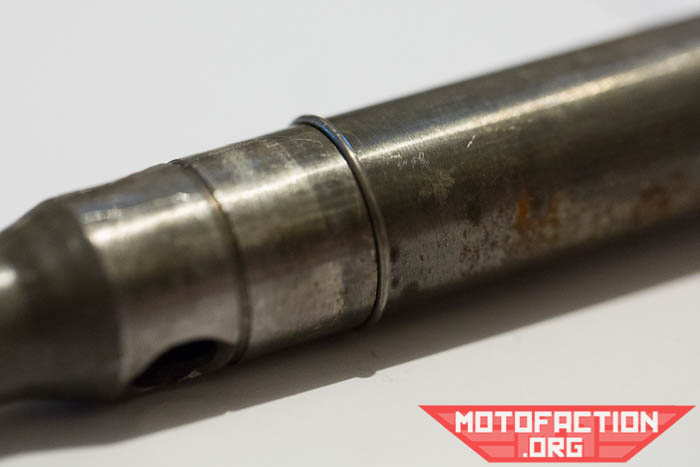
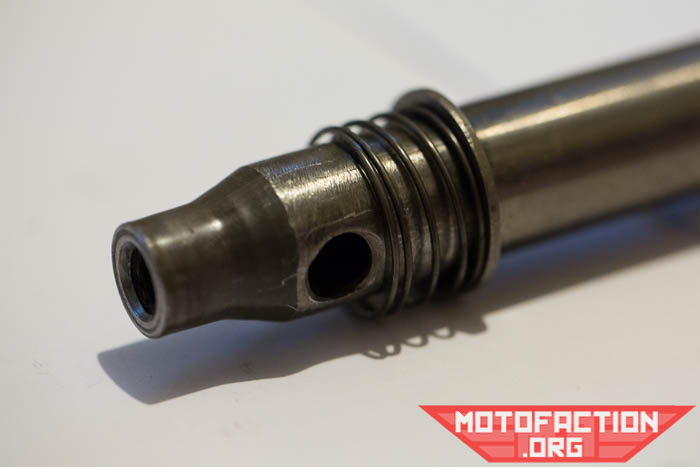
The spring and it’s friends will fit right on as one piece, but we’ll show them one by one for completeness. Spring seat against the stopper ring:
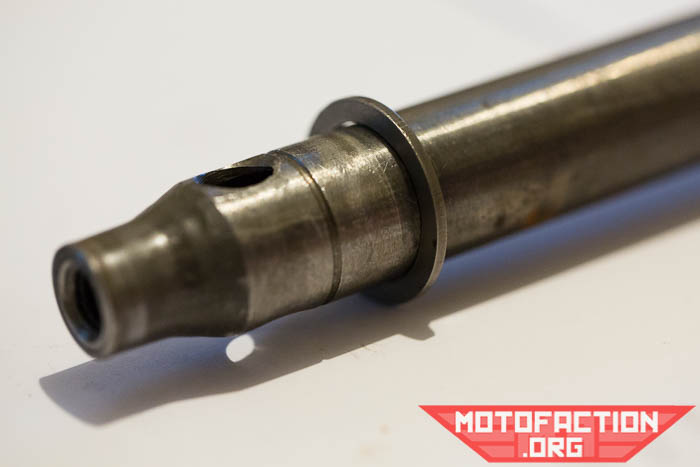
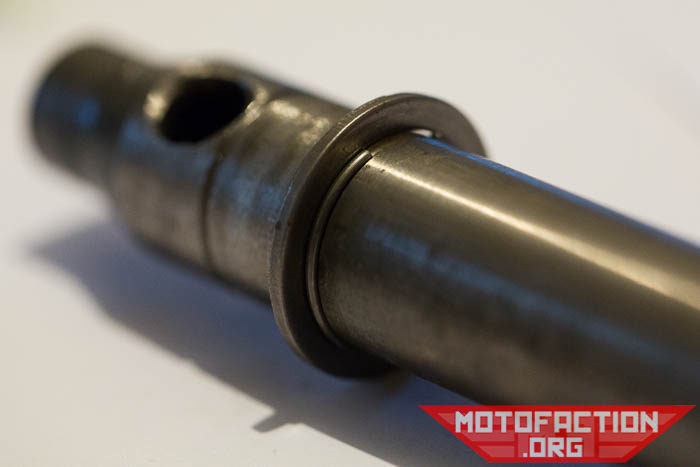
Spring added:
The oil lock piece:
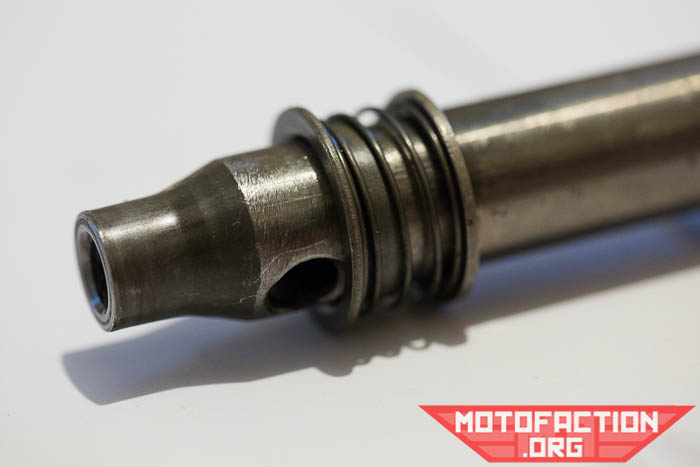
The second stopper ring slides into place:
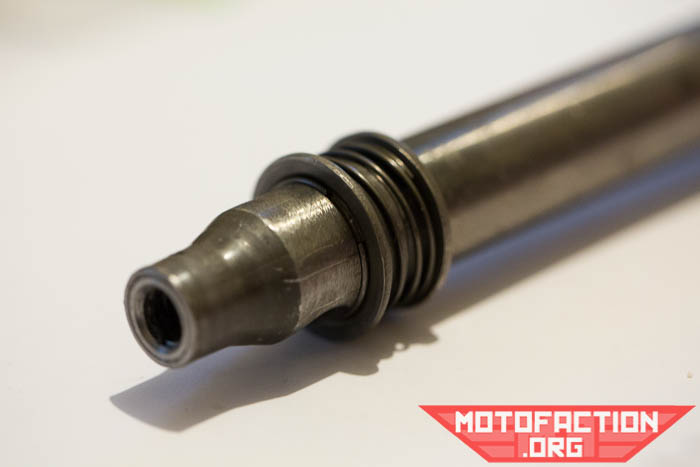
…and that bit’s done!
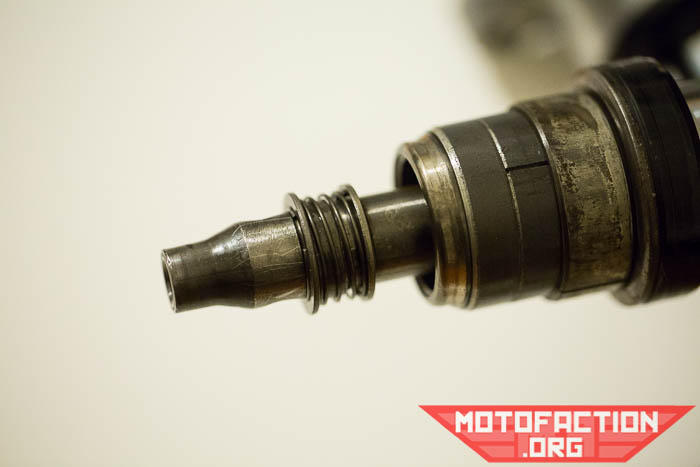
(again, ignore the presence of the backup ring, oil seal etc.)
That’s enough photos for one page – click here for part two.