Before using this site please read the site disclaimer. Also please note that any links provided may be part of an affiliate programme (viz. eBay, Amazon) which helps support the site as I will earn a commission when visitors make a qualifying purchase.
The stator on a CDI Honda CX500 doesn't just provide power to your battery, it's tied in to the ignition system as well - and it's not the most reliable part of a largely otherwise reliable motor. This test also checks the state of the ignition timing pickups and the advance pulser coils at the back of the motor.
This test should be done on both a cold engine and a hot engine - it's probably easiest to start off with a cold motor, do the test, then warm the motor up to operating temperature and repeat.
First, grab a multimeter.
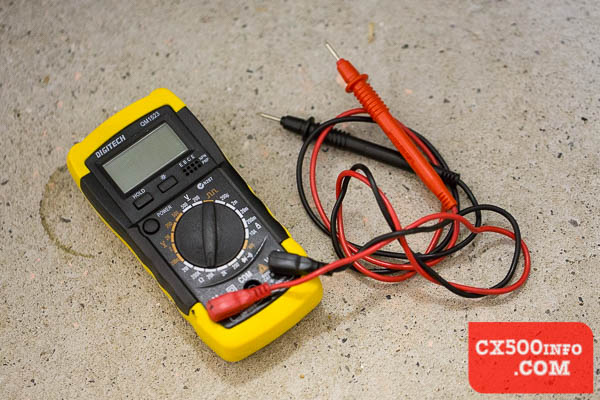
Doesn't have to be an expensive one. Make sure it's got batteries in it. To begin with, we'll test the leads to make sure there's not extra resistance there that will throw off our readings. Power on the multimeter and set it to the lowest Ohm setting:
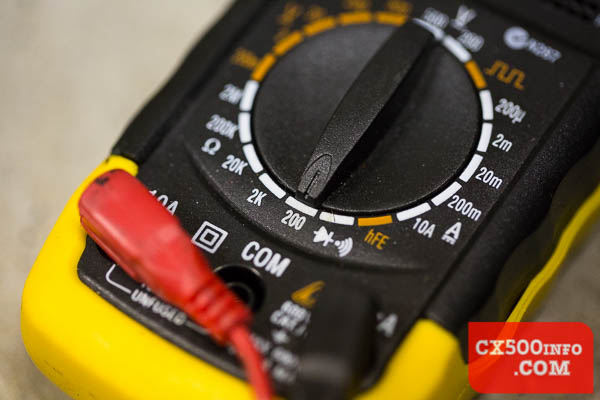
On this one it's 200. Now touch the two leads together and make sure that the figure reads zero:
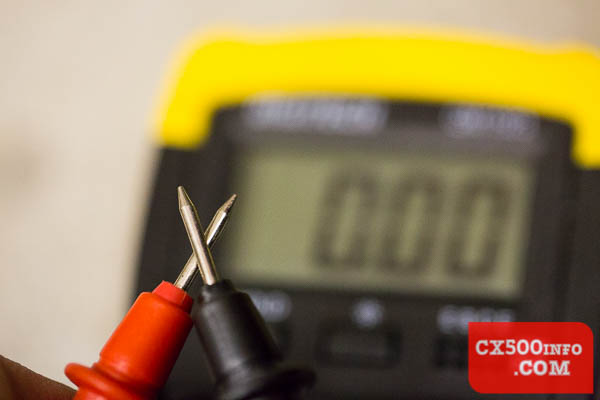
If the figure reads anything above zero, you can subtract that number from the results you get from your stator as it's a falsely high reading. Also, you'll want to look into why your leads have resistance - are they dirty or damaged?
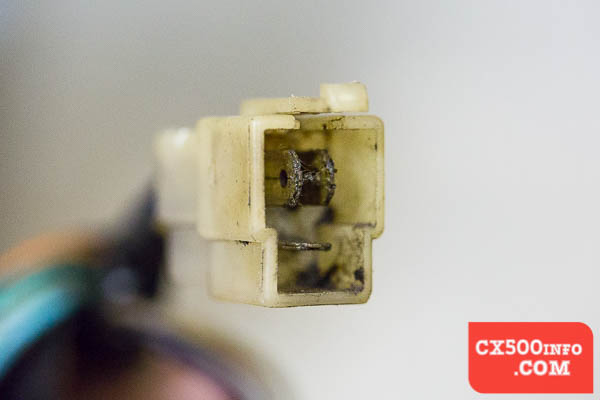
Next up, locate the required cables - probably underneath your CX500's seat. The cables you want should look like the below shots, though they may be cleaner or dirtier. First off, the main connector with seven wires going into it:
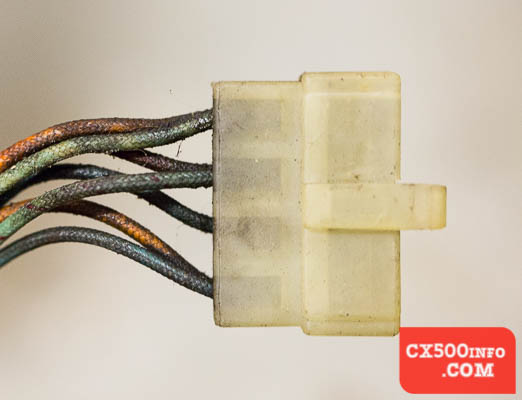
Front-on:
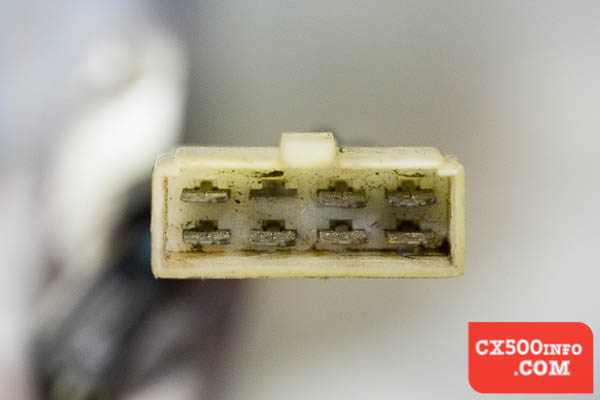
Notice that one pin is missing. Next, we need a connector which has a blue and white (likely grey or black from grime) wire going into it:
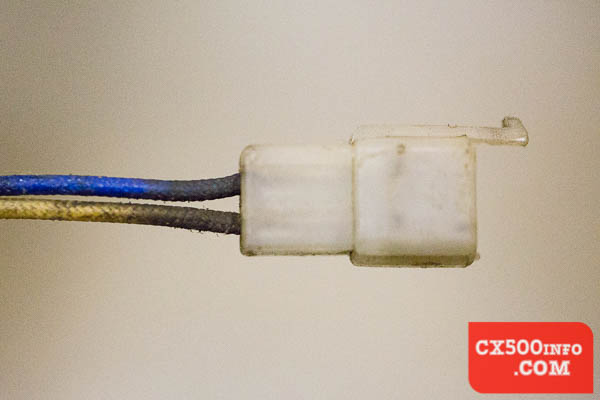
From the front:
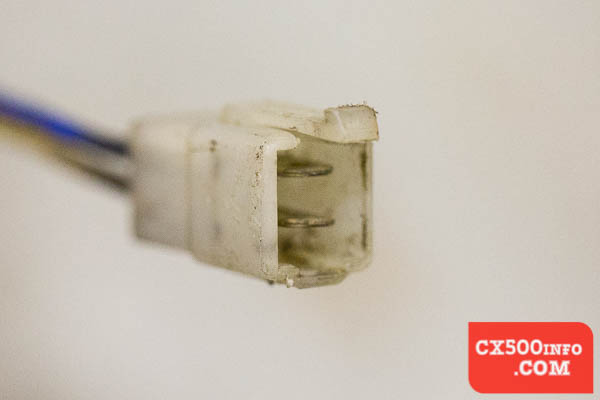
And lastly, a connector with three yellow wires going into it:
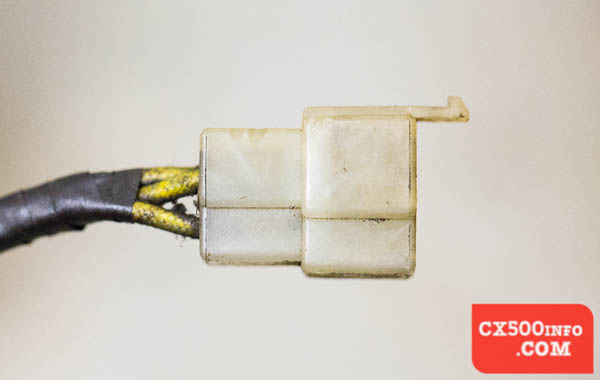
From the front:
If you have crusty looking connectors, now is a really good time to clean them with some contact cleaner, a small wire brush or whatever you please - additional crud on the metal can give you readings which are off. The connectors pictured in this tutorial have more crud on them than I would be happy testing, FYI. Now, looking back at the largest connector, the pins are numbered as such:
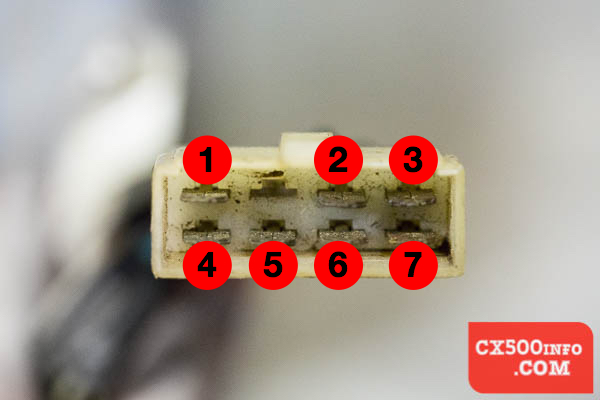
Confused as to which way is up? Note that the missing pin is on the top, as is the latch that secures the connector to it's mate. Grab your multimeter again, and check the continuity between pin 5 and a ground point on the bike (the battery ground, or a bare piece of metal (not the tappet cover). There should be continuity. Now look at the blue/white wire connector:
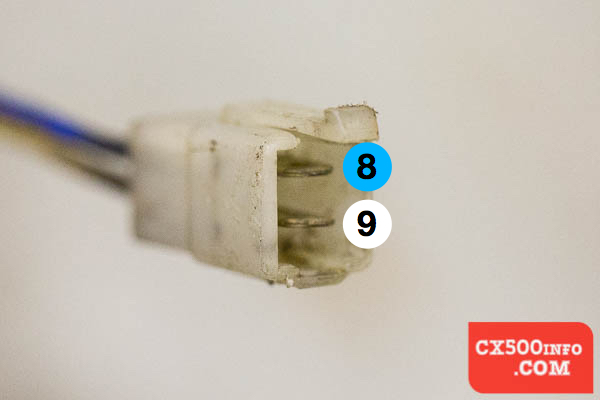
Now, set your multimeter to 2K ohms and test the following, recording as you go:
Why no 8/5? 8/5 ends up being the sum of 9/5 and 9/8, and serves no useful purpose for diagnosing. Now, you're not quite done with the multimeter yet - we have one more connector to examine:
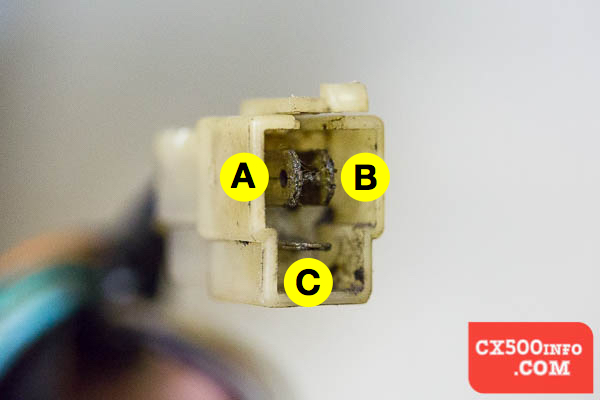
Set your multimeter to it's lowest Ohm setting again:
...and check pins:
There should be zero resistance, or failing that a very small number. If there's a high number - or your meter shows an out-of-range reading, which means you should bump up the Ohm range until you get the right number - there is likely a fault in the coil or the wires. Now set your multimeter to "continuity", if you have it. Find a ground point on your frame - not the tappet covers - and check:
Each of these should be infinitely resistant - there should NOT be any kind of connectivity between these coils and the ground.
Now that you have all of your figures, what do you do with them? Well, the correct stator figures vary depending on your bike serial number, so head over to:
Online Stator Test...and plug them in to get a diagnosis.
MotoFaction is a free resource, but the server isn't free. If a writeup here saved you time or money, please consider supporting the site:
You can also support us via Patreon.