So, you have done what you opened the engine up to do and it’s time to close it back up again. Here’s how to replace or install the rear engine cover on a Honda CX500, GL500, CX650, GL650, GL700, CX400 or GL400 motorcycle. You should be looking at something like this:
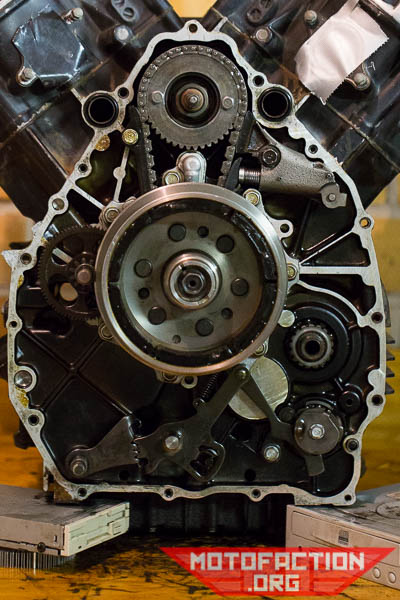
Check the following:
- Stator present and properly installed on the inside
- Pickups present and properly installed if re-using them, or just the right if you’re leaving that in for the timing marks with a Rae San
- Two water pipes are present at the top, with O-rings
- Transmission output shaft flange is present and oriented correctly
- Starter reduction gear is present, with a washer on either side
- Gear linkage teeth are connected correctly and spring is not stretched
- Locating dowels are present
Lost your spring? Someone sent me the following suggested specs for getting one made – I haven’t ordered one to this spec and tried it myself, if you use it with success let me know:
- 0.039″ Music Wire per ASTM A228
- Right Hand Wound
- Outside Diameter 0.393″
- Free Length 1.32″
- 7.5 Coils reference
- Loops in line, offset 180 Degrees
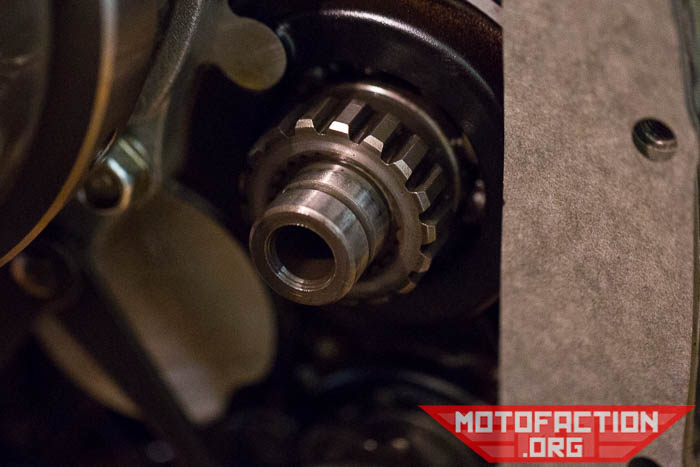
Check that output shaft flange – the bigger, toothed side goes towards the rear (facing you):
Install your rear cover gasket (11394-449-306, eBay US, eBay AU, eBay UK, eBay CA, Amazon):
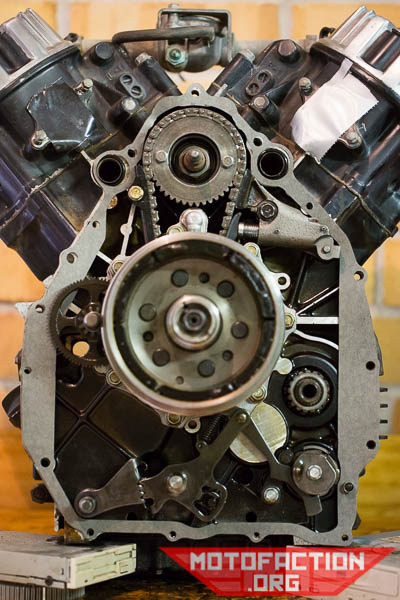
Here you can see what can happen if one of the dowels isn’t present; the gasket doesn’t sit quite right:
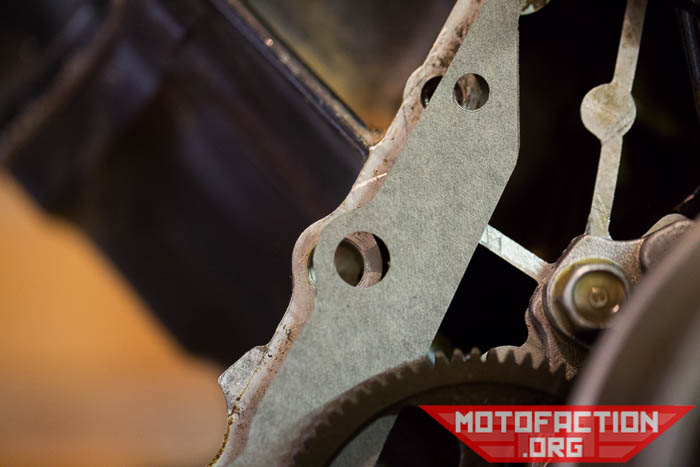
Dowel in, much better. The dowels are part number 94301-10160 (eBay US, eBay AU, eBay UK, eBay CA, Amazon):
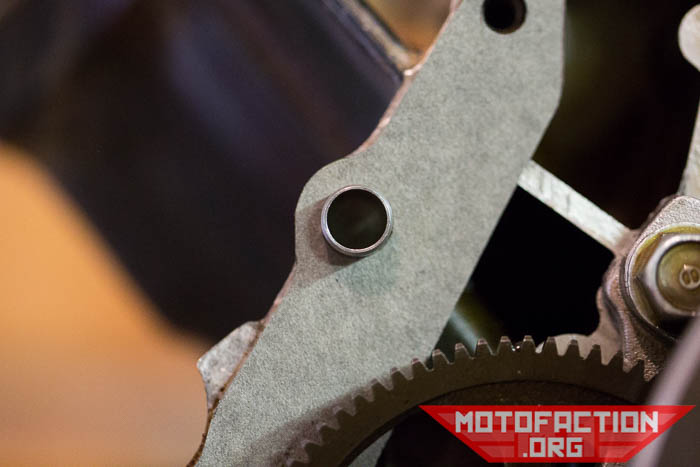
Make sure the gasket is sitting behind the starter reduction gear like so:
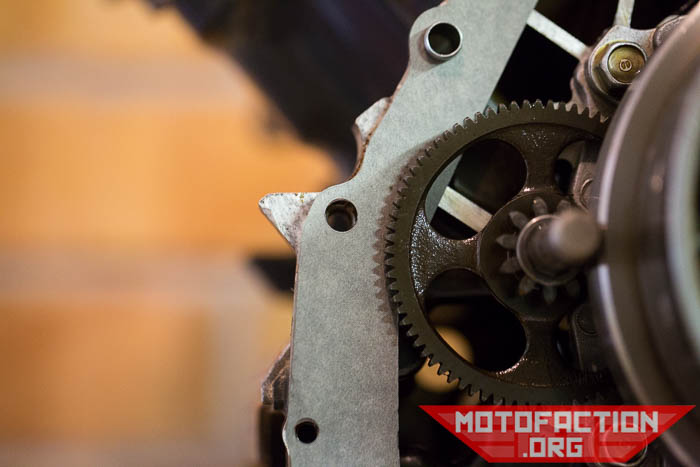
One good trick can be to cut the head off a long M8 bolt and screw it into the top bolt location, using it as a guide for the rear cover to go on straight. You’ll notice that once you have the stator close to the flywheel the magnets will grab, which might cause it to misalign slightly. Align the dowels with the holes:
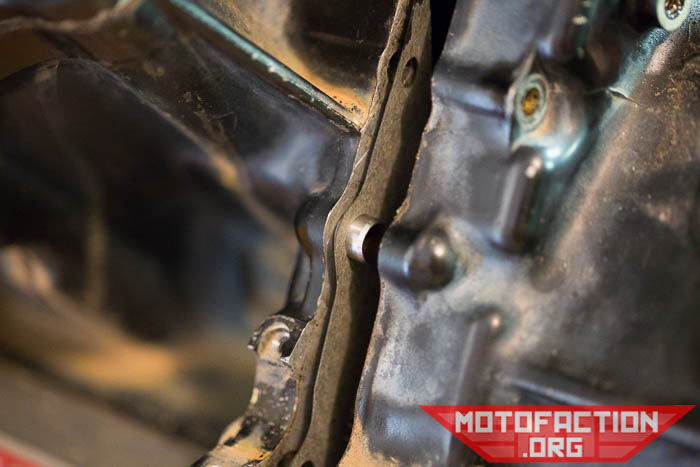
Same with the coolant passageways, and make sure that the O-rings aren’t dislodged during the install. The camshaft should come through the mechanical seal smoothly:
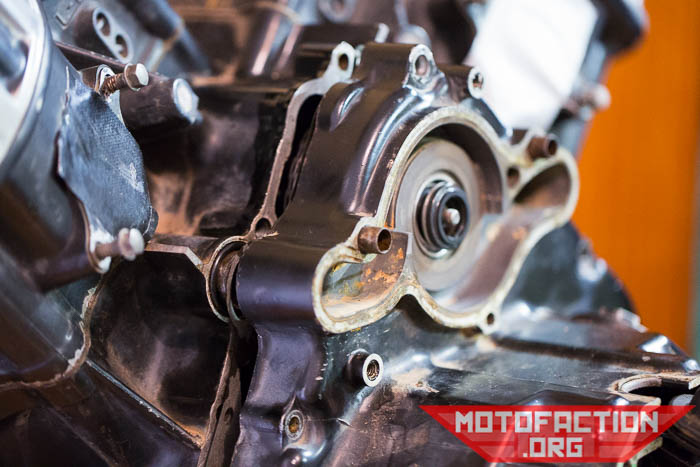
As you’re installing the rear cover make sure not to back off, and if you do you should take it off and start over. The gear shift linkage can disengage if you pull the cover back to the rear after you have started pushing it on.
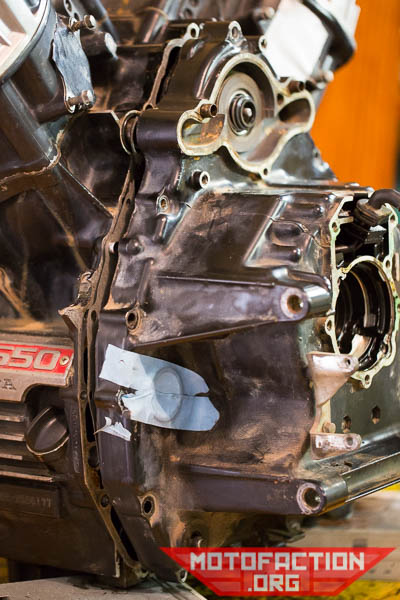
Once it is seated check that the gasket looks OK the whole way around – not sticking out unusually far – then re-install the bolts you took out to finger tightness, making sure not to miss any. Don’t forget the metal cable guide for the wire coming from the neutral switch if you took one off.
There are two torque values for the bolts on the rear cover – the bolts with 6mm shafts are torqued to 8-12Nm (6-9ft/lb), and the bolts with 8mm shafts are torqued to 18-25Nm (13-18ft/lb). We like to do them in at least two stages, working in a criss-cross pattern as much as possible, and do the big ones first.
Now check that the bike shifts properly! You don’t want to find out that something has gone wrong after you put the motor back in the frame… reinstall the gear shift lever temporarily:
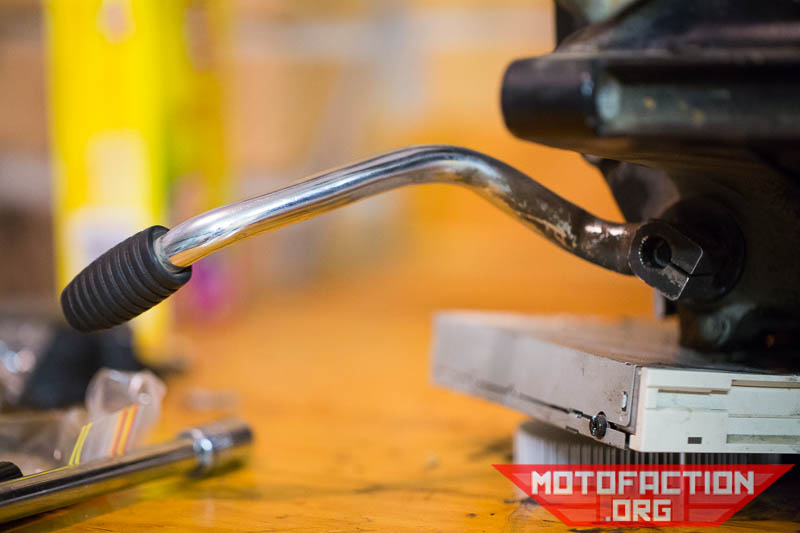
…and waggle the output shaft left to right as you shift up and down the gears to check that they all work:
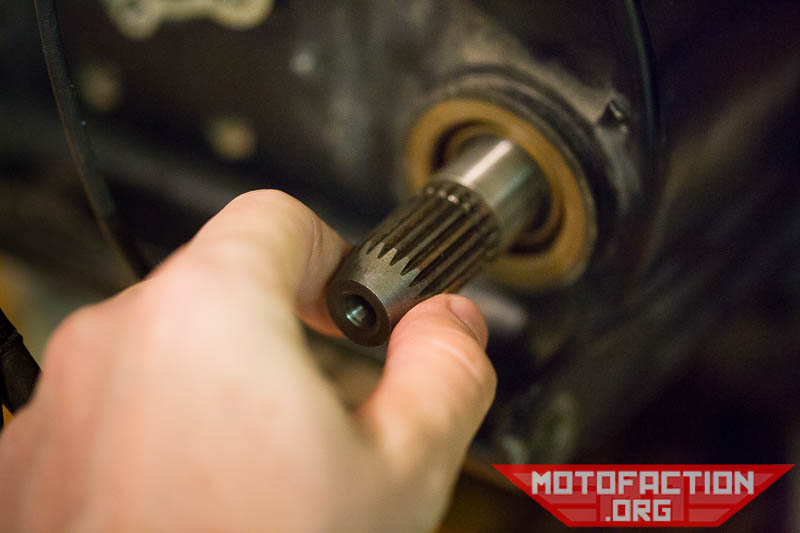
If you don’t rotate the output shaft back and forth as you try to shift you will likely find that the bike will not change gears.
If you are doing this as part of a triple or quadruple bypass procedure, head back to the main page.