The primary drive gear is at the front of the motor and you will need to remove it if you want to take the crankshaft out of the crankcase. Here’s the procedure for the removing the gear on the Honda CX400, CX500, GL400 and GL500 models – the CX650 and GL650/GL700 have a slightly different primary drive gear setup.

Use an impact wrench or block the gear with the gear holder tool to undo the 12x28mm bolt (part number 90013-415-000) – it takes a 17mm socket.
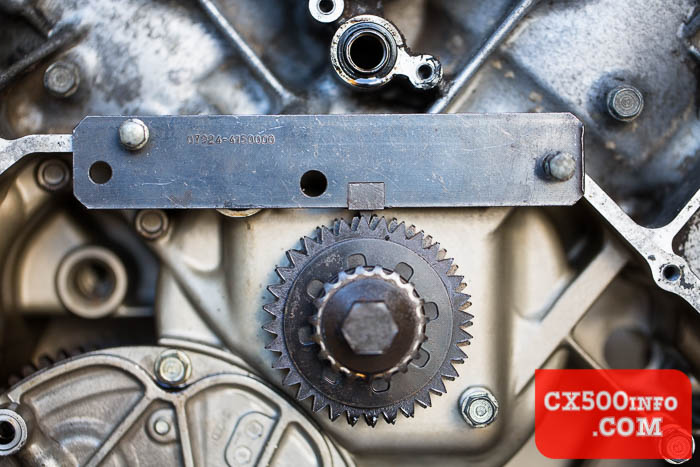

Now we are left looking at the oil pump chain sprocket (part number 15115-415-000).

This should simply lift away:


Now we can see the disk spring (part number 23124-415-003):

This will also just lift away:


Next there is a round plate – Honda call this the side plate – (part number 23123-415-000):

Make a note of which way around this side plate was facing so that you can reinstall it in the same orientation.


Now we have the sub-gear (part number 23122-415-000):

The same as the side plate, we want to make note of which way this was orientated so that we can reinstall it so that it is facing in the same direction. Outside:

Inside:

Now all we’re left with is the primary drive gear and two little pins (called knock pins). The primary drive gear (part number 23121-415-000, superseded by 23121-449-000):


Apply gentle, even force to both sides of the back of it to slide it off – here we are using two prybars:


Now there’s just the two knock pins (part number 94302-03050):

It may look like the splines are damaged…

…but chances are that will wipe away:

With that, you’re all done and the end of your crankshaft should be bare!
