Before using this site please read the site disclaimer. Also please note that any links provided may be part of an affiliate programme (viz. eBay, Amazon) which helps support the site as I will earn a commission when visitors make a qualifying purchase.
The first part of this is done on a CDI engine and the second half of the photos are from a TI engine, for those who are curious about the change in photos. This assumes that the engine is already out of the bike and the rear cover has been removed. You should be looking at a flywheel like so:
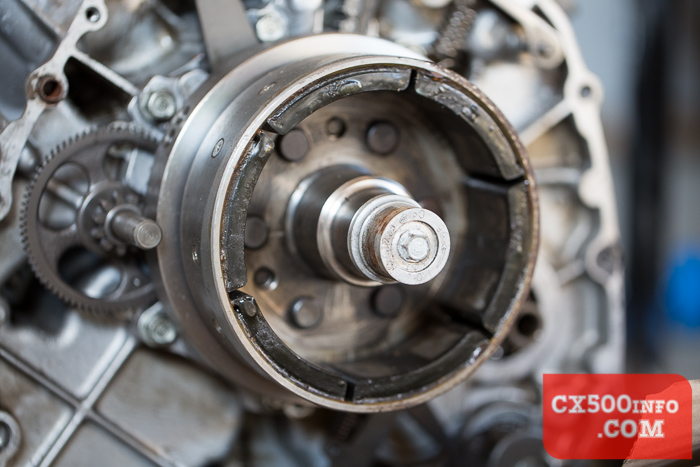
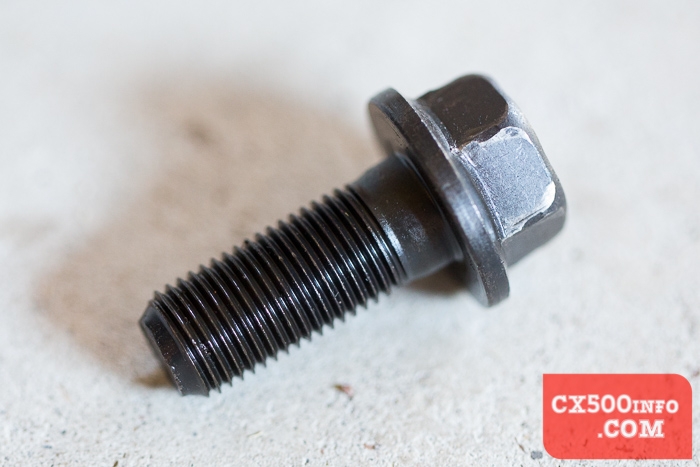
Firstly, we take a look at the bolt in the very center - it takes a 10mm socket:

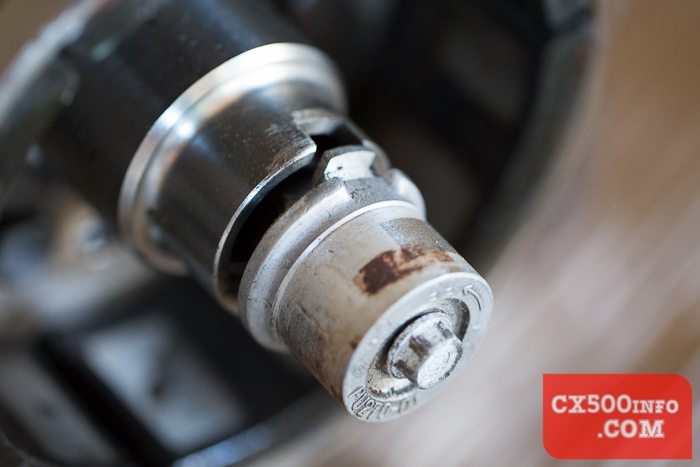
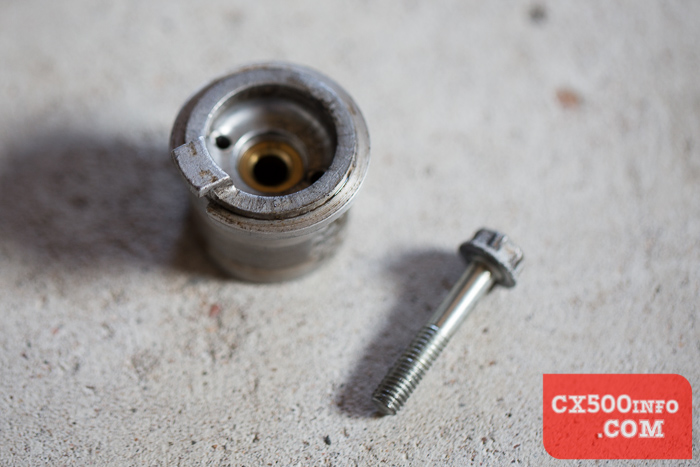
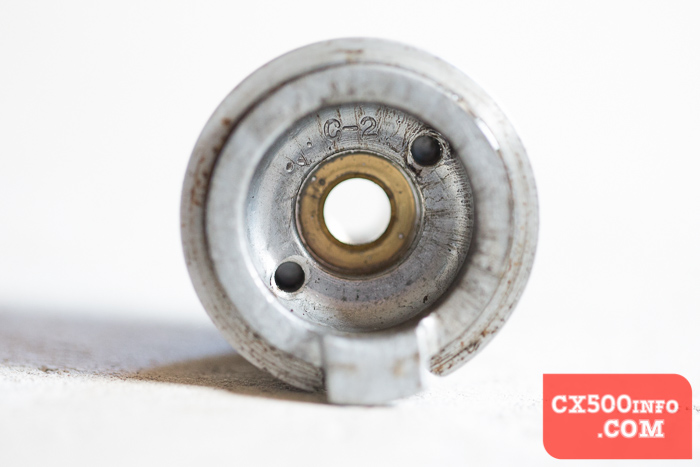
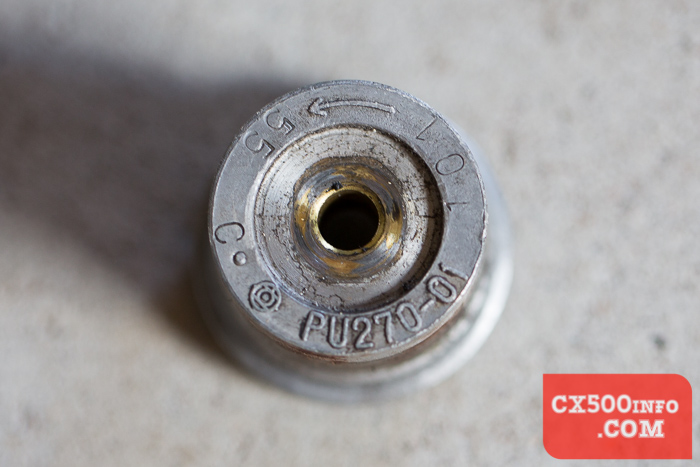
Remove it and the piece it holds in:
Removed:
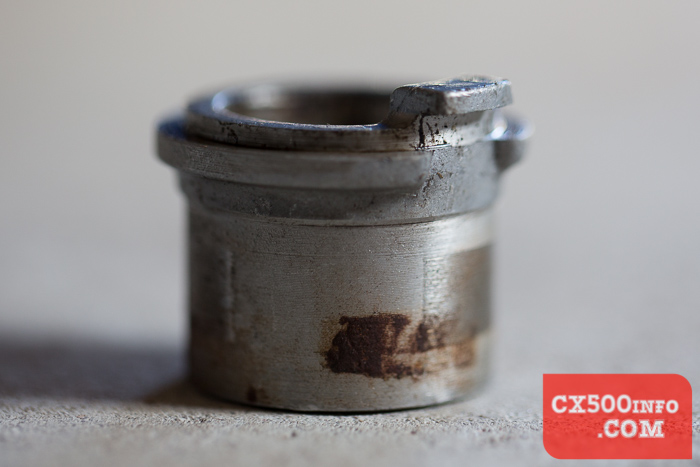
Closeups:
Beneath this, we have another bolt - this time with a 17mm head:
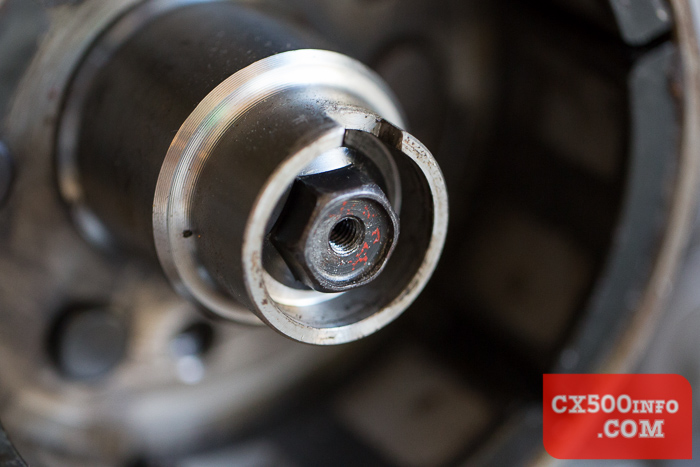
Attempting to undo this bolt will cause the flywheel to spin; there is a Honda tool used to lock the engine. Many people will use either a battery powered impact wrench which circumvents the need to lock the flywheel or crankshaft/primary drive. If you don't go this way, a socket and bar on the other end of the crankshaft can work (if you go this way be prepared for the bolt on the other end to possibly come loose when undoing this end...) or a soft washer/rags in the primary drive gear:
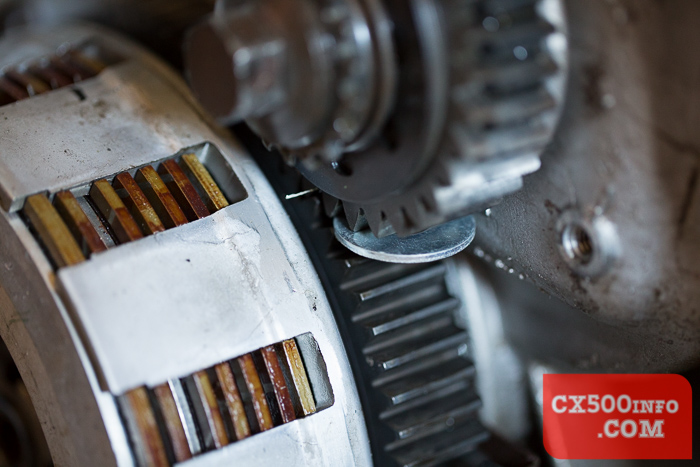
The Honda tool is the best option; there is a risk of damage to your primary drive gear if you use a washer. You can read about the Honda tool here. People have also had success with a strap wrench and second person to hold the wrench around the flywheel. Keep in mind that you will need a way to hold it when torquing this bolt up upon reinstallation.
For a video of how quick it can be to remove the flywheel using an electric impact wrench, see here:
The bolt removed:
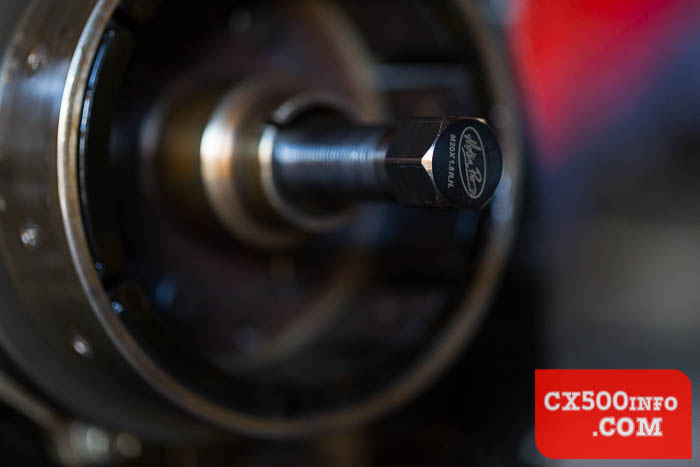
Now grab your M20x1.5mm bolt - doesn't have to be a special bolt, I'm using a Motion Pro one (click here for my review of it) but it could be one you got from a local fastener store for less $:

Apply some anti-seize so that you don't gall the threads on either the flywheel or the bolt:
(or find some on eBay US, eBay AU, eBay UK, eBay CA)
Install it in the center of the flywheel where you just removed the other bolt. The idea here is that as you screw it in, it bottoms out against the crankshaft and pulls the flywheel away from the crank. This is often easier said than done, as it's on there fairly tightly. One technique which can help is using a hammer - tap, tighten, tap, tighten and so on. The idea is that the tap helps take up the tiny bit of slack in the bolt and move things along. Hitting it very hard isn't really going to get you any further, so don't go overboard.

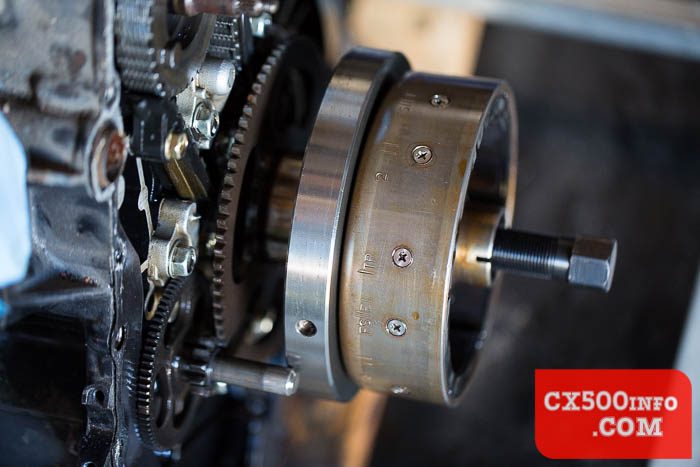
It will go in a little ways before bottoming out - here's how far it has gone in right before the flywheel popped off:

The flywheel should be easily removable once it gives:
You may find that some of the starter clutch rollers fall out while you're removing it - be careful not to lose them.

As a note - the needle roller bearing you will now be looking at that's inbetween the flywheel and starter driven gear should be oiled with fresh motor oil before it's reinstalled.
All done! Having an impact wrench can definitely make your life easier here, though some have cautioned against using it to pop the flywheel off with your puller bolt in case you strip the threads out. I haven't had that happen to date - after a few dozen flywheel removal/installations - but I suppose it could happen.
MotoFaction is a free resource, but the server isn't free. If a writeup here saved you time or money, please consider supporting the site:
You can also support us via Patreon.