Before using this site please read the site disclaimer. Also please note that any links provided may be part of an affiliate programme (viz. eBay, Amazon) which helps support the site as I will earn a commission when visitors make a qualifying purchase.
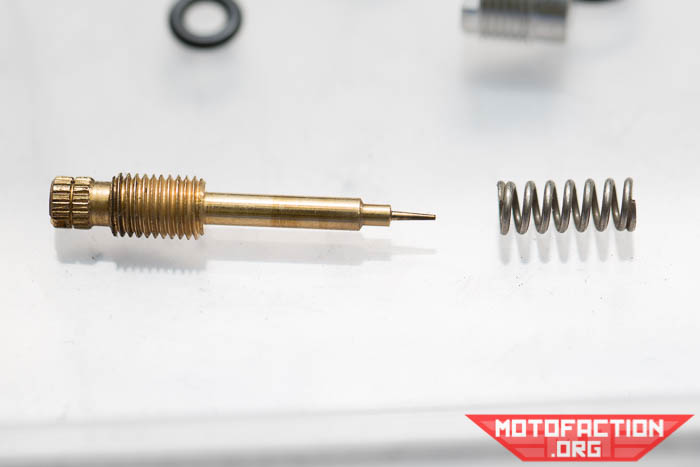
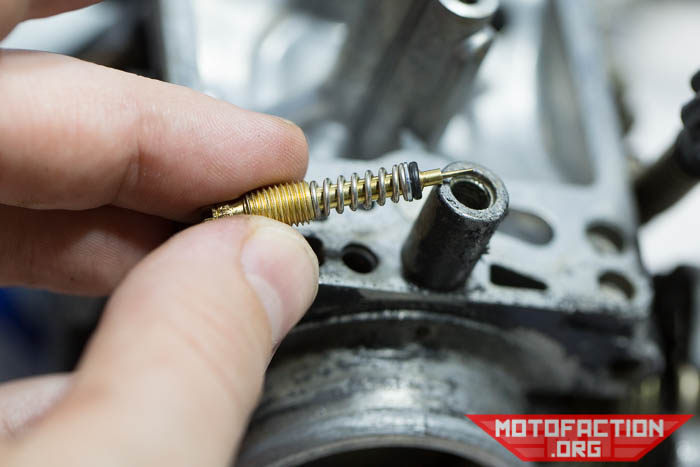
Grab your pilot screw and spring:
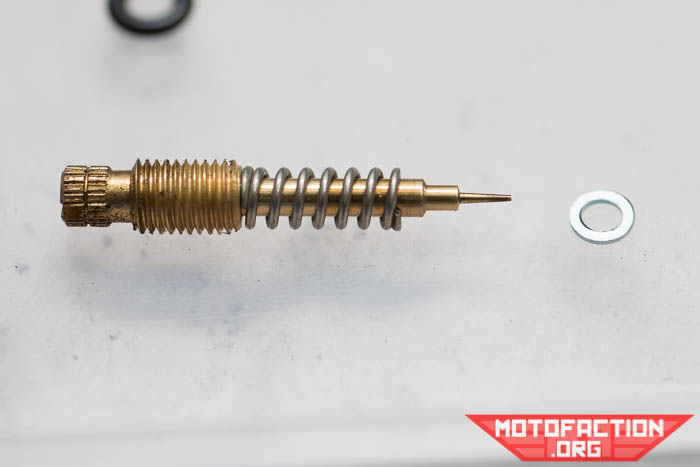
Slide the spring onto the screw. Next comes the washer:
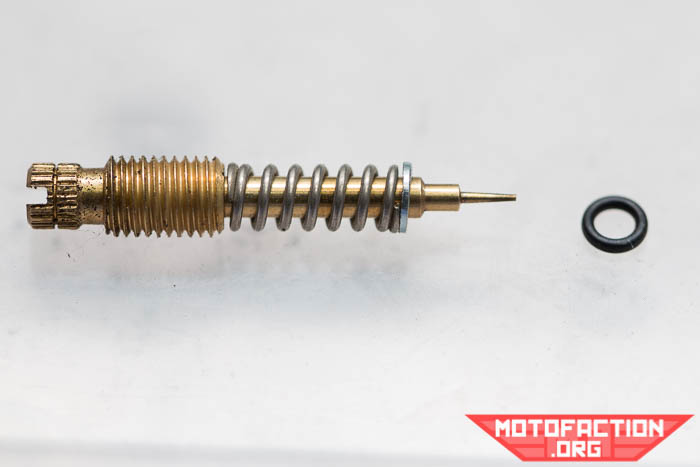
Slide that on after the spring. Next comes the O-ring:
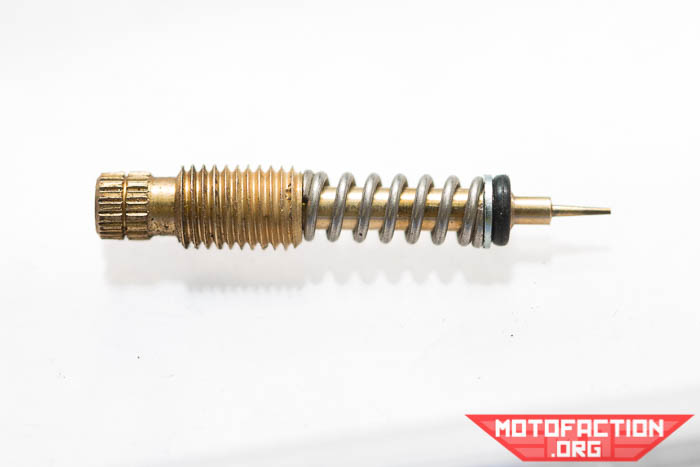
Slide that on too:
Now, you could try to install the screw/spring/washer/O-ring from the top and risk having the lot fall off and vanish somewhere under your work bench...
...or you could make life easier on yourself and turn the carb body upside down while you install the screw so that gravity helps hold on the spring/washer/O-ring:
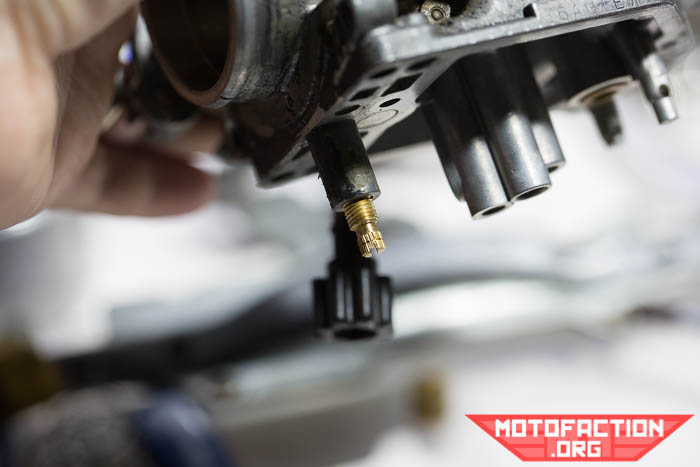
Gently screw it in and then back it out 2.5 turns. This is a good starting point for adjusting the bike's mixture.
Now install the needle jet beneath the larger emulsion tube:
(pic coming)
Then the larger emulsion tube - it won't seat all the way usually and don't force it as it's soft brass and very easily stripped:
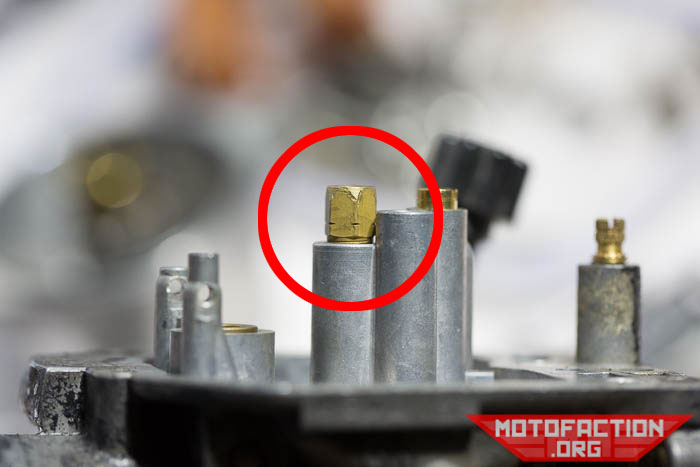
Then the thinner emulsion tube:
(pic coming)
Then the two jets should be installed. Big goes in the brass - so for example if you were using 78 and 112 jets you would put the 112 in the brass emulsion tube and the 78 in the carb body above the smaller emulsion tube:
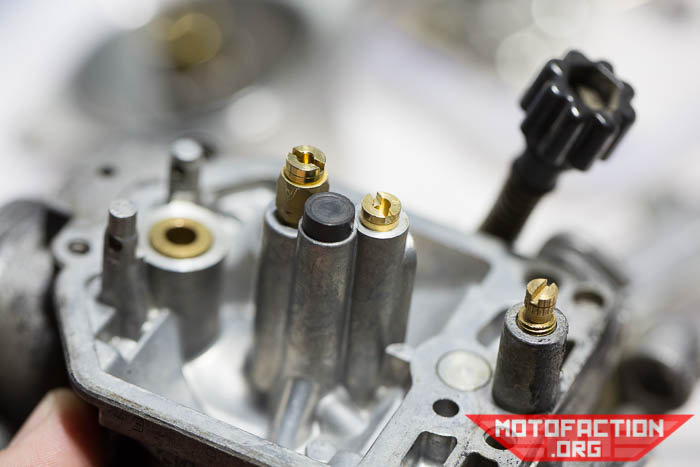
Repeat the process for the other carb body and you are now ready to install the floats.
Now head back to the main carb cleaning page for the next step in the reinstallation process.
MotoFaction is a free resource, but the server isn't free. If a writeup here saved you time or money, please consider supporting the site:
You can also support us via Patreon.