This fuel tank has seen better days – it was starting to show rust through the paint, so we wanted to strip it back, fill the small dents and test out a new aluminium colour for the underside.
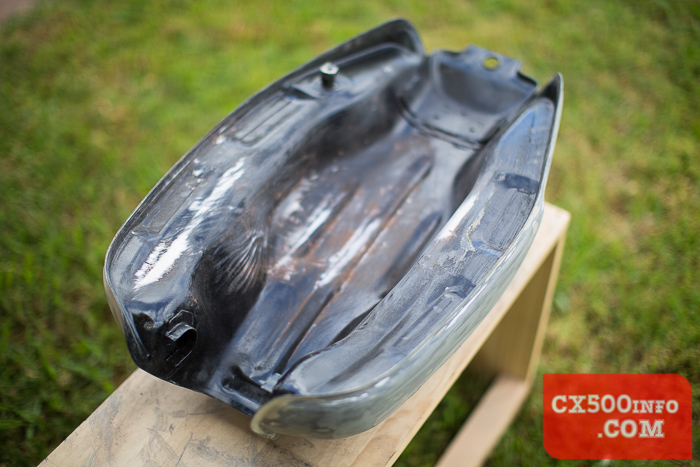
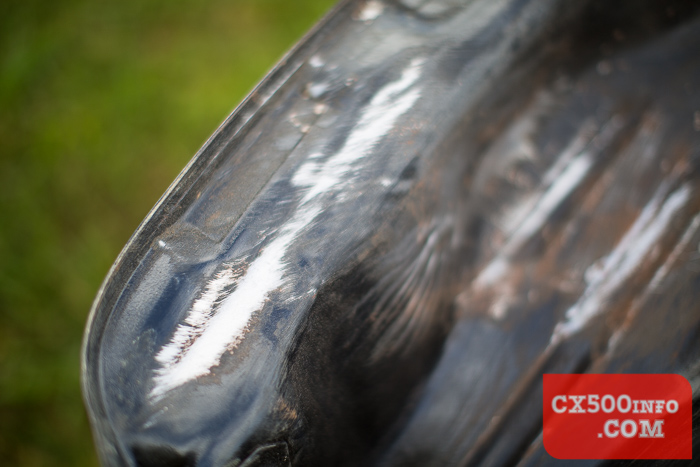
After a brief test of hand sanding, it became evident that a quicker approach was necessary:

Lacking the means to sandblast, we turned to chemicals:
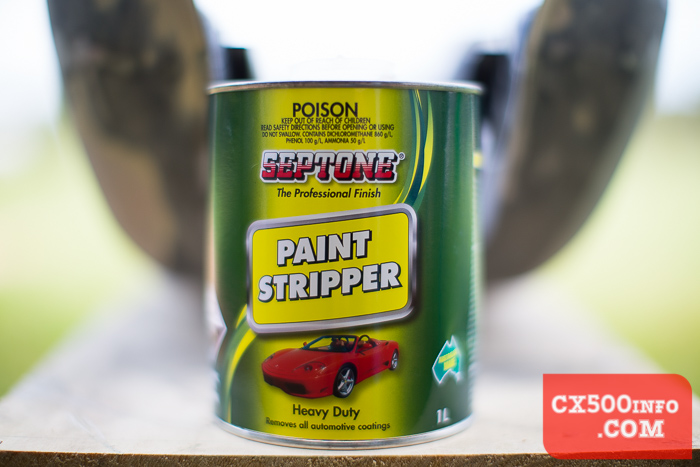
If you’re going to use this stuff, wear thick gloves and WEAR EYE PROTECTION. This stuff burns. After liberally applying it and leaving it for a while as per the instructions we were left with this:
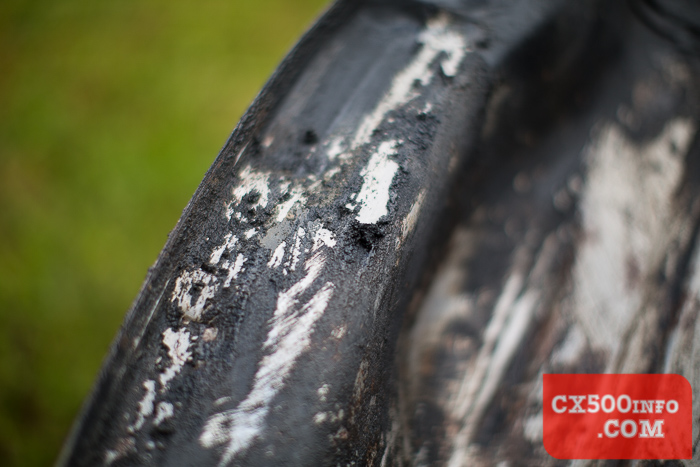
Which was scrubbed off with metal scourers to leave this:
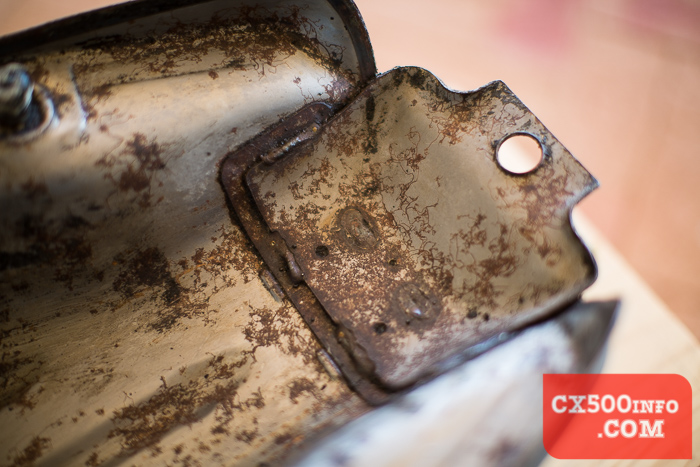
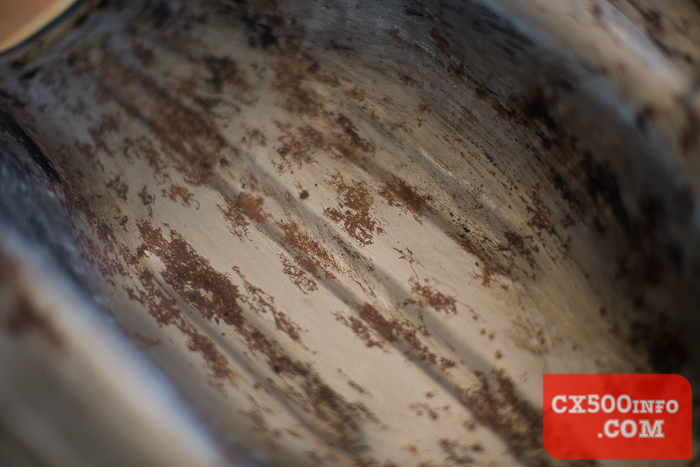
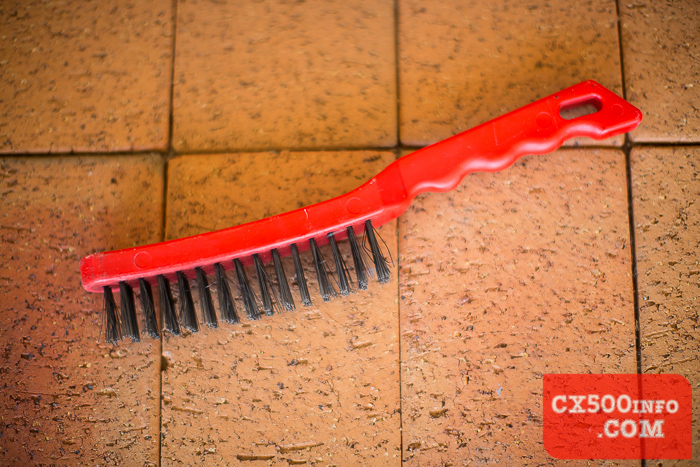
Time to bust out the trusty wire brush:
Now we have:
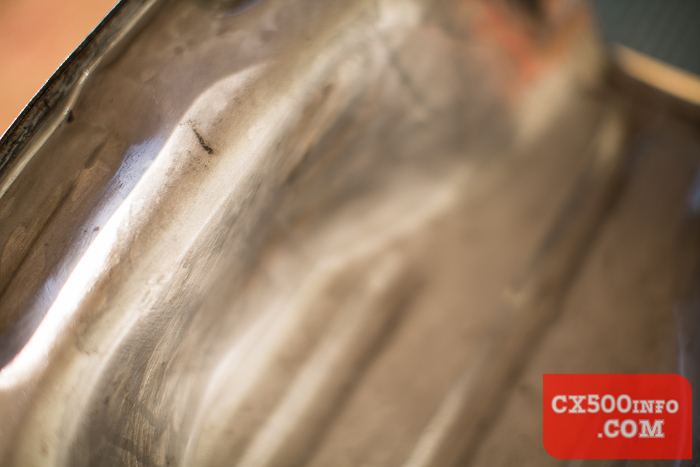
The rest was tidied up with a little bit of sandpaper and more wire brushing. We didn’t sand the metal down too finely as it’s not a visible area. Give the lot a thorough cleaning with wax and grease remover, allow to dry and then undercoat. We used Duplicolor High Heat engine paint metal primer.
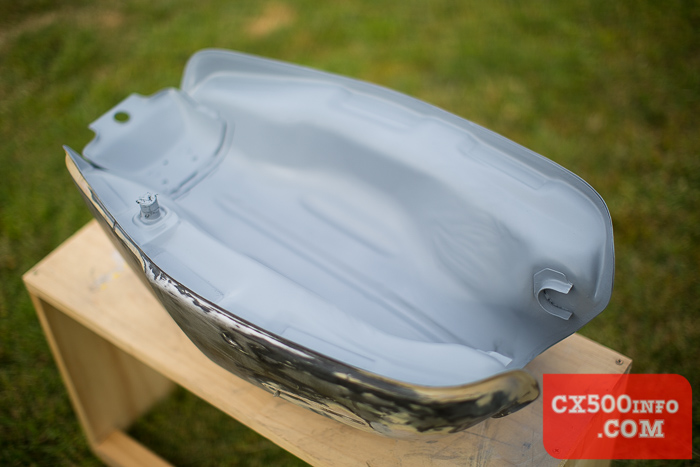
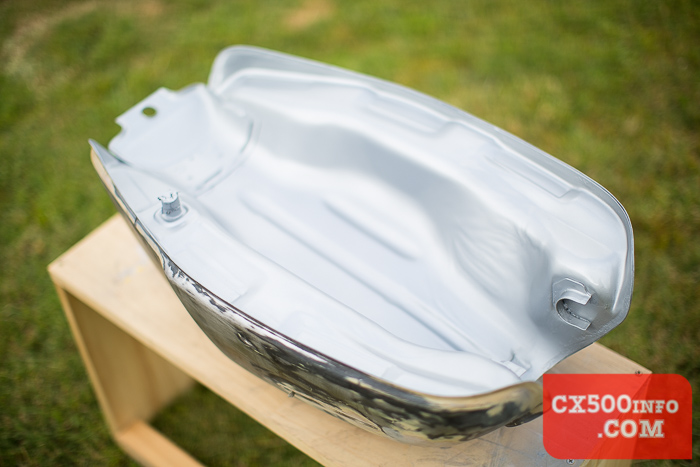
Two coats of undercoat, then three coats of topcoat. As per the instructions (our interpretation of them, anyhow) we waited 10 mins between each coat and got good results. We picked Duplicolor High Heat Aluminium engine paint for the underside. Normally we would have gone with gloss black, but we wanted to see how the aluminium turned out before using it on other components.

At this point we turned our attention to the top. As it has a way of doing, life got in the way and the bike had to be back on the road sooner than expected so we didn’t get to spend as much time here; the dents were filled and sanded back quickly and the rust brushed/sanded away the same as the underside. Screws installed so that the paint doesn’t fill the threads:
,br />
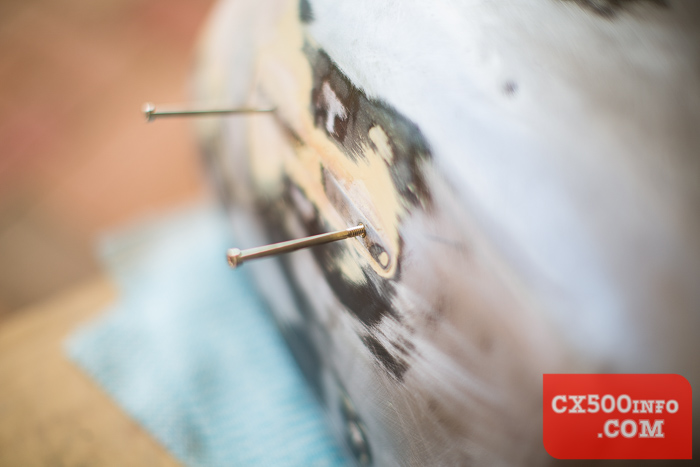
A shallow but quite noticeable dent filled:
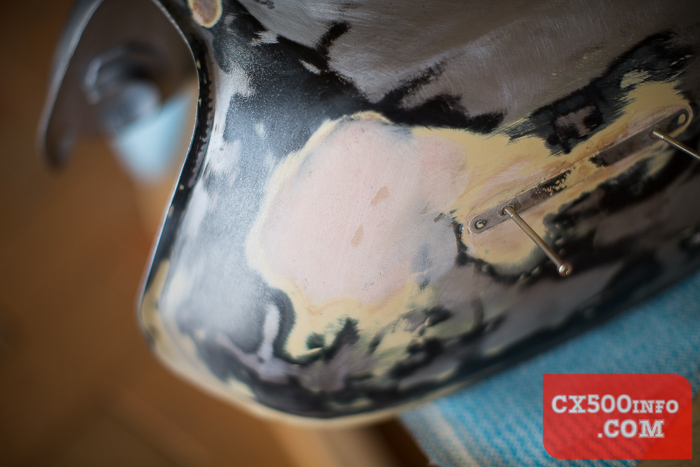
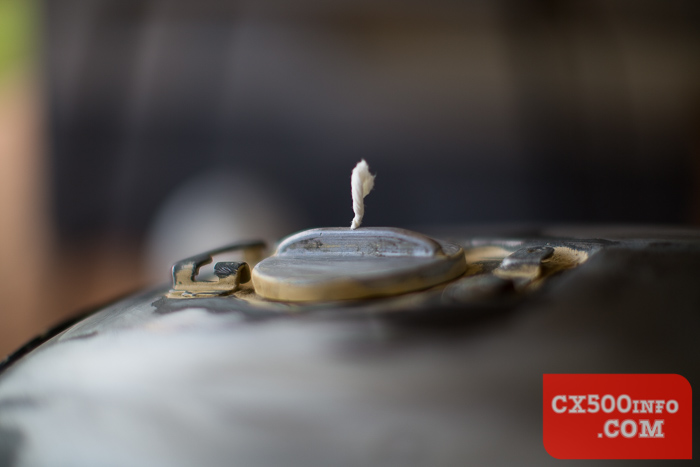
Covering the vent:
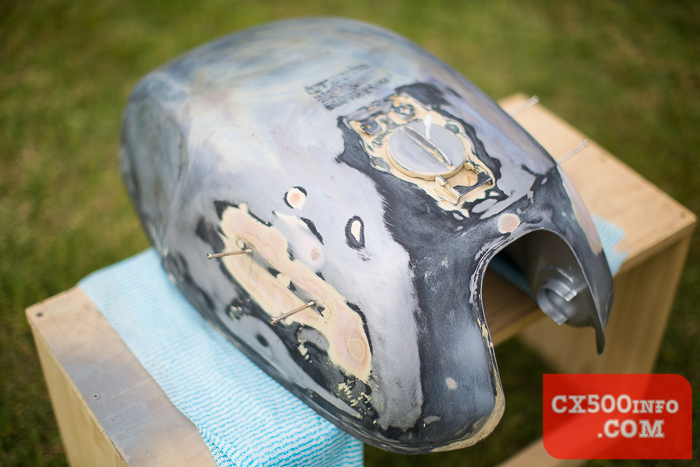
Would have been nice to properly prep the top surface, but here’s what we had to work with – as much gone over with sandpaper to smooth it out as possible, then wax and grease remover:
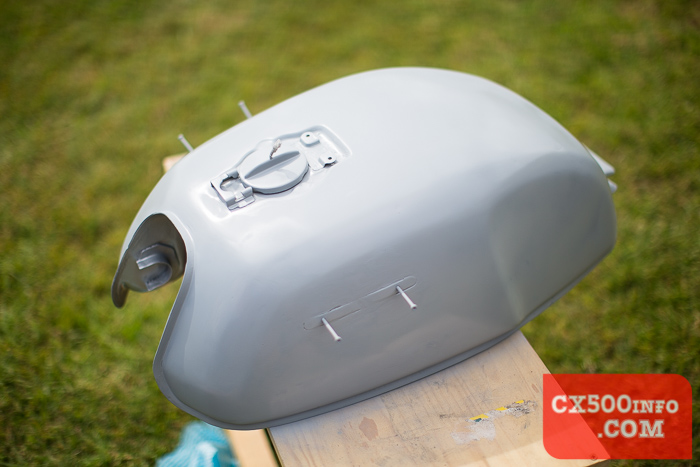
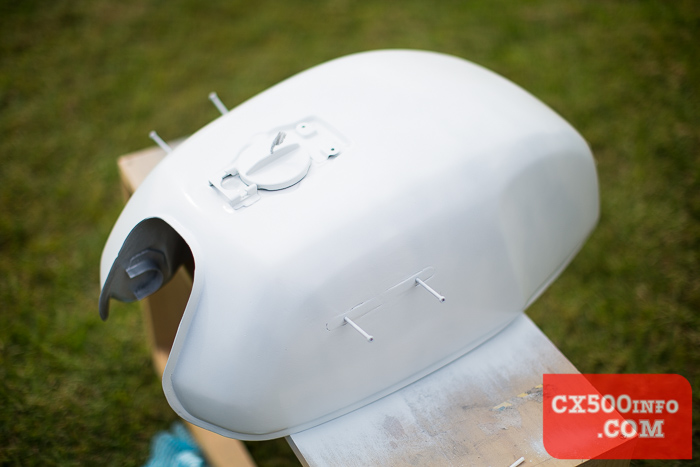
For the top we are using Duplicolor colour matching paint, with metal undercoat, then a cold white and then an off-white over the top.
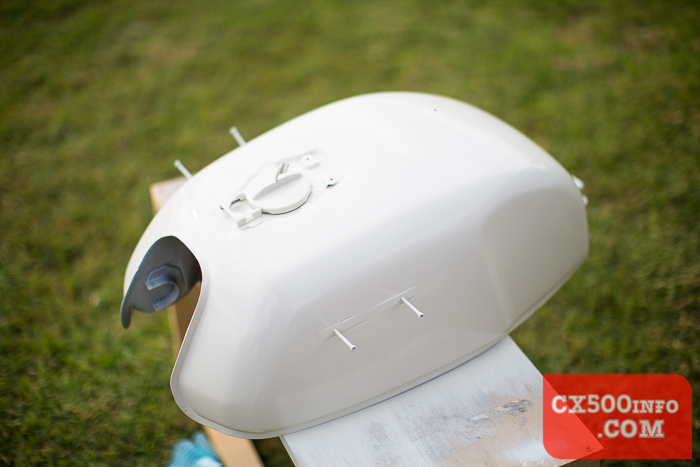
After that we used two full cans of Duplicolor high gloss topcoat. For being a rushed job it looks decent. The paint has now been on there for about 12 months and has dealt reasonably well with fuel spills; it has eaten through the topcoat in one small area thanks to a fairly large slip-up with a jerry can, but that has resulted in only slight discolouration. The high heat paint is definitely more resistant to chipping than the touch up paint. Next tank we do will be with Duramax spraycans, whose range features a 2-pack-in-a-can which we hope will deal better with chips and fuel spills. We will post back with our findings…