How to remove the front wheel - Honda CX500
Before using this site please read the site disclaimer. Also please note that any links provided may be part of an affiliate programme (viz. eBay, Amazon) which helps support the site as I will earn a commission when visitors make a qualifying purchase.
Note that this is a how-to based on a 1980 CX500 with 33mm forks and dual disc brakes.
There are plenty of reasons for removing your front wheel - to drain forks which lack a drain screw, to change the tyre, check/replace bearings, check for damage and so on. On the CX it's really straight-forward and quite a quick job. Firstly, set up the bike on a hard, stable surface with the front wheel off the ground. How you achieve this easily will depend on whether you still have the centre stand attached and what jacks etc. are available to you - we find that a trolley jack underneath the engine is enough to raise it up so that it sits on the rear tyre, side stand and jack but your mileage will vary. Just make sure to do it safely.
Note that when we say left and right we mean left and right as if you are sitting on the seat riding, not looking at the bike from the front. Firstly, locate your front wheel and brake caliper or calipers!
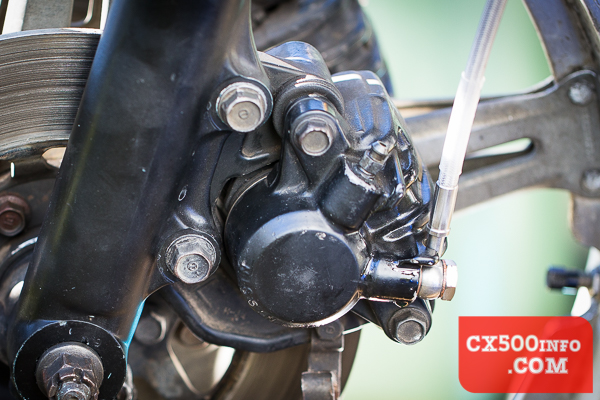
The calipers are held on by two bolts on either side, highlighted here on the left side of the bike:

They should take a 14mm socket. Find a box or something to sit the calipers on so that they don't hang from the brake lines. Undo the two bolts, being careful to support the caliper so that it doesn't drop.
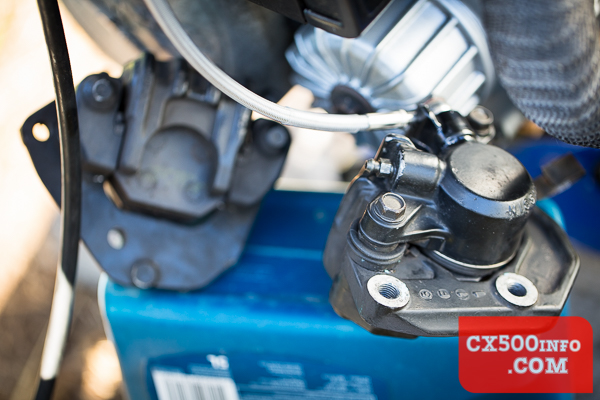
Once the two bolts are undone, the caliper should lift free easily. Place it on the box/whatever you found.
**NOTE** Once the calipers are off the rotors do NOT depress the front brake lever - or else you will push the pads together and not be able to fit the rotor between them!
The right side caliper is held on in the same way; two bolts later and you now have both front calipers on your box:
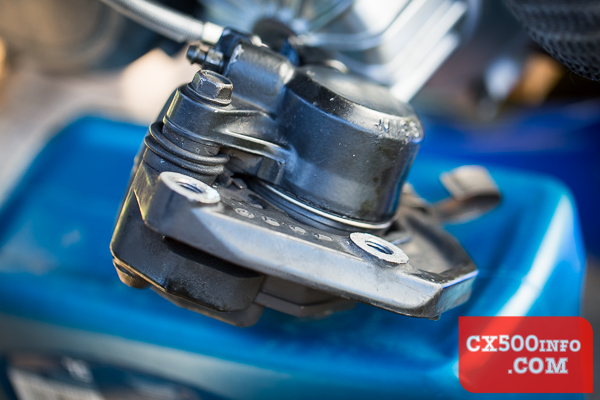
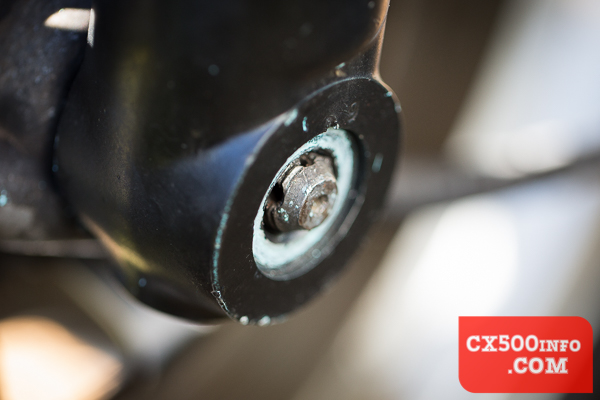
The speedometer drive unit is next in line, and is located on the left side at the bottom of the fork:
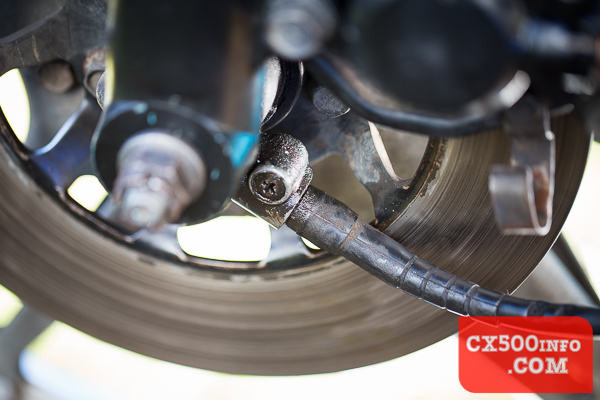
The cable is held in by a screw on the outside. If your screw is stuck and you have easy access to the other end of the cable (and don't have time to sort out the stuck screw) you could undo the other end;
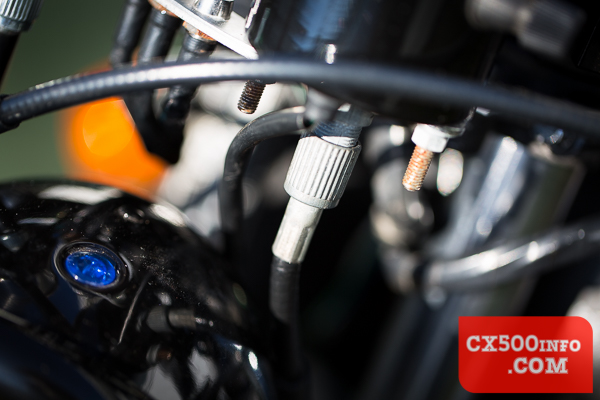
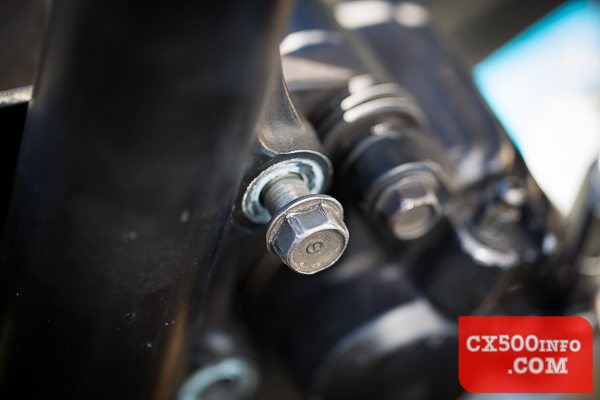
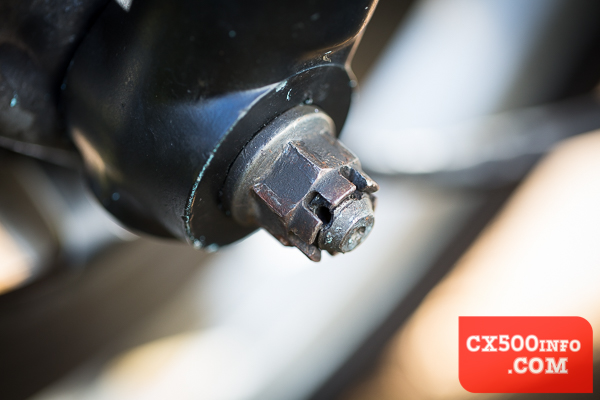
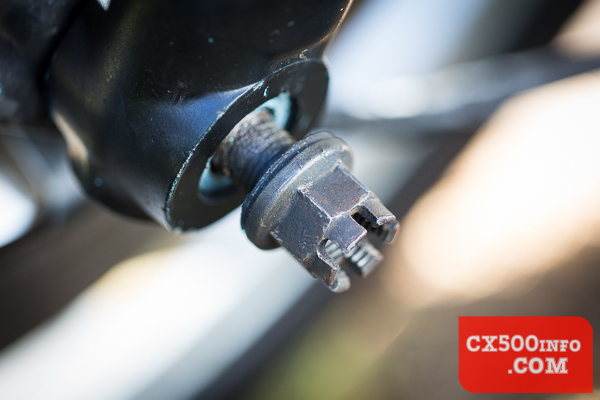
If you take the cable off at the speedometer, pull it all the way through so that it can move freely with the wheel when you move it away from the bike. Now we can look at removing the front axle. It is held in on the left by a nut and a split pin - this bike was missing the split pin but you can see the nut here and the hole in the axle where the pin was:
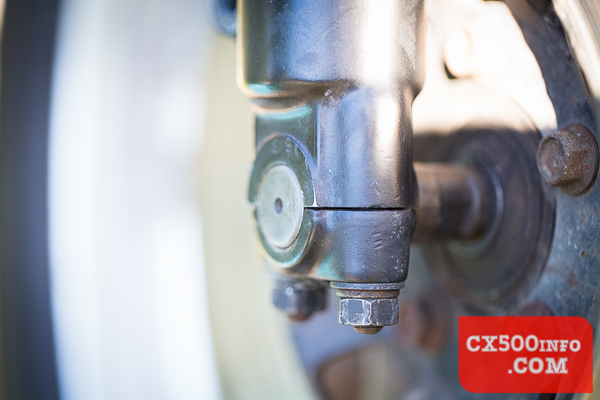
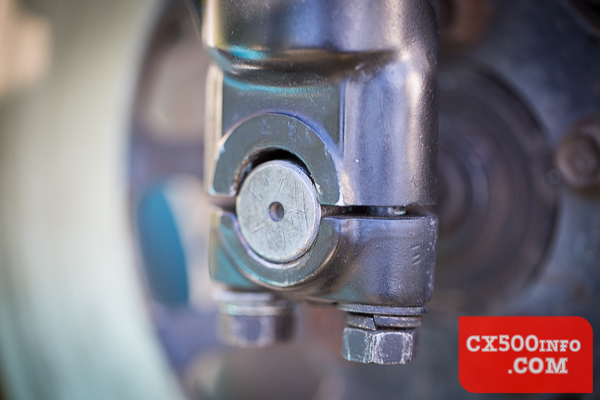
...and on the right side it is clamped to the bottom of the right fork by a metal bracket and two bolts, which should take a 14mm socket:
Back to the right side, remove the split pin and undo the nut.
There is a washer behind the nut - don't lose it! Now on the right side we can loosen the two bolts with a 14mm socket:
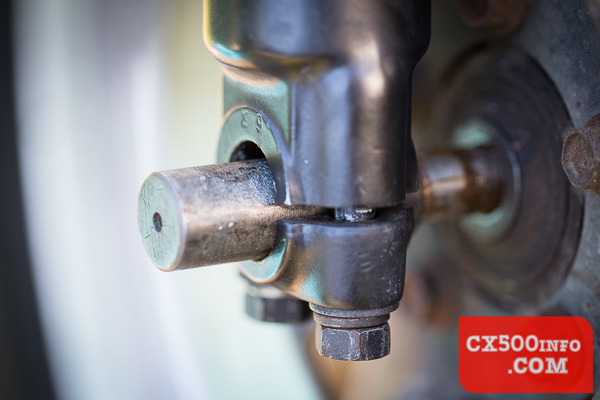
Each of the bolts has two washers, as you can see in the above photo. Now that the axle has been loosened on both sides you should be able to push it through from the left to the right side while supporting the wheel so the weight isn't causing the axle to bind:
...and the view from the left:
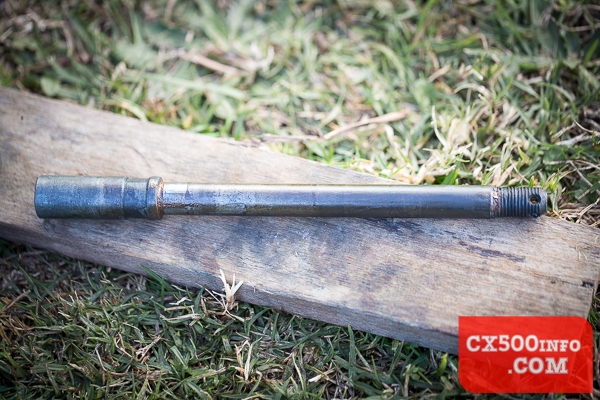
Whilst still supporting the weight of the wheel - and preferably the speedometer drive unit on the left side as well so that it doesn't fall, slide the axle all of the way through and carefully lower the wheel to the ground. From memory the single-disc models have a spacer where the right rotor bolts on - if you have a single-disc model make sure not to lose that. The axle looks like so:
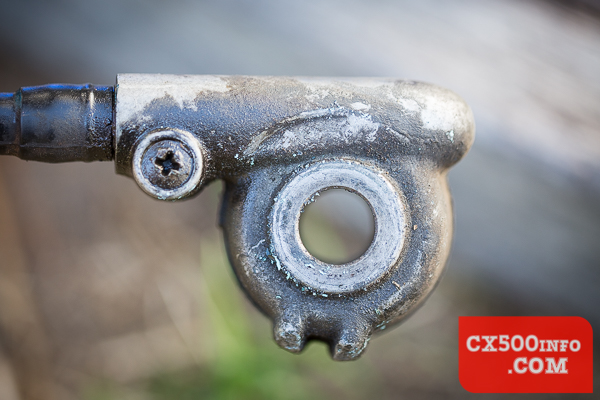
...and the removed speedometer drive unit:
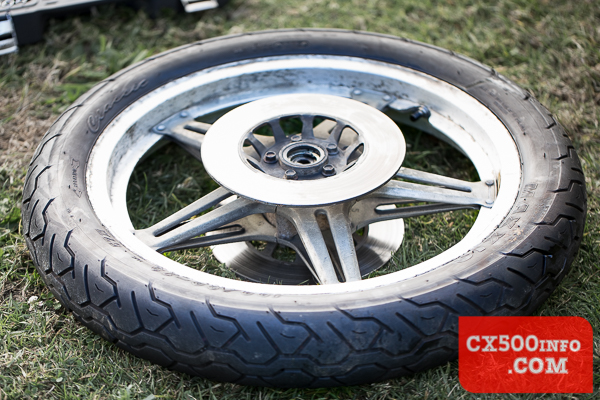
Voila! One CX500 front wheel removed.
There will be a write-up of the installation of a front wheel shortly!