Before using this site please read the site disclaimer. Also please note that any links provided may be part of an affiliate programme (viz. eBay, Amazon) which helps support the site as I will earn a commission when visitors make a qualifying purchase.
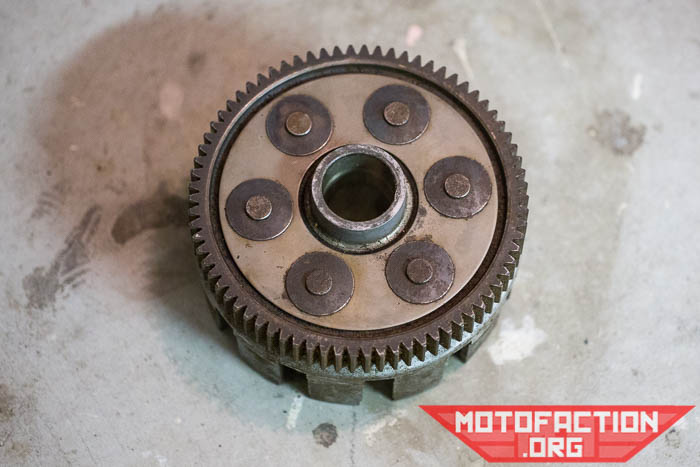
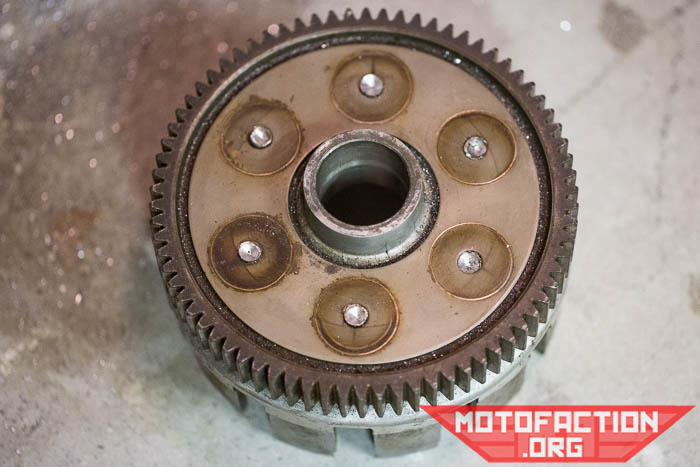
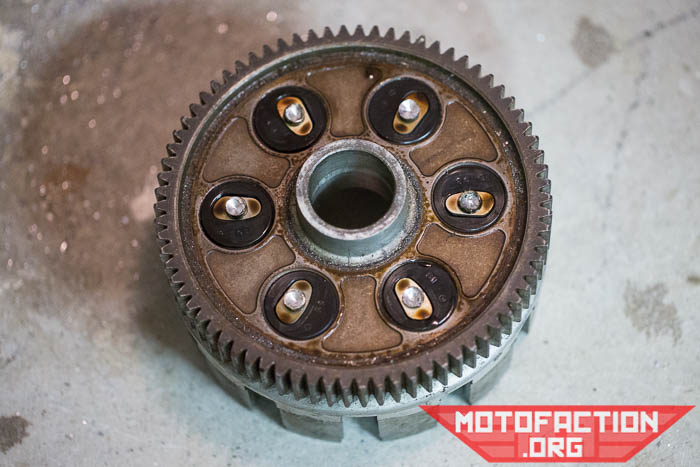
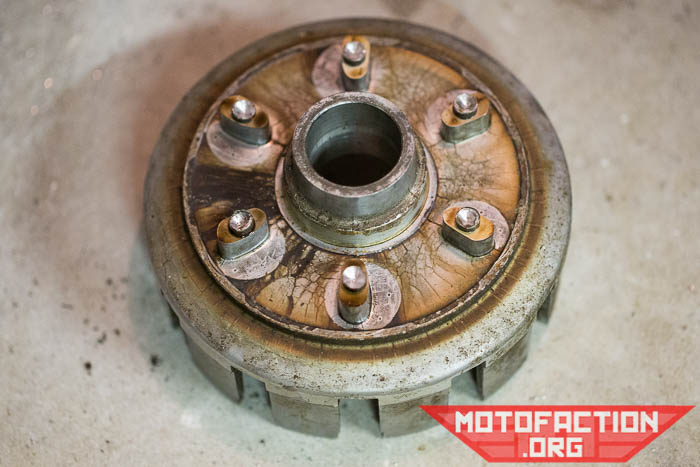
We had a basket with some damage and a great deal of curiosity - don't do this at home unless you know how to put it all back together, in which case you're probably not looking at this page! Take one CDI Honda CX500 clutch basket (the TI ones have springs):
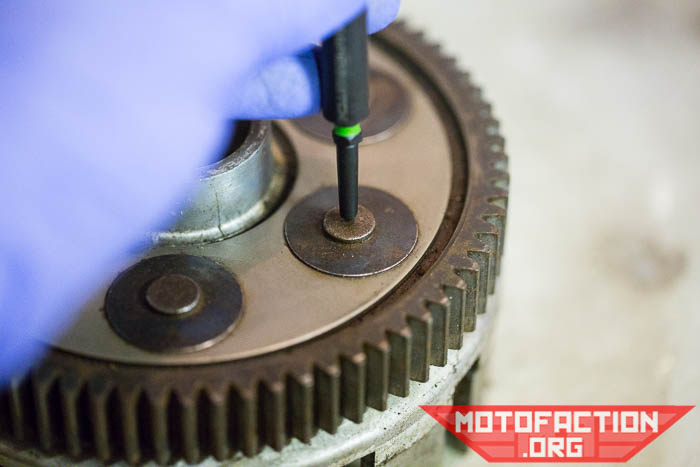
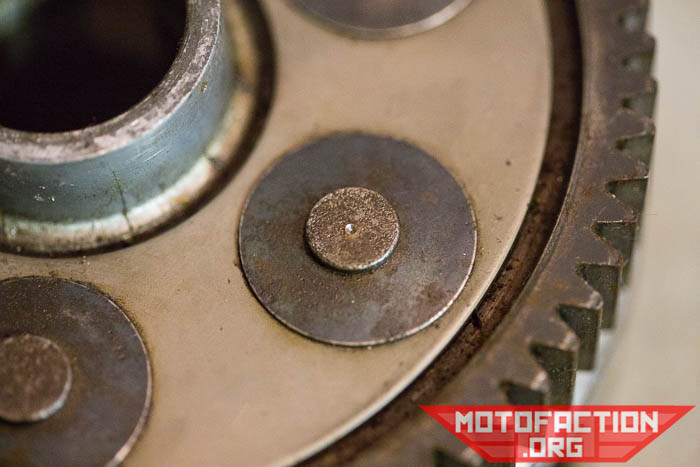
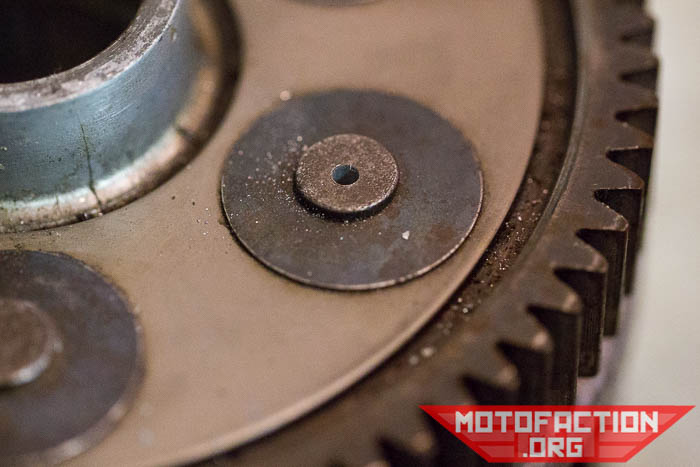
The two halves are held together with six very large rivets. Take a center punch (Amazon) and mark the center of each rivet:
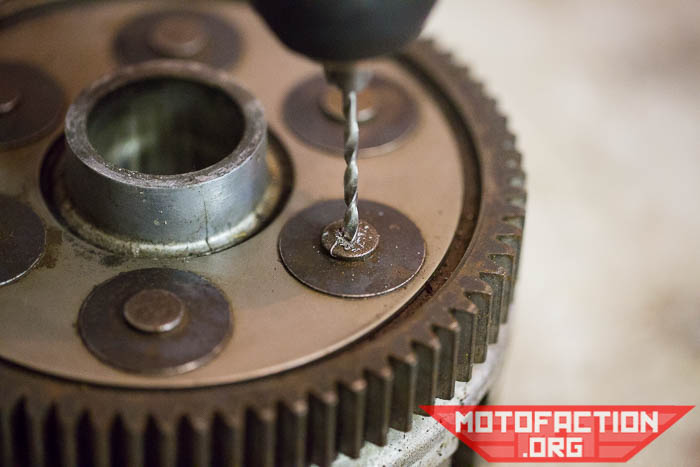
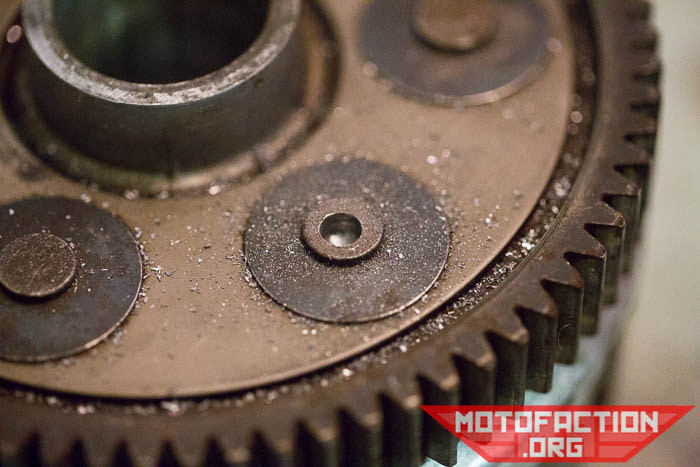
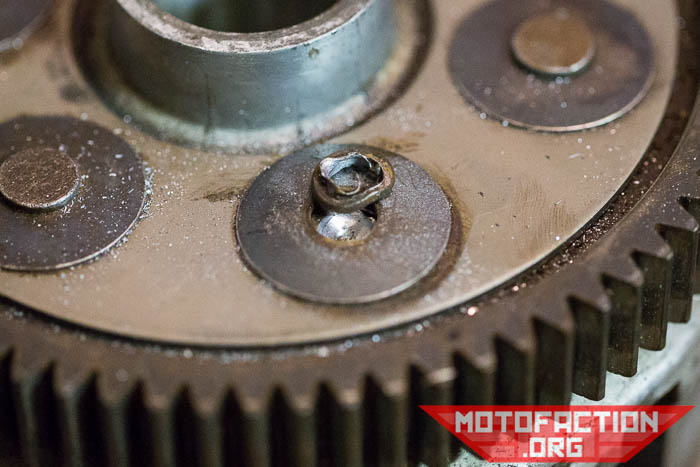
A drill press (and very accurately getting the center) would help here. Grab a smallish drill bit (we used 3mm to begin with) and drill the center down - doesn't have to be below the level of the clutch plate holding the rivets in:
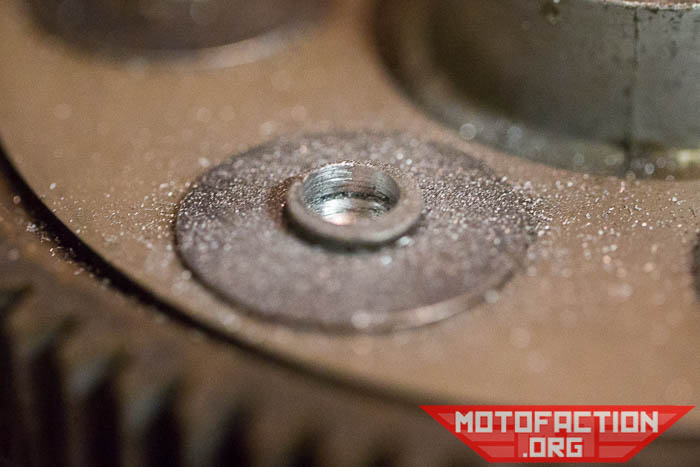
We took it out to ~5.5mm:
...then ~8mm, but the center punch wasn't exactly centered...
 \
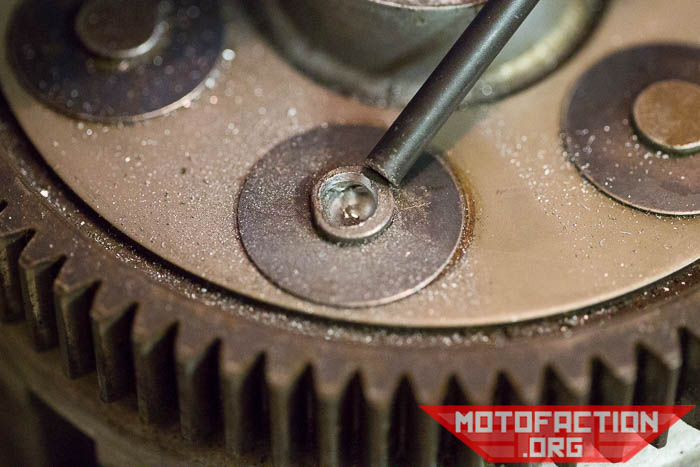
\At this point we decided to knock off the top of the rivet. Someone had borrowed our chisels, so we just used a drift/punch (Amazon) to knock off the remaining head of the rivet. Wear eye protection (Amazon).
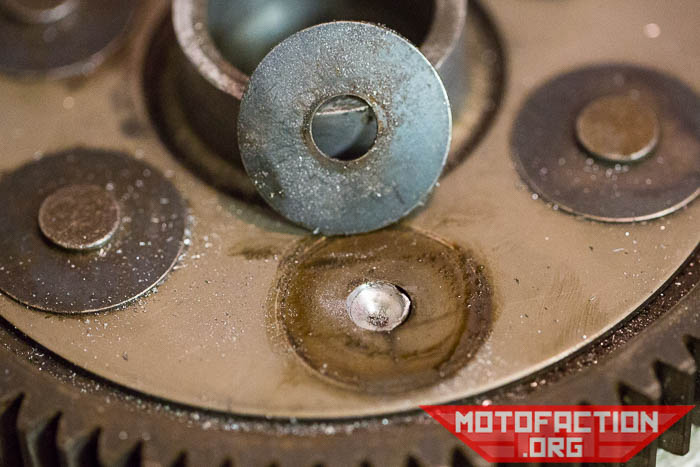
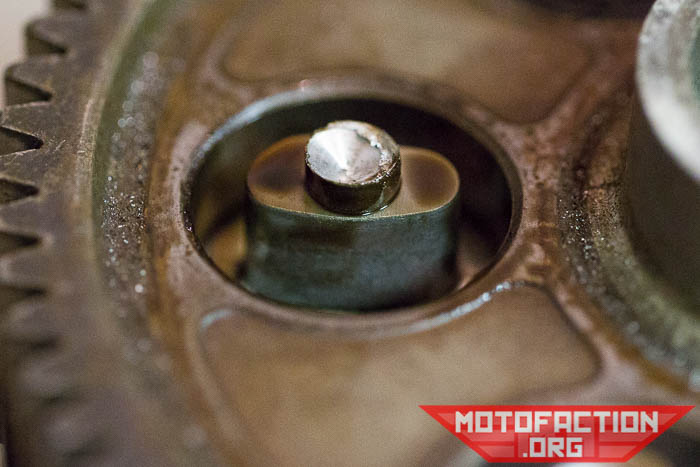
After retrieving the head of the rivet from the dark depths of the workshop:
The round part should simply lift free now:
Rinse and repeat:
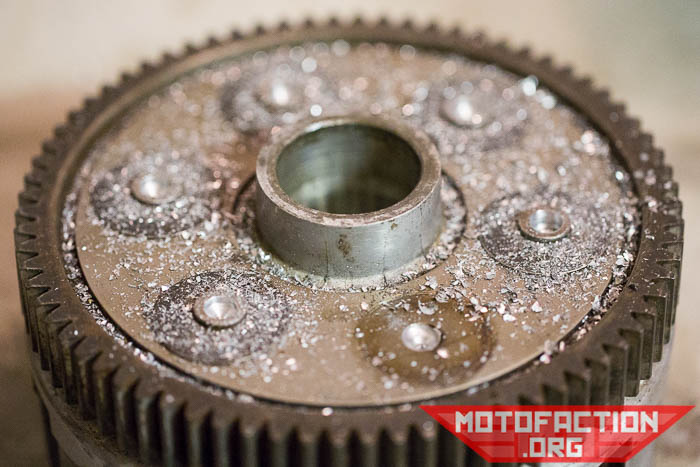
At this point the plate should lift free fairly easily - if not check that there isn't still rivet material holding it down:
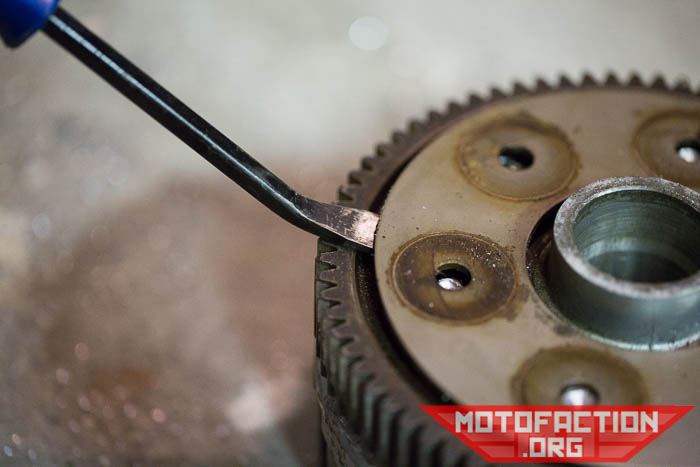
Plate removed:
Flip side:
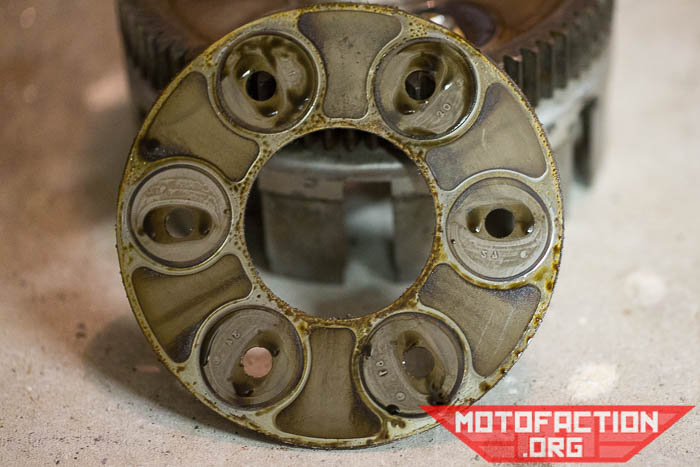
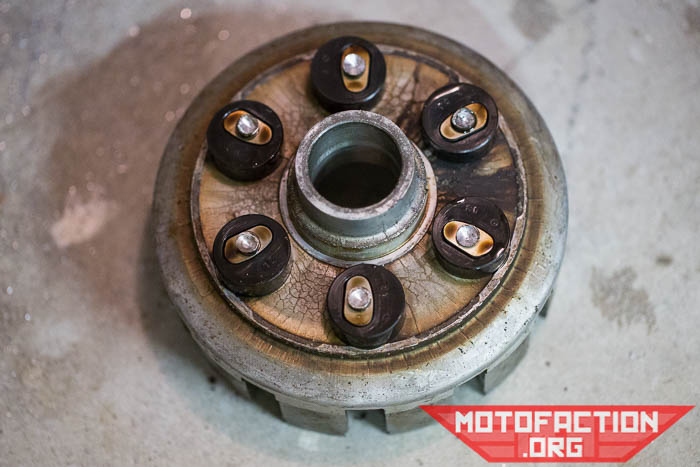
Underneath:
Closer:
The rubber inserts should simply lift out:
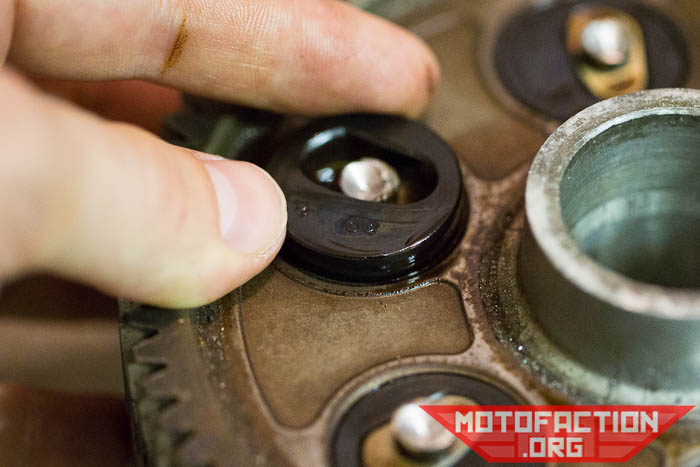
They're well and truly hardened after 30-odd years of service:
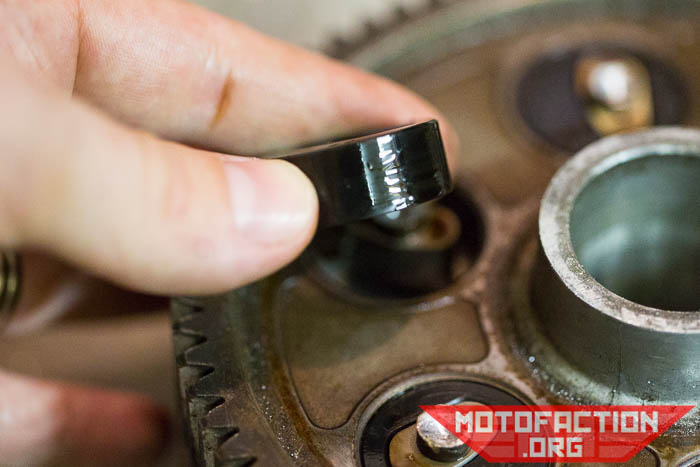
Looks a bit like a hip flask.
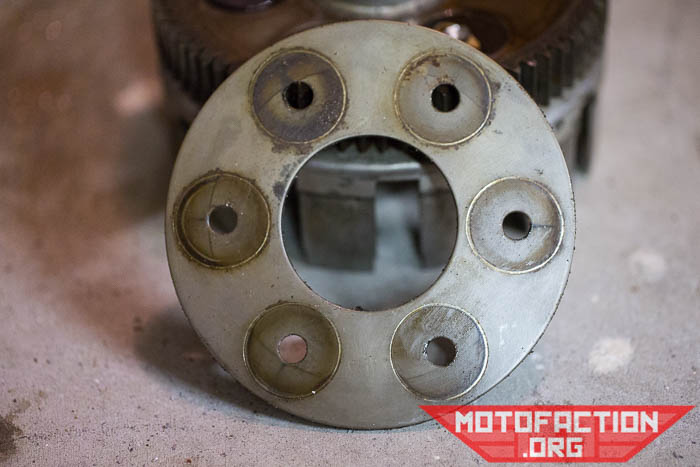
The metal plate with the gear teeth on it can lift off now:
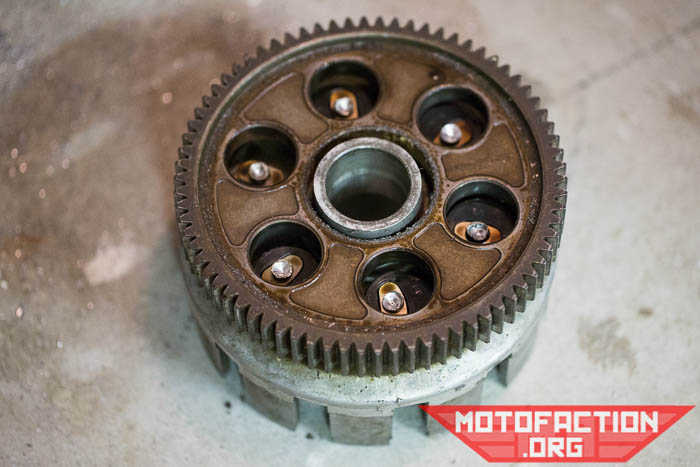
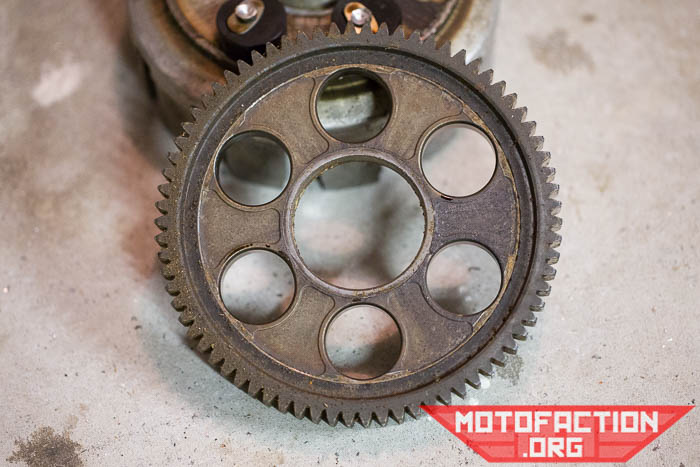
Plate removed:
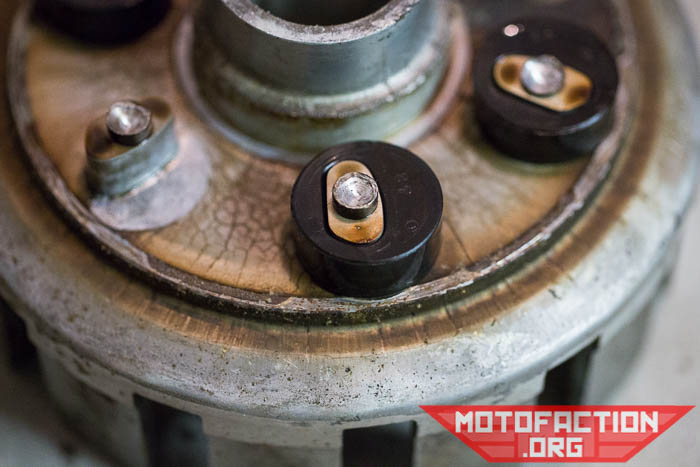
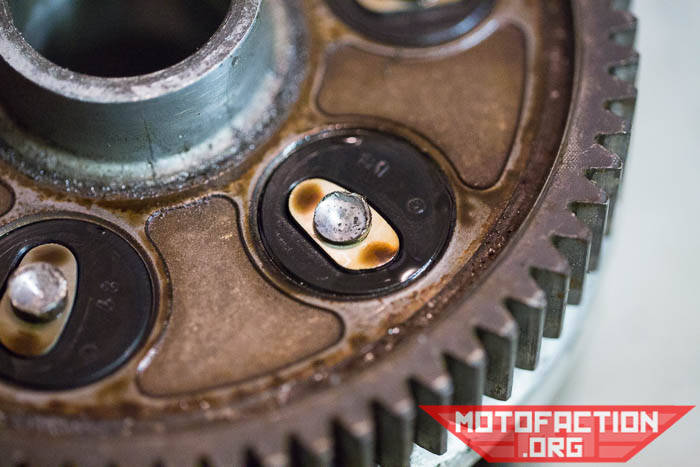
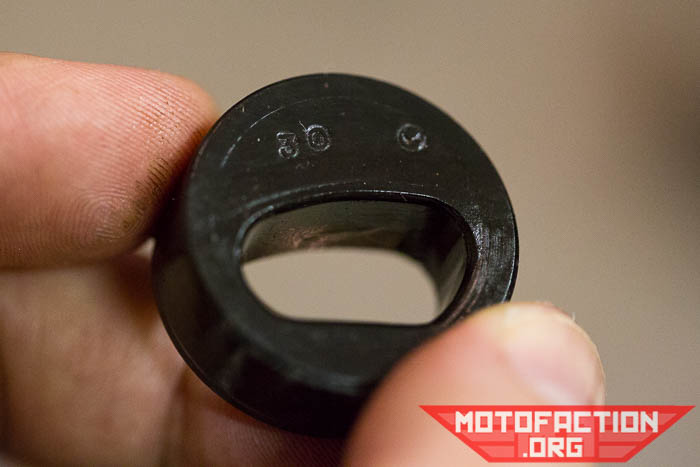
Each of the rubber pieces has a different number stamped on it; we have in this basket 1, 3, 34, 51, 27 and 30. Lotto numbers anyone? It has been suggested that these are mold numbers so that faulty rubbers can be traced back to the mold that created them.
Rubbers removed:
That's as far as we have gotten for now. As far as replacing the rubbers goes, there are rubbers available for other Honda motorcycles produced around the same time - we don't know if they fit the CX500, though, but we are looking into it.
As far as replacing the rivets goes... we have seen people weld the river stub to the backing plate with apparent success, though we can't make any recommendation for or against that method. The clutch basket is undergoing constant vibration when the engine is running so any poor decision regarding fastening it together is probably going to result in an expensive mess in short order, so make sure you know what you're doing...
For the rubber measurements, click here.
After some discussion it seems that a better way to do this is to mill the heads off the rivets and then TIG weld the lot back together after rubber replacement. Others have taken the approach of threading holes and then using bolts, which have the heads slimmed so that they fit in the same space that the rivets did.
MotoFaction is a free resource, but the server isn't free. If a writeup here saved you time or money, please consider supporting the site:
You can also support us via Patreon.