Note: This is only applicable to those bikes with the triple backbone frame – the CX500s with dual rear shocks and the CX650 Custom do not have the Pro Link setup. The CX500E, both Turbos, all GL500s/GL650s and the CX650E all have the single shock Pro-Link arrangement at the rear. Here is a photo of the rear shock and linkages on a CX650E after they have been removed from the bike:
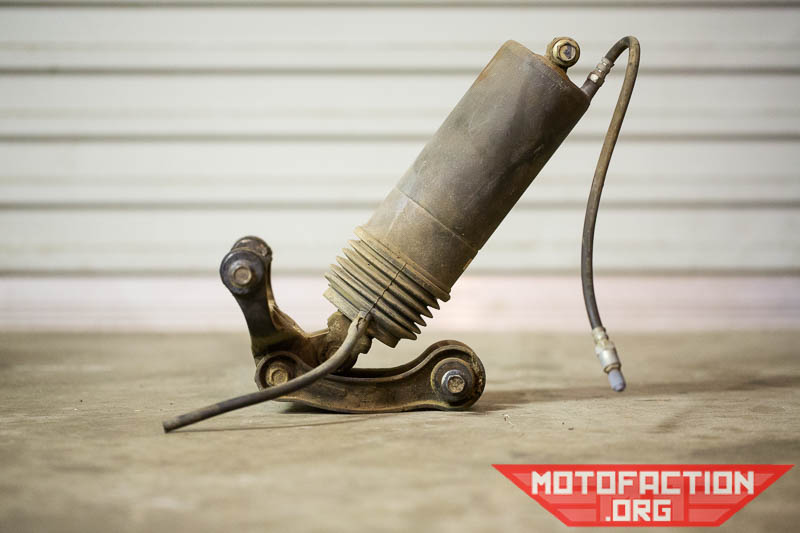
Note that it shouldn’t sit up neatly like that for the photo… the rear linkages are partially seized. Other than the rear suspension not feeling as it should, you might be able to hear it squeaking when compressed – it should not do that if well lubricated. Given that these bikes have often been left sitting for years and even those that have been ridden have often had the rear suspension ignored, it’s not surprising that they’re often seized.
Some owners drill and tap the linkage for grease nipples to allow for re-greasing without as much disassembly; with a well-greased system, however, it should not take too long to disassemble, clean and re-lube.
Here are some photos of poorly lubricated, seized steel collars:
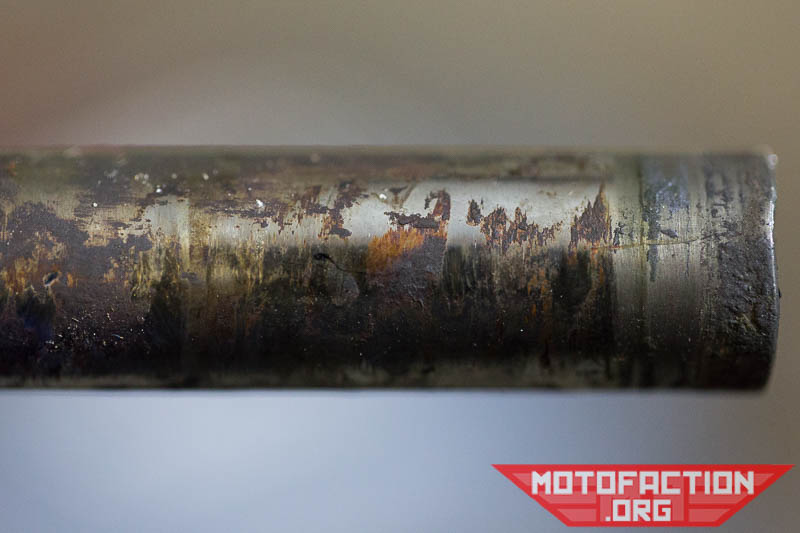
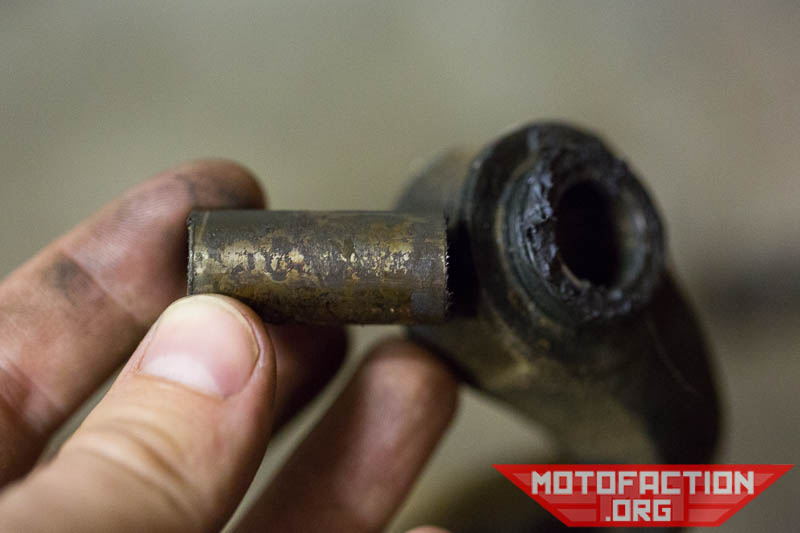
One obstacle to easy access is that the stock exhaust H-box may be blocking the bolt nearest to the center stand, which may necessitate removal of that portion of the exhaust system. Which usually means removing more than just the H-box. Access is also hindered by the presence of the side stand mounting lug. If you’re doing a frame-up rebuild you’ll have an easier time of access, otherwise be careful not to knock the bike over onto yourself as you crawl around trying to undo a stubborn bolt…
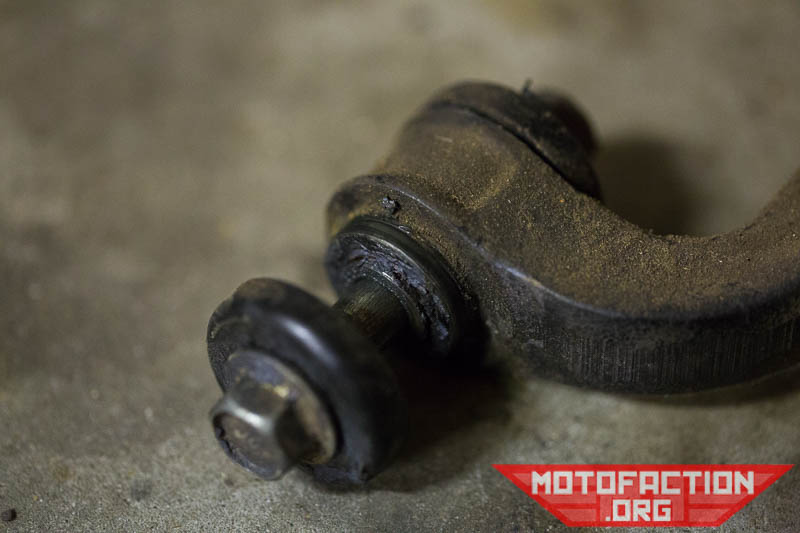
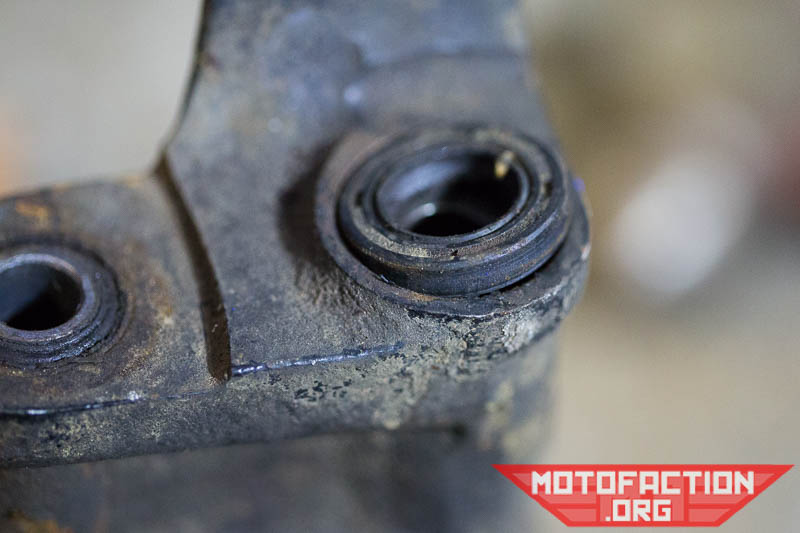
The linkage design is of a steel collar which rotates inside a phosphor-bronze bushing that has been pressed into the linkage. There’s a dust seal on either end to try and reduce the amount of road debris/grit that gets in. There are diamond-shaped voids in the bushing to hold grease. Some owners have reported that their bushings are made of a more plasticised material – I don’t have any info or photos of those! Dust seals on a CX650E setup:
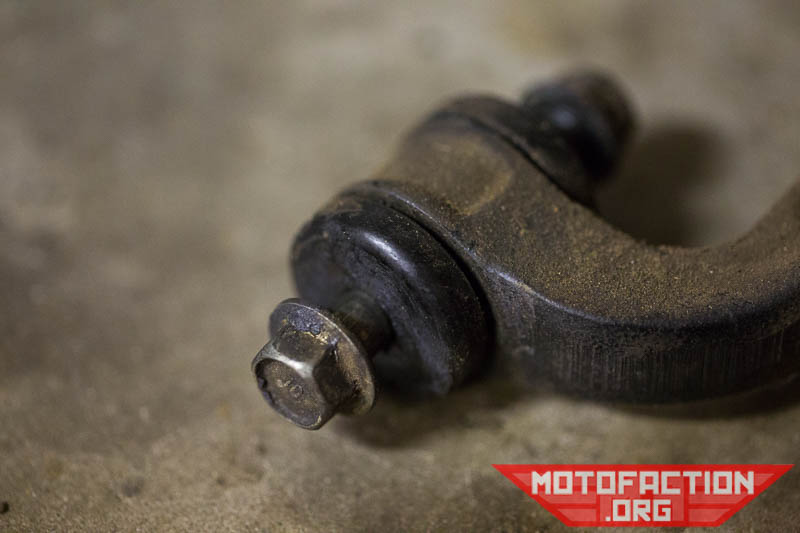
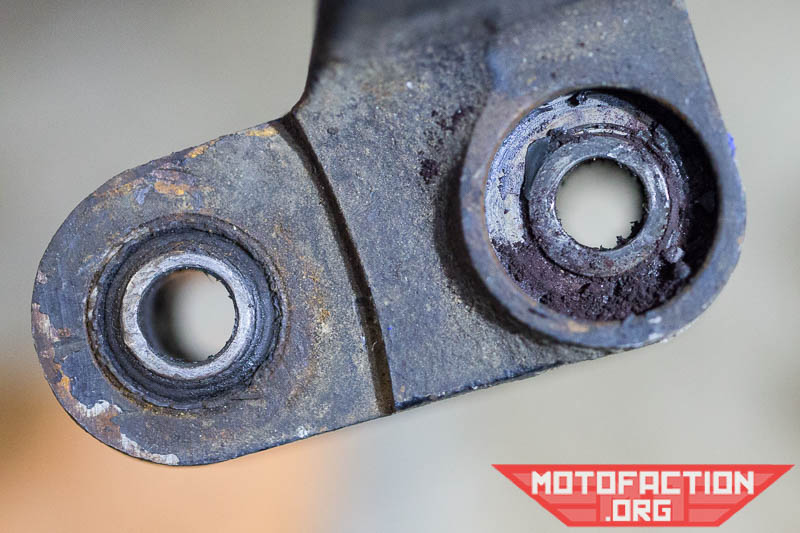
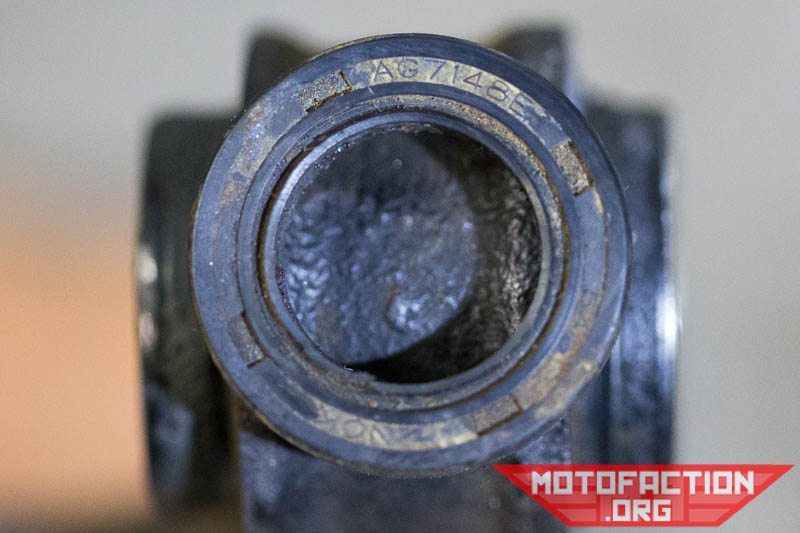
Rust and junk under the seals:
I have had to resort to a 20 tonne hydraulic press to remove some seized collars on these systems, so be prepared to employ whatever you have on hand if necessary – heat, penetrant, patience, presses!
If your collars are beyond re-use here are the dimensions so you can get more made: Pro Link Collar Dimensions.
More will be added to this page if we get another Pro Link suspension setup in to do a writeup on. Also take a look at the Wiki page on adding grease zerks etc.