Before using this site please read the site disclaimer. Also please note that any links provided may be part of an affiliate programme (viz. eBay, Amazon) which helps support the site as I will earn a commission when visitors make a qualifying purchase.
Having removed the float bowl you can see the jets:
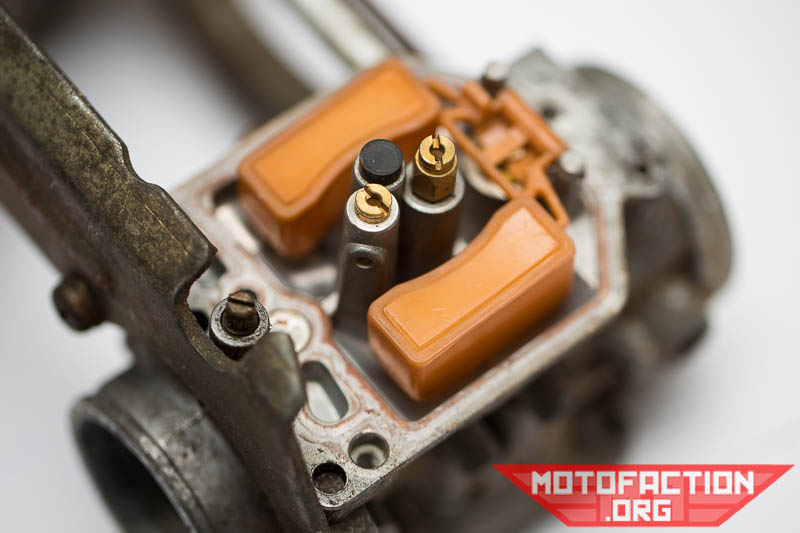
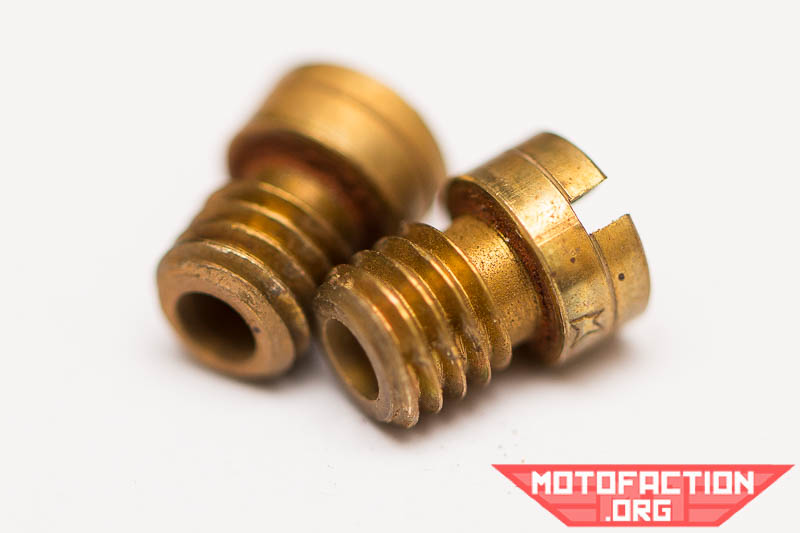
Look closely and you will see the numbers on the jets - the primary main, which screws into the aluminium carb body:
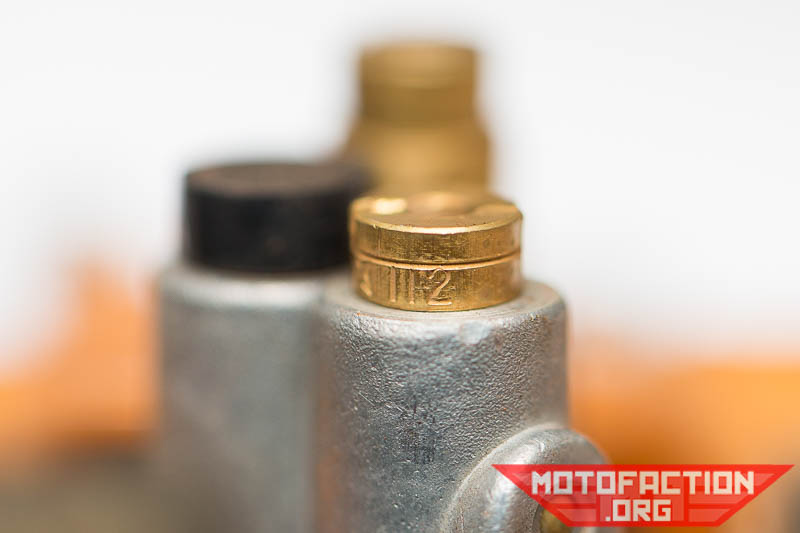
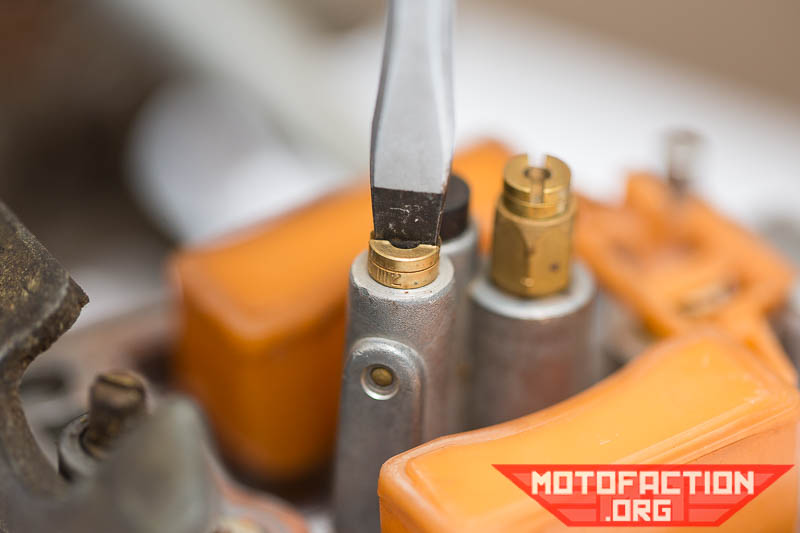
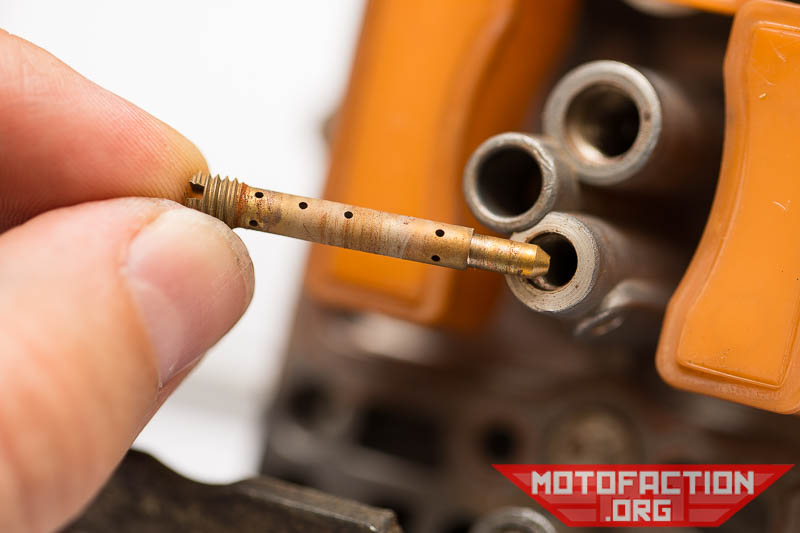
The emulsion tube is hidden beneath it. The size is 112 in this case, which means that the jet has a 1.12mm wide aperture... this particular carb has clearly had the jets reversed - the bigger jet should be in the secondary location. Remove it with a screwdriver - make sure it fits well so that you don't damage the soft brass:
The emulsion tube, jet removed:
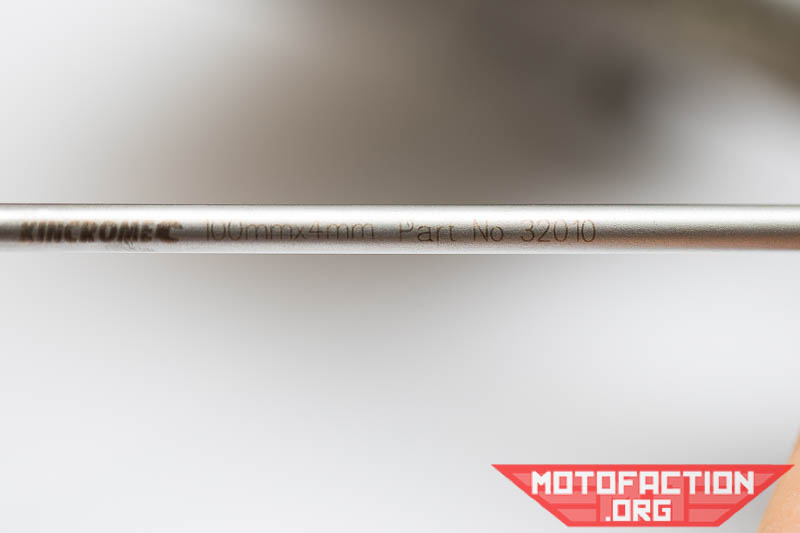
Use a flathead screwdriver whose shaft doesn't flare out - it'll have to reach down through a narrow tube and still be a good fit, so a flathead that flares out isn't going to cut it. The Kincrome 100mm x 4mm #32010 is a good match.
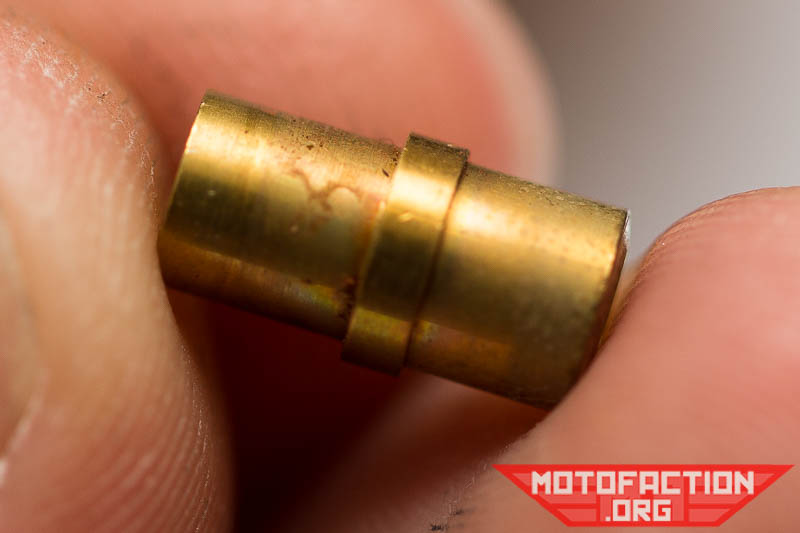
The emulsion tube:
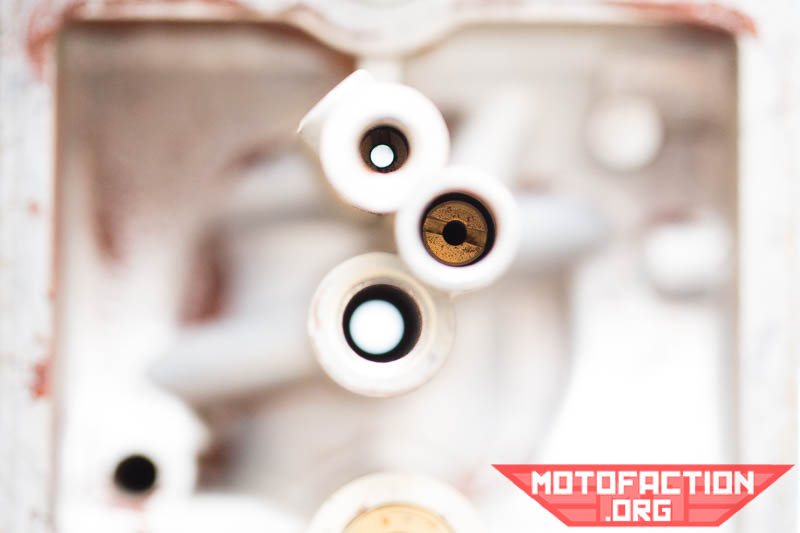
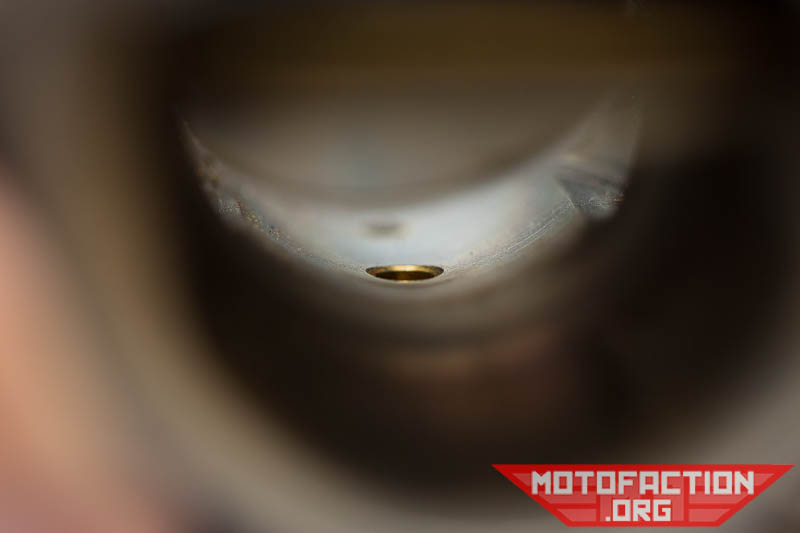
If the tip of the emulsion tube looks familiar, it's what you were looking at in the venturi - and you'll now see only the needle jet sticking up there:
Moving on, the secondary main:
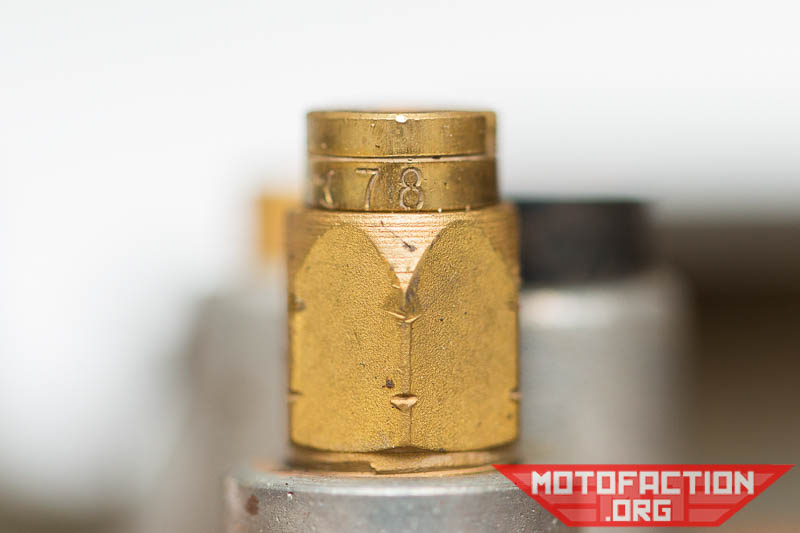
78 (0.78mm) in this case and it should be in the other location. These are stock jet sizes for these carbs (VB36A), just with their locations swapped.
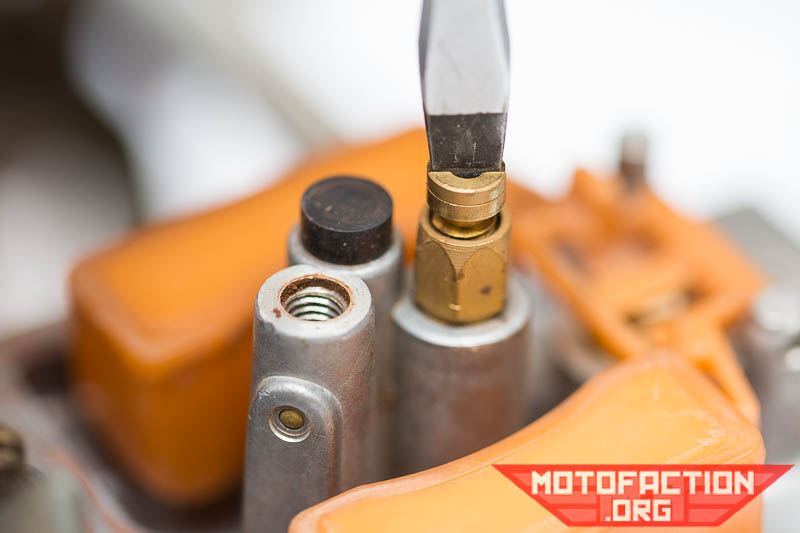
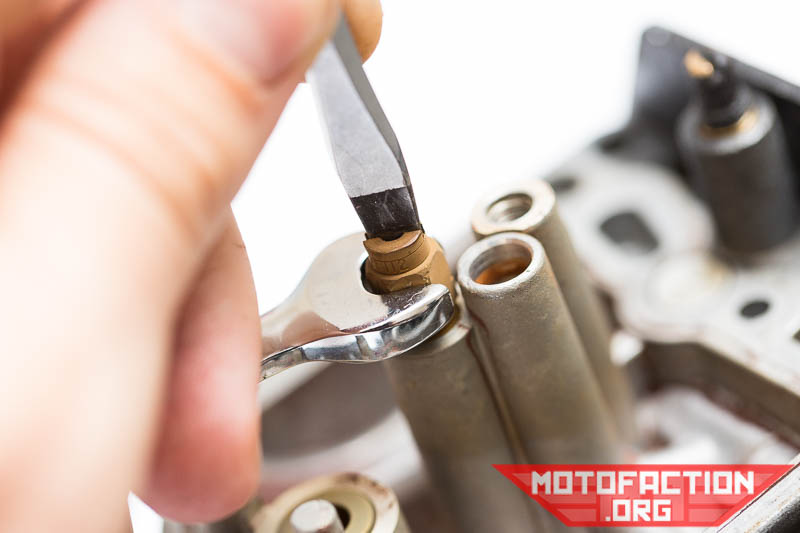
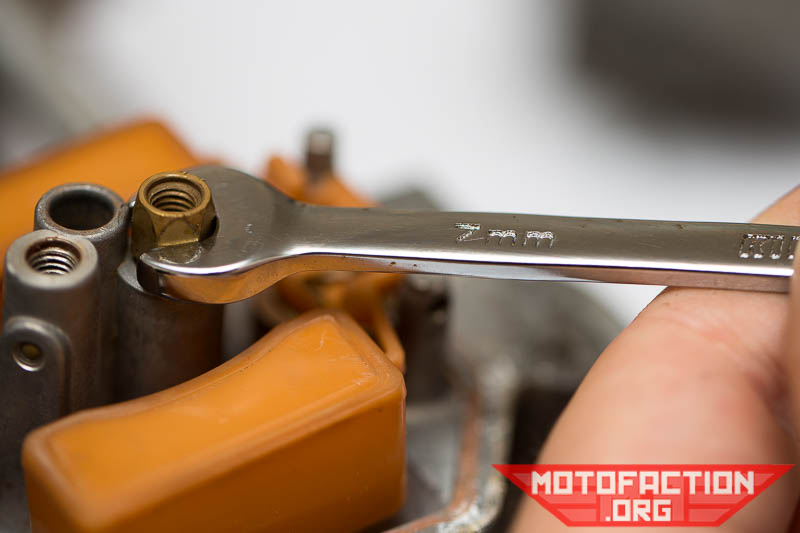
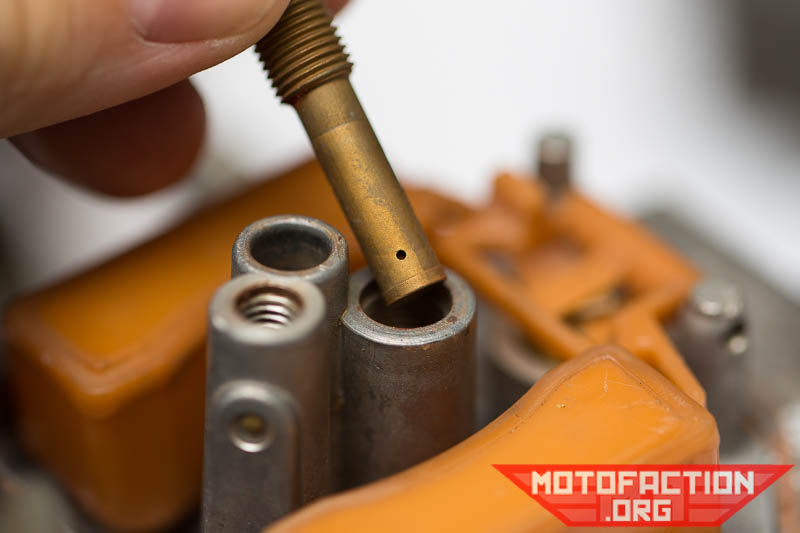
If the jet is unscrewing and taking the brass emulsion tube with it, use a 7mm wrench to hold the emulsion tube while you remove the jet:
Make sure you know which one came from where as if you get them backwards your bike isn't going to work well.
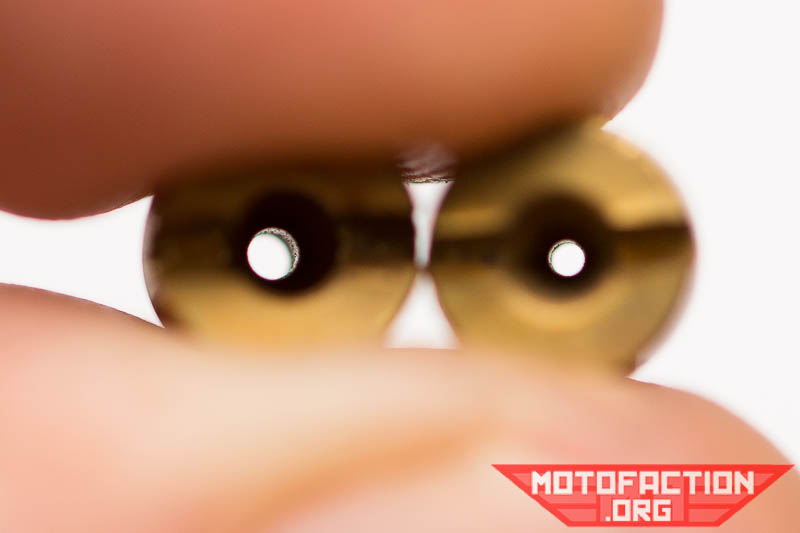
Here you can see the difference in aperture size:
Now you're left with this:
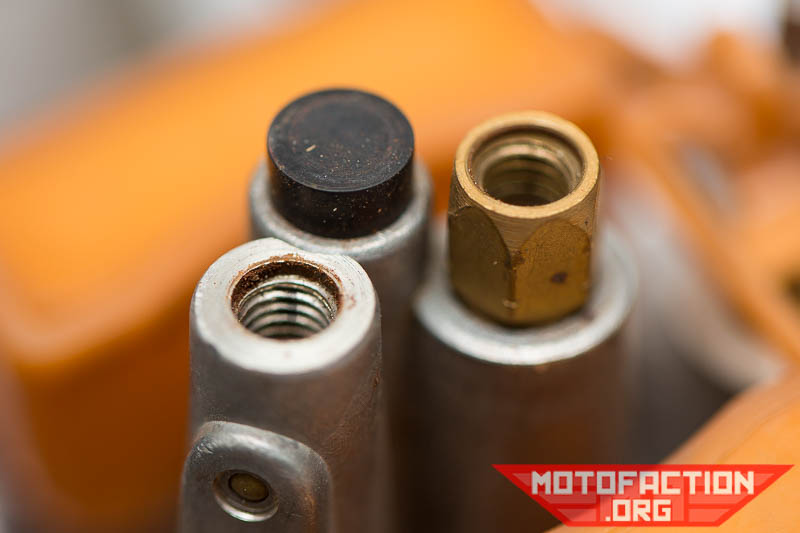
The black rubber plug covers the idle jet and it's removable by lifting it out:
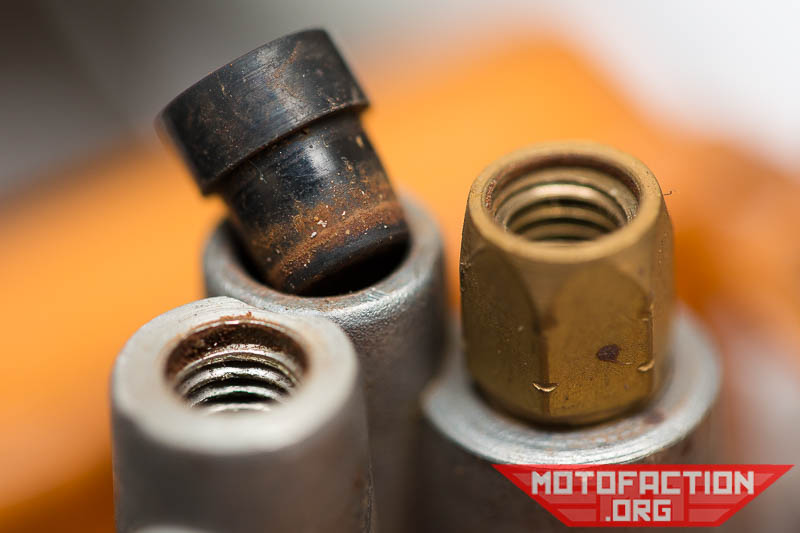
The CX/GL carbs have either a pressed-in idle jet or a screw-in one - this one is pressed in and we shall not remove it as we can get the carbs clean without doing so (there's a risk of damage with most removal techniques):
If your carbs have a removable idle jet you will see this instead:
Removable with a screwdriver - make sure it's a good fit, you don't want to round this one out:

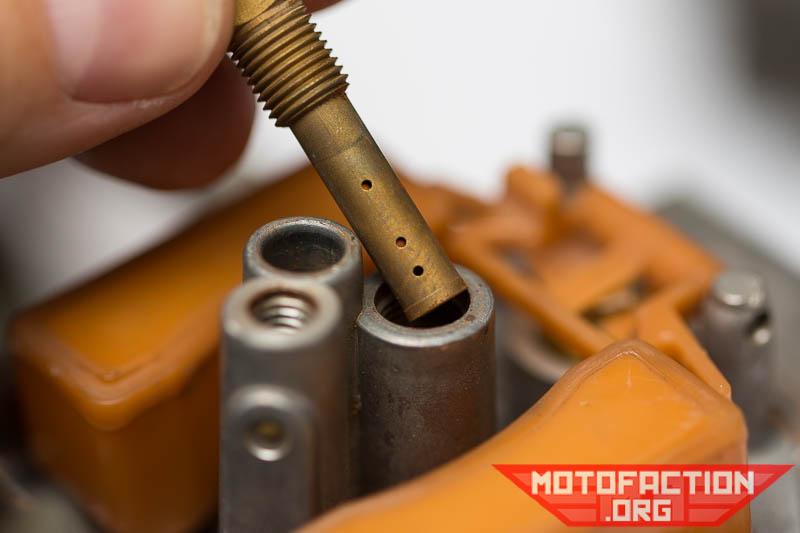
The brass fitting that the secondary main jet was screwed into is another emulsion tube - you can unscrew it with a 7mm wrench:
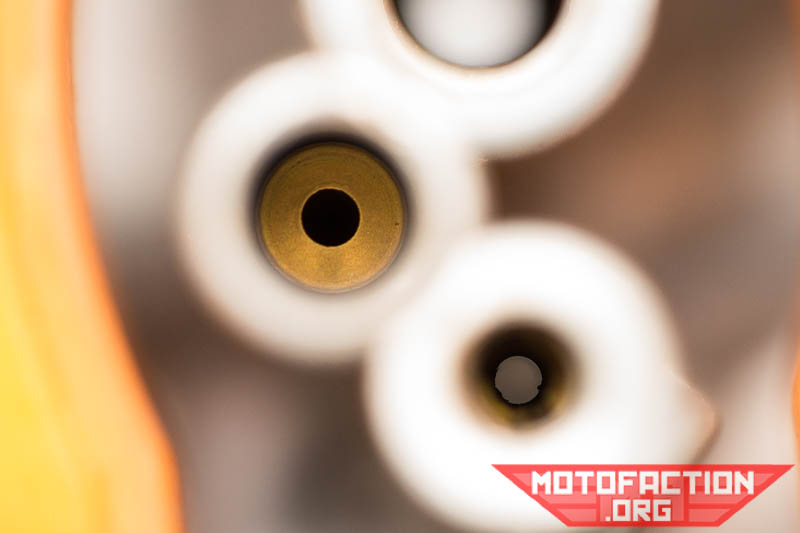
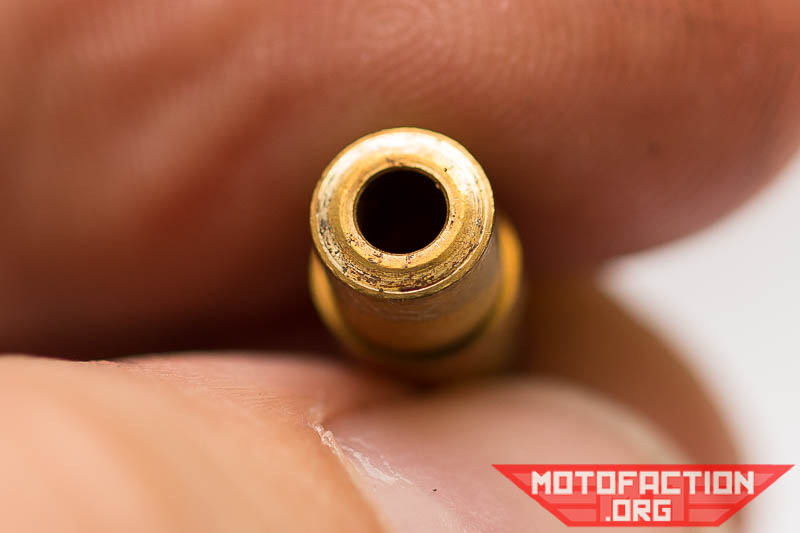
8 little holes (they run through both sides):
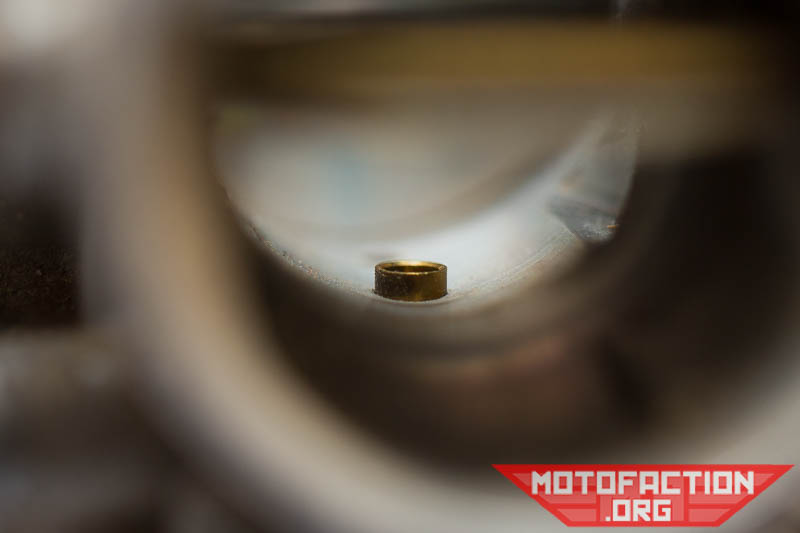
Beneath that - and what you can see remaining in the venturi - is the needle jet:
It will simply press down - if needs be use something soft like a pencil to push it so as not to damage it:
Blurry, will re-shoot:
The bottom end:
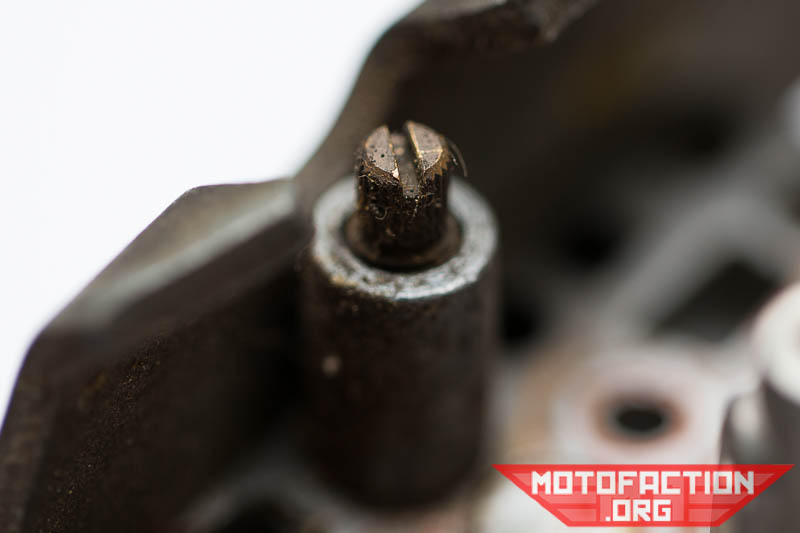
Finally is the idle screw (part number 16016-410-601 (screw set A), eBay US):
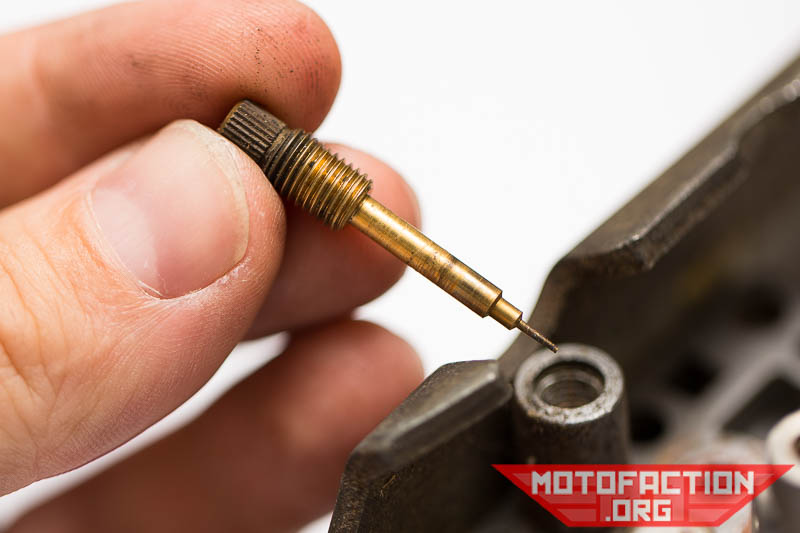
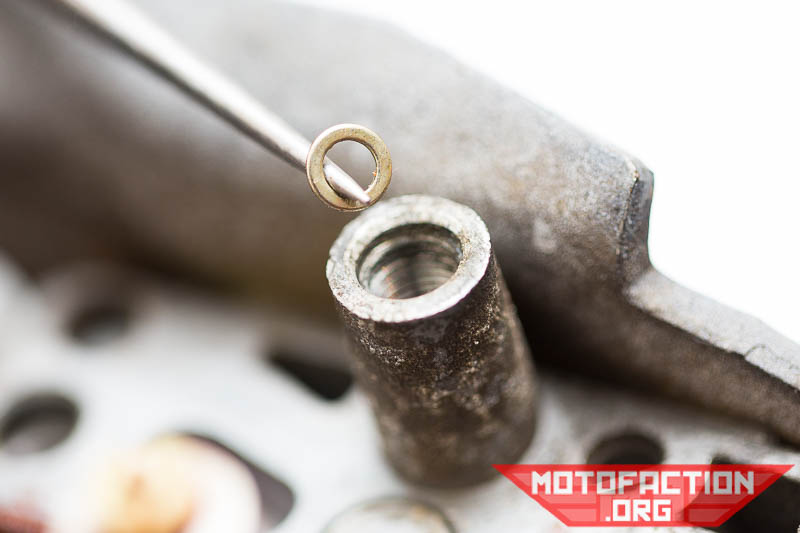
Beneath that is a spring:

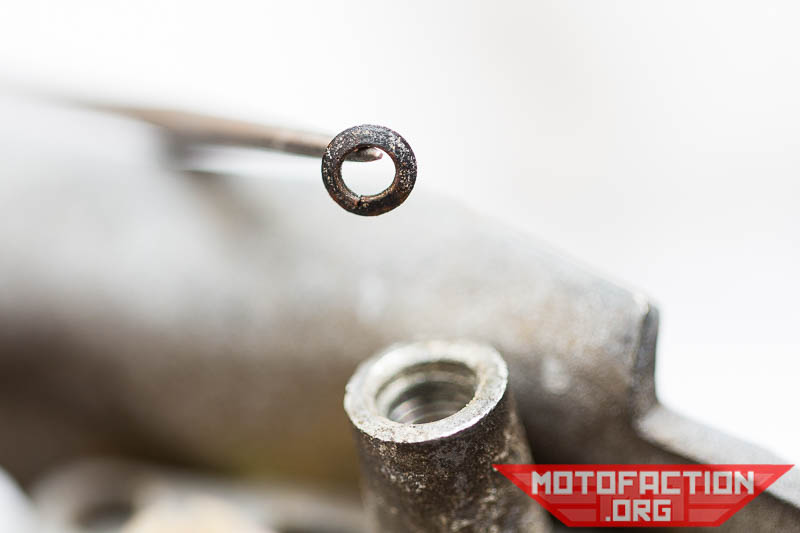
Beneath the spring is a washer:
and an O-ring which need to be removed. The screw, spring, washer and O-ring are part of the set 16016-410-601.
...and that's it! If you're following the carb cleaning guide, go back to the main carb cleaning page for the next step.
MotoFaction is a free resource, but the server isn't free. If a writeup here saved you time or money, please consider supporting the site:
You can also support us via Patreon.