Today’s featured Honda CX500 Cafe Racer conversion build comes from Canada – Maple Ridge (B.C.), to be exact.
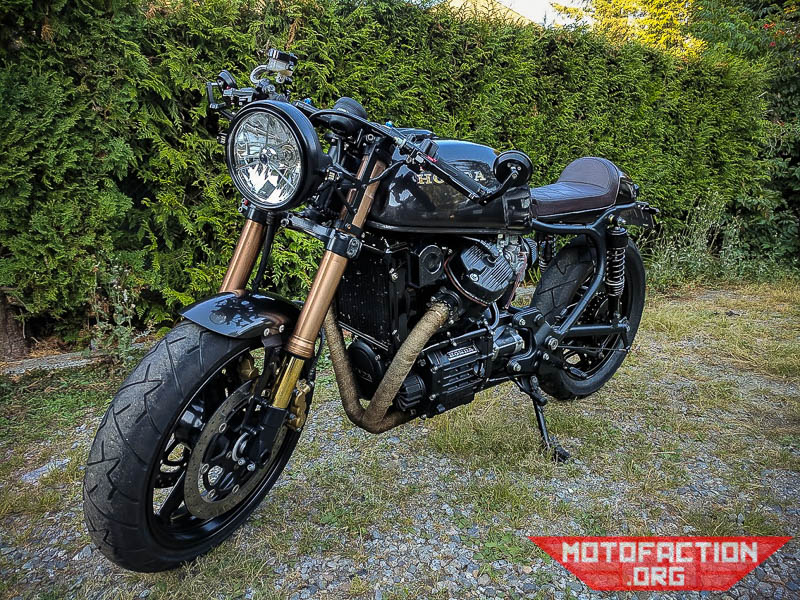
The gentleman behind the build is Graeme Dobbs and it took him two years of available evenings and weekends from start to finish – though that does include four months of not attending the CX while he focused on another project bike. His CX build was inspired by seeing pictures of another CX with a front end swap which he really fell in love with. The front end he selected ended up being a 2003 GSXR 1000 – brakes, wheel, clip-ons and all, with the addition of some bar end mirrors (eBay AU, eBay CA, eBay UK, eBay AU). If you want more info on that particular fork swap you can find more details on the fork swap database page.
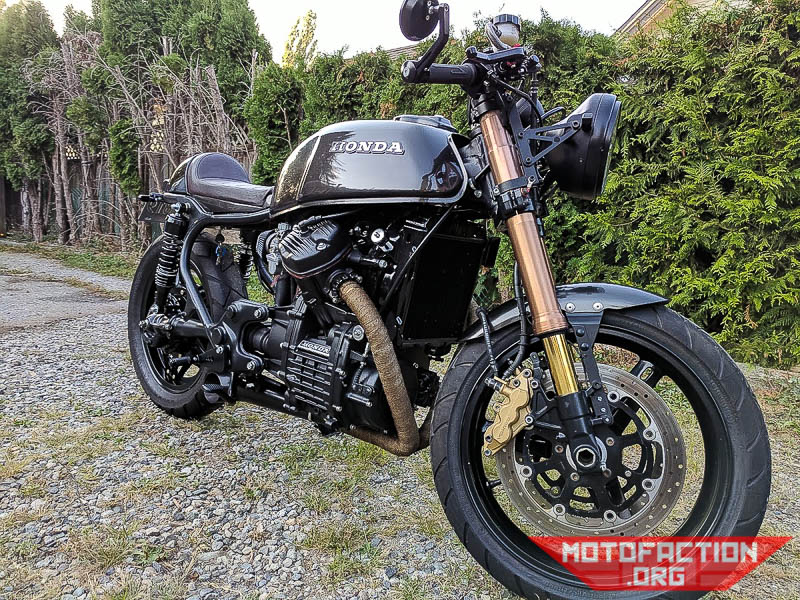
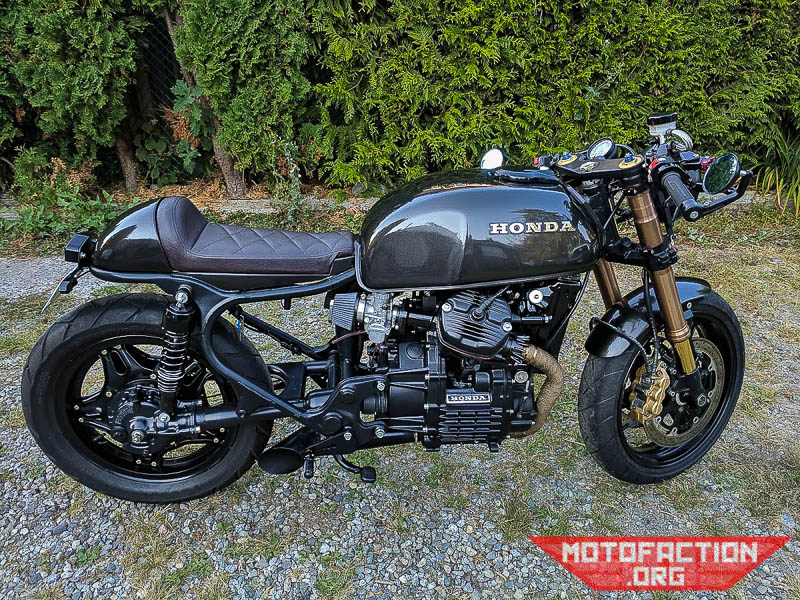
The front end also scored a new H4 headlight and bucket (eBay US, eBay CA, eBay UK, eBay AU). The front fender came from a cruiser and has been cut down, requiring a custom mounting bracket. The rear end also got some attention – the rear wheel is a combination of the original 16″ hub mated to the spokes and outer rim from a Goldwing’s 17″ rear wheel.
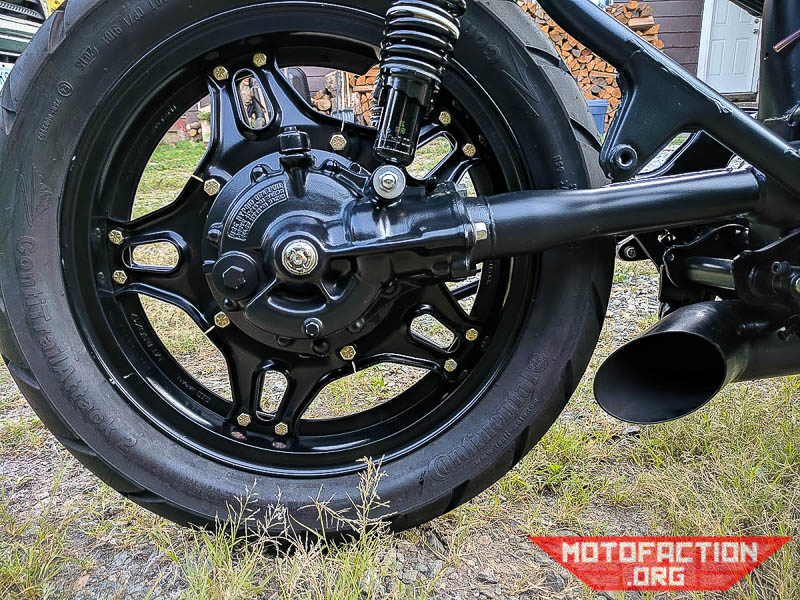
The rear also had a seat hoop welded in with a plate blocking off the rest of the cut away frame section. Graeme welded in some gussets to blend the transition between hoop and frame. He also initially tried the cheap remote-reservoir eBay shocks but found them to be much too hard and ended up settling on the current, more expensive shocks. The seat came from Motorcycle Seats Direct and required some metal framework added for proper support.
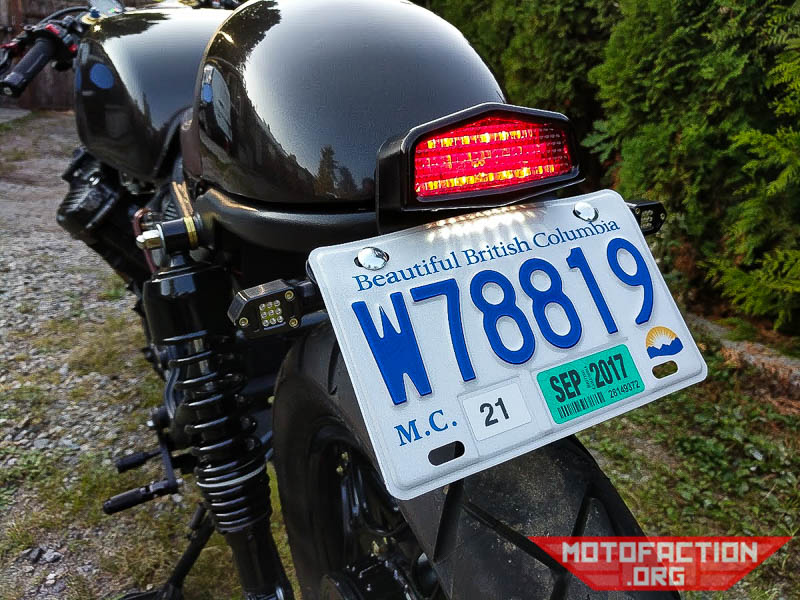
Joker Machine were the source for the brake light (eBay US, eBay CA, eBay UK, eBay AU) and turn signals (eBay US, eBay CA, eBay UK, eBay AU) – Graeme says that they are quite bright despite being small. He made a custom mounting bracket to support the turn signals/brake light/license plate.
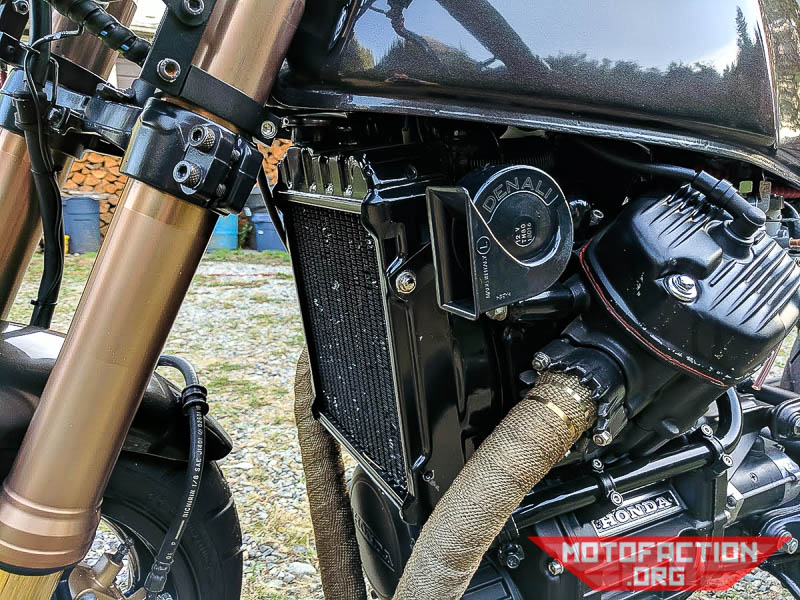
Hiding away under the tank is a Denali Sound Bomb air-horn (eBay US, eBay CA, eBay UK, eBay AU) – apparently 113dB is incredibly loud:
Power comes from an AGM battery (eBay US, eBay CA, eBay UK, eBay AU) that’s hidden beneath the seat and is hooked up to a custom-made-from-scratch wiring harness. The ignition switch was also moved to under the seat. In the cockpit the gauge is by Acewell and it’s a 2853 all-in-one unit (eBay US, eBay CA, eBay UK, eBay AU). Graeme says that despite not being the most expensive unit available it is quite bright and does everything required, including monitor temperature. He did have to make a custom bracket for the magnetic pickup used to detect road speed.
The wrapped (eBay US, eBay CA, eBay UK, eBay AU) custom 2-into-1 exhaust ends in a stainless steel megaphone silencer which exits just in front of the rear tyre. Graeme installed a baffle to keep the noise levels respectable. The bike was finished with dark metallic grey paint, and Graeme says that the exhaust and paintjob are his two favourite things about the build – he had not done either before and was really pleased about how they turned out.
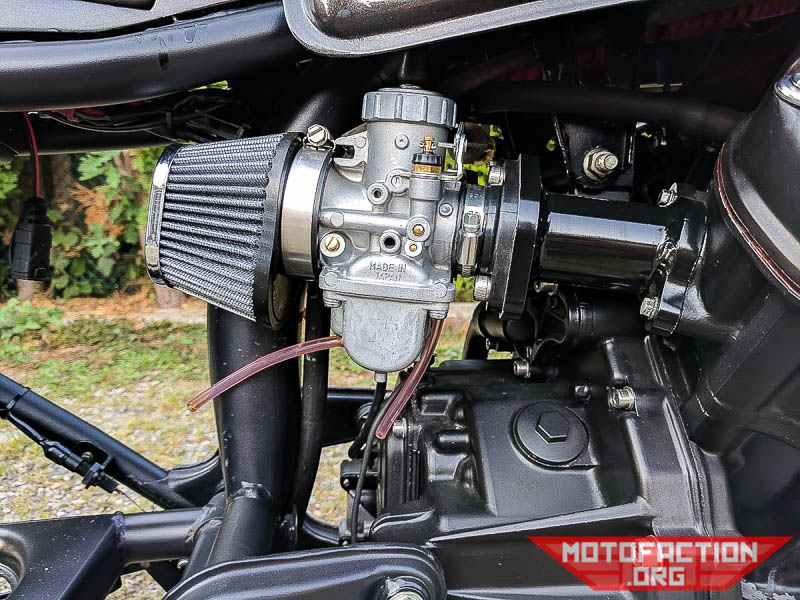
Murray’s Carbs grace the intakes;
Mechanical work on the bike consisted of new wheel bearings, as many gaskets and seals as he could get to including the final shaft seal on top of the usual CX suspects of the stator and timing chain/tensioner blade/guide.
Graeme’s advice for anyone considering their own CX build? Double what you think it’ll cost you, as even if you do everything yourself the parts cost adds up fast. I have to say I concur… He also suggests ensuring that your bike has the correct papers, and additionally testing any new stators before installing them in the bike just in case they are DOA (dead on arrival) – luckily Graeme was able to purchase an Ignitech (eBay US, eBay CA, eBay UK, eBay AU) to get around his faulty stator post-installation and didn’t have to remove the motor to replace the stator again.
When asked whether he would do anything different next time, Graeme says that he would consider focusing more on rideability rather than style in some areas – for example the clip-ons look great but create an uncomfortable riding position for around-town riding.
For more CX500 custom build inspiration check out the Master Build List.