Replacing the brake fluid should be done every 2 years, and shouldn’t take long. This is done on a Toyota Celica RA60 with the 21R-C engine – there’s a good chance that the master cylinder will be located in a slightly different place or look different with a different motor. You will need:
- Trolley jack, jack stands, wheel chocks
- 8mm wrench
- Fresh brake fluid – 1L is probably enough, 2L should definitely be enough
- One man brake bleed kit – or homemade alternative
- Clear tubing
- Socket + bar for wheel nuts
- Syringe/similar
Begin by jacking the car up at the front so that both front wheels are off the ground. Place some jack stands underneath to secure the vehicle and chock the rear wheels to stop them moving.
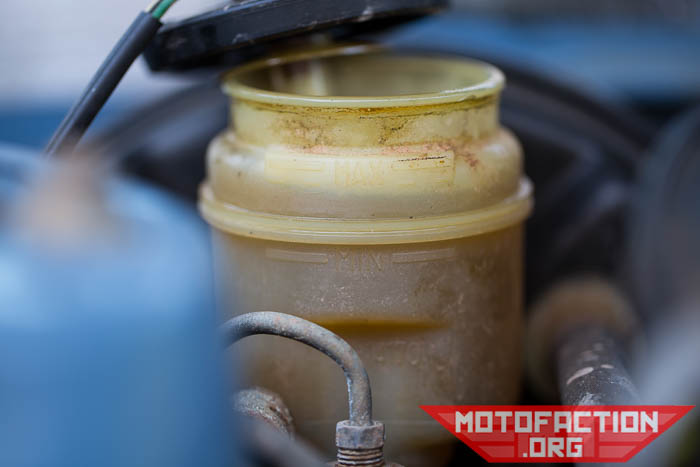
In this car the brake fluid reservoir is behind the right hand strut in the engine bay – left if you’re looking at it from the front:
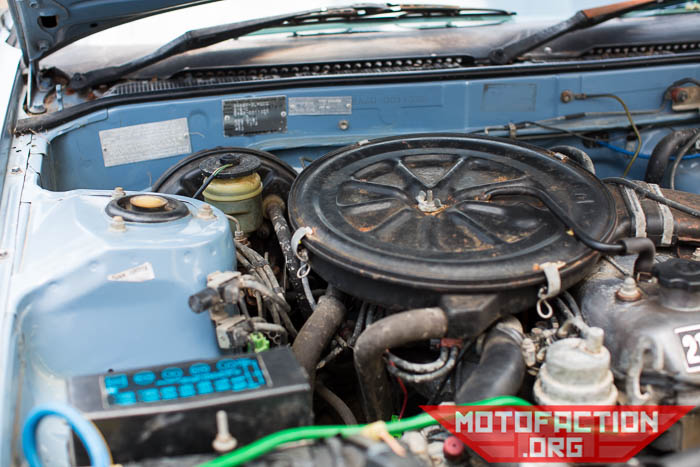
Closer:
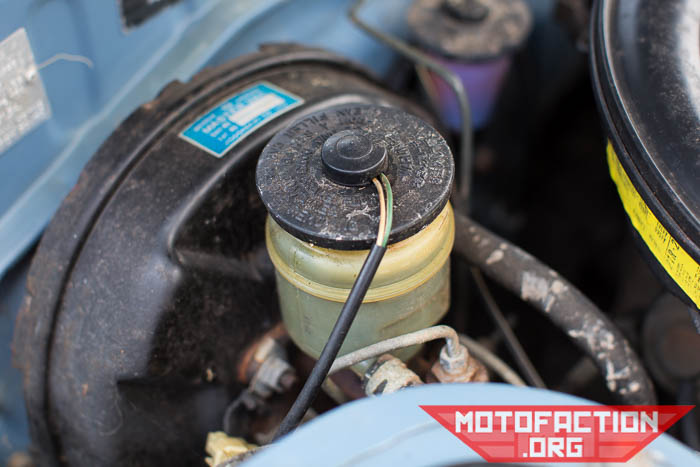
Open it up – it’s a rubber plug – but don’t put the lid too far away as you’ll want to cover it whenever you don’t need it to be open. Dirt, bugs and anything else falling in is bad news.
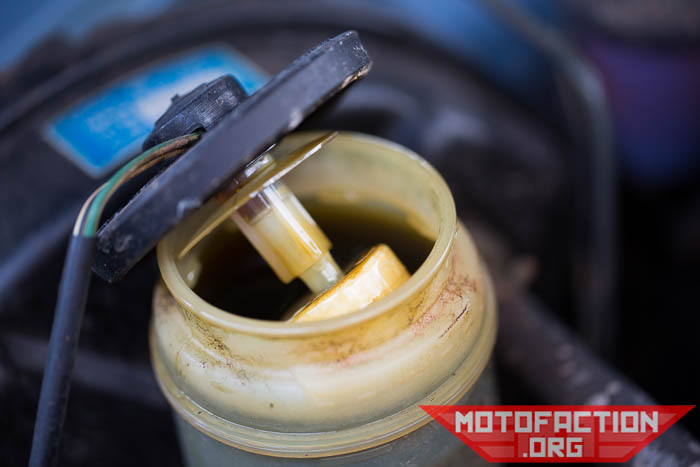
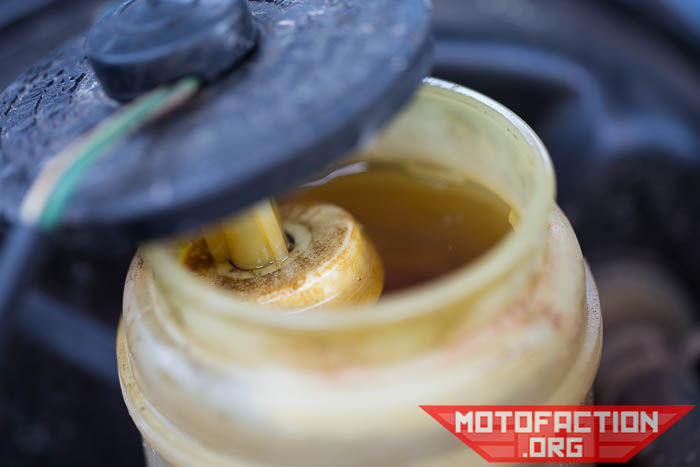
The existing brake fluid in this Celica is pitch black – definitely in need of a change.
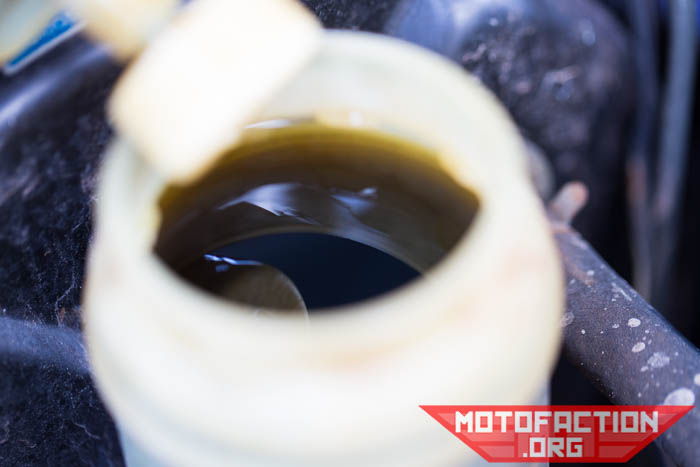
Using a large syringe or something similar, siphon out the old brake fluid from the reservoir as much as possible. Once the old fluid is out, fill up the reservoir with fresh fluid:
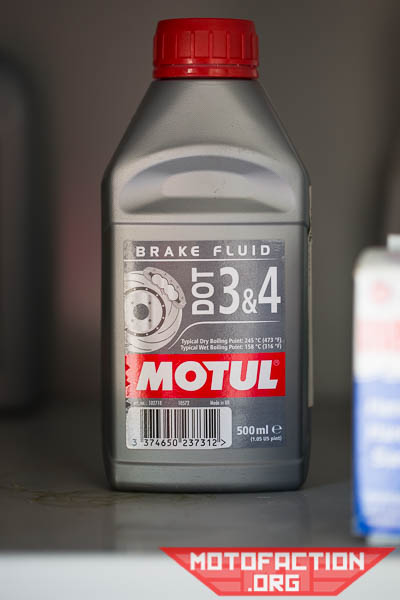
The Celica was rated for Dot 3 fluid (eBay US, eBay AU). New fluid in the reservoir:
Remove the front wheels and place them aside. Locate the bleed screw on the caliper, then attach your 8mm wrench and tubing:
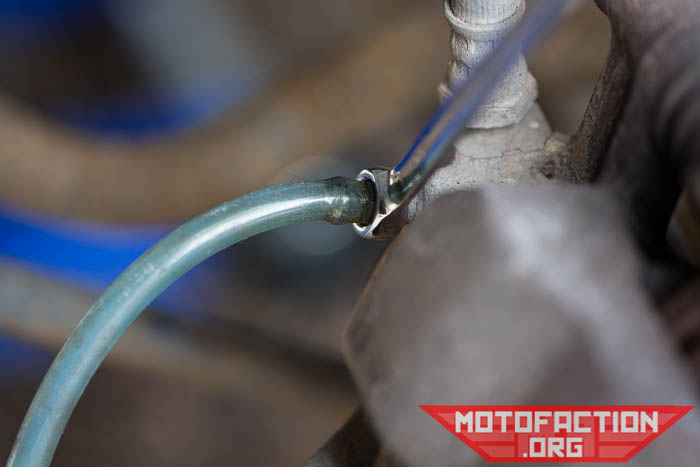
The tubing in this case is routed into a plastic bottle that has had a hole drilled in the lid that is slightly smaller than the tube diameter to create a tight interference fit. The end of the tube sits in a small amount of fresh brake fluid in the bottom of the bottle.
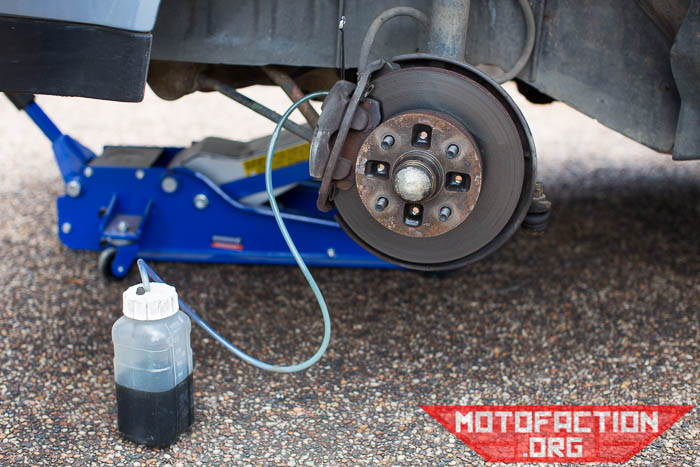
Open up the bleeder screw about 1/4 to 1/2 a turn – until you start to see fluid moving through the tube:
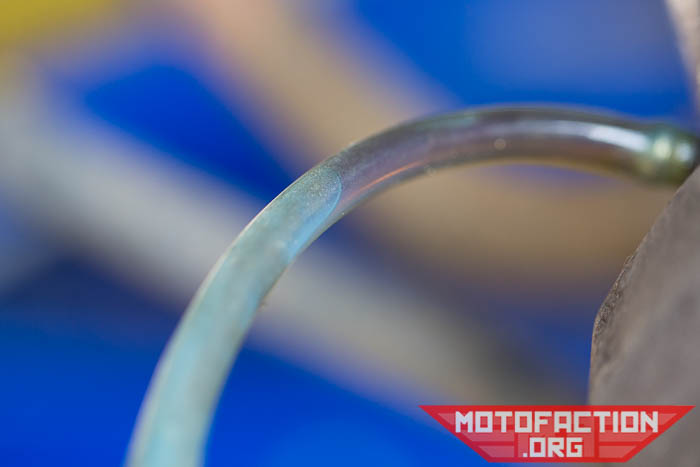
Head around to the driver’s side and slowly pump the brake pedal in and out a couple of times, then check on the fluid level in the reservoir. Repeat until it’s low – don’t drop it all the way, as you really don’t want to draw air into the system:
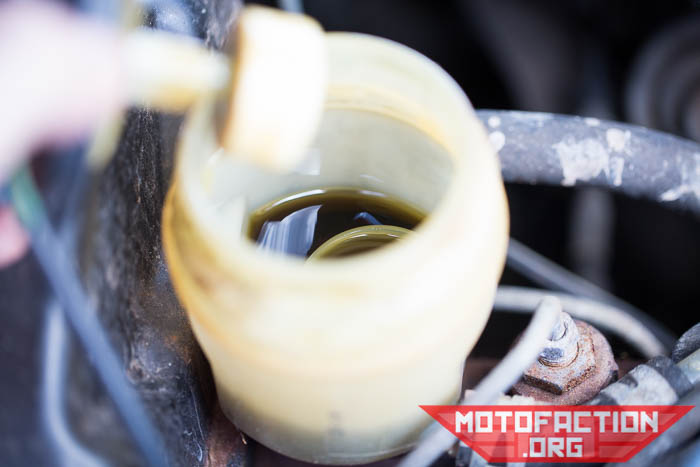
If the level drops and the brake fluid coming out at the caliper is still the colour of the old brake fluid, top it up and keep on going. Eventually the clear/amber stuff will come through:
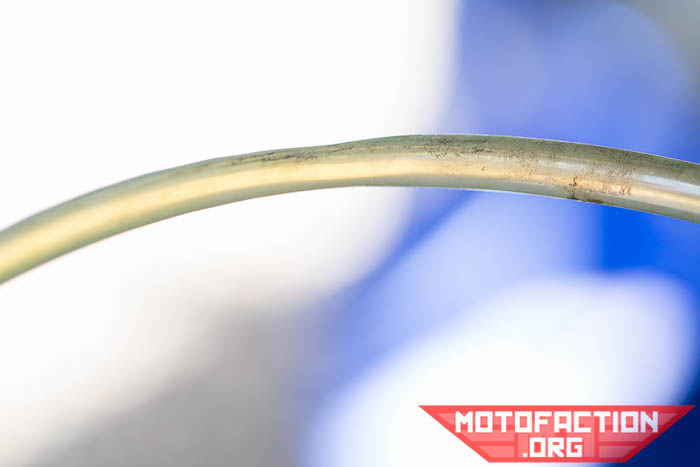
Once the clear stuff is coming through, close the bleed valve, remove the tubing (carefully – don’t flick brake fluid into your eyes… though you are wearing protective eyewear, right?) and repeat the process for the other side. If this hasn’t been done for a while the rubber caps for the bleed screws might be hard and cracked:
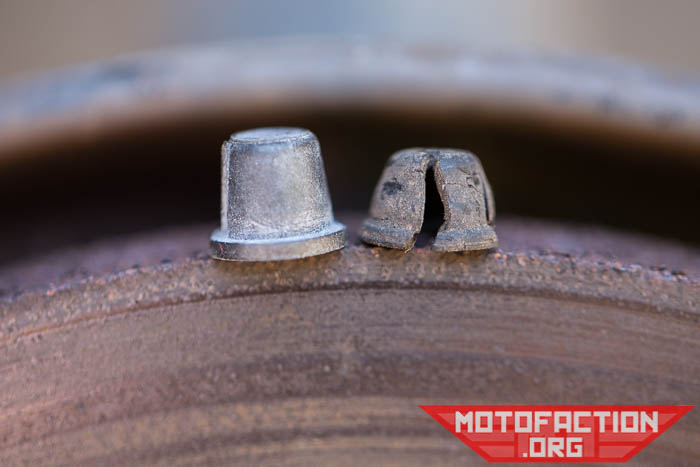
Might be worth replacing them with new (eBay US, eBay AU) – they’re inexpensive and keep junk out of the bleed screw top.
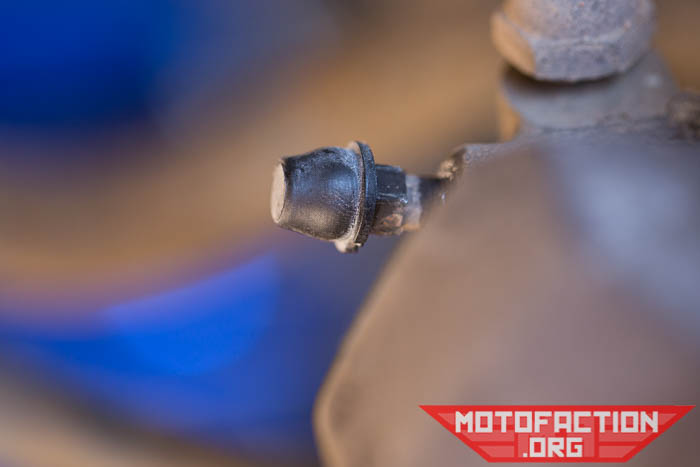
Once you’ve done this process for the other side, you’re just about done! Top up the brake fluid in the reservoir to the “full” level, make sure both bleed screws are done up, put the wheels back on and tighten the lug nuts, lower the vehicle again and carefully test the braking system.
This should be done every two years – for a couple of reasons. Brake fluid that’s saturated with water performs more poorly (in terms of it boils more quickly) than new brake fluid, and water sitting in the brake fluid can cause corrosion of brake system components… which can be neither safe nor inexpensive to repair. Best safe than sorry!