Before using this site please read the site disclaimer. Also please note that any links provided may be part of an affiliate programme (viz. eBay, Amazon) which helps support the site as I will earn a commission when visitors make a qualifying purchase.
Here's how to replace the front engine cover on your Honda CX500, GL500, CX650, GL650 or GL700 motorcycle - and what to check to make sure you don't lose oil pressure!
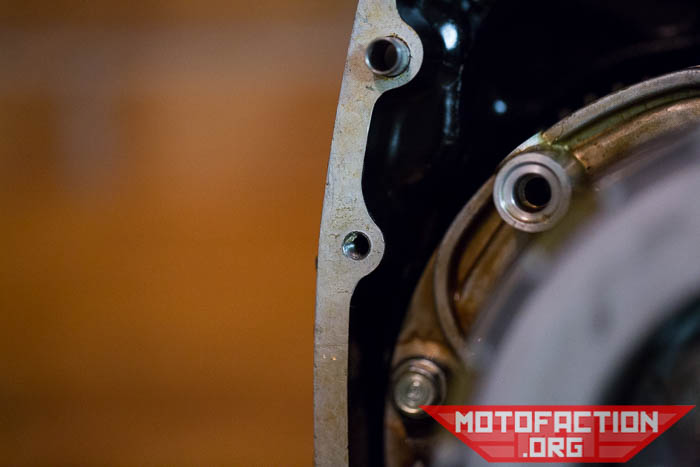
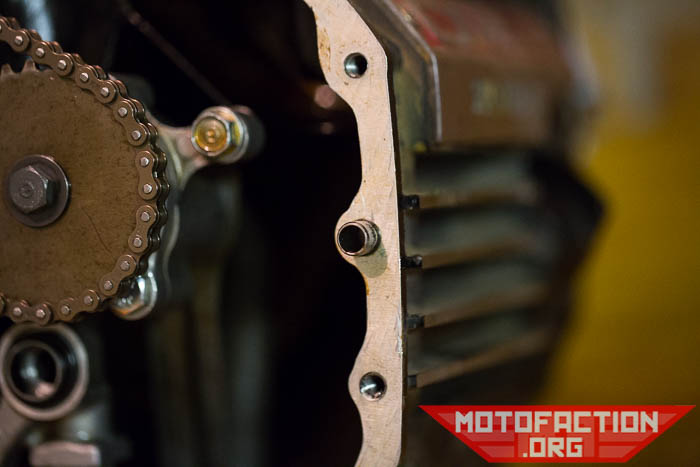
Make sure that you have a clean surface on the engine block:
There's five areas of concern here - six if you count the oil pump chain tension, which we'll address in a separate article. The O-rings that must be installed are surrounded by the larger red circles below, and the two dowels have smaller circles around them:
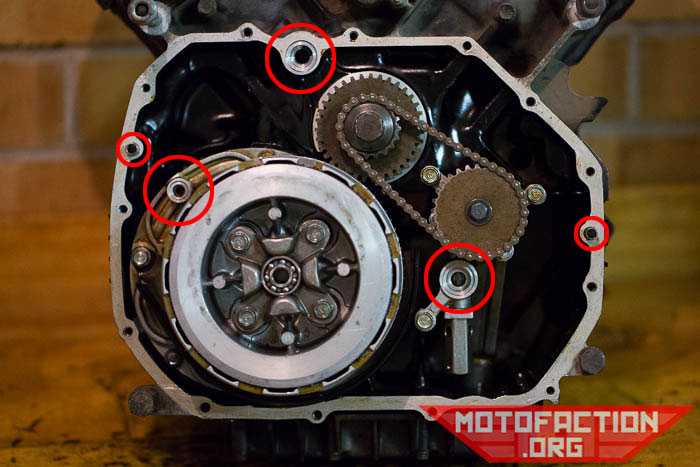
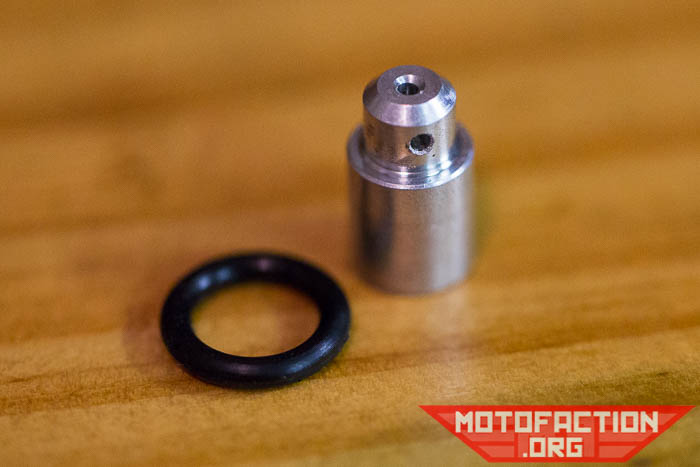
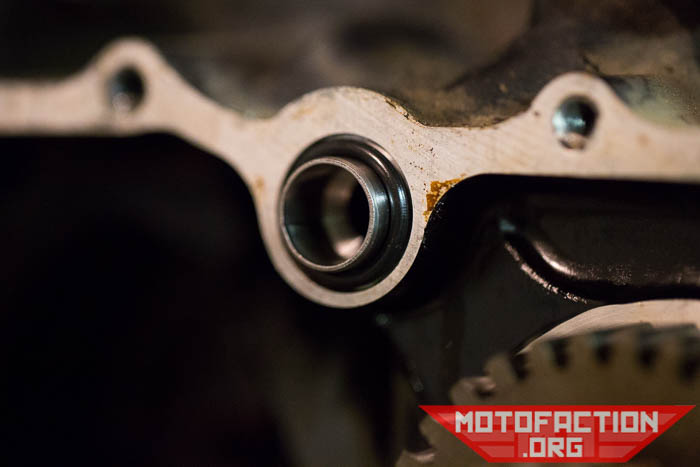
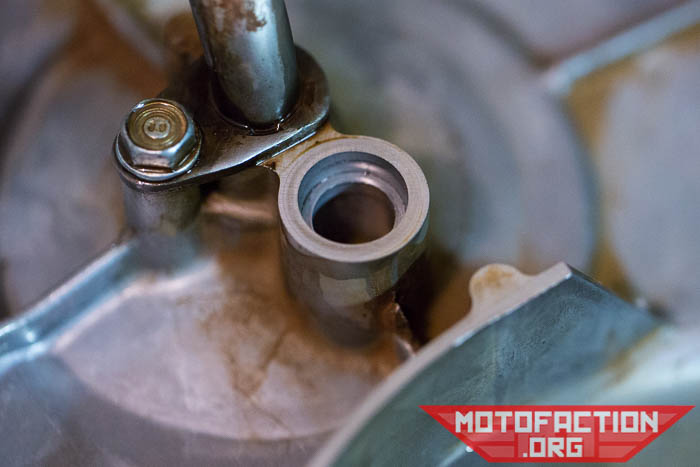
We'll work on the O-rings from the image left to right. First there's the oil metering jet and accompanying O-ring - the metering jet is different between 500s and 650s but O-ring is the same. The O-ring is 8mmx1.7mm and is part number 91303-001-000 or the later 91306-HB3-003 (eBay US, eBay CA, eBay UK, eBay AU):
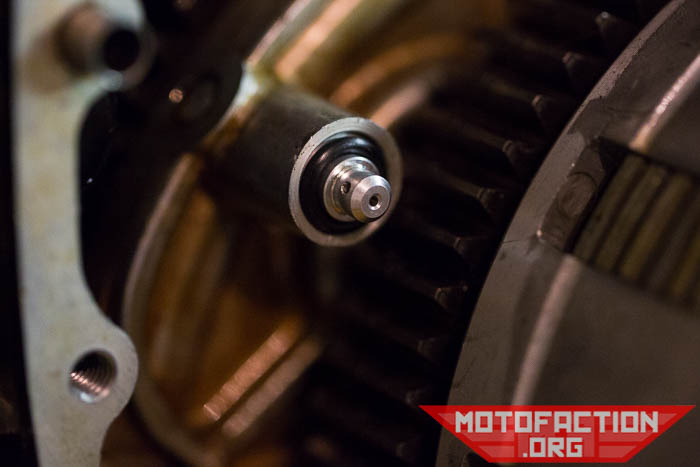
For those curious the metering jet's part number for a non-turbo 500 is 11132-415-000 and for the 650s it's 11132-MC7-000.
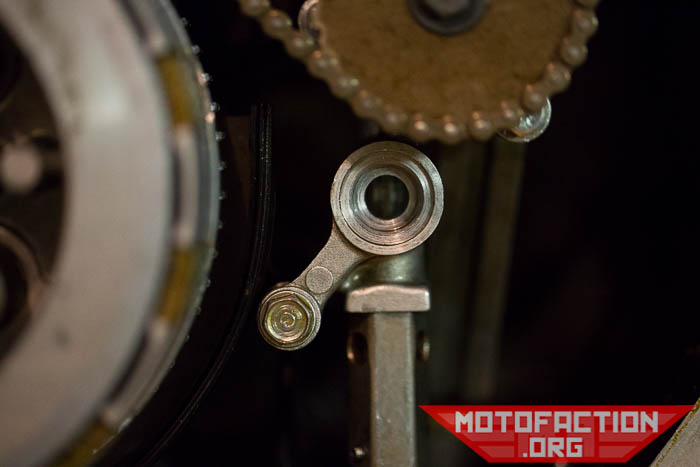
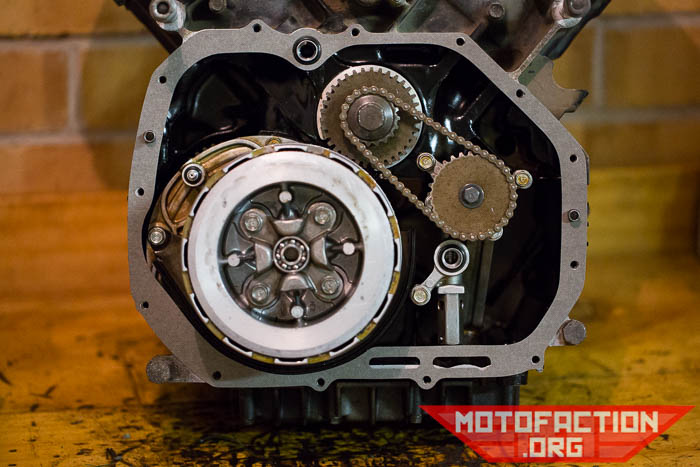
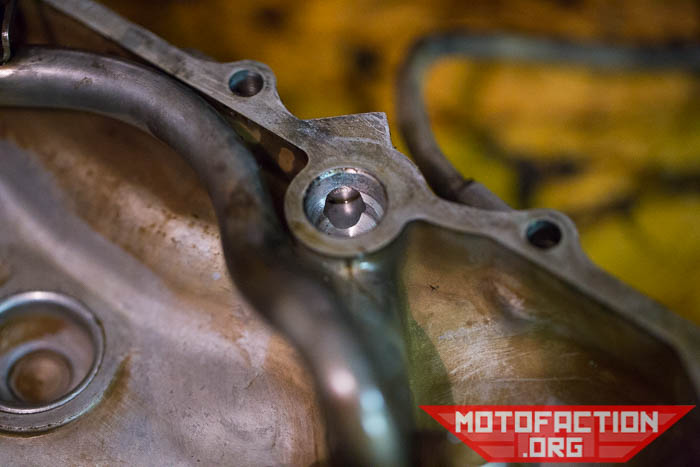
Next, for both 500s and 650s above the crank we need to place a dowel (part number 15155-300-000, eBay US) and 14mm O-ring (91301-268-020, eBay US, eBay CA, eBay UK, eBay AU):
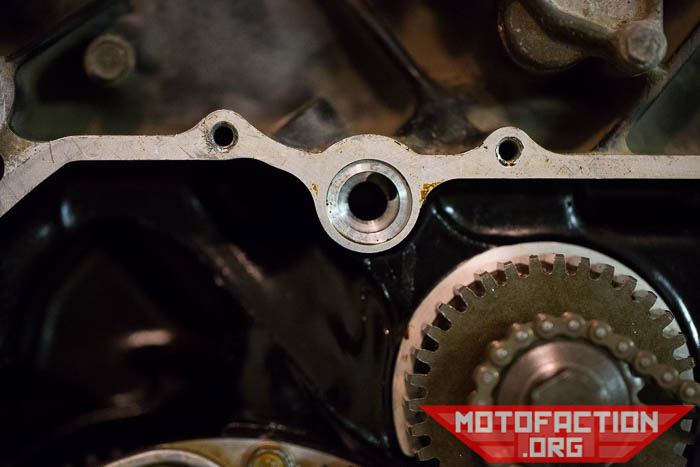
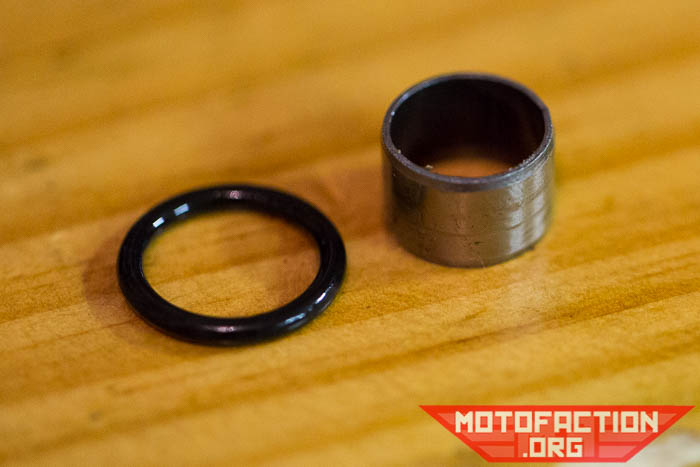
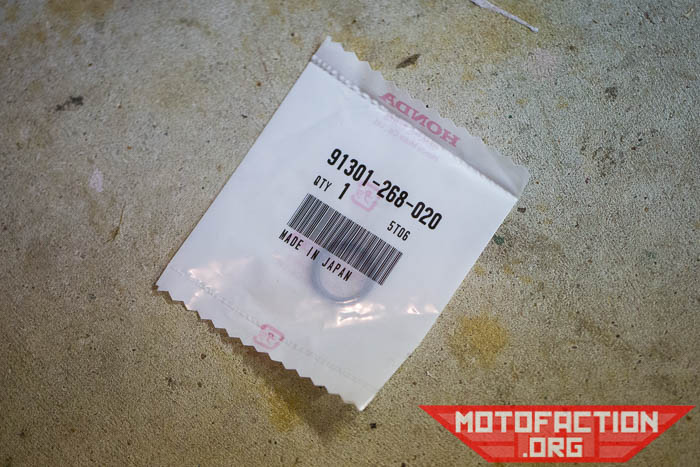
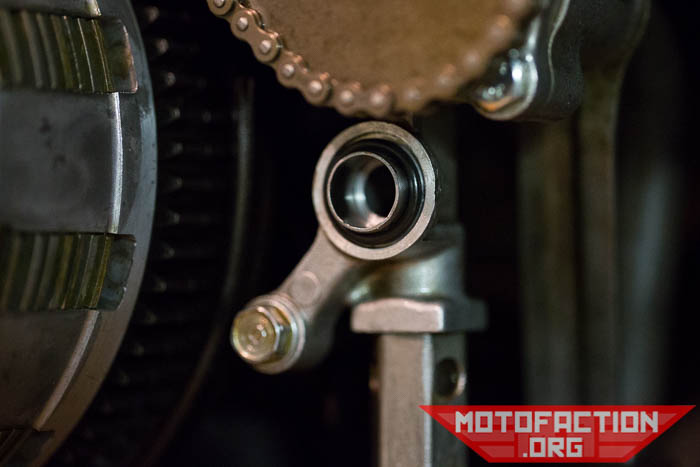
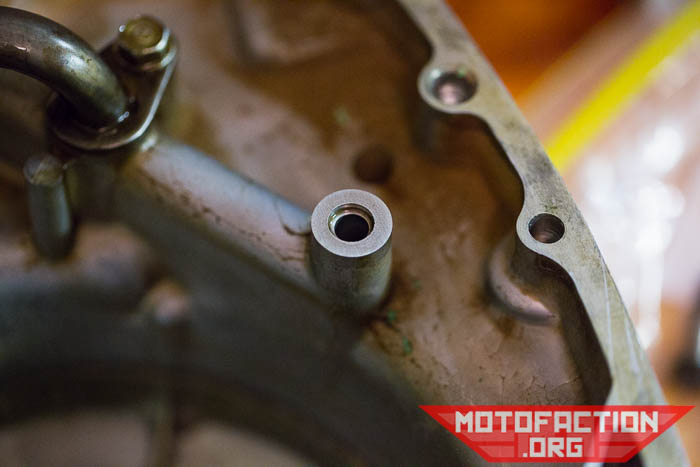
Lastly for the O-rings, we're looking at the oil pump. The same for both 500s and 650s, there's a dowel for this (15155-300-000, eBay US) and the same O-ring as the last one (91301-268-020, eBay US, eBay CA, eBay UK, eBay AU):
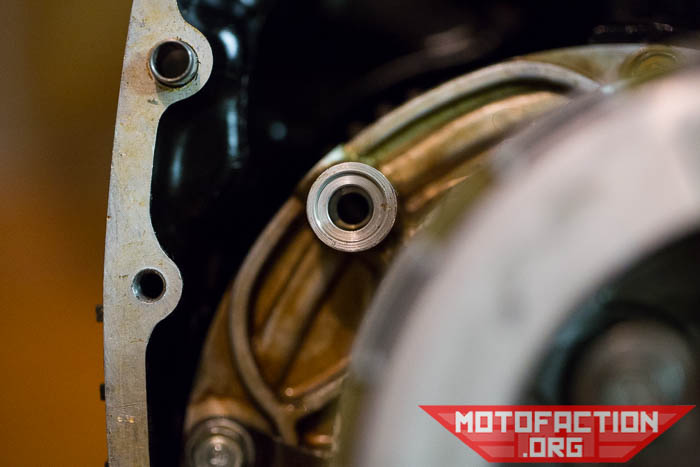
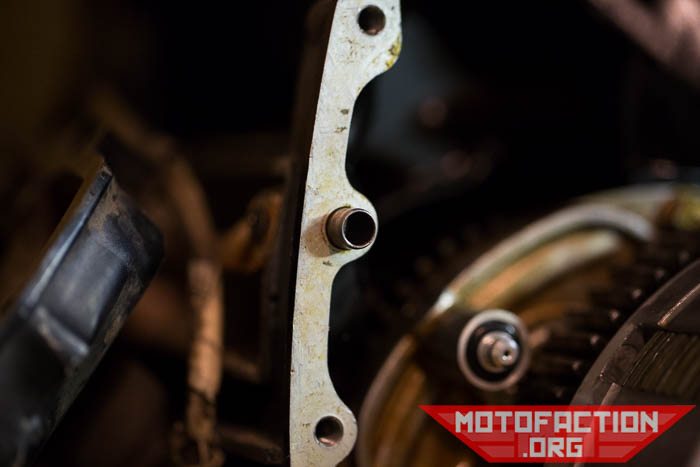
Now, left and right sides we have a pair of locating dowels that should be there:
Grab your front engine cover gasket:
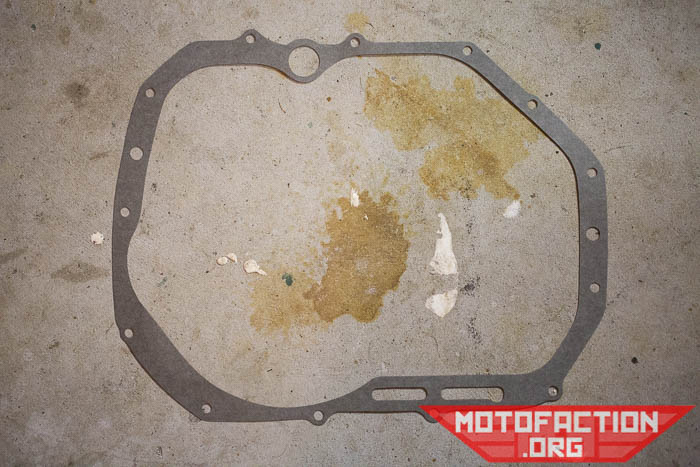
It only fits on one way - like so:
...and it should stay in place on the locating dowels. You can put a thin smear of oil on one or both sides to help with it's removal if you have to take it off again, or to help keep it in place. As far as the front cover itself goes, check the circled areas for the old O-rings to make sure you're not doubling up on either O-rings or dowels.

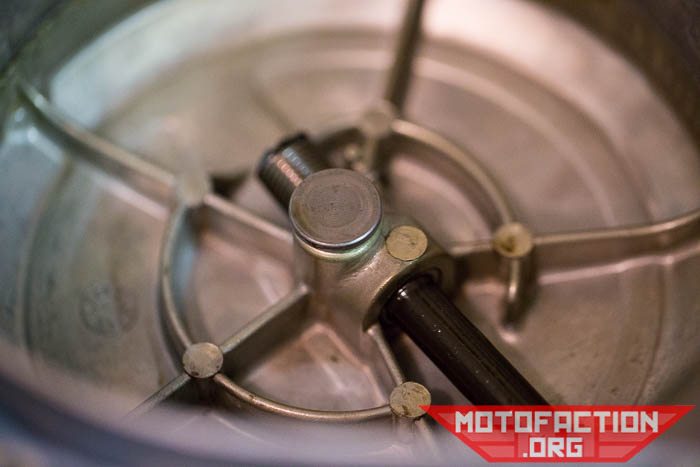
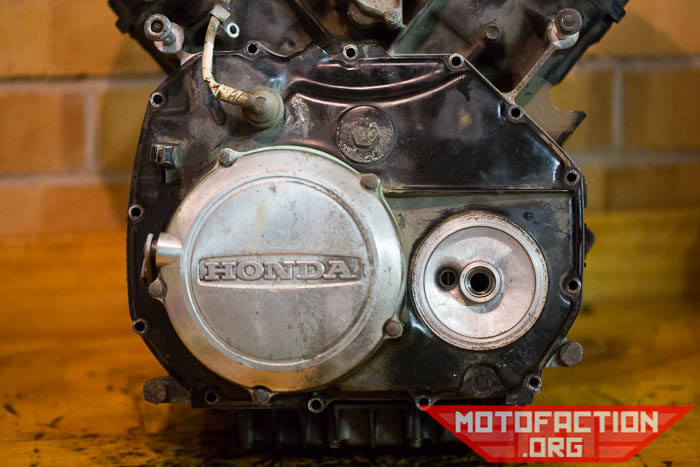
If you have removed the clutch cover you'll have to worry about the thick-circled area then, but if you have it still intact make sure the plunger is located correctly in the center of the clutch cover:
...and check the other three areas circled for the aforementioned dowels and O-rings:
If everything checks out OK you can fit the front cover again:
Tighten the bolts to 8-12Nm/6-9ft/lb.
If you are doing this as part of the triple bypass, go back to the main page now.
MotoFaction is a free resource, but the server isn't free. If a writeup here saved you time or money, please consider supporting the site:
You can also support us via Patreon.