Checking brake disc thickness - Honda CX500, GL500, CX650, GL650
Before using this site please read the site disclaimer. Also please note that any links provided may be part of an affiliate programme (viz. eBay, Amazon) which helps support the site as I will earn a commission when visitors make a qualifying purchase.
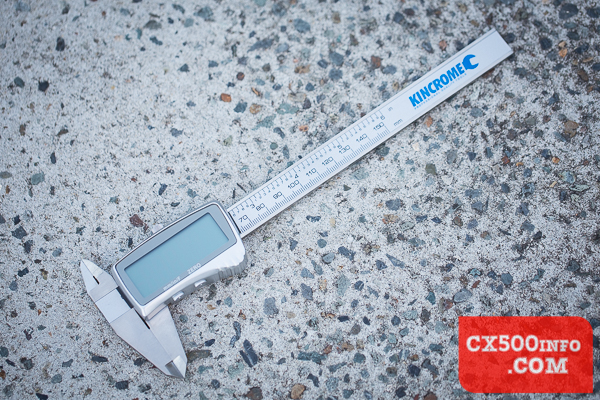
For this job you simply need a measuring tool; here we are using a set of digital vernier calipers, usually available in one brand or another for <$30 at a hardware store (e.g. Bunnings):
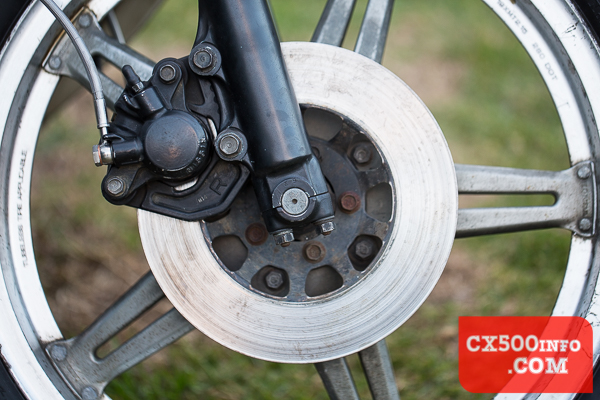
Locate your brake discs/rotors:
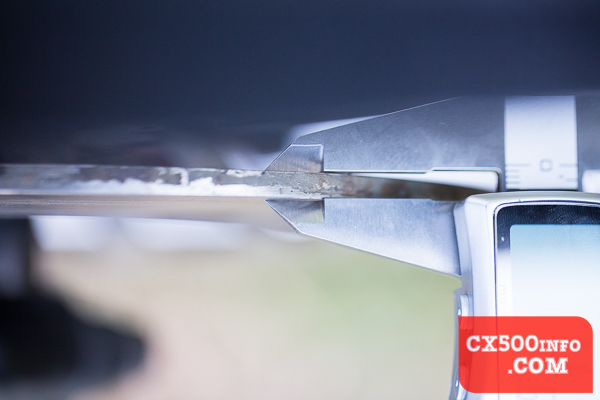
You may have one or two at the front on a CX500. Gently touch the measuring calipers together and zero out your tool:
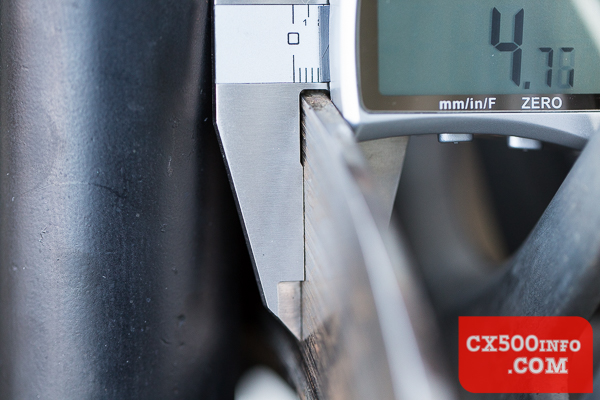
Place each caliper gently against the brake disc, ensuring that they are straight:
If you have ridges on the outside of the disc, most calipers have a slight rise to allow for this:
Alternately, you can find something small and flat for both sides of the rotor, place them together with the calipers on either side, zero the calipers, place the flat objects on either side of the rotor and measure the lot. Since you have zeroed out the additional material you should still achieve an accurate reading.
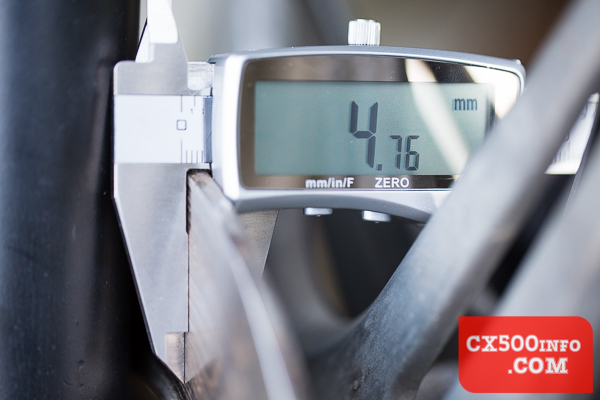
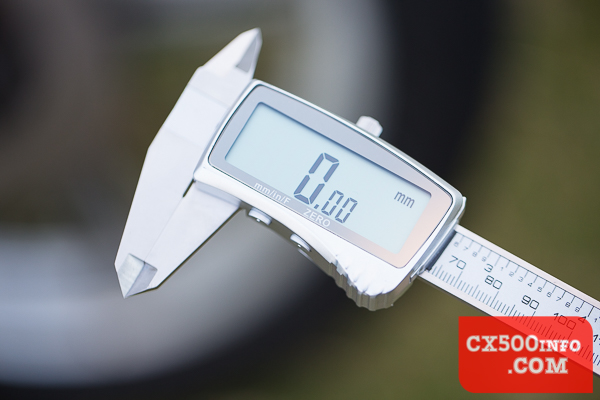
Here's the reading on this particular rotor. Since it is a dual-disc bike the service limit is 4.0mm - plenty of life left in these rotors, since they are not significantly ridged or damaged otherwise. For those who are curious this particular rotor has seen around 30,000km of service. Do the same for your other rotor if you have a dual-disc setup, record the result in your notes and either ride on happily or replace as necessary!
MotoFaction is a free resource, but the server isn't free. If a writeup here saved you time or money, please consider supporting the site:
Buy me a coffee
You can also support us via Patreon.