How to clean and lube brake caliper slide pins
Before using this site please read the site disclaimer. Also please note that any links provided may be part of an affiliate programme (viz. eBay, Amazon) which helps support the site as I will earn a commission when visitors make a qualifying purchase.
Whether you are investigating why your brakes are dragging/sticking or just doing regular maintenance, cleaning and re-lubricating your brake caliper slide pins should be a quick and easy job.
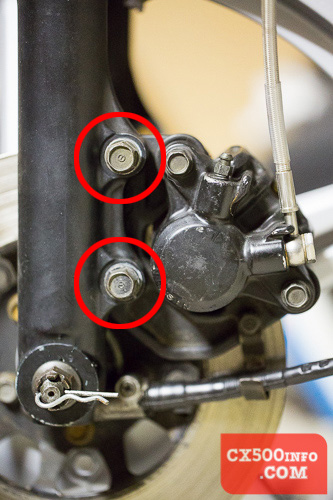
First, let's identify where your slide pins are:
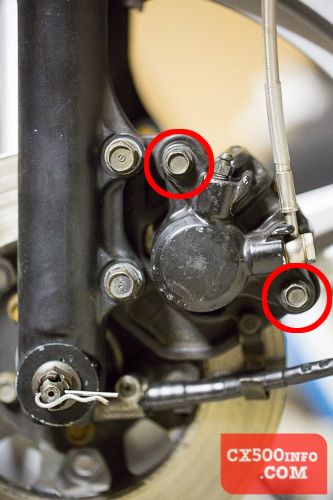
This is the left caliper on a dual-disc Honda CX500 - slide pins are beneath the bolts circled in red. So what are slide pins? As you might expect from the name, they are metal pins which the caliper slides back and forth on when you apply and release the brakes. If they are sticking, they can cause the brake pads to remain in contact with the brake disc even after you release the lever.
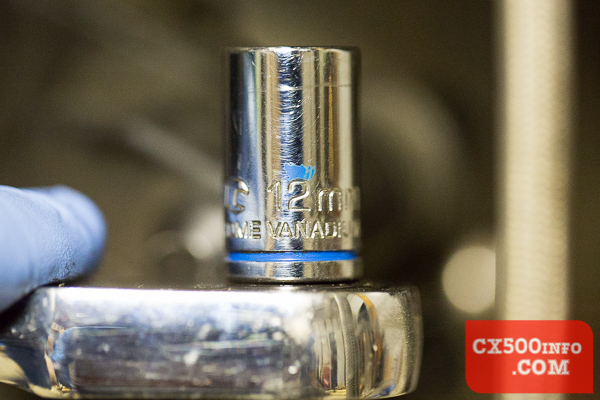
Let's begin. It's far easier to loosen the slide pin bolts when the caliper is still on the bike. For this we need a 12mm socket:
Loosen both slide pin bolts:
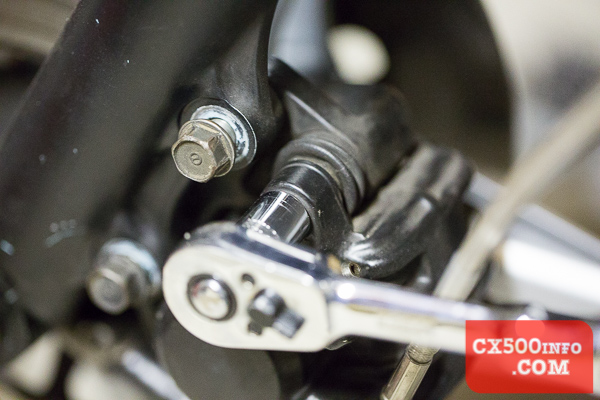
They might be a little hard to loosen if they haven't been done in a while, but they should be pretty easy to remove once loose:
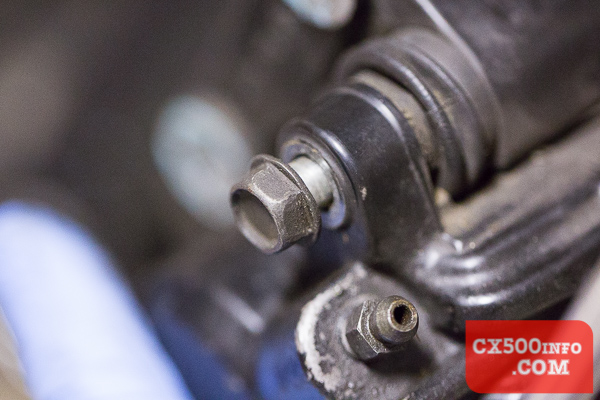
While you're at it you might as well inspect the rest of the braking setup, so we remove these two bolts with a 14mm socket so we can lift the whole braking setup away from the rotor:
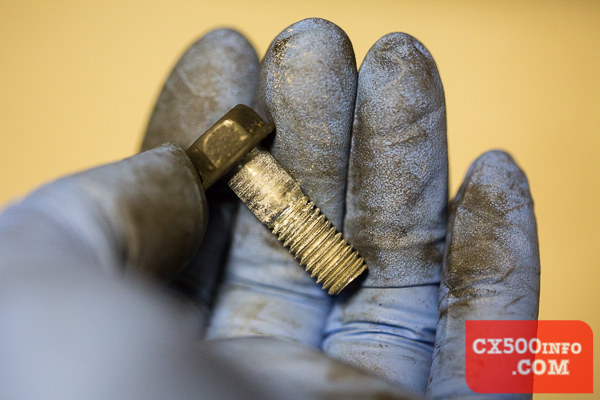
Don't leave the brakes hanging by the brake lines - suspend them with wire or place them on something they won't fall off. Now we can remove the slide pin bolts - as you can see these ones will need a clean before they go back in:
Once you have removed both of them you should find that the brake caliper separates into two pieces - one side with the piston, the other:
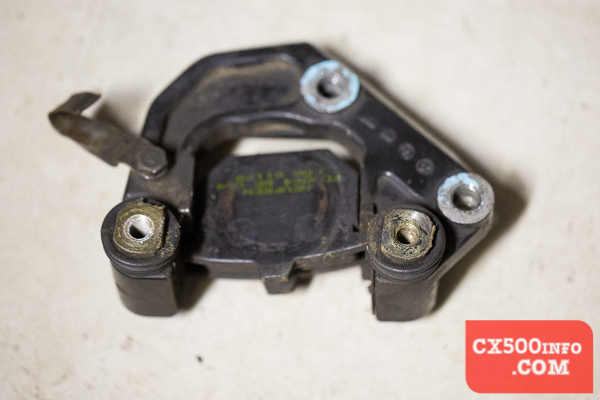
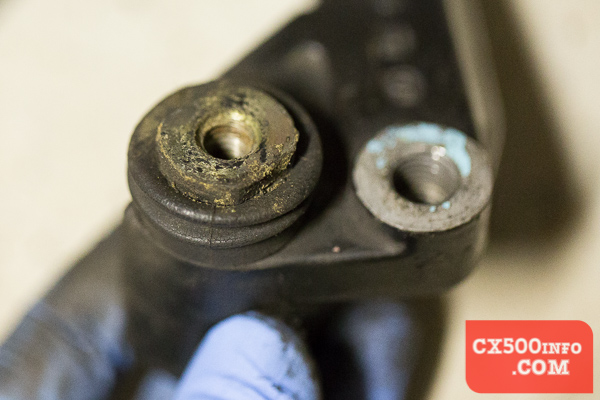
The two pins at the bottom of the above picture with the rubber boots are the slide pins. Closer:
If a little metal bracket fell off that looks like this:
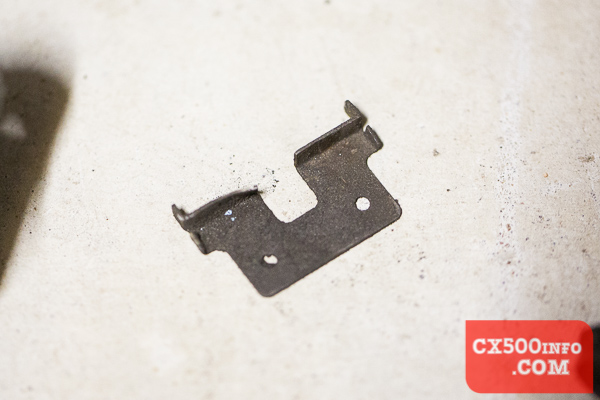
it sits next to the slide pins where the brake pads are:
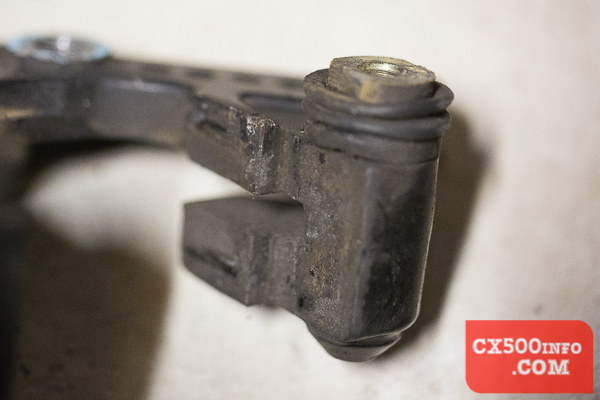
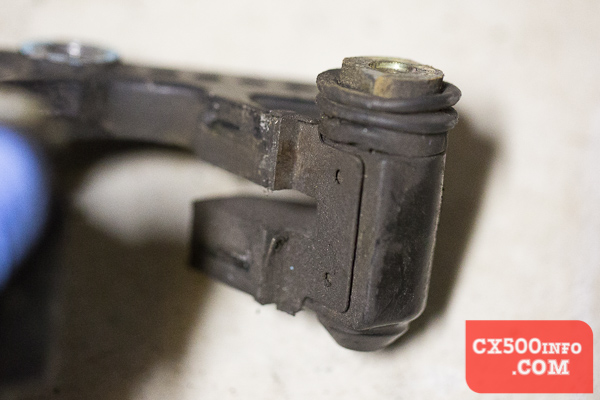
and re-inserted:
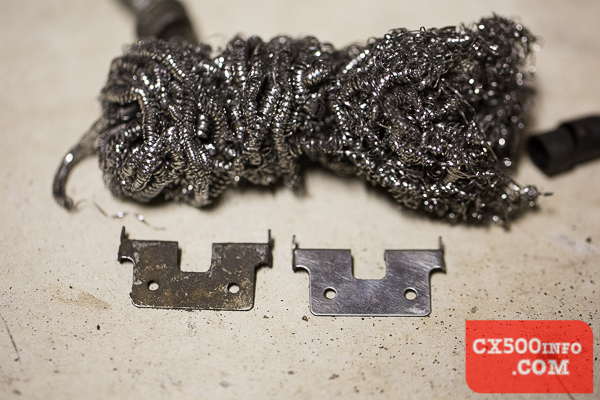
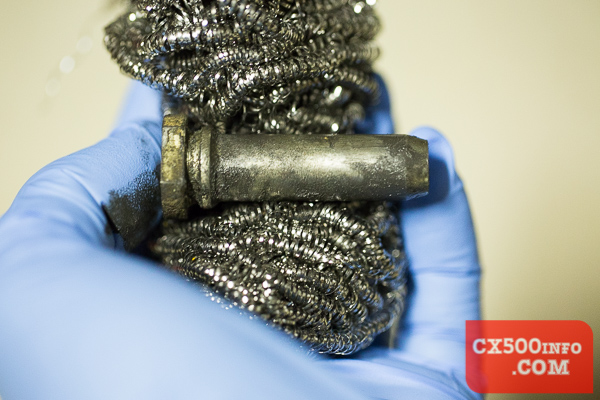
Of course, this is a great time to give everything a solid clean - we like to use steel wool and light rubbing - here's a before/after:
Back to the slide pins. A closeup from the side:
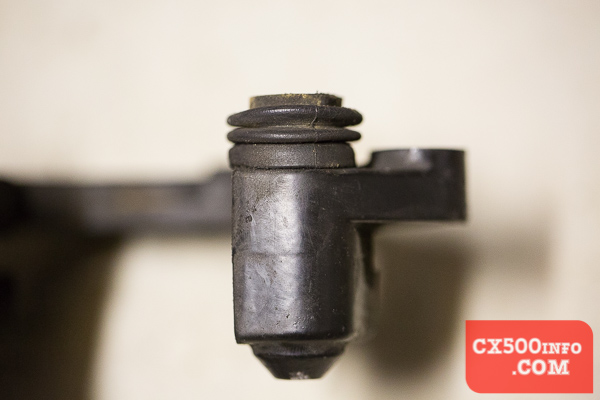
Pin head sits at the top. You should be able to grasp it with your fingers and remove it:
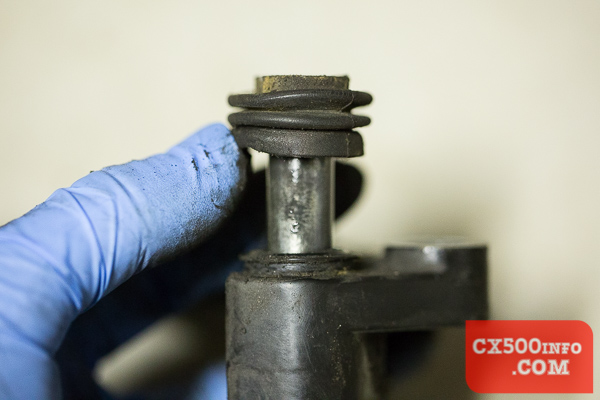
If your brakes have been dragging and the slide pins are the cause, they may be stuck in and require wiggling/twisting/more force to remove. Once removed, the top pin looks like this:
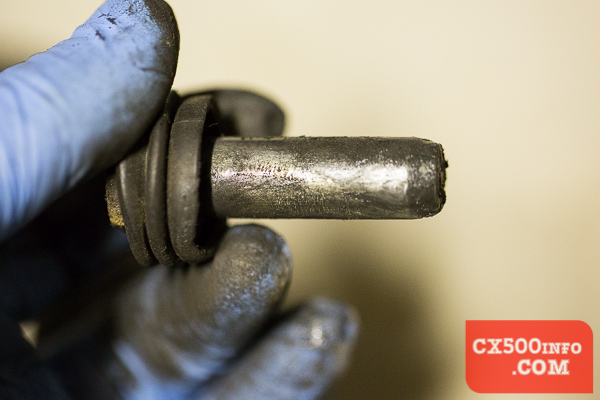
Still has grease on it - this one came out readily. The rubber boot comes off easily and only goes back on one way:
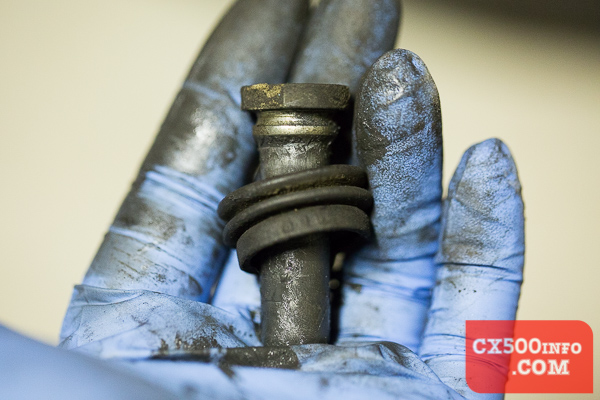
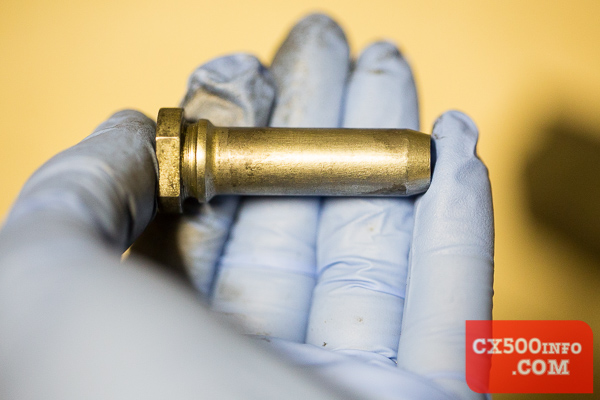
Wipe it off with some shop toweling and if there is anything left stuck on there, a light rub with steel wool and some brake cleaner if necessary should help:
After:
Now for the other side. This was stuck fast and required quite a lot of pulling to remove. You can see why:
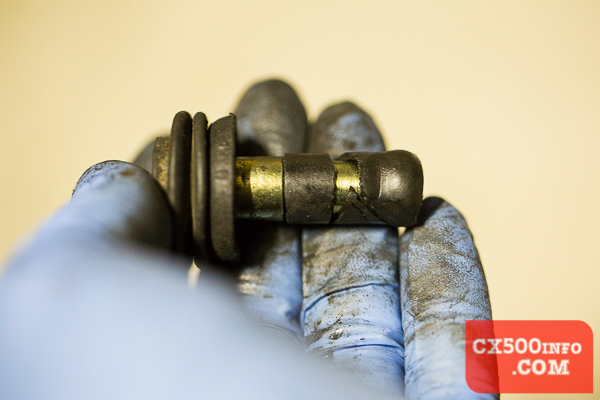
The rubber sleeve - for vibration and noise reduction - has expanded and torn, causing it to bind inside the bore. The service record for this particular CX indicated that they were rebuild 1,000km ago, and both sleeves were expanded and torn. If I had to hazard a guess I would suspect that whoever put them back together used a petroleum-based grease which attacked the rubber, causing it to expand and crack. Fortunately, we have several spare sets of calipers and borrowed a pair of pins with intact rubbers.
Don't forget to inspect the bores:
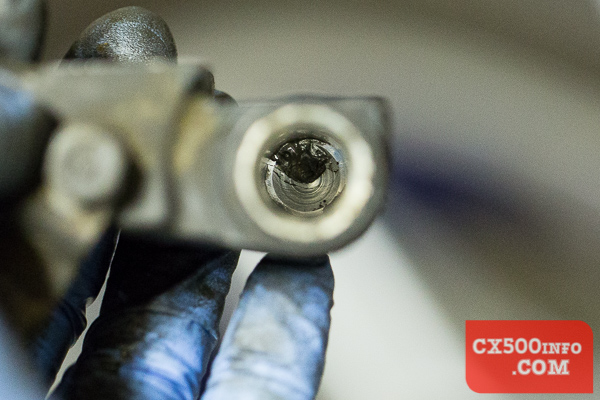
You can clean these out with a fine brush or rolled up piece of fine-grained sandpaper, making sure to thoroughly clean out any residue left with brake cleaning spray. Once you have cleaned the slide pins, lubricate them using synthetic brake caliper grease:
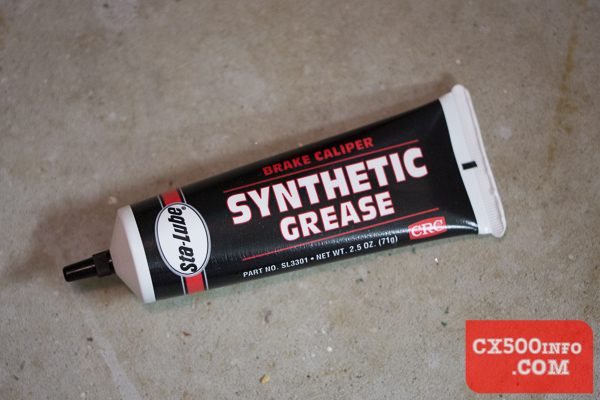
ONLY use synthetic brake caliper grease designed for slide pins - mostly anything else won't survive the conditions and will cause binding. Anything petroleum based will just destroy the rubber. Applying the grease:
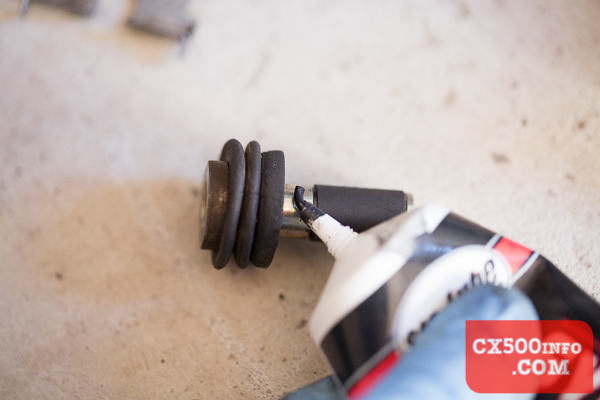
Apply a thin layer:
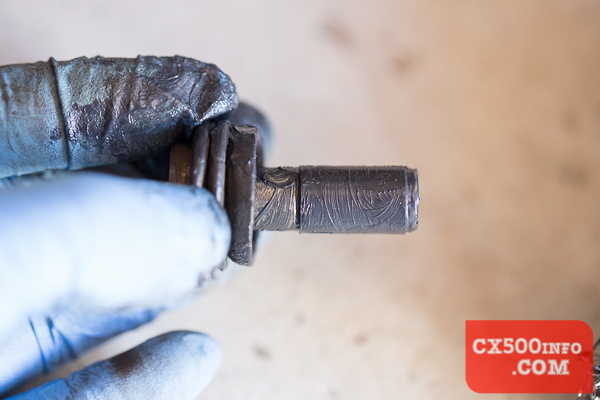
Now we work backwards - re-insert the slide pins into the clean and dry bores and check that they slide in and out easily. If there's any binding, remove them and double check everything. Once you are satisfied with the slide pins, reassemble the caliper - remembering to put any metal shims back which fell out - and torque to the required settings:
Torque for caliper bracket
Torque for slide pin bolts
Once you're torqued up, test the bike - carefully and slowly at first! Your calipers should now be moving freely again, if the slide pins being gummed up was the problem.
Found this article handy? Head over and
support the site to keep the articles coming!


