Before using this site please read the site disclaimer. Also please note that any links provided may be part of an affiliate programme (viz. eBay, Amazon) which helps support the site as I will earn a commission when visitors make a qualifying purchase.
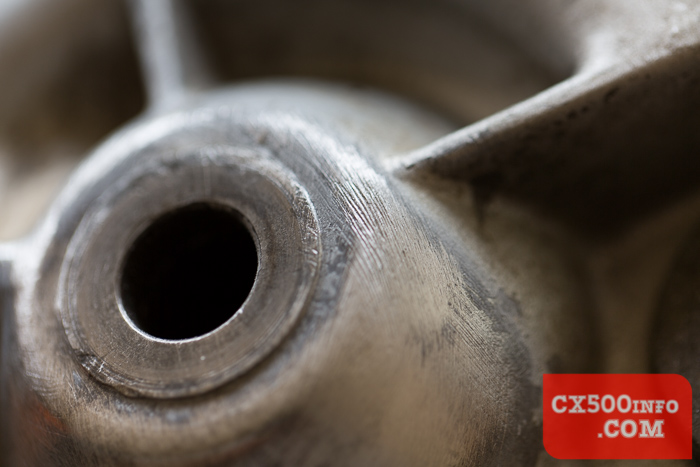
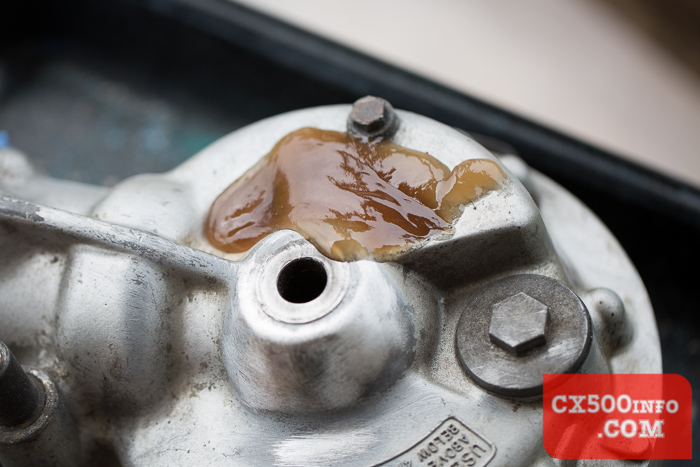
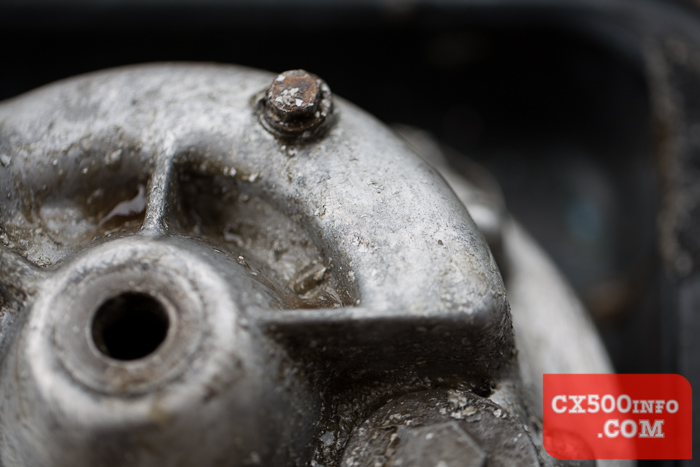
 ...but some heavy-handed application of the wire wheel resulted in some scarring:
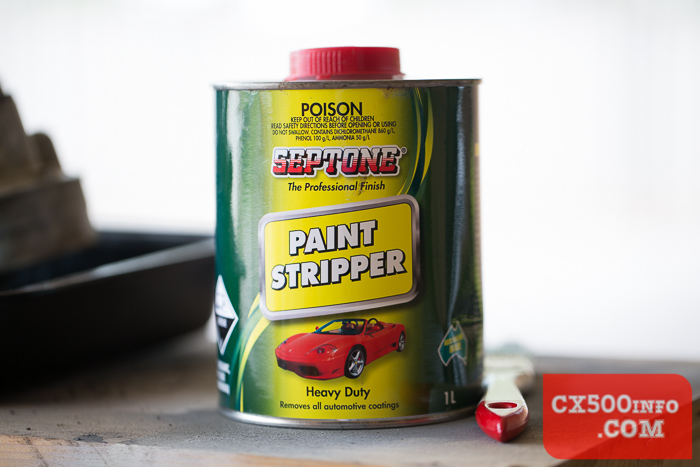
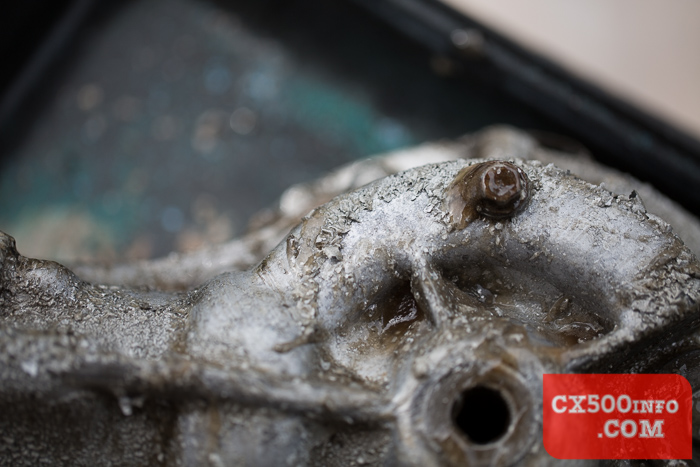

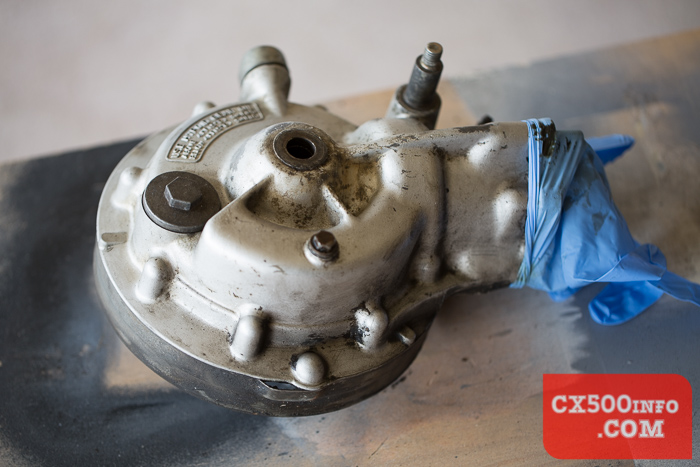
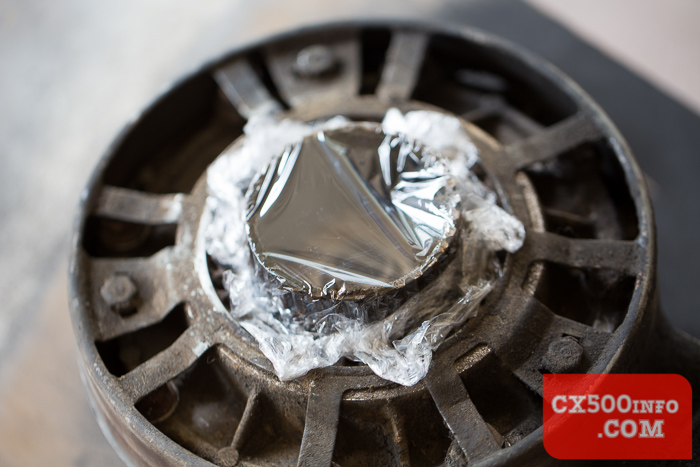
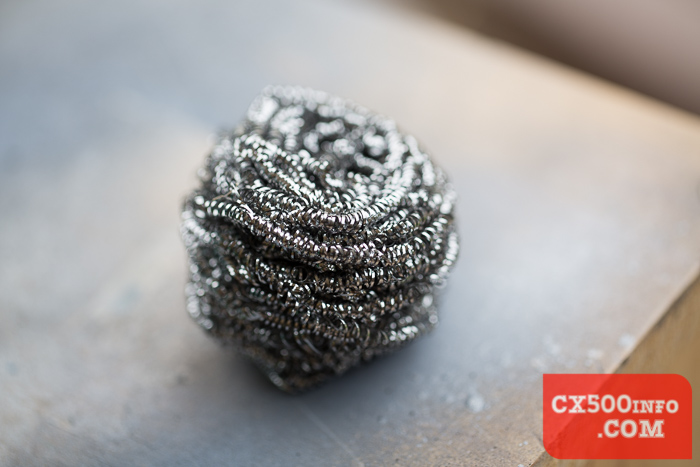
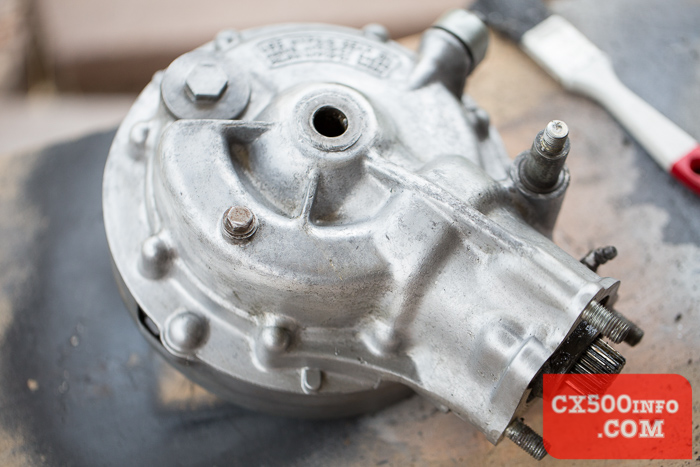
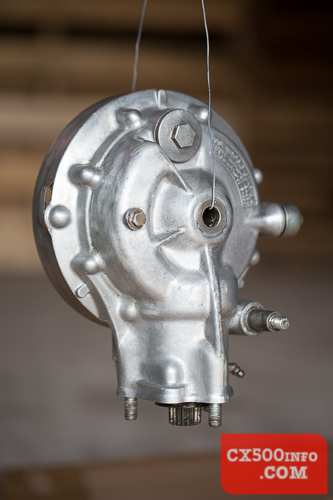
 A metal scourer was used to remove the old paint and excess stripper (that and some thick gloves...):
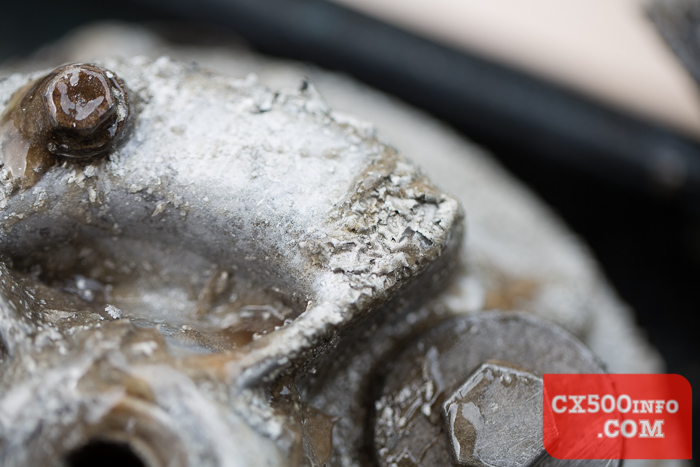
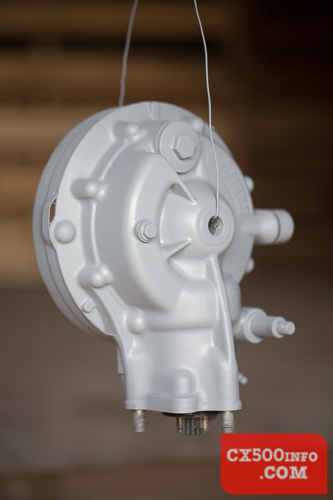 The first layer of undercoat applied. We went with Duplicolor's high heat engine metal primer, and are going with the same brand/type of gloss black for the topcoat. Topcoat photos coming...
MotoFaction is a free resource, but the server isn't free. If a writeup here saved you time or money, please consider supporting the site:
You can also support us via Patreon.