Before using this site please read the site disclaimer. Also please note that any links provided may be part of an affiliate programme (viz. eBay, Amazon) which helps support the site as I will earn a commission when visitors make a qualifying purchase.
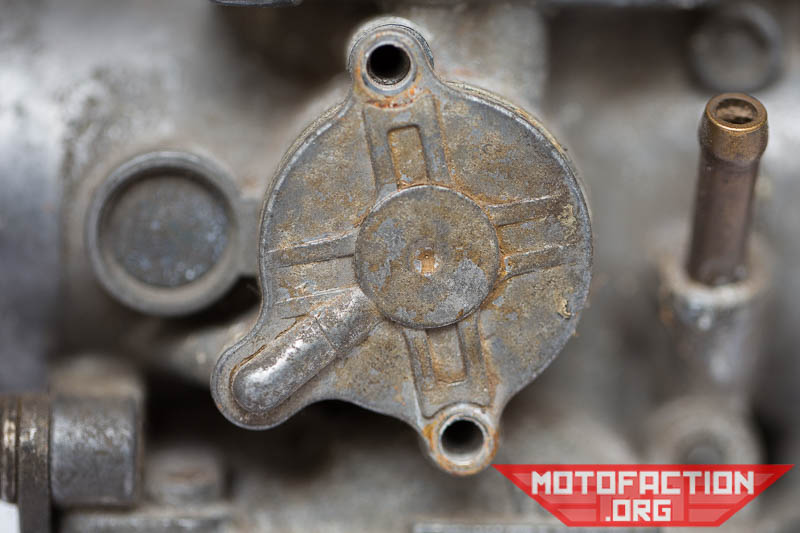
The air cut-off valves are located on the side of each carburetor; they're on the same side of each carb and are held in by two small bolts:
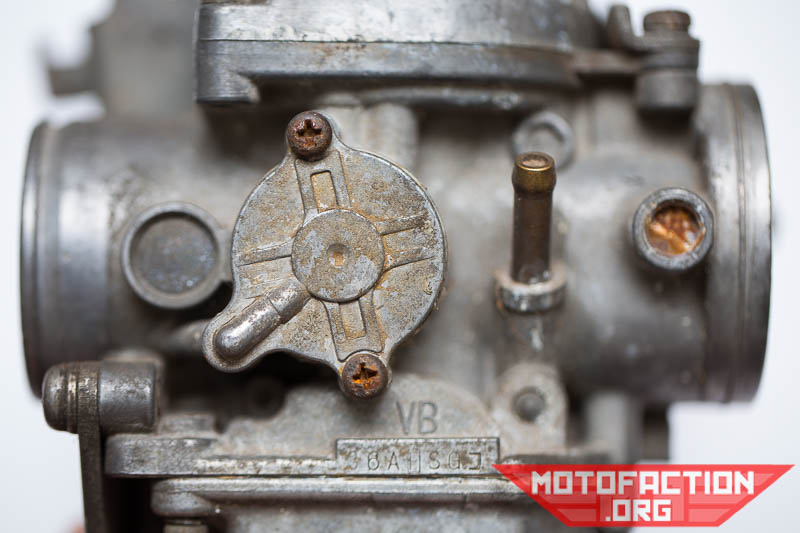
While one is on the outside and easily accessible, the other is inbetween the two carbs and will require a right angled or short driver for the Standard/Shadow/Custom CX500 variants. It's a bit more challenging for the GL500, CX500E or 650 variants due to the difference in shapes of the carbs:
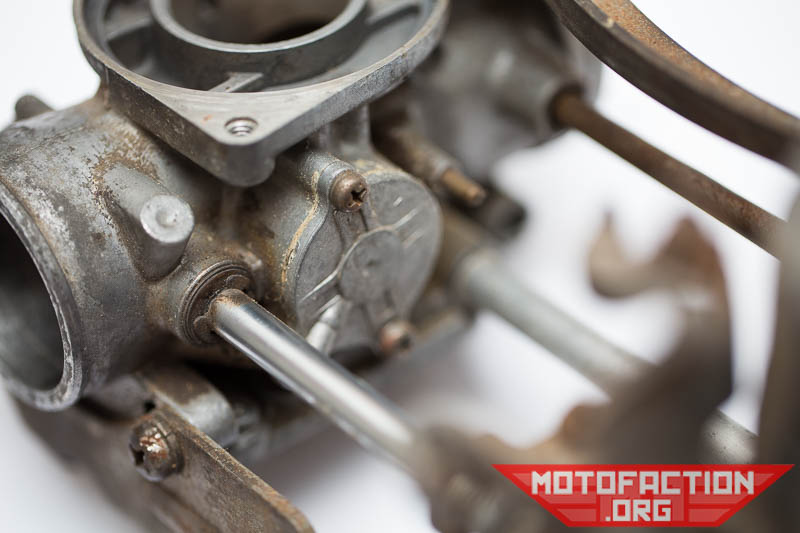
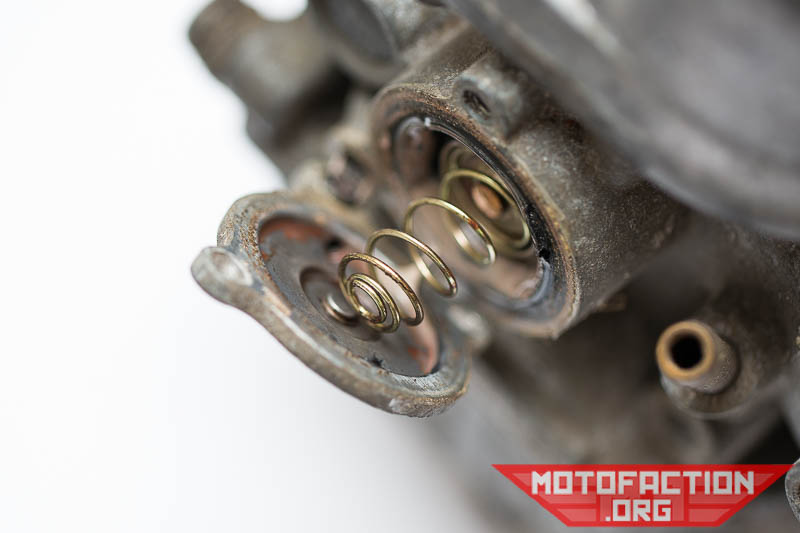
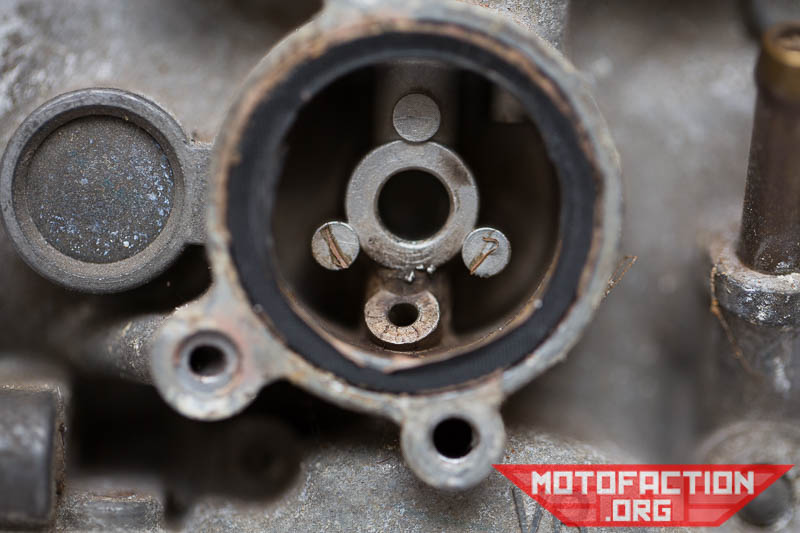
If you are separating the carbs to clean them then you don't need to worry about putting yourself through the hassle of removing the ACV on close-fitting carbs as you can simply do it once you have split the two carb bodies. Again using a good screwdriver, remove the two bolts - there's a spring under here so keep some pressure on the plate to prevent it from flying out. There's also a tiny O-ring under there that you don't want to have vanish so be vigilant when taking it off:
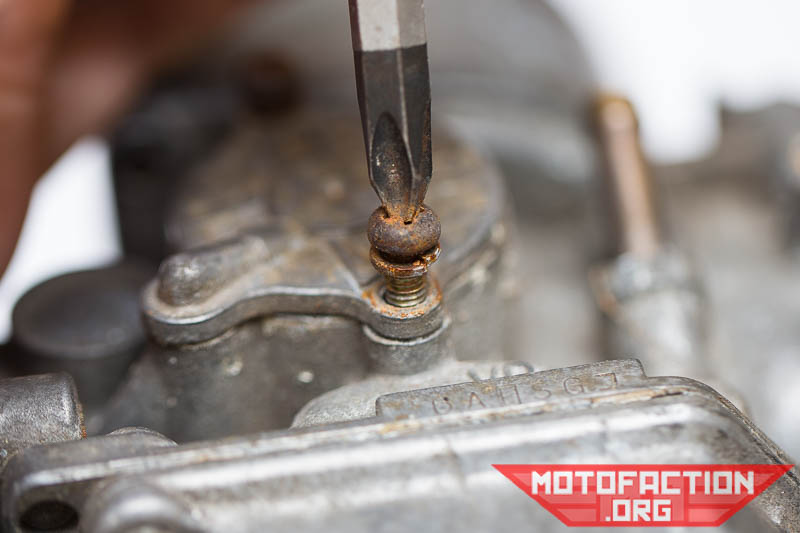
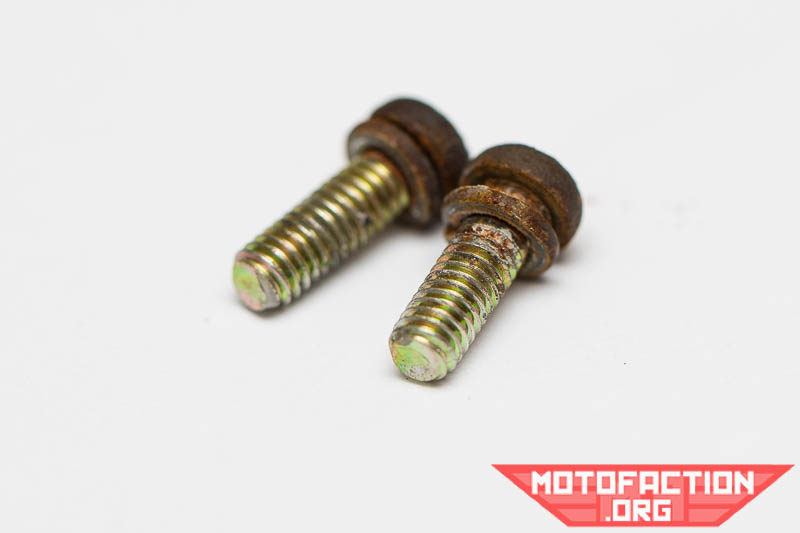
Bolts removed - part number
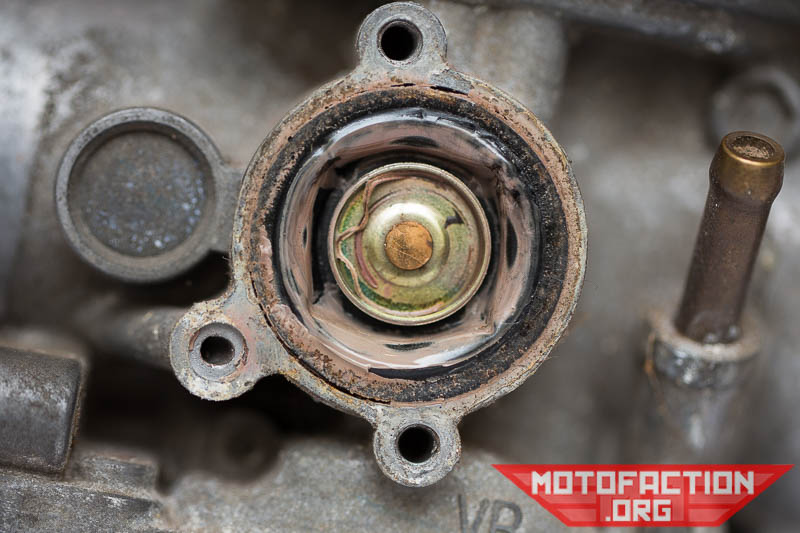
This particular cover was firmly stuck on:
Spring:
This one had been glued together - a sign of a previous owner trying to fix a problem. Don't glue a broken diaphragm, replace it.
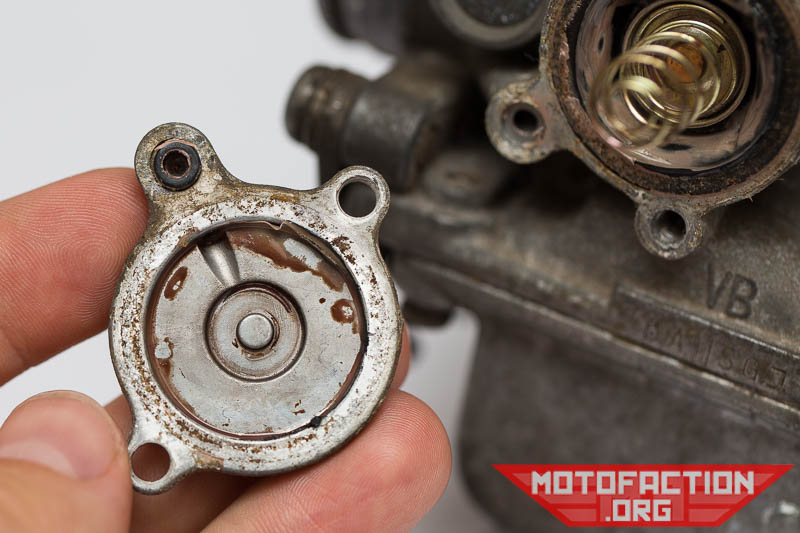
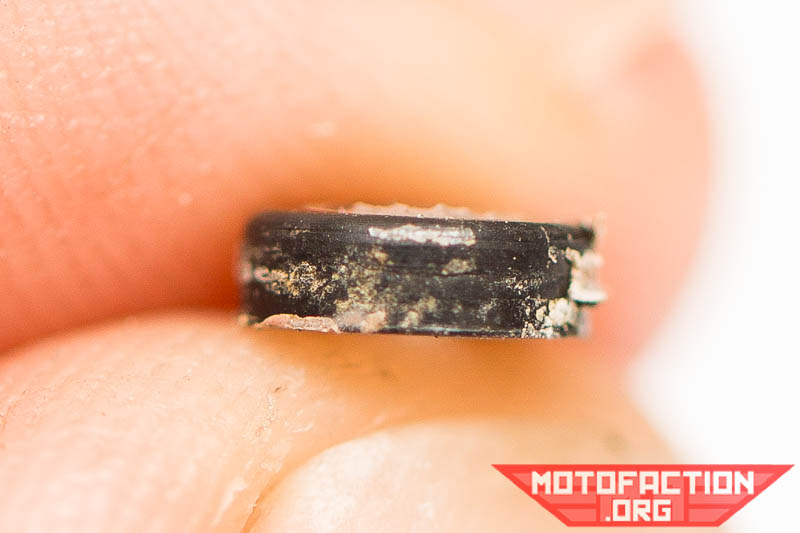
The O-ring was stuck to the cover - it could be here or stuck to the carb body:
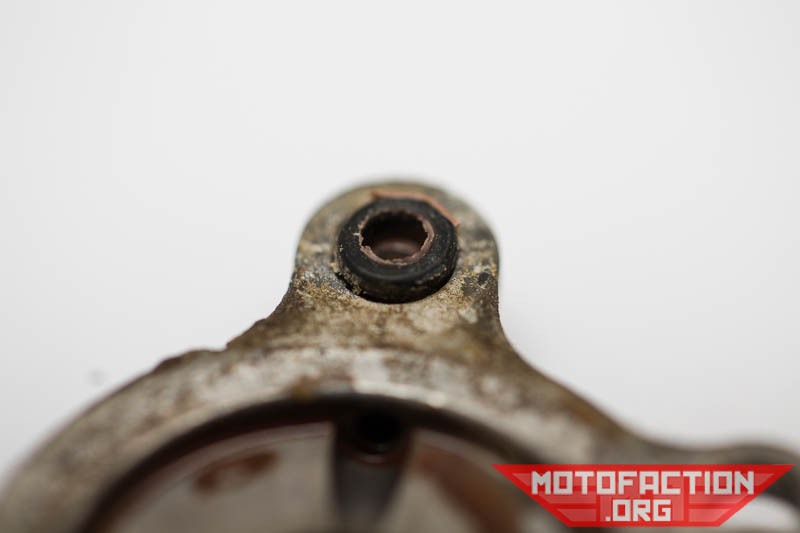
Note that there's a bevel on one edge - that side faces into the carburetor:
We're going to use another set of carbs for photos of the diaphragm as this one was siliconed together and rendered useless;
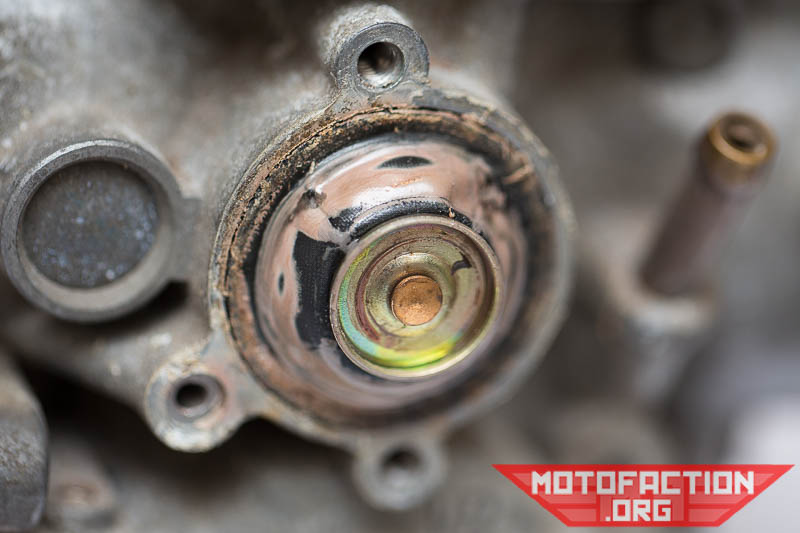
Underneath the diaphragm - there's remnants of the old glued in diaphragm around the edges:
Other photos of a better example to come. Click here to go back to the main Honda CX500 carb cleaning page.
MotoFaction is a free resource, but the server isn't free. If a writeup here saved you time or money, please consider supporting the site:
You can also support us via Patreon.