Before using this site please read the site disclaimer. Also please note that any links provided may be part of an affiliate programme (viz. eBay, Amazon) which helps support the site as I will earn a commission when visitors make a qualifying purchase.
Continuing from part 01, we are now looking at the carb area beneath the slide:
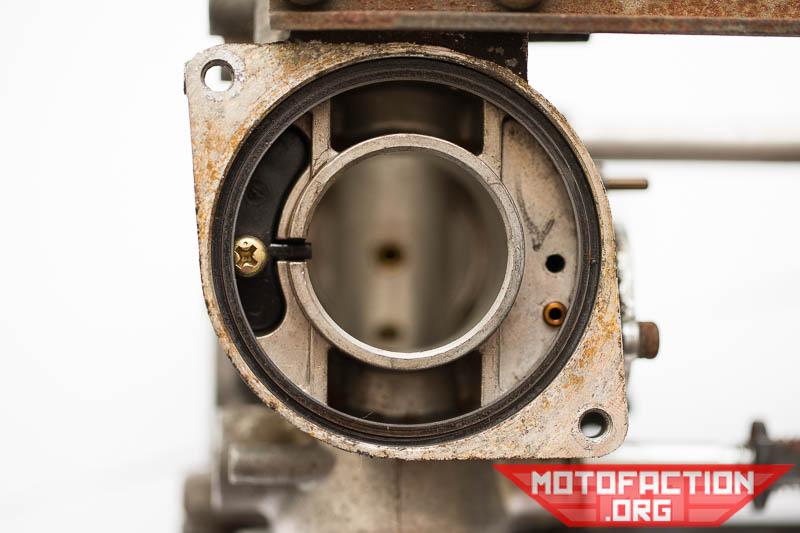
The black circular piece at the top lifts out - you can see that it is ridged on the top:
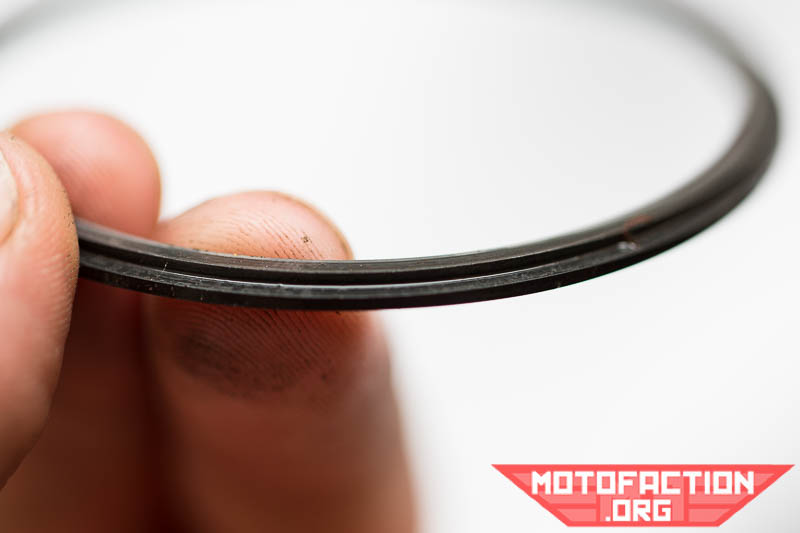
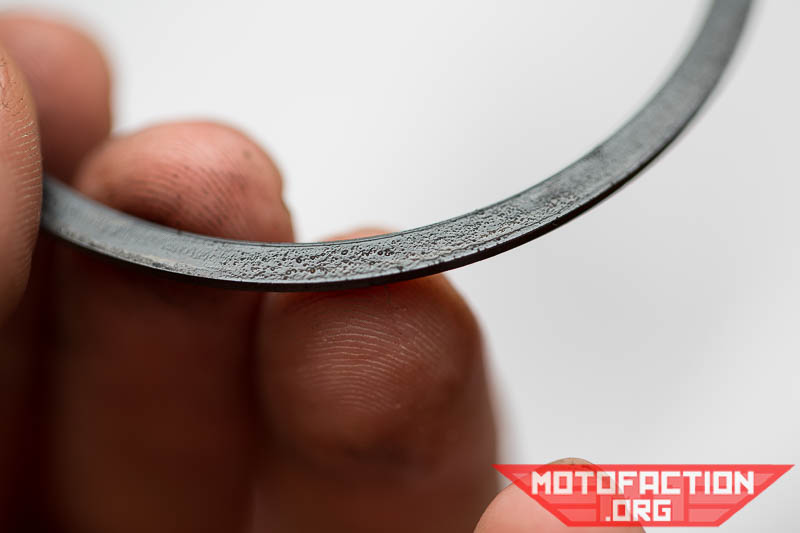
...and flat on the bottom (though this one looks a little worse for wear):
After that piece has been removed:
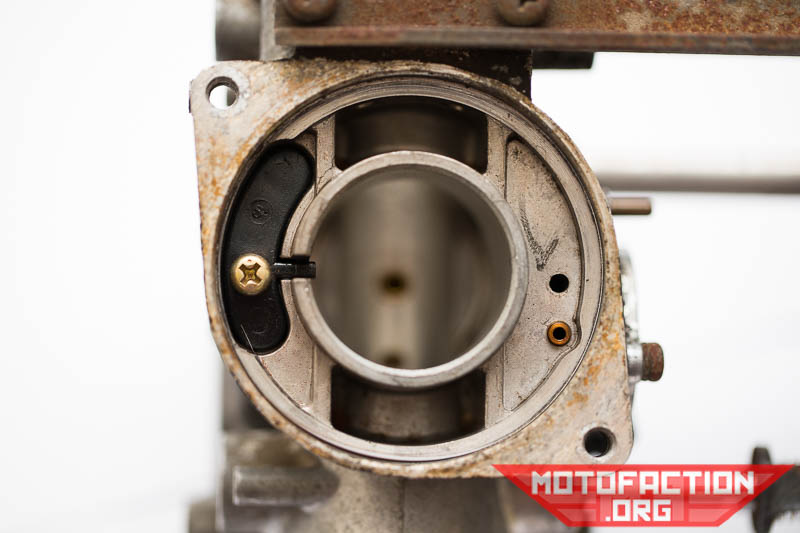
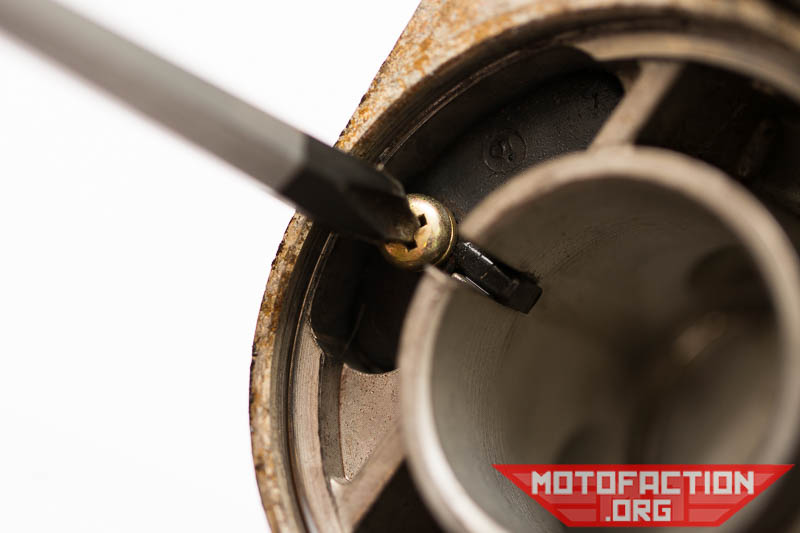
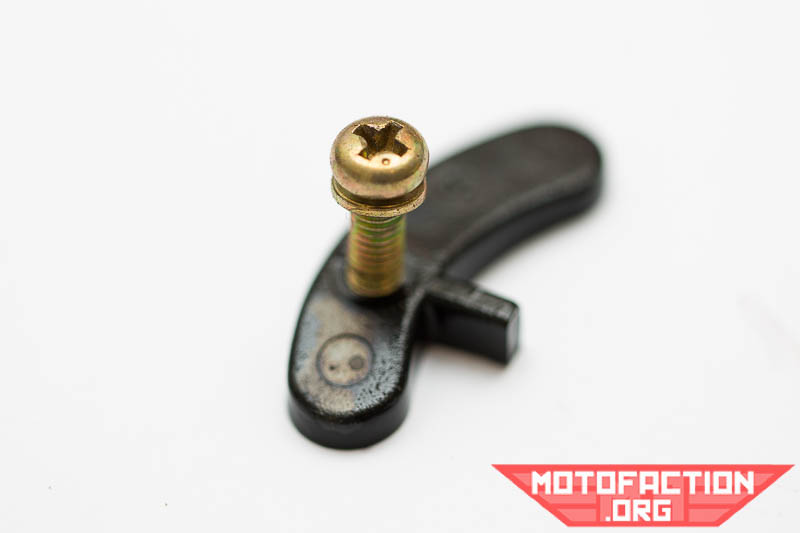
The screw (4x16mm, part number 93500-040160H - eBay US, eBay UK, eBay AU) with spring washer (4mm, part number 94111-04800 - eBay US, eBay UK, eBay AU) on the left holds in the banana plug, which covers some of the air bleeds:
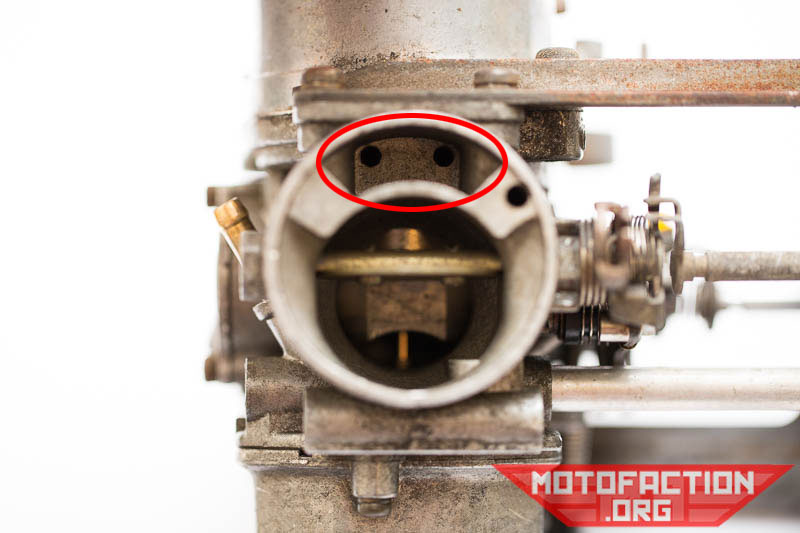
Now you can see said air bleeds:
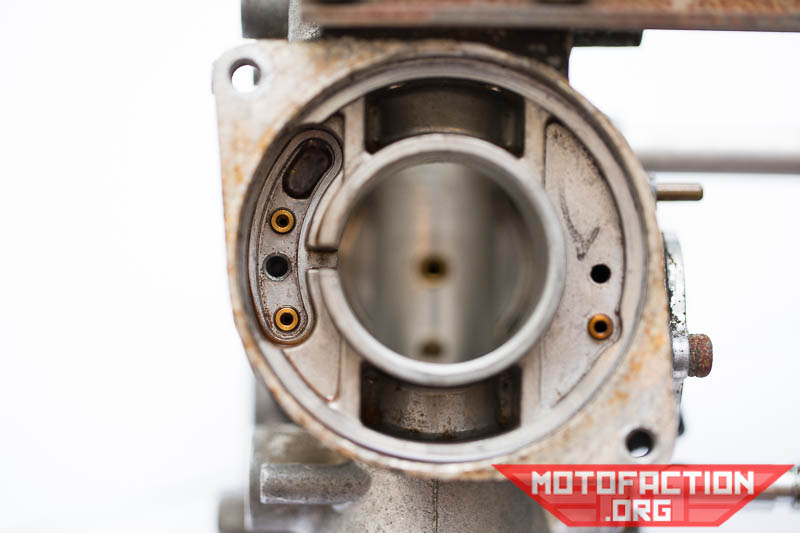
You can also see the vacuum ports that are often blocked (or partially blocked) by the rubber end of pod style air filters:
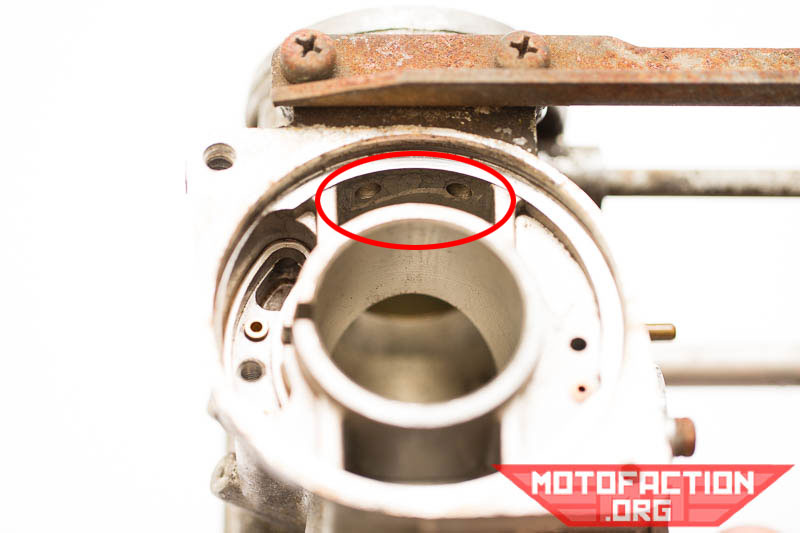
Here's the other side of those ports:
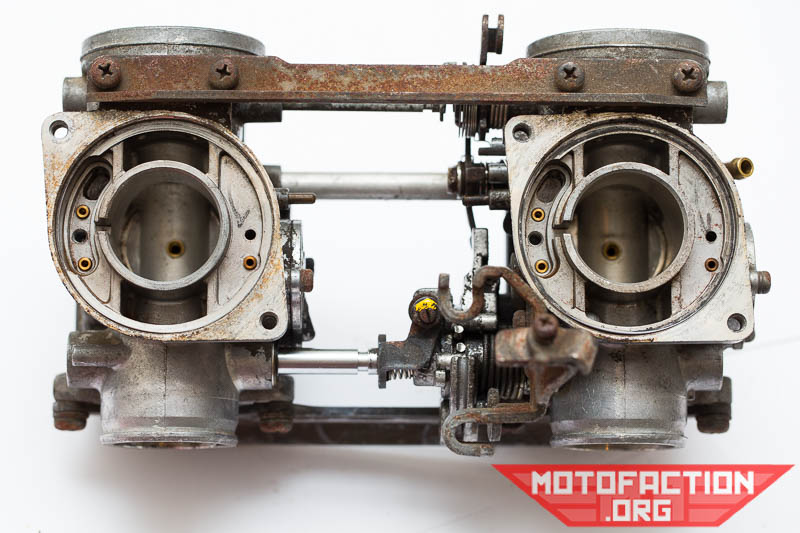
The process is the same for the other side. After you're done the top of the carbs should look like so:
If you're following the carb cleaning guide, click here to go back to the main page.
MotoFaction is a free resource, but the server isn't free. If a writeup here saved you time or money, please consider supporting the site:
You can also support us via Patreon.