Polishing
The Aluminium
WARNING.
Do not enter this site unless you have available a large quantity of Elbow
Grease.
Skill
Level : 1. Personally dirty : 3. Work mess : 2. Tools : 1. Space : 1.
I've wanted to improve the cosmetic
appeal of my CX500A by removing various parts of the aluminium alloy and then
polishing the metal back to as near an original state as I can. I began with
the radiator shrouds, and was encouraged by the result, so I carried on with
a spare set of fork legs that I have been meaning to renovate and fit on my
bike.
 I
don't claim to be an expert aluminium polisher and I don't have an unlimited
amount of time or effort, I just want to make the bike look more "sparkly"
and get rid of the 20+ years of accumulated surface corrosion. However the work
proved more than a trifle addictive.
I
don't claim to be an expert aluminium polisher and I don't have an unlimited
amount of time or effort, I just want to make the bike look more "sparkly"
and get rid of the 20+ years of accumulated surface corrosion. However the work
proved more than a trifle addictive.
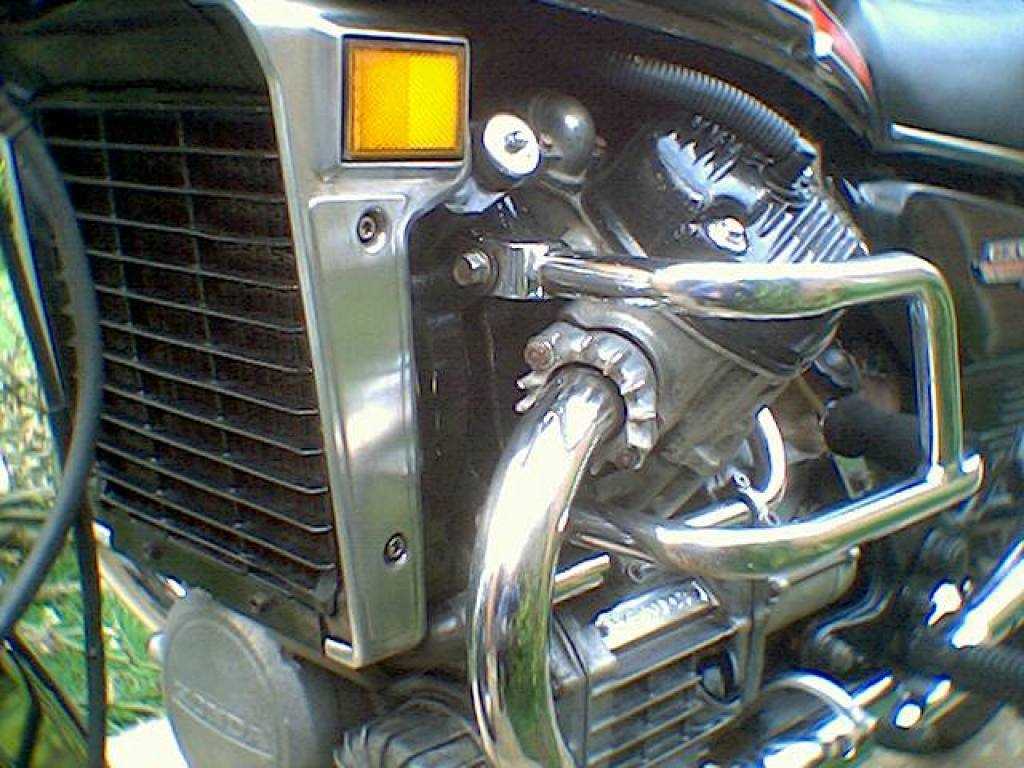
The trouble is that you polish up
the radiator shrouds (left), then the fork legs look tatty. You polish up the
fork legs and then the wheels look tatty. You polish up the wheels and then
... you get the picture?
Technically and toolically, it's
easy. You don't need any more tools than heaps of medium and fine sanding paper
and some considerable time.
One absolutely vital component, of
which you will need copious amounts, is Mk 1 Elbow Grease. Have
you heard of Housemaid's Knee? You are in danger of getting Aluminium Polisher's
Elbow.
However, having said that,
you can get quite good results by vigorous use of a Scotchbrite pad - the green
rough scouring pad which any supermarket will stock. Give the aluminium parts
a good going over with that, and then polish with Solvol Autosol or suchlike.
If you want a better or mirror finish, read on ...
I had an almost complete CX500 front
end, from which I removed the wheel, brake calipers and mudguard. In my work
area I covered the table with layers of newspaper. You won't make an oil mess,
but you will generate a lot of dust. I didn't bother with a dust mask but if
you are asthmatic it would be a good idea to wear one, and try and have the
windows open.
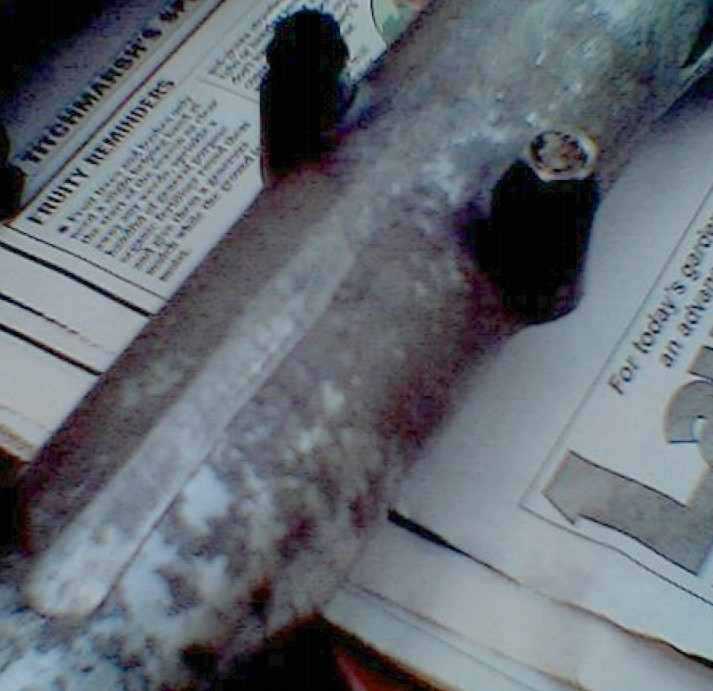
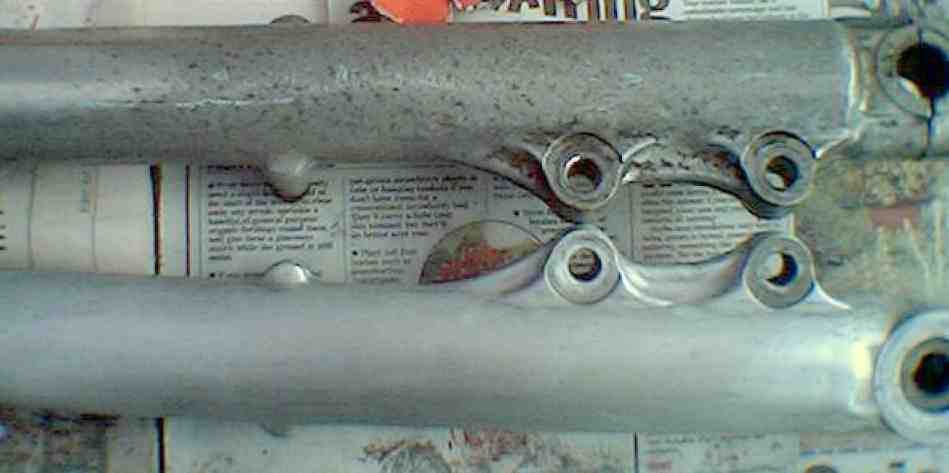
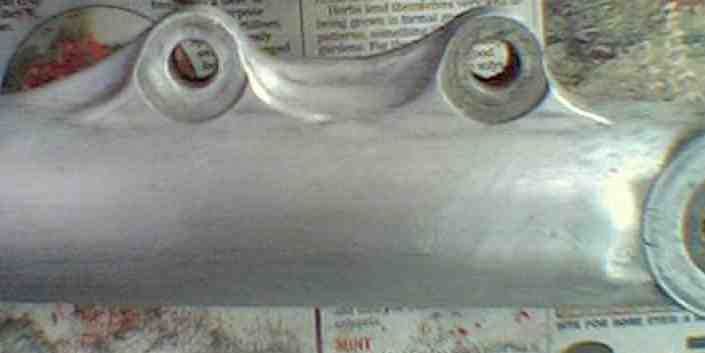
 Original
state of the fork leg (right) is pretty gruesome. Loads of ingrained dirt, plus
20-odd years of surface aluminium oxidisation, especially on the wheel side,
and around the bolt holes for the mudguard and in the nooks and crannies (left).
Firstly, degrease the part and use a stiff wire brush to remove any surface
dirt.
Original
state of the fork leg (right) is pretty gruesome. Loads of ingrained dirt, plus
20-odd years of surface aluminium oxidisation, especially on the wheel side,
and around the bolt holes for the mudguard and in the nooks and crannies (left).
Firstly, degrease the part and use a stiff wire brush to remove any surface
dirt.
 These
days I generally wear surgical gloves for mechanicky jobs. Use the medium paper
to firmly rub down the entire area of the component, getting well into the crevices.
Try and avoid rubbing so hard that you produce surface scratches, and keep moving
the part round so that the rubbing action covers all directions.
These
days I generally wear surgical gloves for mechanicky jobs. Use the medium paper
to firmly rub down the entire area of the component, getting well into the crevices.
Try and avoid rubbing so hard that you produce surface scratches, and keep moving
the part round so that the rubbing action covers all directions.
To reach into corners, fold the paper
into a knife edge, and to get concentrated effort into a stubborn area, make
a bowed circle out of one edge of the paper and use that to tease out the surface
oxidisation.
If you get scratches, rub them down
in the opposite direction, and then in all directions until they disappear.
Minor scratches will come out when the part is fine-papered.
It is a real tough job getting into
all the crooks and nannies ... this is where the elbow grease comes into play.
You'll need loads of this. I spent a whole afternoon rubbing down just one fork
leg.
Jim Field-Mitchell says:; "I
would suggest that rather than use medium and fine sandpaper you use 600 grit
then 400 grit wet and dry paper with copius amounts of water/diesel oil. I prefer
water but my mate uses diesel.
There is much less chance of scratching and it reduces the hand polishing time
too."
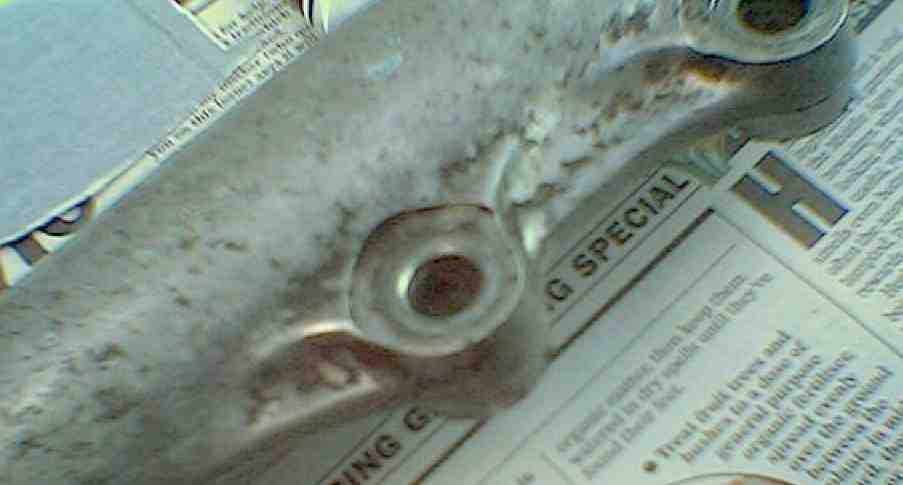
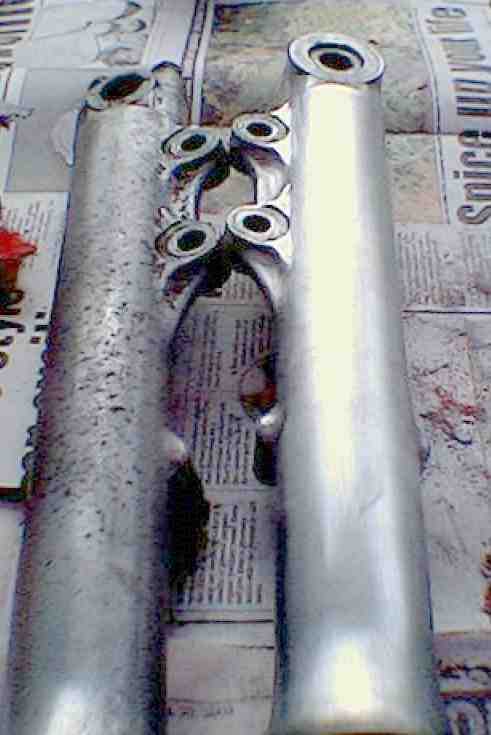
 After
all-over work with the medium paper, the fork leg looked like this (right) with
the other untreated leg above it for comparison.
After
all-over work with the medium paper, the fork leg looked like this (right) with
the other untreated leg above it for comparison.
 The
dark patch is my shadow, not residual oxidisation on the fork leg. There are
still some surface scratches evident from the medium paper, but you can see
where the metal looks so much better even after this first stage.
The
dark patch is my shadow, not residual oxidisation on the fork leg. There are
still some surface scratches evident from the medium paper, but you can see
where the metal looks so much better even after this first stage.
 Once
all the surface oxidisation is removed - several hours' work even for the small
components - then repeat the dressing, this time using the fine paper. This
will generate a lot of dust and you may need to treat the surface area several
times. If any missed oxidisation shows up, tickle it out with medium paper and
rub it down with fine.
Once
all the surface oxidisation is removed - several hours' work even for the small
components - then repeat the dressing, this time using the fine paper. This
will generate a lot of dust and you may need to treat the surface area several
times. If any missed oxidisation shows up, tickle it out with medium paper and
rub it down with fine.
In the final stages, you can use
the fine paper quite vigourously to rub out any remaining scratches or abrasions
from the medium paper, and the end result should be a very smooth aluminium
face to the component. To test this, rub it against your cheek; you are seeking
a baby's bottom type finish.
Lastly ... use a metal cleaner/polish.
Solvol Autosol is brilliant on chrome but doesn't perform well on aluminium.
I prefer Mother's Mag polish, and even more elbow grease, to buff up the metal.
This can take two doses to remove all the dust and grime, and bring the metal
up to a good finish (right).
A word about power tools.
It's very tempting to use a Dremel or hand-held electric device (and for UK
readers, Focus DIY's Dremel-clone is £20 against £80 for the real
article) to try and accelerate the polishing process. You can also buy accessory
boxes of grinding wheels, polishers, etc for these.
BUT I found that unless
you have a bench grinder with an extremely soft buffing wheel, it's quicker
and safer to do the job by hand. The Dremel-like tool can slip all too easily,
and gouge out considerable chunks of aluminium alloy. Even the most delicate
of hands will inevitably slip and do damage to the component, or the hands holding
it.
I also found that even the final
buffing process wasn't helped at all by a power tool. There really is no substitute
for elbow grease, I'm afraid. But as I said, the end results are worth the effort.
Several correspondents have said that a n ordinary power drill, or a bench grinder,
fitted with polishing or buffing wheels, does take a lot of work out of the
job.
As for doing those ribbed engine
casings ... bloody good luck ... all those crooks and nannies ... aaarrghhhh!
But the technique is still the same for any component.
Sidecar
Bob says:- "Here are some extra tips. 1) I usually start with methanol
(methyl hydrate - sold as thinner for shellac) and a plastic scrubbing pad (Scotchbrite
works best). The methanol will lubricate the pad and dissolve any old lacquer.
This works best for deep corrosion - the white fluffy kind. CAUTION: good ventilation
is a must (fumes) and NEVER SMOKE NEAR FLAMMABLE SOLVENTS.
"2) We have a product in North
America called "Mothers Mag and Aluminum Polish" that works wonders.
My GoldWing sat outside for a long while before I got it - the fellow I got
it from had to cut down a small tree that had grown up between the engine and
crash bar before he could move it! The forks were about as bad as the ones you
show. I polished them with Mothers, and I almost feel like I cheated - you just
rub it on, let it sit a couple of minutes, and polish it off with a clean rag.
Repeat if necessary (it took 3 or 4 applications for mine). Mothers seems to
lift the oxidation out of the aluminum - it goes on white and comes off black,
and you don't much elbow grease. I did them several years ago, and they still
look like new."
I tried Mother's Mag and found it
excellent.
You are welcome to comment
on these pages.