How to remove the rear wheel - Honda CX500
Before using this site please read the site disclaimer. Also please note that any links provided may be part of an affiliate programme (viz. eBay, Amazon) which helps support the site as I will earn a commission when visitors make a qualifying purchase.
Removing the rear wheel is a pretty straightforward task; just make sure you secure the bike properly so that it won't tip while you're working on it. It's much easier if you still have your centerstand! This bike doesn't, so we like to use a front wheel lock like this:
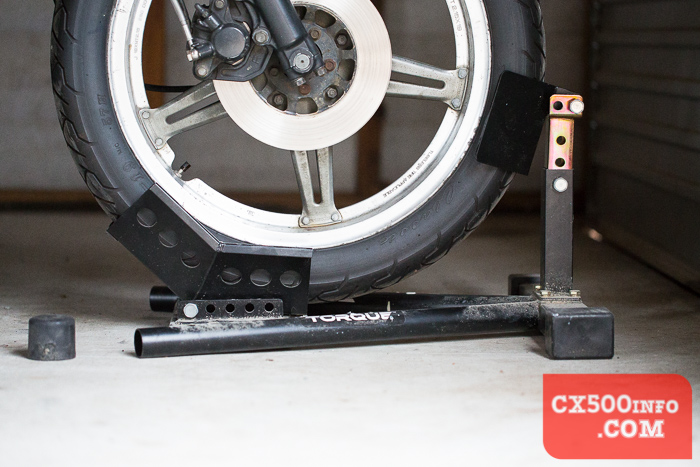
...which gives the bike a little bit of side-to-side stability, coupled with a jack underneath the swingarm. You need to jack the bike up enough that the rear wheel is slightly off the ground - it doesn't have to be far:

Of course, if you still have your centerstand you won't need a jack. Now, looking at the left side:
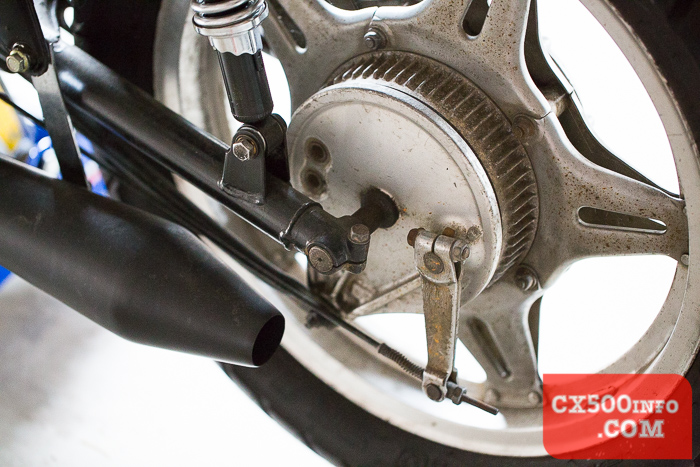
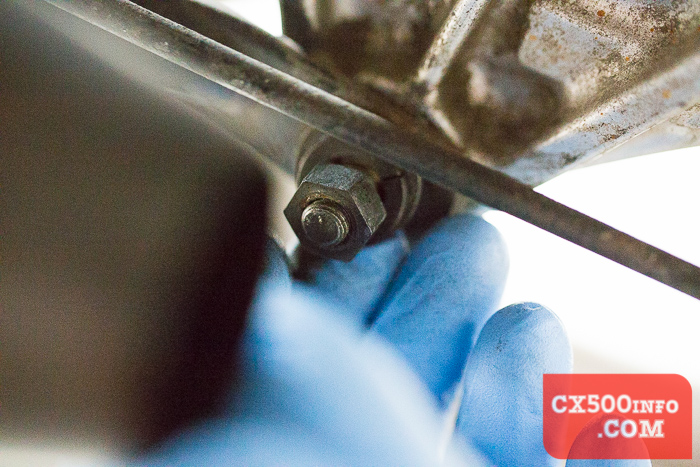
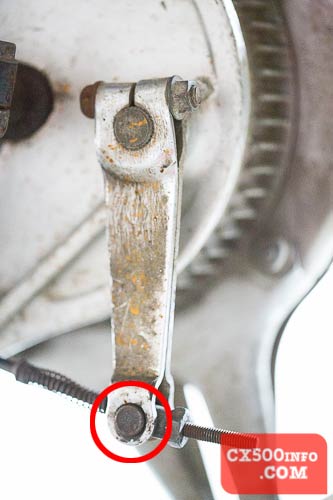
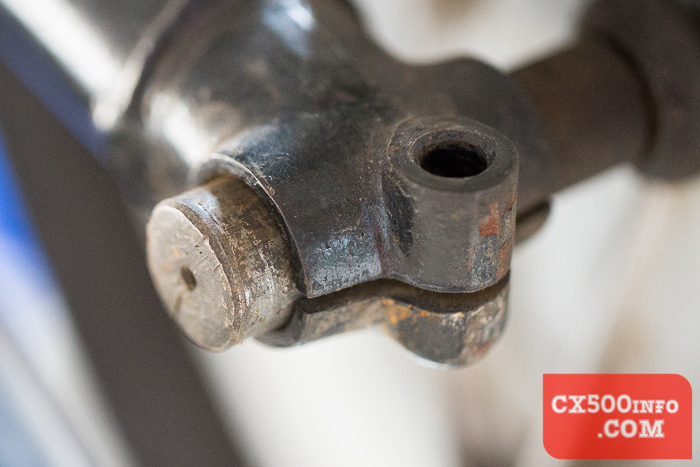
We need to undo the bar and the rod which attach to the outside of the drum brake. Starting from the bottom:
Use a ?mm socket (check notes...):
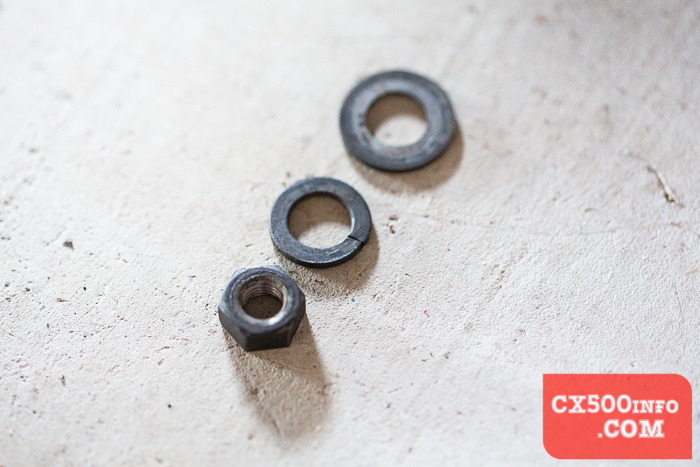
...the nut should come away easily, followed by two washers:
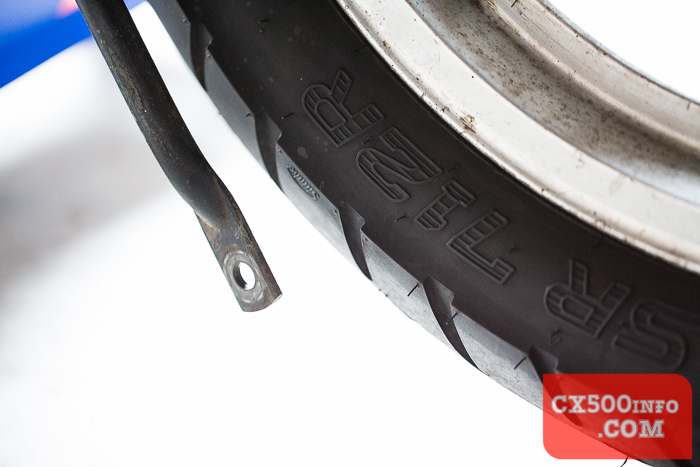
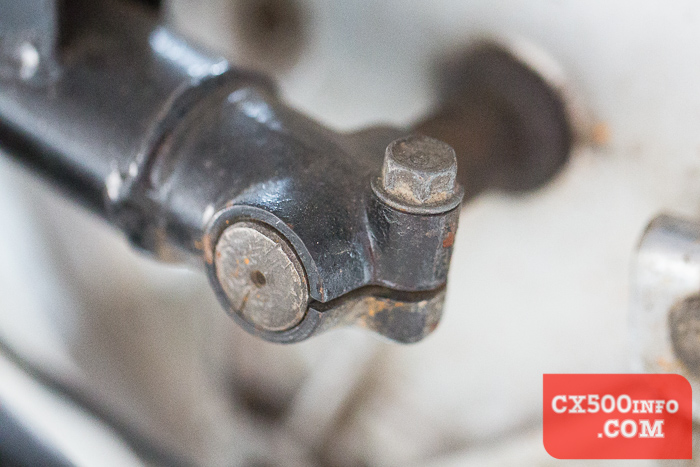
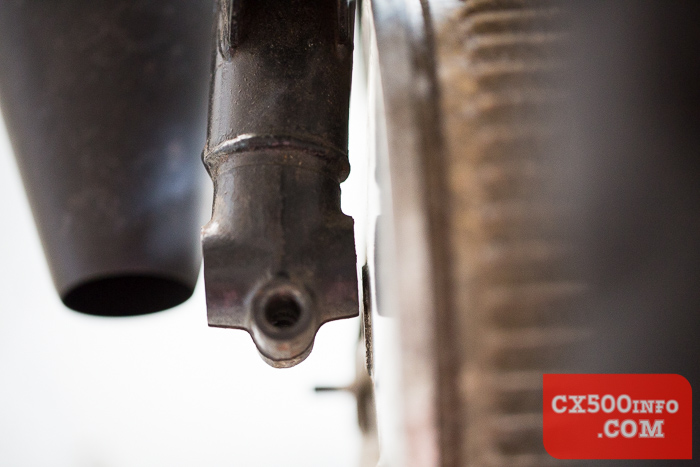
The bar should hang down next to the wheel:
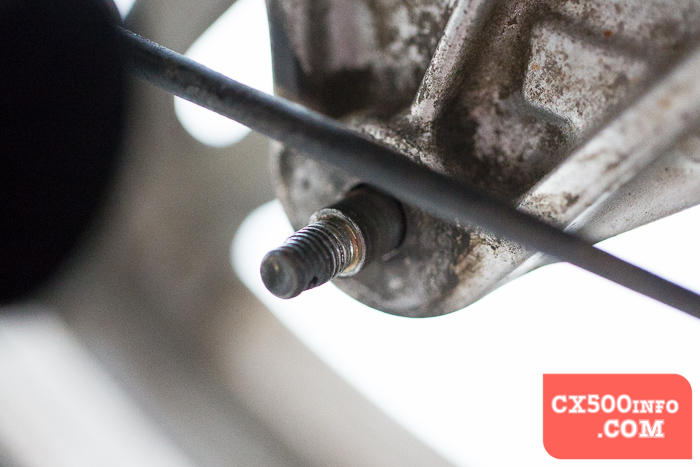
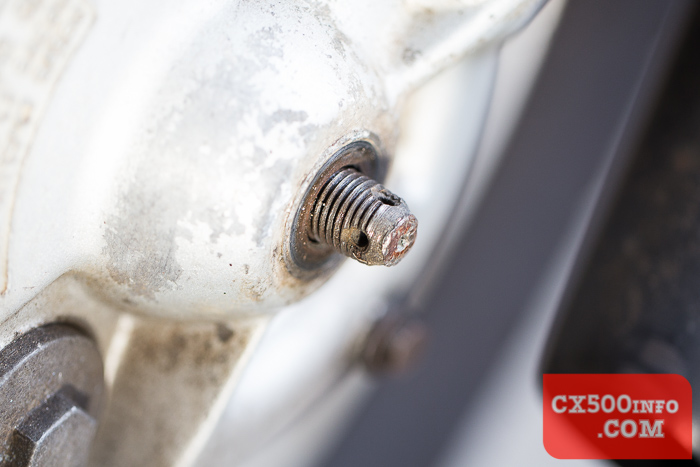
...and you should be left with just the protrusion on the drum brake:
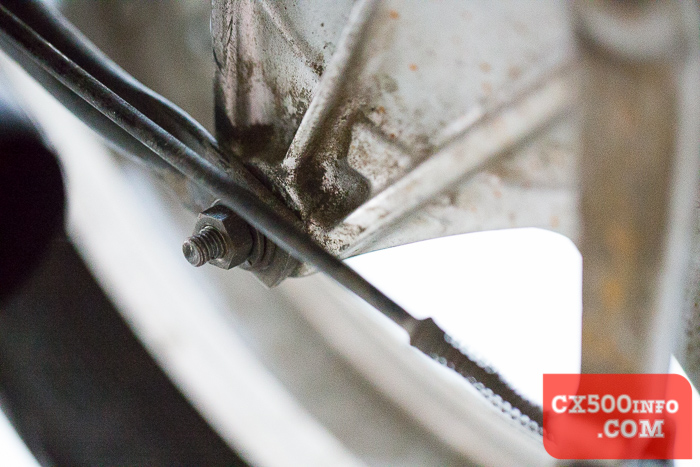
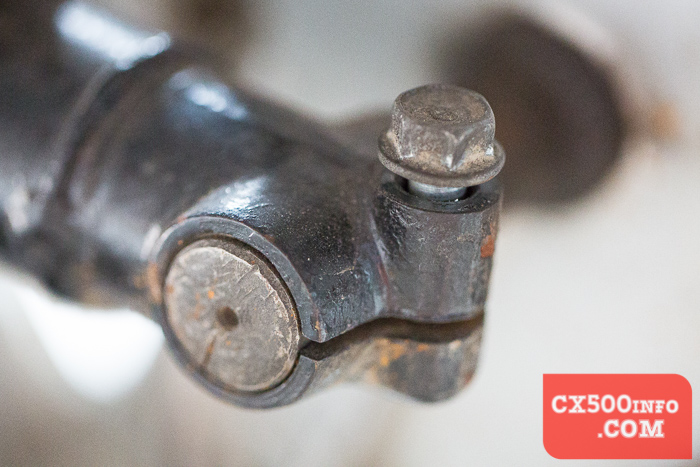
Now we need to remove the cotter pin that holds the brake linkage together, at the bottom here:
*pic coming of next step*
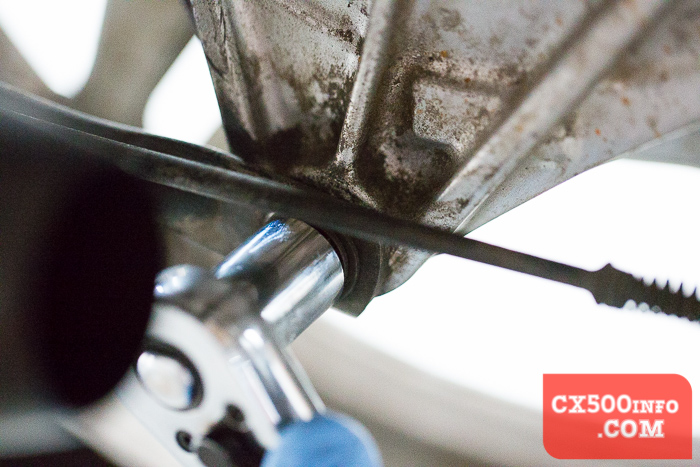
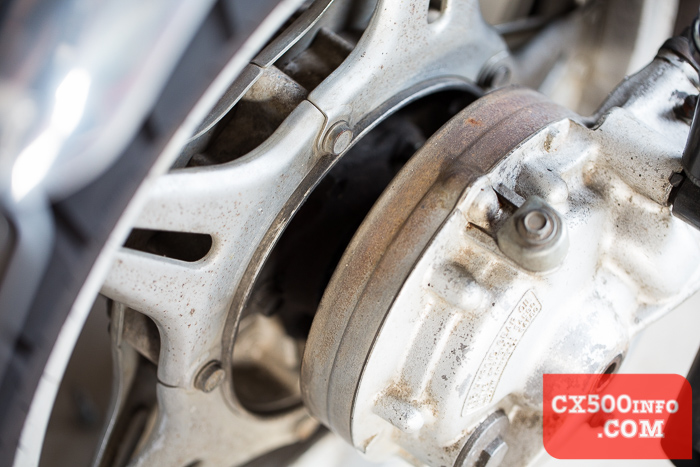
One that has been loosened and the rod separated, we can turn our attention to the pinch bolt on the left side of the axle:
Loosen the bolt and remove it:
Once that bolt has been removed, we can push the axle through from the threaded side. If yours is a little difficult to tap through, a 3/8" extension bar can be pushed into the hole behind it to assist.
Pushing from here:

Emerging on the other side:
Don't lose this collar, which will likely fall off as you push the end through here:

Axle almost fully out:

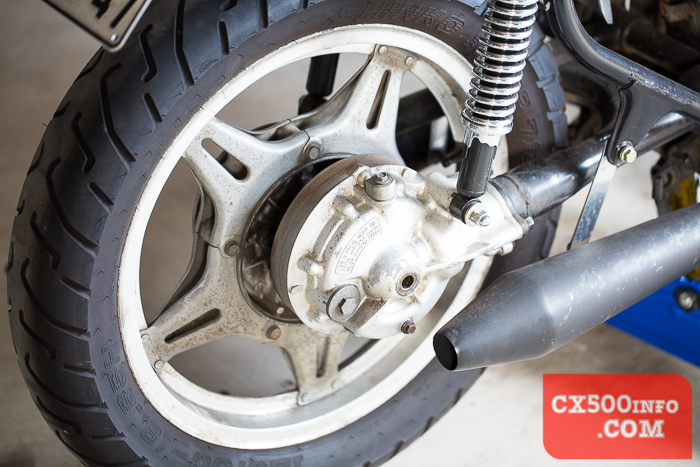
The wheel will likely still be seated against the final drive unit; carefully wiggle it to the left to ease it off:
There won't be much clearance on the left side as you go. Having trouble getting it out? Let some of the air out of the tyre.
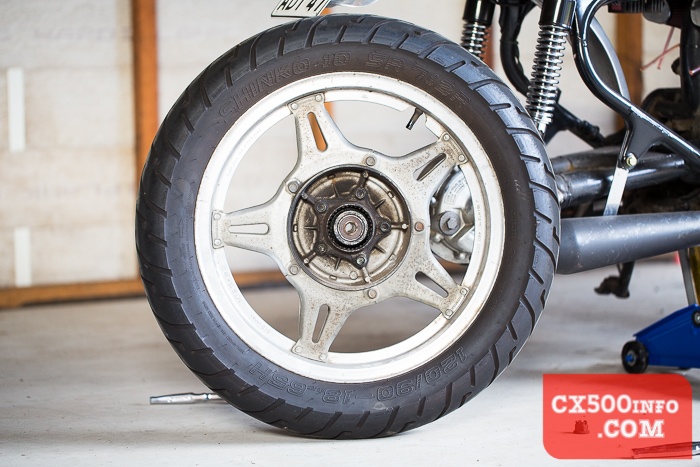
Wider view:
Roll it out the back and you're done!
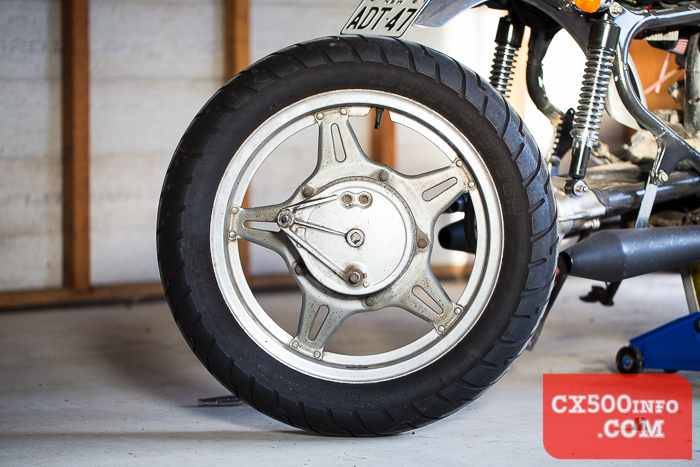
Note that the brake arm has been removed from the drum in the final photo.