Before using this site please read the site disclaimer. Also please note that any links provided may be part of an affiliate programme (viz. eBay, Amazon) which helps support the site as I will earn a commission when visitors make a qualifying purchase.
So, you're at the stage where you want to remove the rear cover from your Honda CX500, GL500, CX650 or GL650 motor. First, make absolutely sure that:
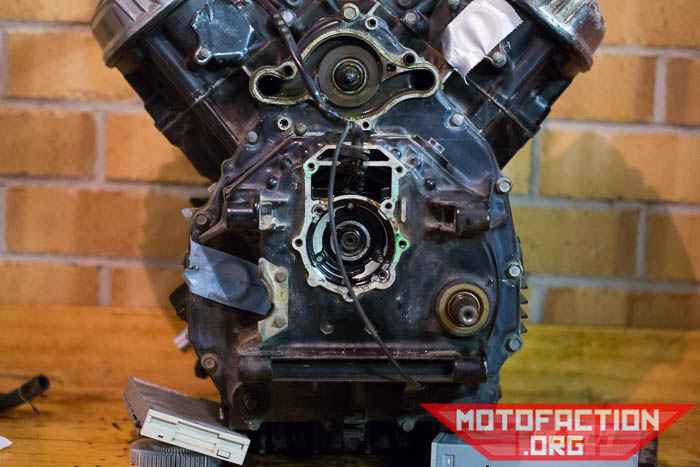
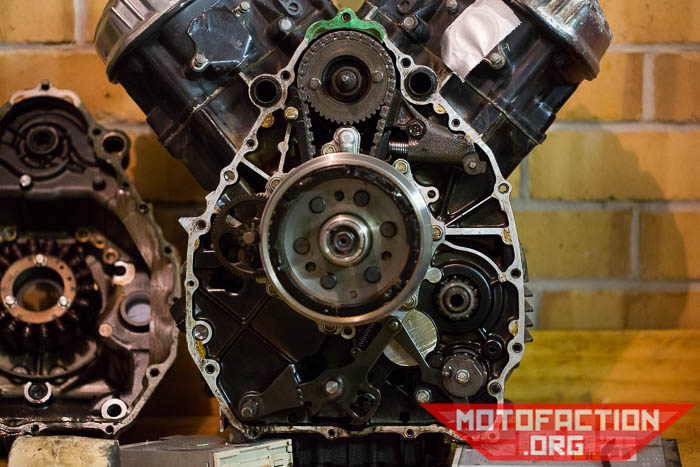
At this point you should be looking at something like this:
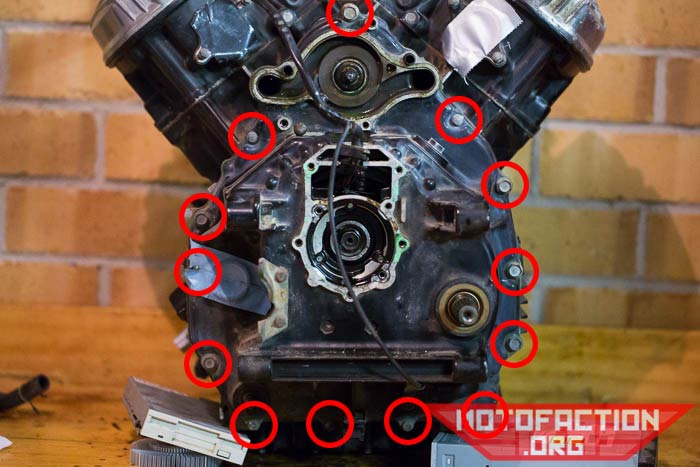
There are thirteen bolts holding it in once the impeller cover is removed:
There are two sizes of socket required for the bolts; 8mm and 12mm. Remove the smaller bolts first - they're 6x32mm with an 8mm head, part number 90005-HA7-670 (eBay) or 96001-0603200 (eBay):
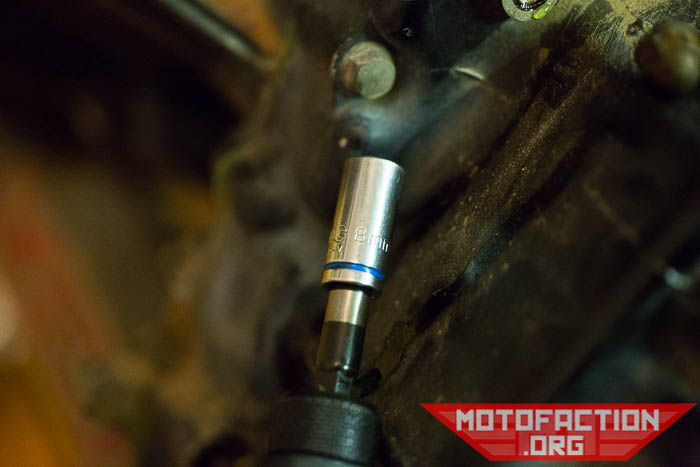
We like to crack the smaller bolts first, then the larger, then remove the smaller bolts, then the larger - all done in a criss-cross order. Some of the smaller bolts:

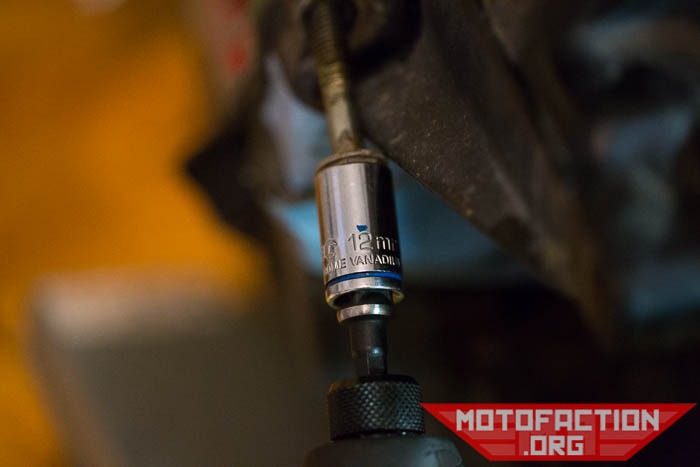
12mm socket for the big bolts, which are 8x40mm and part number 95700-0804000 or 95701-0804000 (eBay):
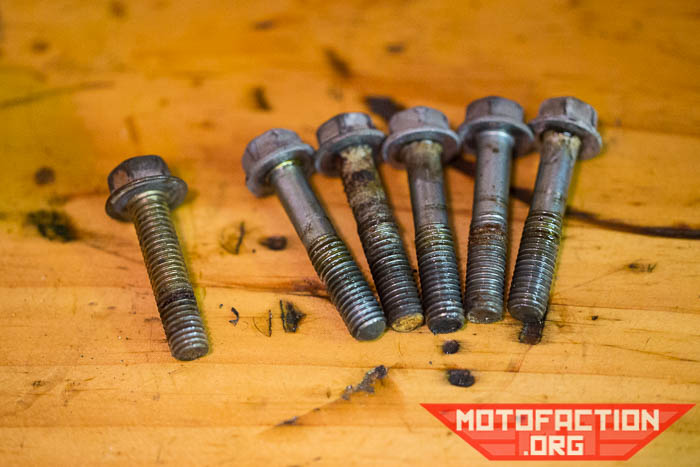
One of the bolts in this motor was a different style; looks like a previous owner lost one. Now, check, double check and triple check that you have found all of the bolts and removed them, and check that the water pump cover and water pump impeller has been removed. If you have a TI motor check that the rear pulser cover and pulse generators/ATU have been removed.
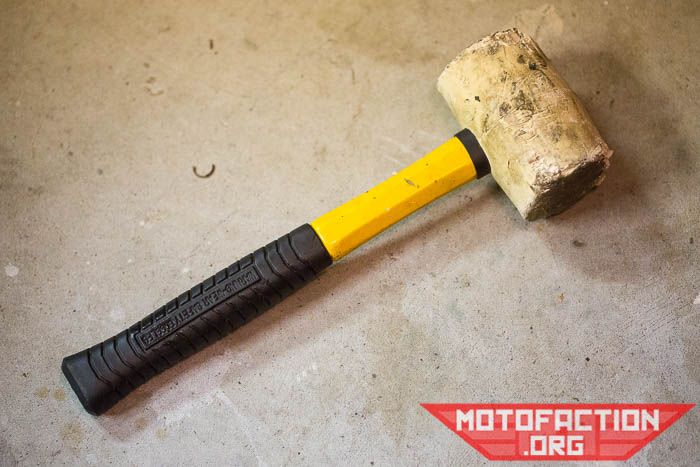
You'll probably find that the rear cover won't budge with just pulling. A deadblow or rubber mallet can help...
Tapping all around the seam where the rear cover meets the crankcase can help loosen the cover. It can take some time and a lot of tapping! If that doesn't work you can try other techniques like carefully driving in a blade - not near where any of the locating dowels or water pipe dowels are (we will do a phot of their locations) - at a right angle into the join:
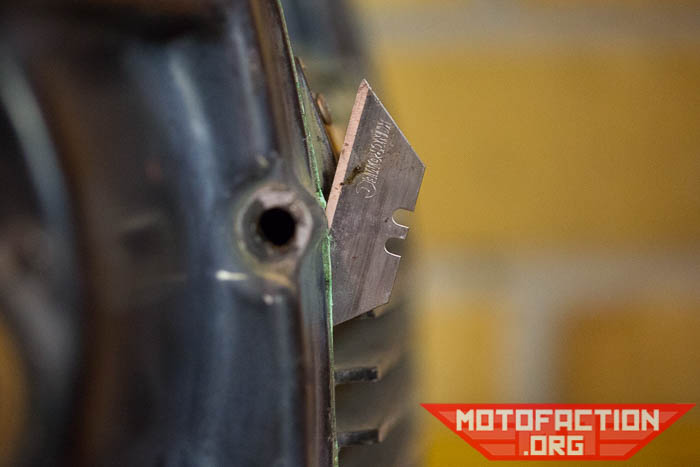
Be very careful doing that, if you choose to - you don't want to mar the gasket surface on either the rear cover or the crankcase and if you try to drive the blade in at any angle other than straight in it will probably snap.
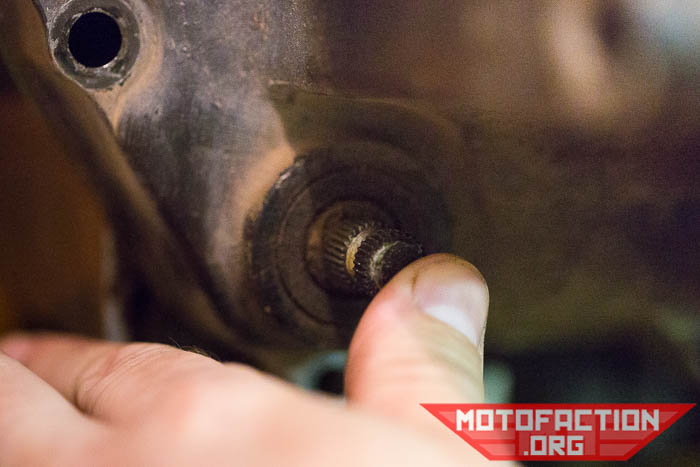
Once the seal is broken, make sure that you are pushing in on the gearshift spindle as you pull off the rear cover to ensure that it does not come with the cover. If that happens the spring that's attached to it will be stretched and you may have to replace it.
Cover removed:
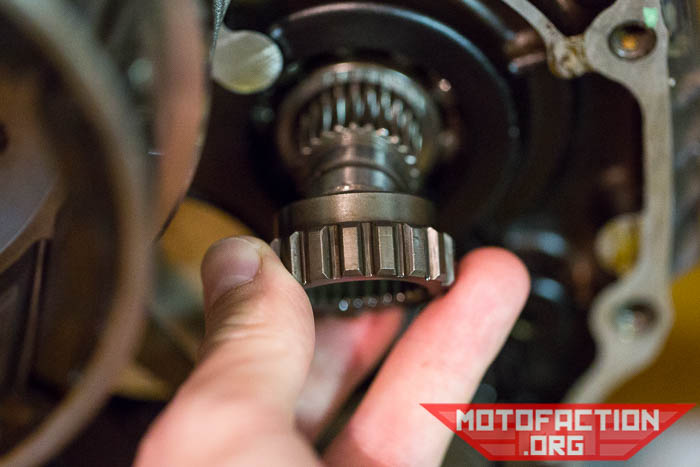
Other than the gearshift spindle, the collar around the gearbox output shaft can fall off:
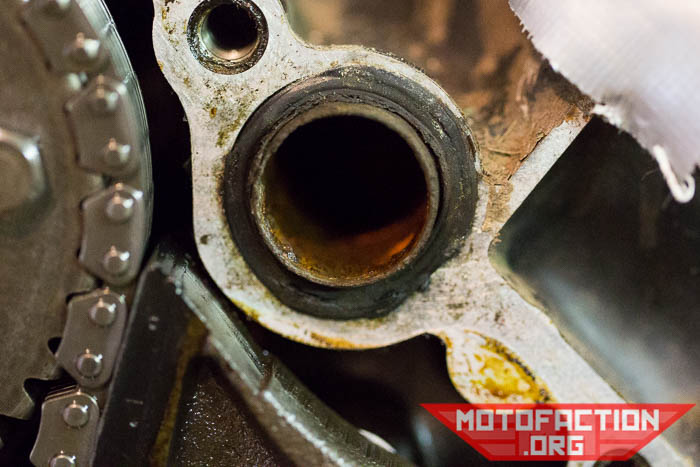
The big water pump dowels may as well, but all of the motors we have had apart have had them stuck in fairly firmly:
Rear cover removed. If you're doing this as part of the triple or quadruple bypass, click here to go back to the bypass page.
In 2019 the server has had to double in capacity to support the growing site... please consider dropping the site a donation to help cover the costs! Check out our Patreon for support options, buy a shirt, buy our apps, use my NordVPN affiliate link to sign up to their service or donate via Paypal:
| Paypal $5 link ->> | |
| Paypal $10 link ->> |